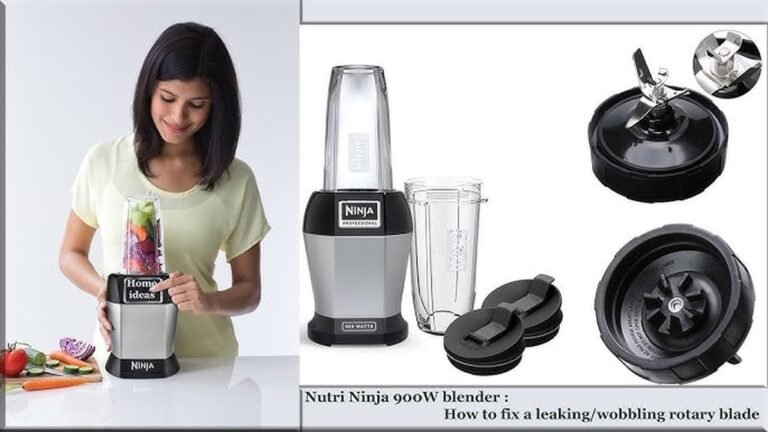
How To Pack Ninja Blender Components Safely for Moving
Learning how to pack Ninja blender components requires disassembling all parts and wrapping them individually to ensure they arrive safely. It is most effective to secure the heavy base separately from the pitchers and sharp blade assemblies.
This process varies depending on whether you’re using the original box and foam inserts or a standard moving carton. If you have the original packaging, you’ll use the molded inserts; if not, you must create a custom buffer using bubble wrap and packing paper.
Who should pack their Ninja blender
This guide serves homeowners and renters who are currently preparing for a move and need to ensure their kitchen appliances survive the transition without cracks, chips, or motor damage. It assumes you’re packing the unit for a standard move via truck or car rather than shipping it through a parcel carrier.
The advice here is best for those who own a standard Ninja countertop system or a personal blender model. If you’re a professional mover or someone shipping multiple units internationally, you should seek specialized industrial crating services instead. This page assumes you have basic packing supplies like bubble wrap, packing tape, and sturdy boxes. If you’re missing these, you’ll need to acquire them before starting, as using thin newspaper or loose clothing rarely provides enough structural support to prevent the heavy motor base from shifting and breaking the plastic components during transit.
Factors that change the packing result
The weight and material of your specific blender model dictate the intensity of the packing required. A heavy-duty motor base requires more padding than a lightweight personal blender to prevent it from crushing other items.
The condition of your blades is the second factor. Dull or sharp, they must be treated as dangerous items. Always secure them in a way that prevents them from slicing through the wrapping material.
The most common mistake people make is leaving the blade assembly inside the pitcher during transit. This adds unnecessary stress to the plastic housing and often leads to cracks if the box is dropped or shaken.
Your choice of container also matters. A double-walled box provides significantly more protection than a single-walled box. If you’re packing the blender with other kitchen items, ensure the blender is at the bottom of the box to keep the center of gravity low. If you pack it near the top, a sudden shift in the moving vehicle can cause the blender to tumble, resulting in a broken pitcher or a damaged motor housing.
How To Pack Ninja Blender: Step by Step
- Clean and dry every component thoroughly to prevent mold growth inside the storage box.
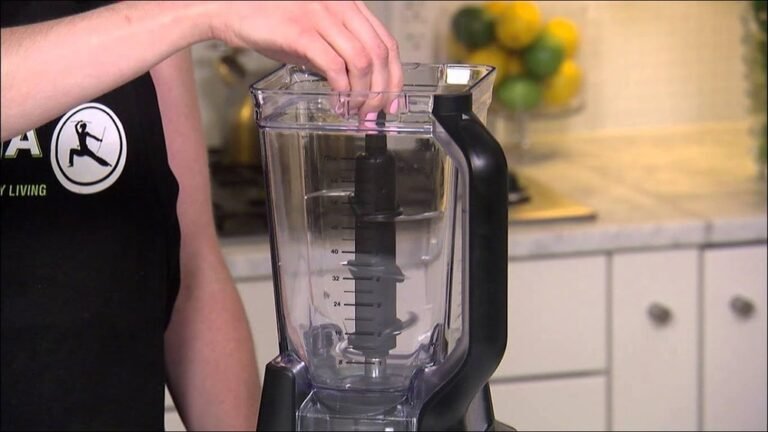
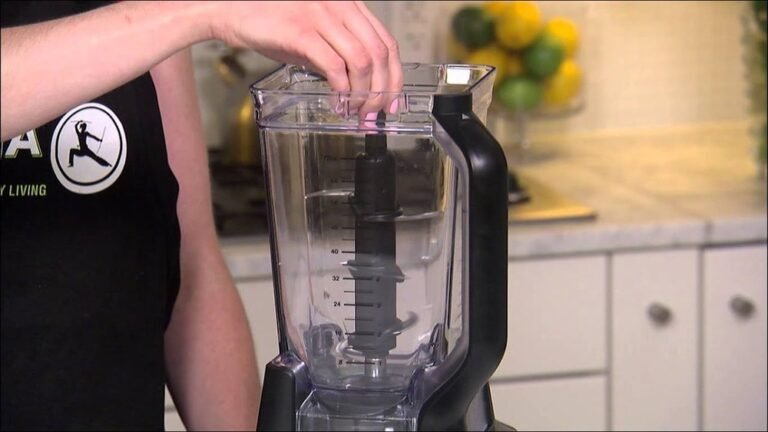
- Remove the blade assembly from the pitcher and wrap the blades in three layers of bubble wrap, securing them with tape.
- Wrap the pitcher in a sheet of thick packing paper, followed by a layer of bubble wrap to prevent surface scratches.
- Pack the motor base separately by wrapping it in at least four inches of bubble wrap, paying special attention to the control panel and power cord.
- Place a three-inch layer of crumpled packing paper at the bottom of a sturdy, medium-sized moving box to act as a shock absorber.
- Position the wrapped motor base in the center of the box, ensuring it doesn’t touch the sides.
- Arrange the wrapped pitcher and accessories around the base, filling all empty gaps with more crumpled paper so nothing can slide.
- Add a final two-inch layer of paper on top before sealing the box with heavy-duty packing tape.
The single judgement call that separates a professional result from a poor one is the “shake test.” Before you seal the box, gently rock it side to side. If you feel or hear anything moving, you must add more paper to fill the voids. A box that’s packed tightly won’t allow the internal components to knock against each other, which is the primary cause of damage during transport.
The variations at a glance
Packing requirements change based on the specific type of blender you own and the distance of your move.
If you kept the original packaging, check the internal foam for cracks. If the foam crumbles when pressed, it has lost its shock-absorption capacity and will fail to protect the motor housing during transit.
For long-distance moves, use the “box-in-a-box” method. Place the blender in a small box, then suspend that box inside a larger one with at least two inches of packing peanuts on all sides. This creates a buffer zone that absorbs vibrations from the moving truck.
A common mistake is leaving the blender jar attached to the base. This puts unnecessary torque on the drive socket. Always detach the jar and wrap it separately to prevent the glass or plastic from cracking under the weight of the motor.
What separates a good result from a poor one
Prioritizing protection for the motor
Experienced packers focus on the motor base first because it’s the most expensive and heaviest part of the system. They use multiple layers of bubble wrap to prevent the control panel from cracking under pressure. They also bundle the power cord separately and secure it to the side of the base so the plug doesn’t scratch the plastic housing during vibrations in the moving truck. A poor result happens when the cord is left dangling or wrapped loosely, allowing the heavy plug to act like a hammer against the blender’s exterior casing.
Managing the pitcher weight
The pitcher is the most vulnerable part of the blender because it can shatter if it strikes the motor base. Good packers never nest the pitcher directly against the base. They ensure at least three inches of padding exist between the pitcher and any other hard object in the box. They also avoid stacking heavy pots or pans on top of the blender box. If you don’t have a dedicated box for the blender, place it in a container that won’t be crushed by heavier items like books or canned goods.
What goes wrong, and what to do
| What you notice | What it usually means | What to do first | How to stop it |
|---|---|---|---|
| Cracked plastic | Pressure during transit | Check for sharp shards | Use more padding |
| Loose blade | Improper wrapping | Re-wrap with tape | Use extra layers |
| Cord damage | Cord hit the base | Inspect for wires | Secure cord firmly |
| Scratched finish | Lack of paper | Polish with cleaner | Wrap in paper |
| Box collapsed | Too heavy on top | Move to new box | Pack on top |
Requirements for safe transit
The primary safety rule for transporting electrical appliances is to ensure the device is completely disconnected from power. You must never transport a blender that has a frayed power cord or a damaged plug, as these pose a fire hazard if energized in a new location.
If you’re moving across state lines, check if your moving company requires you to empty all containers of food residue, as some jurisdictions have strict rules against transporting potential contaminants. If you’re using a professional moving service, ask them about their liability policy for “owner-packed” boxes. Many companies won’t cover damage to items you packed yourself unless you can prove the box was professionally secured. Always keep your original receipt for the blender, as some manufacturers require proof of purchase if you need to order replacement parts for components broken during a move.
What it costs you
The cost of packing your blender is primarily measured in supplies and time. A high-quality moving box, a roll of bubble wrap, and a roll of packing tape will generally be an inexpensive purchase at most hardware or shipping supply stores. If you already have these items, your cost is near zero.
The real cost is the time spent on preparation. Expect to spend about twenty minutes to pack the blender correctly. If you rush this process, you risk damaging a machine that may be expensive to replace. If you’re hiring professional packers, they will charge for the time and materials, often adding this to your total moving invoice. Always compare the cost of buying new packing materials against the potential cost of replacing a broken blender pitcher or motor unit. If you’re moving frequently, investing in a hard-sided plastic storage bin can be more cost-effective than buying new cardboard boxes for every move.
Keeping it right afterwards
Once you arrive at your destination, unpack the blender as soon as you have access to a clean counter. Inspect the motor base for any signs of debris or dust that may have entered the vents during the move. If you find dust inside the vents, use a can of compressed air to gently clear it out before plugging the unit into an outlet.
If you notice that the pitcher no longer seals correctly, check the rubber gasket for signs of warping or displacement caused by temperature changes in the moving truck. You can usually seat the gasket back into the lid by hand. If it remains loose, you’ll need to order a replacement part from the manufacturer. Store the blade assembly in a dedicated drawer with a protective cover to keep it sharp and safe from accidental contact. If the blender makes an unusual grinding noise when you first turn it on, stop immediately and check for any internal plastic fragments that may have broken off during the transit.
When this is the wrong approach
If your blender shows signs of structural damage, such as a cracked motor housing or a frayed electrical cord, don’t attempt to use it after moving. Damaged electrical appliances can cause short circuits or fire. In these cases, contact the manufacturer to see if the part is replaceable or if the entire unit should be recycled according to local electronic waste regulations.
If you’re moving the blender as part of a large commercial relocation, don’t pack it in standard cardboard. Use industrial-grade plastic crates provided by your moving company, as these are designed to withstand the weight of multiple stacked units. If you’re uncertain about the structural integrity of your specific model after a significant drop or impact, take it to a qualified appliance repair technician. Attempting to fix internal motor components yourself can void your warranty and poses a risk of electrical shock.
Frequently asked questions
Can I pack the blender in my suitcase?
Yes, you can, but you must wrap the base and pitcher in thick clothing to prevent them from breaking. Ensure the blade assembly is wrapped separately in a puncture-proof container so it doesn’t cut your clothes or the suitcase lining during transport.
Is it safe to leave the blender in the original box?
Yes, the original box is the safest way to move your blender. The custom foam inserts are designed to absorb shocks and vibrations that occur during standard transit, which is much more effective than wrapping the unit in paper or bubble wrap.
What happens if the pitcher gets a small crack?
If the pitcher has a crack, you shouldn’t use it for blending liquids. Liquids can leak into the motor base, causing a short circuit, or the crack can widen during high-speed operation, which creates a risk of plastic shards being thrown from the unit.
How long does it take to pack properly?
It takes about twenty minutes to pack the blender properly. This includes cleaning the parts, wrapping the base and pitcher individually, and securing the box with enough internal padding to prevent any movement inside the carton during the actual move.
Does it matter if I use newspaper?
No, newspaper isn’t recommended for packing because the ink can transfer to the plastic, and the paper doesn’t provide enough cushion. Use bubble wrap or thick packing paper to ensure the appliance remains protected from impacts.
Why should I pack the blades separately?
You must pack the blades separately because they’re heavy and sharp. Leaving them inside the pitcher creates a point of stress that can cause the plastic walls to crack when the box is moved or stacked with other items.
What to do next
Start by gathering all the components and cleaning them thoroughly to ensure they’re ready for storage. Use a microfiber cloth to remove dust, as trapped particles can scratch delicate surfaces over time. Once the parts are dry, wrap each piece individually in bubble wrap and secure them in a sturdy, well-padded box.
If you hear any movement when you shake the box, add more packing material before sealing it. A common mistake is using newspaper for cushioning, which can yellow or transfer ink onto your items. Use archival-grade tissue paper instead if you’re storing the items for longer than six months. If the box feels heavy, use two smaller containers rather than one large one to prevent the bottom from buckling under the weight.