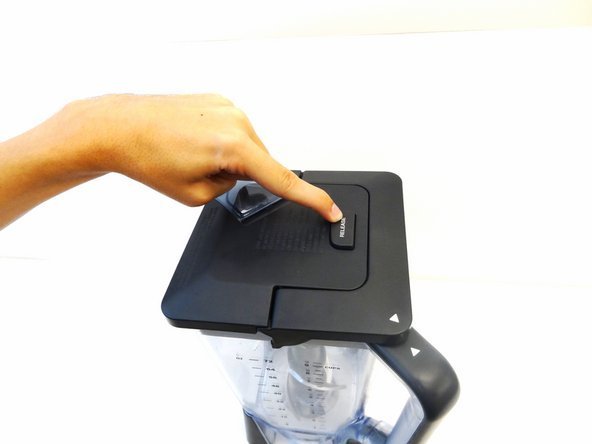
How To Put On Ninja Blender Lid Correctly for Safe Operation
You can secure a ninja blender lid by aligning the locking tabs with the slots on the jar and pressing down firmly until you hear a mechanical click. This action engages the safety interlock switch, which prevents the motor from spinning unless the cover is fully seated.
The process changes depending on your specific model, as some units feature a locking handle that requires a downward pull, while others use a simple press-fit design. This guide assumes you’re using a standard Ninja professional blender jar.
Who should use this Ninja blender guide
This page serves users who own a Ninja blender and are struggling to get the machine to start. You likely have the jar filled and the blade assembly inserted, but the blender remains unresponsive when you press the power button. You might be a new owner confused by the extra safety steps, or you could be a long-time user dealing with a lid that suddenly feels tight or difficult to seat.
If you’re struggling with a cracked lid, a broken locking tab, or a blender that smells like burning rubber, this page isn’t for you. You need to contact Ninja customer support for replacement parts or technical service. This article assumes your hardware is intact and clean.
We focus on the physical alignment required to trigger the safety sensors. If your lid is physically damaged, no amount of pushing will fix the internal connection. You must be able to identify if the issue is a simple alignment error or a genuine mechanical failure of the interlock sensor.
Factors that change the locking mechanism
The most important factor is the specific model series of your Ninja appliance. Older professional series blenders use a large handle that must be physically pulled down over the lid to engage the lock. Newer models often rely on a locking tab system where the lid must be rotated or pressed into a specific position. You can check your model number on the base of the motor unit and verify the specific locking style in your user manual.
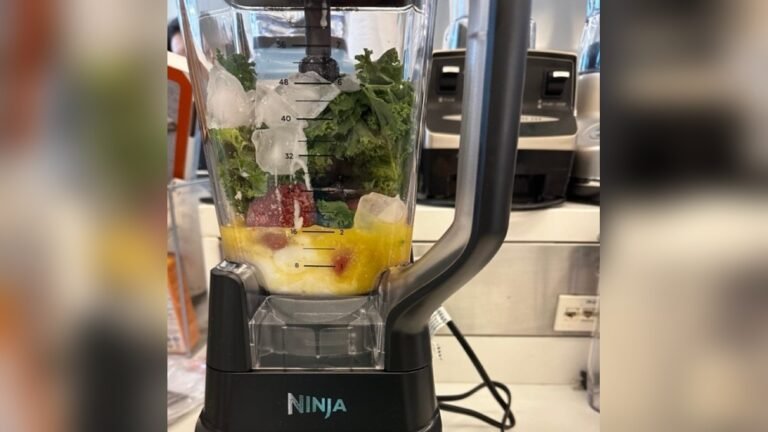
Another factor is the amount of ingredients inside the jar. If your jar is filled past the “max liquid” line, the pressure or displaced food can prevent the lid from seating fully. Always check that your ingredients sit below the marked line before trying to force the lid down. Overfilling is a common mistake that causes the lid to pop up, which prevents the safety switch from making contact.
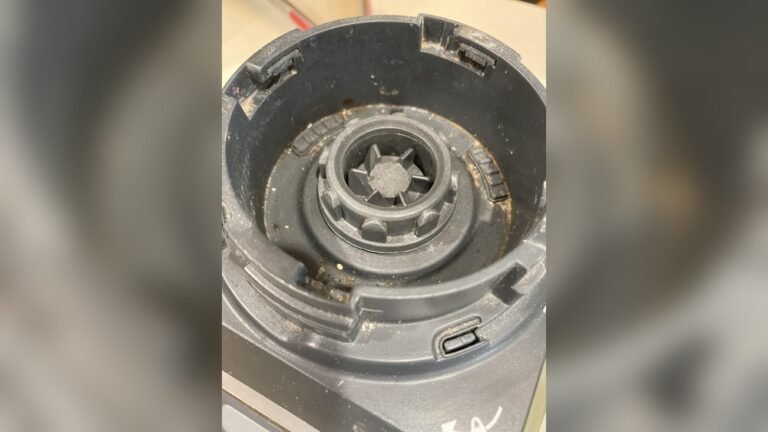
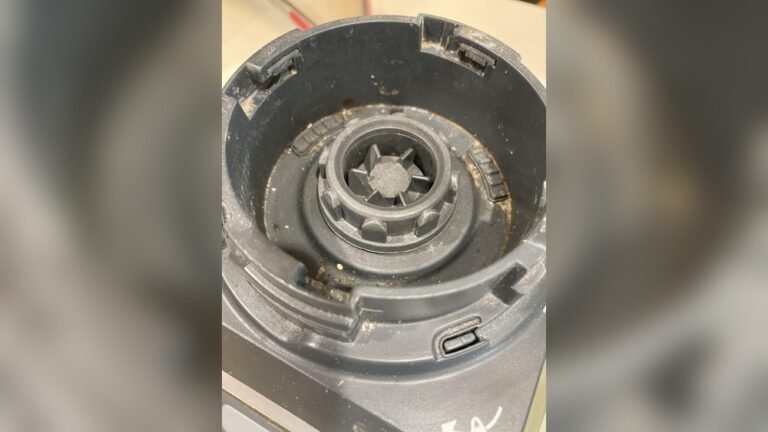
The cleanliness of the rim also matters significantly. Dried food or sticky residue on the jar’s top edge creates a gap between the lid and the container. This gap keeps the safety trigger from hitting the sensor on the motor base. If the lid feels like it’s bouncing back up, wipe the rim with a damp cloth to remove any debris. This simple step often solves the problem instantly without needing to apply extra force.
Steps for securing the blender lid
- Ensure the blade assembly is fully seated on the center post at the bottom of the pitcher.
- Place the lid on the pitcher so the handle of the lid aligns with the handle of the pitcher.
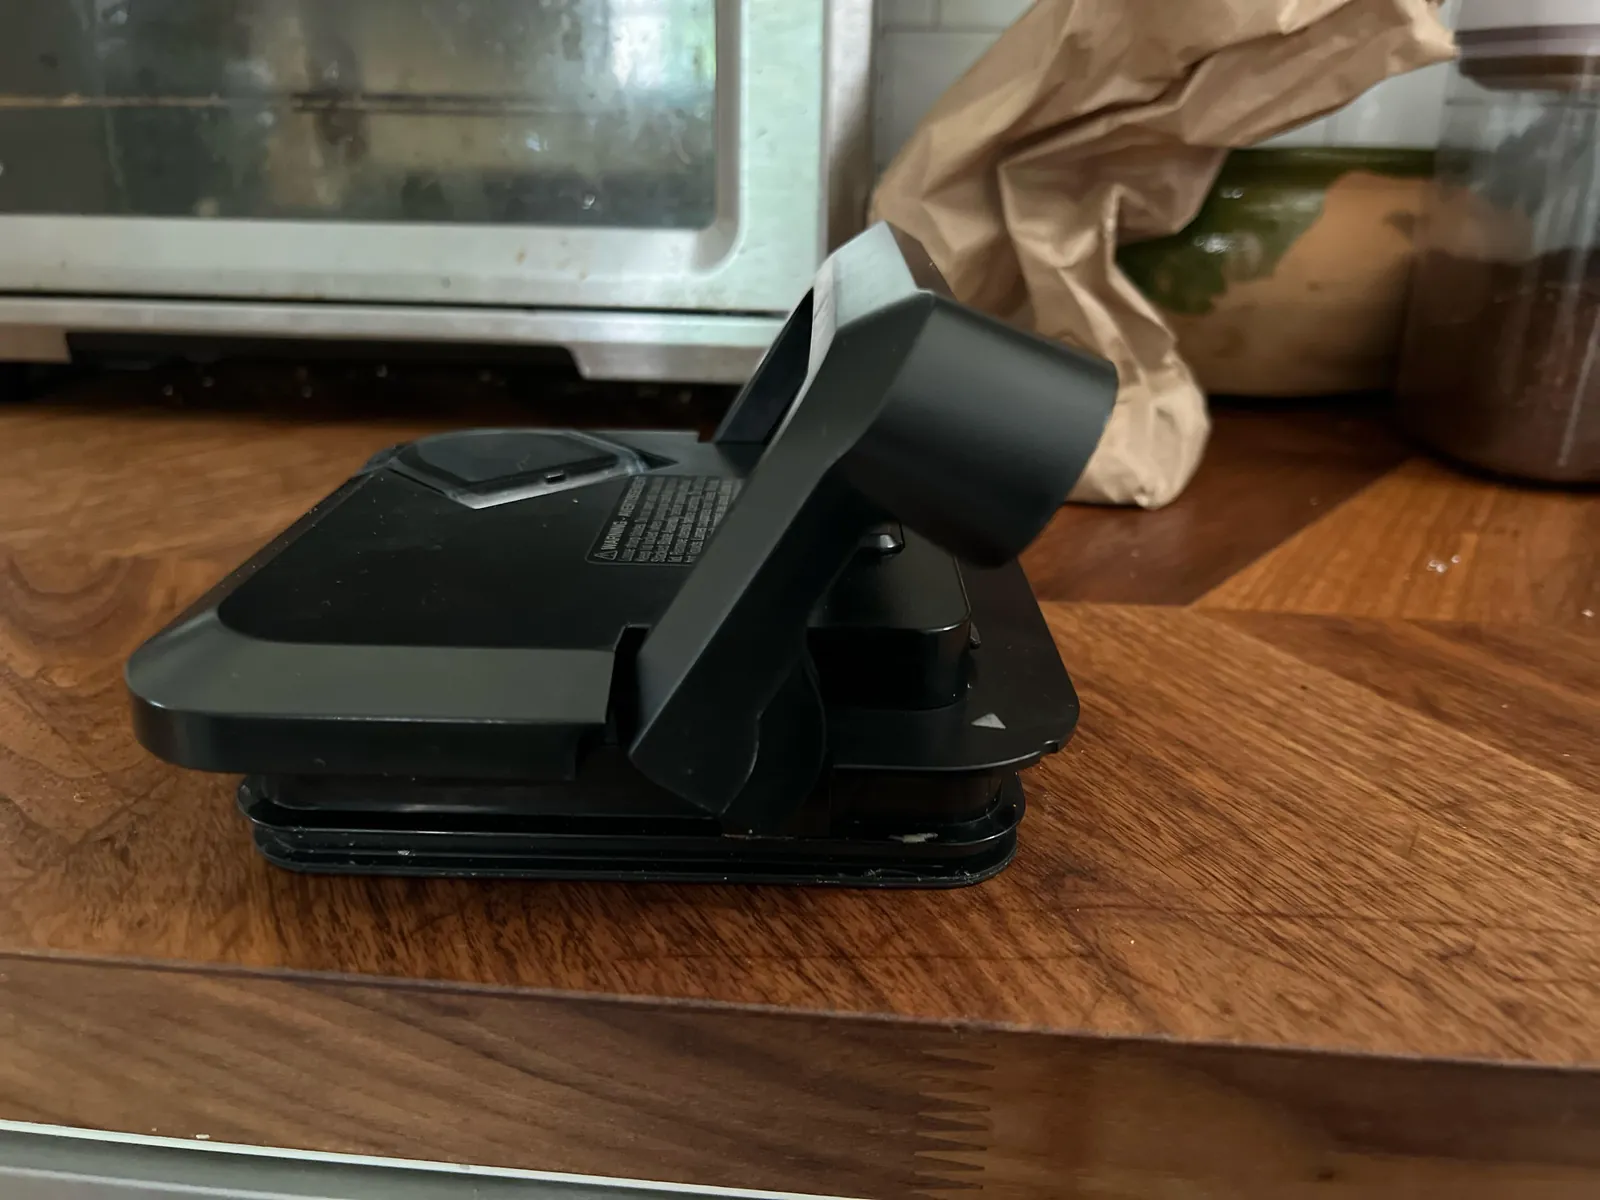
- If your model has a locking handle, pull the handle upward until it’s in the open position.
- Lower the lid onto the pitcher rim, ensuring it sits flat and doesn’t wobble.
- Press down firmly on the center of the lid with the palm of your hand.
- Push the locking handle down toward the pitcher until it clicks into the locked position.
- If your model uses a press-fit lid, push down on the top until the tabs snap into the slots.
- Check that the lid is flush with the rim all the way around the pitcher.
- Try to lift the lid; if it moves, it isn’t locked, and the motor won’t activate.
The key judgement call is the amount of pressure you apply. If you feel strong resistance, stop immediately rather than forcing the handle. Forcing a lid when the internal seal is misaligned can snap the plastic tabs, which is a permanent error that requires a full lid replacement. If the handle refuses to move, remove the lid, check the rim for debris, and try again.
Variations in lid styles
| Situation | Locking Method | Effort Level | What to watch for |
|---|---|---|---|
| Locking handle | Pull handle down | Moderate | Clicking sound |
| Press-fit lid | Push down firmly | Low | Tabs snapping in |
| Twist-lock lid | Rotate clockwise | Moderate | Alignment arrows |
| Pour spout lid | Slide to lock | Low | Flush seal |
| Personal cup | Screw on tight | Moderate | Thread alignment |
The primary mistake users make with locking handles is stopping at the visual closure rather than the audible click. If you don’t hear that distinct snap, the vacuum seal remains compromised, leading to leaks during transport. Always verify the handle is fully seated against the container rim before lifting.
For twist-lock lids, the danger lies in cross-threading. If you feel resistance before the lid has rotated at least a quarter turn, stop immediately. Forcing it will strip the plastic grooves, rendering the container permanently loose. If the alignment arrows don’t meet perfectly, back the lid off entirely and restart the motion.
When using press-fit lids, the size of the container dictates the pressure required. On smaller vessels, a light tap with the palm of your hand is sufficient. For containers larger than two liters, apply pressure with both thumbs simultaneously at opposite edges. If the lid bows in the center, it isn’t properly seated.
Finally, treat pour spouts as a two-step process. Slide the mechanism until it hits the physical stop, then verify the seal is flush with the lid surface. If you see a gap, the internal gasket has likely shifted out of its track.
Details that separate results
Preparing the rim for success
Experienced users always inspect the jar rim before placing the lid. A small piece of kale or a smear of peanut butter acts as a wedge that stops the lid from sealing. Beginners often try to force the handle down, which stresses the plastic locking mechanism. A clean rim allows the lid to sit perfectly flat, which is the only way to engage the safety switch.
Checking the interlock sensor
The motor won’t turn on if the lid isn’t fully engaged. You can verify the seal by looking for the small gap between the lid and the pitcher. If you see any light passing through that gap, the lid isn’t secure. Experienced users look for the “flush” line where the lid meets the container. If it looks uneven, lift it and reset it.
Troubleshooting common lid problems
| What you notice | What it means | What it costs | What to do first | How to stop it |
|---|---|---|---|---|
| Blender won’t start | Lid not locked | Burned-out motor | Press handle down | Check for debris |
| Lid pops off | Overfilled jar | Messy kitchen | Remove ingredients | Follow max line |
| Handle is stuck | Misaligned tabs | Broken plastic | Lift and reset | Align handles |
| Lid feels loose | Worn rubber seal | Leaking liquid | Check seal ring | Hand wash only |
| Loud clicking | Damaged gear | Costly repairs | Stop usage | Inspect for cracks |
If the blender won’t start, ensure the lid is properly seated and locked. A tiny crumb in the locking groove prevents the circuit from closing. If you force the handle, you risk snapping the internal plastic switch.
When the lid pops off, the culprit is usually thermal expansion. Hot liquids create pressure that pushes the lid upward. If you’re blending soup, leave at least two inches of headspace below the max line.
A loose lid often stems from heat damage. Putting the rubber seal in a dishwasher causes the material to shrink and lose its grip. If the seal looks wavy or brittle, replace it immediately to prevent liquid from entering the motor base.
If you hear a clicking sound, stop the motor instantly. This indicates the drive gear is slipping because the lid isn’t fully seated. Continuing to run the machine will strip the gear teeth, turning a simple alignment fix into a full unit replacement.
Regulatory standards for safety
Ninja blenders are designed with internal safety interlock switches that comply with standard household appliance safety requirements. These switches are designed to meet safety standards to prevent the high-speed blades from operating while the jar is open.
Never attempt to bypass or override these switches. A common mistake users make is forcing the lid into place when the alignment tabs are obstructed by food debris. This pressure can snap the delicate plastic housing of the interlock sensor, permanently disabling the safety mechanism. Replacing this sensor requires proprietary tools and specialized knowledge of the unit’s circuitry.
If the switch fails to engage even when the lid is properly seated, the unit may have an internal fault. You must contact the manufacturer’s support line to resolve electrical or sensor issues.
Opening the motor housing or attempting to repair the interlock switch yourself is dangerous. Internal components can hold an electrical charge even when the unit is unplugged. If your blender fails to start, verify the power source first. If the base remains unresponsive, the decision rule is simple: if the unit is under warranty, request a replacement; if it’s out of warranty, don’t attempt a DIY repair. The risk of accidental discharge outweighs the cost of a new base.
The true cost of lid maintenance
The cost of maintaining your blender lid is mostly measured in effort and careful handling. Replacing a Ninja lid is generally inexpensive compared to buying a new blender, depending on the specific model and the retailer. You can check the current price for your exact model on the official Ninja Kitchen website.
The biggest cost factor is the cleaning method. Putting lids in a high-heat dishwasher cycle can warp the plastic or degrade the rubber seal over time. Hand washing with mild soap and warm water is the best way to keep the seal tight and the locking tabs moving smoothly.
Most users make the mistake of ignoring microscopic hairline fractures in the plastic housing. These cracks often form near the locking tabs after six months of intense use. If you see white stress marks near the hinge, the lid is likely to fail under pressure within weeks.
Use this simple decision rule: if the lid requires extra force to lock, inspect the gasket for debris. If the gasket is clean but the resistance remains, the locking mechanism is failing. Continuing to force it will strip the plastic teeth on your blender jar, turning an inexpensive lid replacement into a costly pitcher replacement.
If you notice the rubber seal is becoming brittle or cracked, you should replace the ring immediately rather than waiting for it to leak. A leaking seal allows liquid to enter the lid’s internal cavity, which creates a breeding ground for mold that’s impossible to sanitize. Replacing an inexpensive gasket now prevents a total lid replacement later.
Keeping the lid in working order
Store your blender with the lid removed or in the unlocked position to take pressure off the plastic tabs. Leaving a lid locked on the pitcher for weeks can cause the plastic to deform under constant stress. This micro-warping creates gaps that compromise the vacuum seal, leading to messy leaks during high-speed blending.
If you notice the lid becoming difficult to lock, check for a buildup of dried food inside the locking slots. You can use a soft brush to clean these tight spaces. Never use harsh chemicals or abrasive scouring pads, as these will scratch the plastic and make the surface prone to catching food. Once these microscopic grooves form, bacteria and residue will accumulate faster, forcing you to scrub harder and accelerating the wear.
If the locking handle feels loose, check the pivot point for debris that might be blocking the full range of motion. A common mistake is forcing the handle when you feel resistance; this often snaps the internal spring. If the handle resists, stop immediately and soak the lid in warm, soapy water for ten minutes to loosen the obstruction.
If the mechanism remains stiff after cleaning, the internal spring has likely failed. In that case, you must replace the lid entirely to ensure the safety interlock functions correctly, as a faulty sensor can prevent the motor from engaging.
When to seek a different solution
If you find that you’re constantly fighting with the lid to get the blender to start, the unit may be a poor fit for your needs. Some users find the locking handle mechanism physically difficult to operate due to limited hand strength. If this applies to you, consider a blender model with a simple twist-on lid or a personal blender that uses a screw-top design. These alternatives often require less force to engage the safety sensors.
If your lid has visible cracks or if the plastic tabs have snapped off, don’t try to glue it. Glue isn’t food-safe and won’t hold under the high torque of the motor. Contact the manufacturer to purchase a replacement lid that’s specifically rated for your model number.
Frequently asked questions
Can I put my ninja blender lid in the dishwasher?
Most Ninja lids are top-rack dishwasher safe, but heat can warp the rubber seal over time. Check the manual for your specific model to confirm the manufacturer’s recommendation. Hand washing in warm, soapy water is the safest way to prevent damage to the locking tabs and the rubber gasket.
Why does my ninja blender lid keep popping off?
The lid pops off because the jar is overfilled or the internal pressure from the food is too high. Check that your ingredients are below the “max liquid” line marked on the pitcher. Also, ensure the lid is fully locked; if the safety tabs aren’t clicked in, the lid can’t withstand the pressure.
Is it safe to use a blender with a broken lid tab?
No, you should never use a blender with a broken lid tab because the safety interlock won’t engage properly. The blender is designed to prevent the motor from spinning unless the lid is secure. If you bypass this, you risk the contents splashing out or the blades spinning while exposed.
How do I clean the rubber seal on the lid?
You can remove the rubber gasket by carefully prying it out with a dull tool like a butter knife. Wash the seal in warm, soapy water, rinse it well, and let it air dry completely before pressing it back into the groove. Ensure it’s seated flat to maintain the vacuum seal.
How long should a ninja blender lid last?
A lid can last for many years if it’s hand-washed and handled with care. The lifespan depends on how often you use the blender and whether you store the lid in the locked or unlocked position. Replace the lid immediately if you notice cracks in the plastic or if the seal becomes brittle.
Does it matter if the lid is wet when I put it on?
It doesn’t matter if the lid is wet, but it must be free of food residue. A wet lid will lock perfectly fine, but a lid with sticky food on the rim will prevent a proper seal. Always wipe the jar rim and the lid gasket before each use to ensure a secure connection.
Conclusion
Start by wiping the rim of the pitcher and the rubber gasket of the lid with a damp cloth to remove any debris. Place the lid on the pitcher, align the handles, and press down firmly until the locking mechanism clicks into place. If the blender doesn’t start, remove the lid and check the locking tabs for damage; if they’re broken, contact the manufacturer for a replacement part.