How To Put Handle Down On Ninja Blender: Step by Step Guide
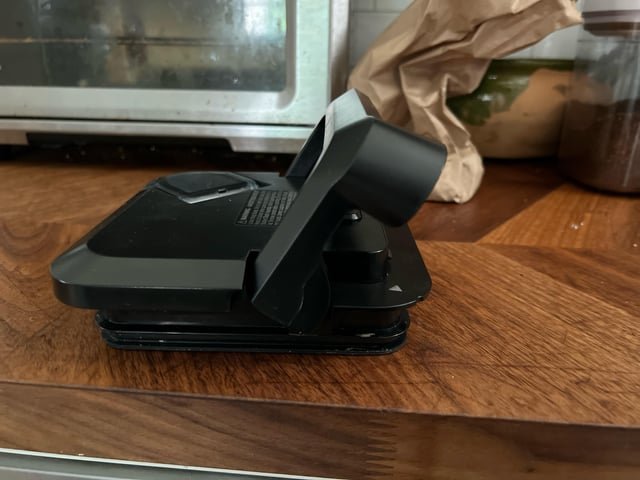
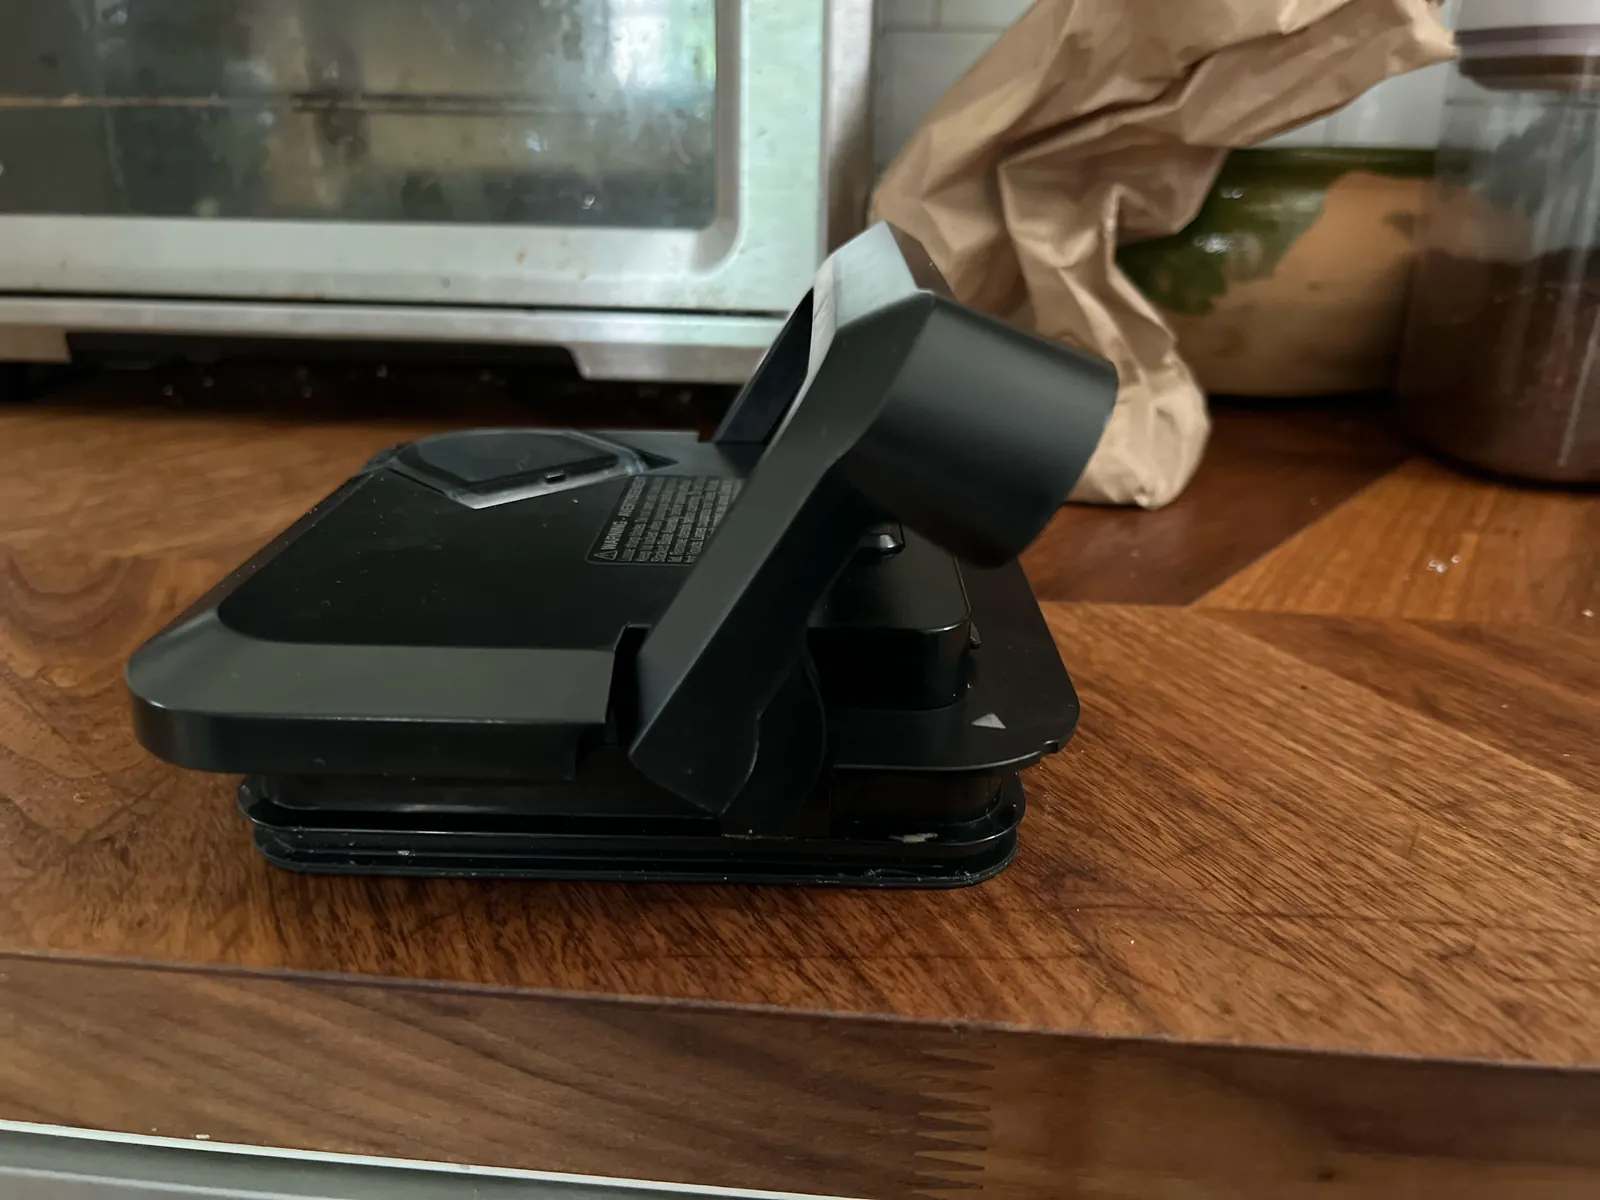
To put the handle down on your ninja blender, align the pitcher groove with the base sensor to lock the lid. You must press the handle firmly into the locked position to activate the motor and allow the power button to function.
This process varies depending on the specific model you own. If you have a model with a locking lid, the handle acts as a lever; if you have a twist-lock jar, you must rotate the entire pitcher until the handle clicks into the base.
Understanding Ninja Blender Handle Users
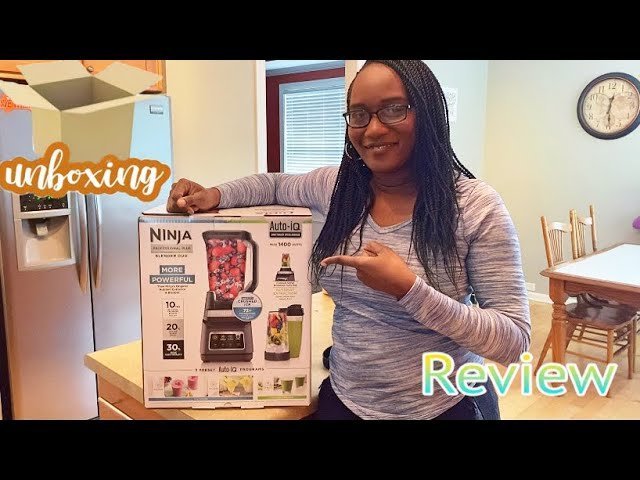
This guide serves owners of Ninja professional and food processing blenders who find their machine refuses to start. You likely have a pitcher, a lid, and a base, but the motor remains silent when you press the power button. You may be worried that the unit is broken or that the motor has burned out.
The readers who benefit most from this page are those who have recently purchased a used unit, misplaced their manual, or are struggling with the specific safety interlock mechanisms found on newer Ninja models. If you’re trying to force a handle down on a model that uses a twist-to-lock lid, you might accidentally damage the plastic tabs.
This article assumes you’re using a standard Ninja pitcher with an integrated handle-locking mechanism. If your device is a personal-sized bullet blender without a pitcher handle, this advice won’t apply to your specific hardware. We focus on the full-sized pitchers where the handle is part of the safety circuit.
Factors Affecting Your Blender Lock
The handle won’t lock if the jar isn’t seated correctly on the base. The most common mistake is placing the pitcher on the base before the lid is fully snapped shut. The safety interlock is a two-part system; it checks for both the lid position and the handle position before allowing current to flow to the motor.
The amount of force required to lock the handle varies by the age of the machine. If you have a new unit, the plastic tabs may be stiff and require a firm, steady push. If you have an older unit, check the bottom of the pitcher for debris or dried food residue that prevents a flat, flush connection with the base.
Another factor is the alignment of the pitcher tabs. Ninja blenders use small plastic notches on the base of the jar. If these are chipped or worn, the handle will feel loose even when pushed down. You can verify this by inspecting the base of your pitcher under a bright light for any signs of cracking or missing material.
Finally, the temperature of the plastic affects how easily the handle moves. If you have just washed the pitcher in a dishwasher, the heat can cause the plastic to expand slightly. Let the container reach room temperature before attempting to lock the handle again to avoid stressing the locking mechanism.
Steps for Securing the Handle
- Place the blender base on a flat, dry, and clean countertop to ensure the suction feet can grip properly.
- Align the pitcher with the base by matching the arrow on the pitcher to the arrow on the base.
- Lower the pitcher onto the base until it sits completely flush; it shouldn’t wobble if you gently tap the side.
- Place the lid on top of the pitcher, ensuring the rubber gasket is seated cleanly against the rim.
- Push the lid handle down toward the pitcher until you hear a distinct, audible click.
- Check that the handle is now parallel to the side of the pitcher and fully depressed.
- Press the power button on the control panel to confirm the lights appear, indicating a successful lock.
The final judgment call is the “click” sound. If you don’t hear a mechanical click, the safety pin inside the base hasn’t been depressed. Don’t force the handle if you feel significant resistance, as this usually means the lid isn’t sitting perfectly flat on the pitcher rim. You should stop immediately if you see any cracks in the plastic handle housing, as this is a structural failure that requires a replacement part from the manufacturer.
Comparison of Locking Mechanisms
| Mechanism Type | How It Locks | Effort Level | What to Watch For |
|---|---|---|---|
| Lever-Action Lid | Press handle down | Moderate | Clicking sound |
| Twist-to-Lock | Rotate jar clockwise | Low | Alignment arrows |
| Button-Release | Press side button | Low | Latch engagement |
| Tab-Interlock | Align base notches | High | Flush fit |
Lever-action lids provide the most reliable seal for liquids, but they fail if the internal gasket dries out. If you don’t hear a distinct click, the vacuum hasn’t formed. Test this by pulling the handle upward; if it moves even a millimeter, the seal is compromised.
Twist-to-lock mechanisms are prone to cross-threading. If you feel resistance before the arrows align, stop immediately. Forcing the turn will strip the plastic threads, rendering the container useless. Always back the lid off a quarter turn until you feel it drop into the starting groove.
Button-release systems are the fastest, but they’re the most fragile. Avoid dropping these containers, as the internal spring often snaps under impact. If the button feels “mushy” or fails to pop back out, the latch is likely jammed with debris.
Tab-interlock designs require the most force but offer the best security for dry goods. These are notoriously difficult to clean. If you see crumbs in the notches, the lid won’t sit flush. Use a stiff brush to clear the base before locking to prevent the plastic from cracking under pressure.
Details That Influence Success
Preparing the Pitcher
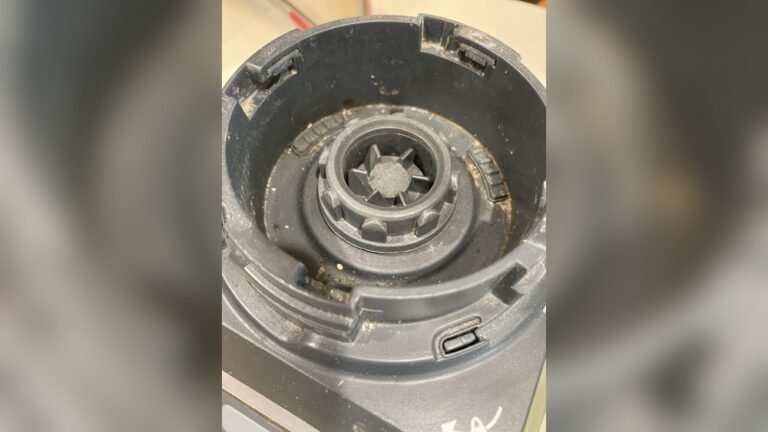
Experienced users always check the bottom of the jar before placing it on the base. Beginners often overlook small bits of food stuck in the locking tabs. If the pitcher doesn’t sit perfectly flat, the safety switch inside the base remains open, and the motor won’t engage. Always wipe the base of the pitcher and the blender base with a damp cloth to ensure there’s no debris blocking the sensors.
Working in Order
The order of operations is critical for safety. Never try to push the handle down before the lid is fully snapped into the closed position. The lid contains a magnet or a physical pin that communicates with the handle mechanism. If you attempt to lock the handle while the lid is slightly ajar, you might bend the plastic locking arm, which is expensive to replace. Always close the lid first, then lock the handle, and finally press the power button.
Troubleshooting Common Issues
| What you notice | What it usually means | What to do first | How to stop it |
|---|---|---|---|
| Power light blinking | Lid not locked | Re-seat the lid | Check gasket fit |
| Handle pops up | Debris in base | Clean the base | Rinse after use |
| Motor won’t start | Jar misaligned | Remove and reset | Align arrows first |
| Handle feels stiff | Plastic expansion | Cool to room temp | Hand wash only |
| Clicking but no power | Faulty sensor | Check power cord | Unplug and reset |
Most users mistake a blinking light for a motor failure. If the light flashes rhythmically, the safety interlock is failing to detect a closed lid. Inspect the rubber gasket for food particles that prevent a flush seal. If the gasket is dry or cracked, the sensor will never trigger.
If the handle pops up during operation, you likely overloaded the jar. The internal pressure forces the locking mechanism to disengage as a safety precaution. Stop the cycle immediately and remove 10% of the contents.
When the motor clicks but fails to spin, check the base for spilled liquid. Moisture on the contact pins causes electrical resistance, which trips the internal circuit breaker. If the base is dry, allow the unit to cool for ten minutes to reset the thermal protection.
Never force a stiff handle. If you wash the jar in a dishwasher, the high heat causes the plastic to warp slightly. This misalignment prevents the locking pins from sliding into their slots. You can usually tell if this is the cause by checking if the handle feels tighter when the jar is hot versus cold. If the resistance persists after cooling, the housing is permanently deformed and requires a replacement jar.
Safety and Operational Rules
The safety interlock system is designed to prevent the blades from spinning unless the pitcher is fully secured. According to the product safety manuals provided by SharkNinja, you should never attempt to bypass the safety switch by inserting objects into the base. This can lead to serious injury if the blades activate unexpectedly.
If your blender is under warranty, don’t attempt to repair the internal switch or open the motor housing. Opening the base can void your warranty and exposes you to electrical hazards. If the handle fails to lock even after thorough cleaning, contact the manufacturer’s official support page to verify if your specific model requires a replacement pitcher assembly.
If you live in a region with specific electrical regulations, ensure you’re using the correct voltage for your unit; using a converter or the wrong outlet can cause the electronic control board to fail, which may mimic a locking issue.
Costs of Improper Handling
The primary cost of failing to lock the handle correctly is potential damage to the pitcher’s locking tabs. Replacing a standard Ninja pitcher is expensive compared to the effort of maintenance, so taking an extra five seconds to ensure the lid is flush saves you the price of a new container.
Furthermore, repeated forced closure when the lid is misaligned causes the plastic to fatigue. You’ll notice the handle starts to feel “mushy” or fails to stay in the down position. This is a sign that the mechanical integrity of the lid assembly is compromised.
When the handle no longer stays down on its own, the blender will stop mid-cycle, which is a major inconvenience during food preparation. Many users mistakenly try to tape the handle down or lean on it to force a cycle. This error often snaps the internal spring, turning a simple alignment issue into a total unit failure.
The decision rule is simple: if the handle doesn’t click with light, two-finger pressure, don’t force it. Lift the lid, check the gasket for debris, and reset it. If you feel resistance, stop immediately. Forcing a misaligned lid costs you the entire assembly, whereas a quick reset costs only a moment of your time.
Maintaining the Locking Mechanism
To keep your blender working correctly, perform a deep clean of the lid and handle area after every use. Food particles, especially sugary or sticky ingredients, can migrate into the hinge of the handle. Use a soft brush to clear the crevice where the handle meets the lid.
If you notice the handle becoming stiff, don’t use oil or lubricants. These substances attract fine dust and grit, which creates an abrasive paste that grinds down the plastic pivot points. Instead, soak the lid in warm, soapy water for 10 minutes to dissolve hidden buildup.
If the handle remains difficult to move after cleaning, check the spring mechanism for visible signs of corrosion or mineral deposits. If the spring is rusted, the tension will fail, preventing the lid from locking securely. In this case, you must replace the entire lid assembly to avoid leaks during high-speed blending.
Most Ninja pitchers are dishwasher safe, but heat cycles can warp the plastic over time. If you use a dishwasher, place the pitcher on the top rack to minimize heat exposure. If the lid no longer clicks into place, inspect the locking tabs for hairline fractures. If you see white stress marks in the plastic, the structural integrity is compromised and the unit is no longer safe to operate.
When to Seek Professional Support
If the handle locks perfectly but the motor still fails to start, the issue is likely electrical rather than mechanical. You should stop troubleshooting if the power cord appears frayed, if the plug feels unusually warm, or if there’s a distinct burnt plastic smell emanating from the base. These are clear indicators of an internal short circuit or a failing capacitor that only a professional technician can safely address.
Don’t attempt to open the blender base to inspect the internal wiring or the motor assembly. The internal capacitor can hold an electrical charge after the unit is unplugged. If the unit is out of warranty, search specifically for an authorized appliance repair center. These shops have the specialized diagnostic tools to test the safety interlock switch and the motor board without risking your personal safety.
A common mistake is attempting to jump-start the motor by bypassing the internal safety switches. This decision is dangerous; it removes the fail-safe that prevents the blades from spinning while the lid is open. If your blender requires a jolt to start, the motor windings are likely failing.
Replacing the motor yourself often costs more in parts than a refurbished unit. If you hear a grinding noise accompanied by a burning smell, cease operation immediately. This indicates that the motor bearings have seized, and continuing to force the unit will likely cause a fire hazard within the base housing.
Frequently asked questions
Why won’t my ninja blender start even when locked?
The power light usually fails to illuminate because the lid isn’t perfectly flush with the pitcher, preventing the safety pin from depressing. Ensure the lid is snapped down completely and the pitcher is seated squarely on the base, as even a one-millimeter gap will trigger the safety cutoff.
How long should the handle take to click?
The handle should click into place in less than two seconds once the lid is properly aligned. If you find yourself pushing for more than five seconds, stop and check the rim of the pitcher for debris that might be holding the lid slightly above the locking sensor.
Is it safe to use a blender with a loose handle?
It isn’t safe to use the blender if the handle doesn’t lock firmly into the base. The safety interlock is designed to prevent the motor from running if the pitcher isn’t secure, and a loose handle can cause the pitcher to vibrate off the base during high-speed blending.
What happens if I force the handle down?
Forcing the handle when the lid is misaligned will likely snap the plastic locking tabs on the pitcher. Once these tabs are broken, the pitcher will no longer be able to engage the safety sensor, and you’ll need to purchase a replacement pitcher assembly to continue using your blender.
Does the handle need to be down for pulse mode?
The handle must be in the locked position for every function, including pulse and pre-set programs. The motor receives no electricity until the internal sensor confirms the handle is fully depressed, so the pulse button will remain unresponsive if the pitcher isn’t correctly secured to the base.
How can I tell if the safety sensor is broken?
The sensor is likely broken if the handle clicks firmly into place but the power light refuses to turn on. Before assuming it’s broken, try plugging the blender into a different outlet to rule out power issues, as a faulty wall socket can sometimes mimic a broken sensor.
Conclusion
Begin by checking the alignment of the pitcher on the base. A successful lock will always produce a firm click and a glowing power light on the control panel. If you feel excessive resistance or the handle refuses to stay down, stop immediately to avoid breaking the plastic tabs, as this is the point where you should contact support for a replacement part.