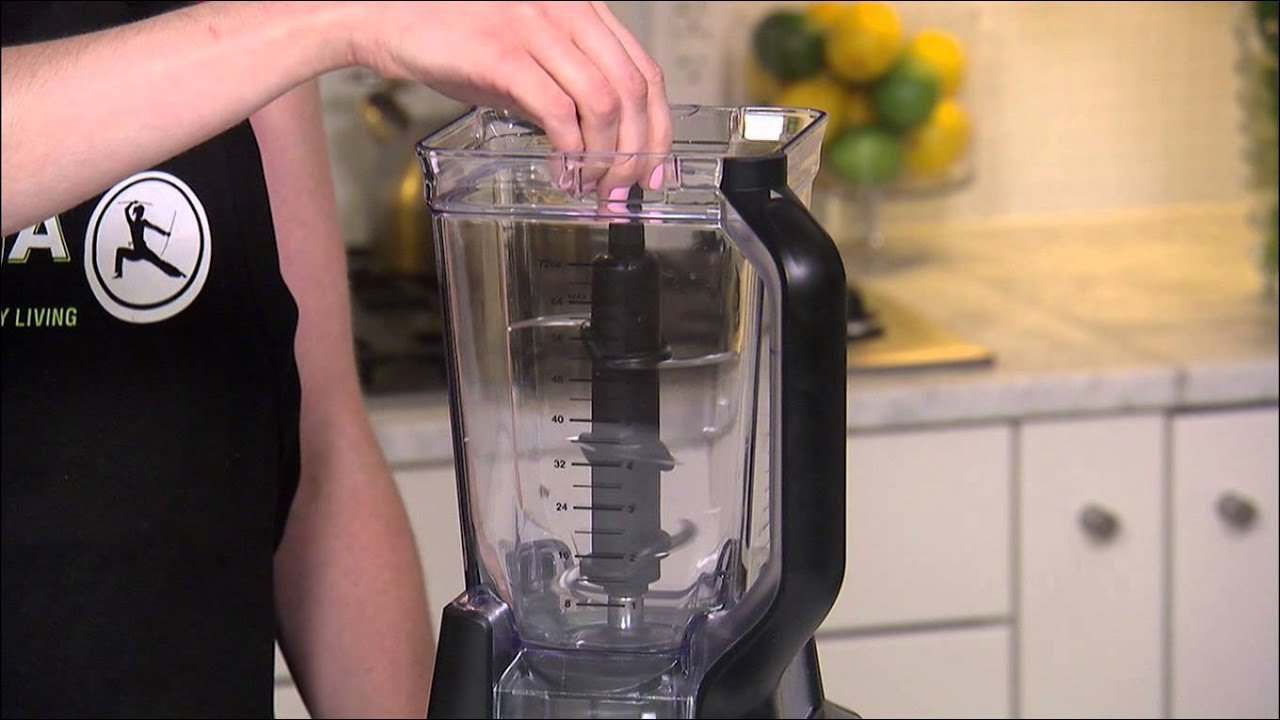
How To Put Ninja Blender On Base: Simple Locking Guide
To correctly secure your blender, you must align the tabs on the jar with the slots on the motor base and turn it clockwise until it clicks into place. If your model uses a locking lid, you can’t start the motor until that lid is also properly engaged.
This process changes based on whether your machine uses a twist-lock system or a push-button release. You’ll need to check your specific user manual to see which mechanism your unit uses, as the alignment marks vary by model.
Who needs to attach a ninja blender base
This guide is for owners of Ninja brand blending systems who need to understand the physical connection between the jar and the motor base. If you have just unpacked a new unit or are struggling to get the lights to turn on, this information will help you identify why your machine isn’t starting.
We assume you’re using a standard Ninja countertop blender with a removable pitcher or personal-size cup. If you have a different style of appliance, such as an immersion blender or a professional-grade food processor, the mechanical steps for locking the container will be different. This page doesn’t cover commercial equipment or repair of damaged base sensors.
If you’re a new user, you’ll find that the “click” is your most important feedback. Experienced users often skip this step, but they’re the ones who most frequently misalign the unit. If you feel resistance while turning the jar, don’t force it. You must remove the jar and check the base for debris before trying again. This page serves those who want to ensure they aren’t damaging the plastic tabs on their container.
Factors that change the fit
The alignment of your container is the primary factor that determines whether the motor will engage. Most Ninja bases have a safety sensor that prevents the blades from spinning unless the jar is fully seated. You can usually find the alignment arrows on the bottom of the jar and the top of the base.
The type of lid is the second factor. Many Ninja models require the lid to be snapped down and locked before the motor will receive power. If the jar is on the base but the lid isn’t locked, the control panel will remain blank or blink. Always ensure the locking handle on the lid is pushed down completely.
Third, the cleanliness of the base affects the connection. If food residue or liquid builds up in the slots, the jar can’t sit flat. A jar that sits at an angle won’t trigger the safety switch. Check the base after every use to prevent buildup that keeps the container from seating properly.
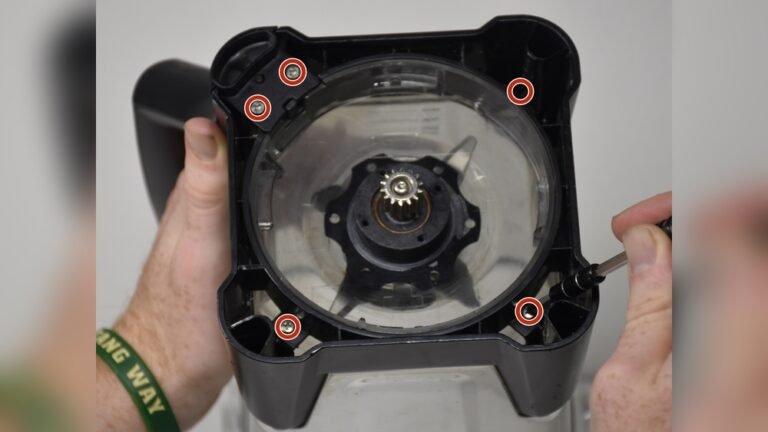
The most common mistake is trying to force the jar onto the base while the motor is plugged in. If you feel a “crunch” or see white dust near the gear, you have likely damaged the plastic teeth. Always align the jar while the power cord is disconnected or the unit is off.
Steps to secure the blender
- Place the motor base on a clean, dry, and level countertop surface.
- Ensure the power cord is unplugged to prevent accidental activation during setup.
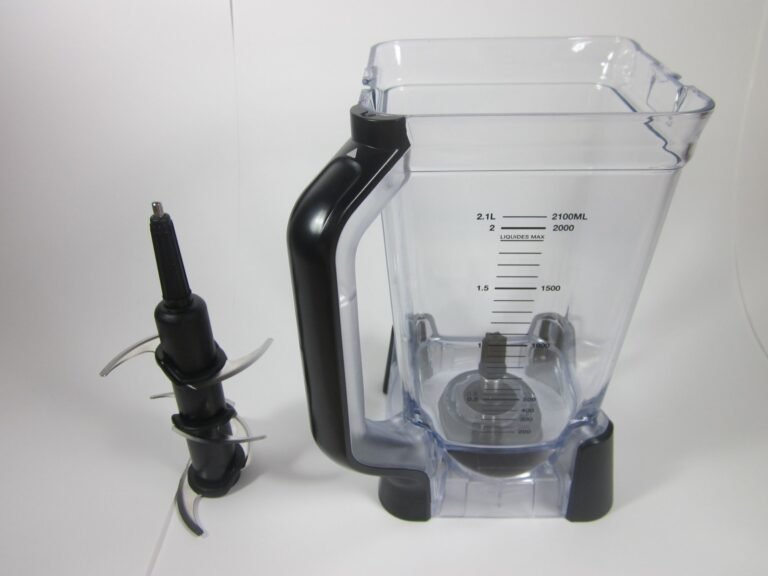
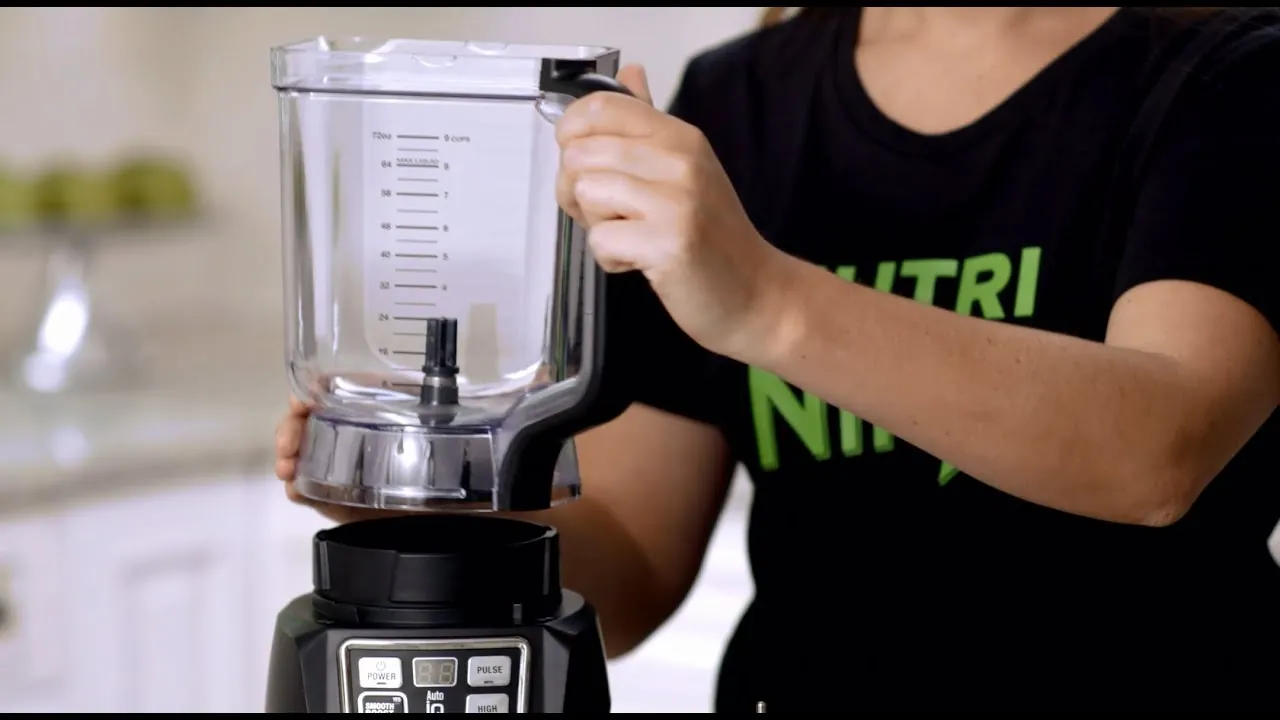
- Align the tabs located on the bottom edge of the blender jar with the slots on the top of the motor base.
- Lower the jar straight down onto the base so that it sits flush against the surface.
- Grasp the handle of the jar and turn it clockwise.
- Continue turning until you hear a clear, audible click and the jar stops rotating.
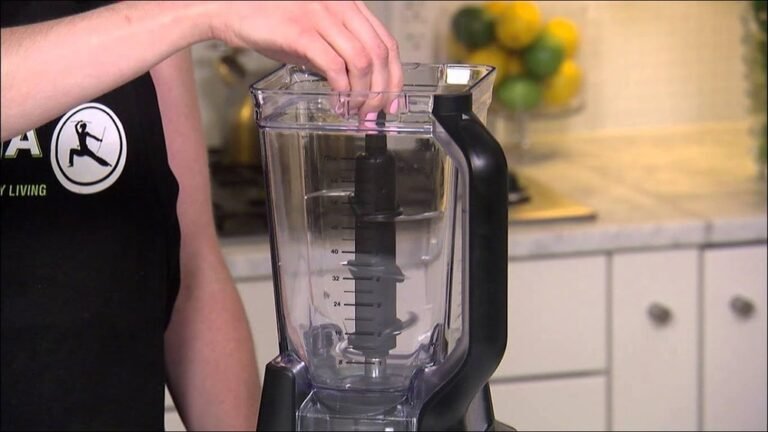
- If your model has a locking lid, press the lid down and pull the handle toward the jar until it clicks shut.
- Plug the motor base into the wall outlet.
- Look for the control panel lights to turn on, indicating the unit is ready for use.
The judgement call here is the amount of force you apply. You should only use enough pressure to turn the jar until it stops naturally. If you have to push with both hands to make it lock, the jar isn’t aligned correctly or there’s an object blocking the base. If you see cracks in the plastic base or the jar tabs, stop using the machine and contact Ninja customer support for replacement parts.
Common configurations at a glance
| Situation | Action | Effort | What to watch for |
|---|---|---|---|
| Standard Pitcher | Align tabs and twist | Low | Audible click sound |
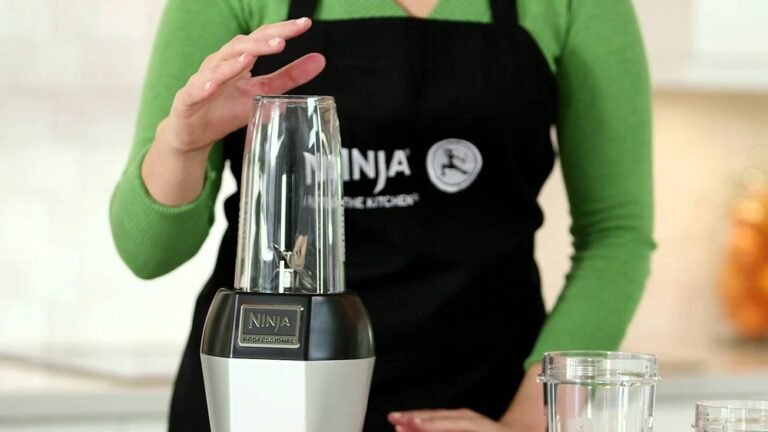
| Personal Cup | Push and twist | Low | Locked icon alignment |
| Food Processor | Align and snap | Medium | Lid locking handle |
| Sticky Residue | Clean base slots | Medium | Full flat contact |
| Damaged Tabs | Replace container | High | Wobbling during use |
When using the standard pitcher, ensure the tabs slide fully into the base track before twisting. If you don’t hear a distinct click, the safety sensor remains disengaged, and the motor won’t start.
For personal cups, the locked icon must align perfectly with the mark on the base. If you feel resistance before the icon hits the mark, don’t force it. Back the cup out and check for debris in the threads.
Food processor lids require the handle to snap into the side locking mechanism. This is a common failure point; if the handle isn’t fully seated, the blade assembly will fail to rotate.
If you notice a rhythmic wobbling, check the base slots for sticky residue. A buildup of just 2mm of dried food prevents the container from sitting flush. This gap triggers an automatic shut-off to prevent motor strain.
Finally, inspect the plastic tabs on your containers monthly. If you see white stress marks or hairline cracks, replace the container immediately. Using a compromised tab risks a mid-cycle detachment, which can permanently damage the base drive coupling.
Signs of a proper connection
The audible and physical lock
A successful connection is defined by the physical stop of the jar and the sound of the locking mechanism. When the jar is correctly positioned, it won’t wiggle or move if you try to lift it by the handle. If you can lift the jar without turning it counter-clockwise first, it isn’t locked.
The control panel serves as the final confirmation. On most models, the buttons will only illuminate when the safety switch detects the jar is fully locked. If the buttons remain dark, don’t assume the motor is broken. Instead, rotate the jar slightly to ensure it has reached the absolute end of the locking track.
Preventing mechanical wear
Experienced users know that the plastic gears on the base and the bottom of the jar are the most vulnerable parts. You should never try to “spin” the jar onto the base with high speed. A slow, steady turn prevents the plastic teeth from chipping.
By removing the jar after each session, you keep the sensor responsive and prevent the base from collecting dust that can interfere with the locking mechanism over time.
Fixing common alignment issues
| What you notice | What it usually means | What to do first | How to stop it happening again |
|---|---|---|---|
| Lights won’t turn on | Jar not fully locked | Rotate jar clockwise | Ensure click sound |
| Jar feels wobbly | Debris in slot | Clean motor base | Wipe base after use |
| Lid won’t latch | Lid not aligned | Re-seat the lid | Check for food bits |
| Motor won’t start | Safety switch jammed | Unplug and clean | Don’t overfill jar |
| Grinding noise | Misaligned teeth | Stop immediately | Check for broken tabs |
Most users assume a grinding noise indicates a failing motor, but it’s almost always a physical obstruction. If you hear this, cut power instantly. Running the unit for even five seconds while the teeth are misaligned can strip the plastic drive gear permanently.
If the jar wobbles, check the base for dried residue. A buildup of just two millimeters of hardened food prevents the jar from sitting flush. This gap triggers the safety sensor to kill the power.
To distinguish between a jammed switch and a failed motor, listen for a faint click when you seat the jar. If you hear the click but the motor remains silent, the internal safety pin is stuck. Use a compressed air canister to clear the sensor port rather than poking it with a metal screwdriver. You risk shorting the board if you use conductive tools.
If you consistently struggle with the lid latch, you’re likely overfilling the vessel. Ingredients pushing against the underside of the lid create enough pressure to prevent the locking mechanism from engaging. Keep your ingredients below the maximum fill line to ensure the seal snaps shut on the first try.
Regulatory and safety standards
The safety systems on your appliance are designed to meet standards set by the Underwriters Laboratories (UL) for household motor-operated appliances. These standards require that the blades don’t rotate unless the container is properly secured to the base. You can verify the specific safety certifications for your model by checking the rating plate on the bottom of the motor base.
Never attempt to bypass the safety switch by placing objects into the sensor slots. This is a violation of the manufacturer’s safety design and poses a severe risk of injury from exposed high-speed blades.
If the safety sensor fails to engage even when the jar is correctly locked, the internal switch may be faulty. Don’t attempt to open the motor housing, as high-voltage capacitors inside can hold a lethal charge even when unplugged; contact a qualified technician for repair.
A common mistake is assuming the machine is safe because the motor is silent. If the unit hums but the blades remain still, the drive coupling is likely stripped rather than the sensor failing. If the motor is dead, check your home’s GFCI outlet before calling for service. If the reset button on that outlet has tripped, the appliance is likely fine, and the issue lies in your home’s electrical circuit.
Understanding the real cost
The cost of maintaining your blender is primarily measured in the time you spend on cleaning and the potential price of replacement parts. A replacement blender jar is inexpensive relative to the cost of a new unit depending on the model and capacity. You can verify the current price for your specific serial number on the official Ninja Kitchen website.
The effort required to keep the unit functional is minimal but consistent. If you ignore the signs of a poor fit, such as a grinding noise or a flashing light, you risk stripping the plastic gears.
Once these gears are worn down, the jar will no longer lock securely, forcing you to buy a new container. Comparing the cost of a new jar to the value of your time spent cleaning the base slots every few days shows that prevention is the most affordable path.
Most users make the mistake of submerging the base in water to clean it. This destroys the internal motor housing, which costs significantly more than a replacement jar. If the base feels sticky, use a damp microfiber cloth instead.
If your blender leaks during operation, stop immediately. A leak indicates a failing gasket, which is inexpensive to replace. Ignoring this moisture leads to motor burnout, turning a simple repair into a total loss of the unit.
Long-term maintenance
To keep your blender base working, you should wipe the top surface with a damp cloth after every use. Never submerge the motor base in water, as this will destroy the electrical components. If you notice the jar is becoming harder to twist onto the base, check the plastic locking tabs for any small cracks or debris buildup.
If the jar starts to feel loose while you’re blending, stop the motor immediately. Check the bottom of the jar to see if the plastic tabs have become rounded or thin. If you notice these signs, it’s time to order a replacement jar. Don’t attempt to glue or repair the plastic tabs yourself, as the high torque of the motor will likely cause a DIY repair to fail during use.
A common mistake is ignoring the smell of ozone or burning plastic. If you detect this scent, the motor is likely straining against a failing coupling. You must replace the drive socket immediately to avoid permanent damage to the motor shaft. If the jar spins freely but the blades remain still, the drive gear has stripped. In this case, contact the manufacturer for repair or replacement options.
When to seek professional help
If you have confirmed that the jar is clean, properly aligned, and the lid is locked, but the unit still refuses to power on, the internal safety switch has likely failed. This is a common issue that happens as the machine ages. You shouldn’t try to take the motor base apart to fix this sensor yourself.
If the motor emits a burning smell or makes a loud, unusual grinding noise even when the jar is properly seated, discontinue use immediately. These are signs of internal motor damage or gear failure that require professional tools to diagnose. Visit the official manufacturer’s support page to find a list of authorized service centers in your area. Attempting to force the motor to run when it’s making these sounds can result in total unit failure.
Frequently Asked Questions
Can I run the blender without the lid?
No, the blender won’t run without the lid because the safety interlock system requires the lid to be locked in place. This prevents food from splashing out of the container during high-speed operation. Ensure the handle is clicked down fully before you attempt to select a program.
Why does the jar feel stuck on the base?
The jar may feel stuck if there’s dried food residue in the locking slots or if the jar was turned too hard. Try to wiggle it gently while pulling upward. If it remains stuck, check the base for any sticky spills that have hardened and clean the area with a damp cloth.
How do I know if the jar is locked?
The jar is locked when you hear a distinct click and it no longer rotates clockwise. You should also see the control panel lights turn on once the jar and the lid are in the correct position. If the lights stay off, the jar is likely not turned far enough.
Is it safe to leave the jar on the base?
It’s best practice to remove the jar from the base after you’re finished using it. Leaving it attached can keep the safety sensor depressed, which may cause it to lose its springiness over time. Storing them separately also makes it easier to keep the motor base clean.
What happens if I force the jar?
Forcing the jar can break the plastic tabs on the container or strip the gears on the motor base. If you notice white plastic shavings near the base, you have already caused damage. Stop using the unit and inspect the parts to see if the jar needs to be replaced.
Do all Ninja blenders lock the same way?
Most Ninja countertop blenders use a similar twist-to-lock system, but the specific path of the locking track can vary by model. Always refer to your specific user manual to see the alignment arrows. If you have lost your manual, you can find a digital copy on the manufacturer’s support website.
Conclusion
Start by placing your clean, empty jar onto the base and turning it clockwise until you hear the click. If the lights on the control panel turn on, you have successfully secured the blender and it’s ready for your ingredients. If the unit doesn’t respond, stop immediately and check for debris or misalignment before attempting to force any part of the connection.