How To Put Lid On Ninja Blender: A Simple Locking Guide
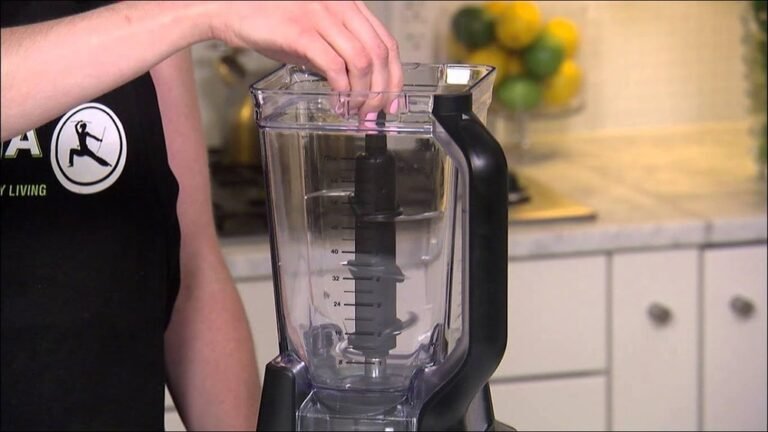
To lock the lid on a ninja blender, you must align the handle of the lid with the handle of the blending jar and then push the locking handle down until it clicks. If you’re struggling with a ninja blender, you likely need to ensure the pour spout is facing the correct way and that the locking mechanism is fully engaged.
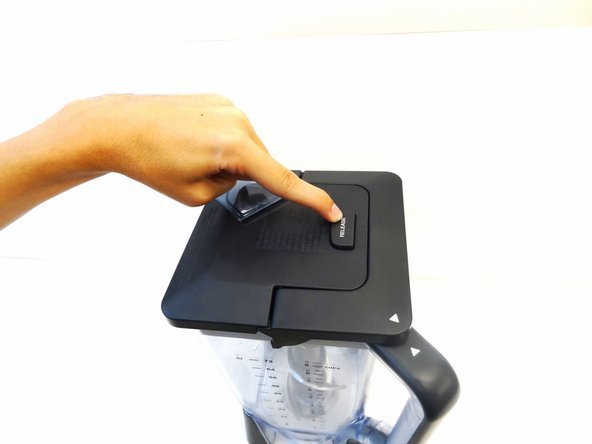
These steps vary based on the specific model you own. For example, some professional models require you to press a release button before the handle will move. Other, simpler models rely on a sliding lock that must be pushed into place manually.
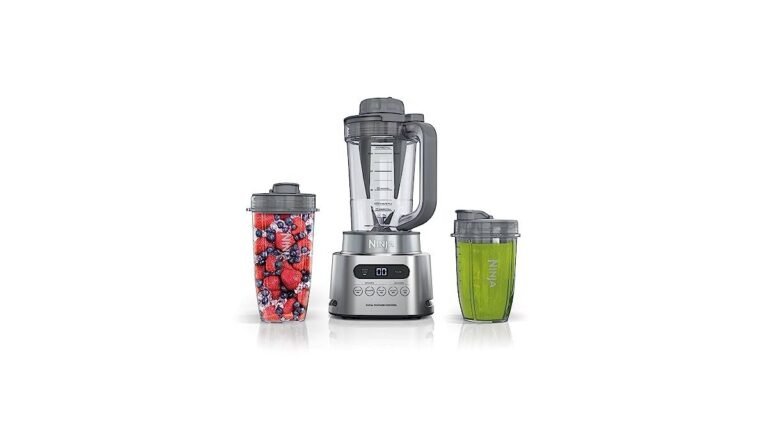
Who needs to use a Ninja blender
This guide is for people who own a Ninja kitchen system or blender and are having trouble securing the lid. You might be a new owner who is confused by the locking mechanism, or you could be someone who has used the blender for a while but is suddenly finding it difficult to close.
This page serves you best if you have a standard Ninja blender with a locking handle on the lid. If you have an older model that uses a screw-on top or a different snap-fit design, the steps here might not apply perfectly to your machine. We assume that you have the correct lid for your specific jar model.
Using the wrong lid is a common mistake that prevents the blender from starting. If your blender jar has a pour spout, you must align the lid so the spout isn’t obstructed. If you’re unsure which model you have, check the label on the base of the blender or look at the bottom of the jar for a model number.
Factors that change the locking process
The most important factor is the alignment of the locking handle. If the handle on the lid isn’t perfectly lined up with the handle on the jar, the safety sensor won’t trigger. You can check this by looking at the small arrow or mark on the lid and comparing it to the mark on the jar.
Another factor is the presence of food debris on the rim of the jar. If small pieces of food are stuck on the top edge, the lid won’t sit flush, which makes it impossible to lock the handle down. Always wipe the rim with a damp cloth before placing the lid. If you notice resistance, don’t force the handle, as this can break the plastic latch.
The amount of liquid or food inside also matters. If you overfill the jar, the ingredients might press against the underside of the lid and stop it from sealing. Most Ninja jars have a “Max Liquid” line printed on the side; if you go above this mark, you’ll have trouble locking the unit.
Finally, the temperature of the jar can change how the plastic fits. If you have just washed the jar in a dishwasher, the plastic may be slightly expanded. Let the jar cool to room temperature before you try to lock the lid again.
How to lock the lid
- Place your ingredients into the blender jar, ensuring you stay below the maximum fill line.
- Wipe the top rim of the jar with a dry cloth to remove any food particles or spills.
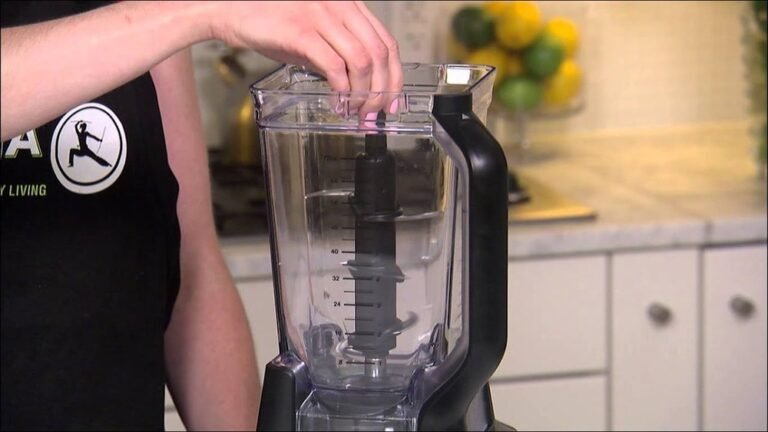
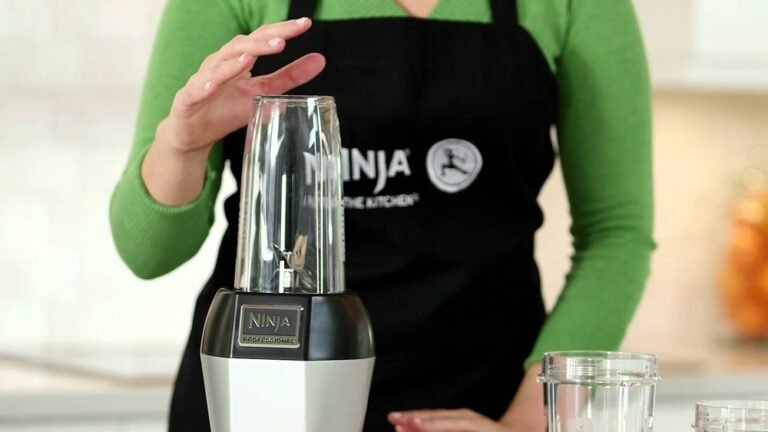
- Lower the lid onto the jar, making sure the handle of the lid is positioned directly over the handle of the jar.
- Press the lid down firmly with your palm to ensure it’s sitting flat against the rubber gasket.
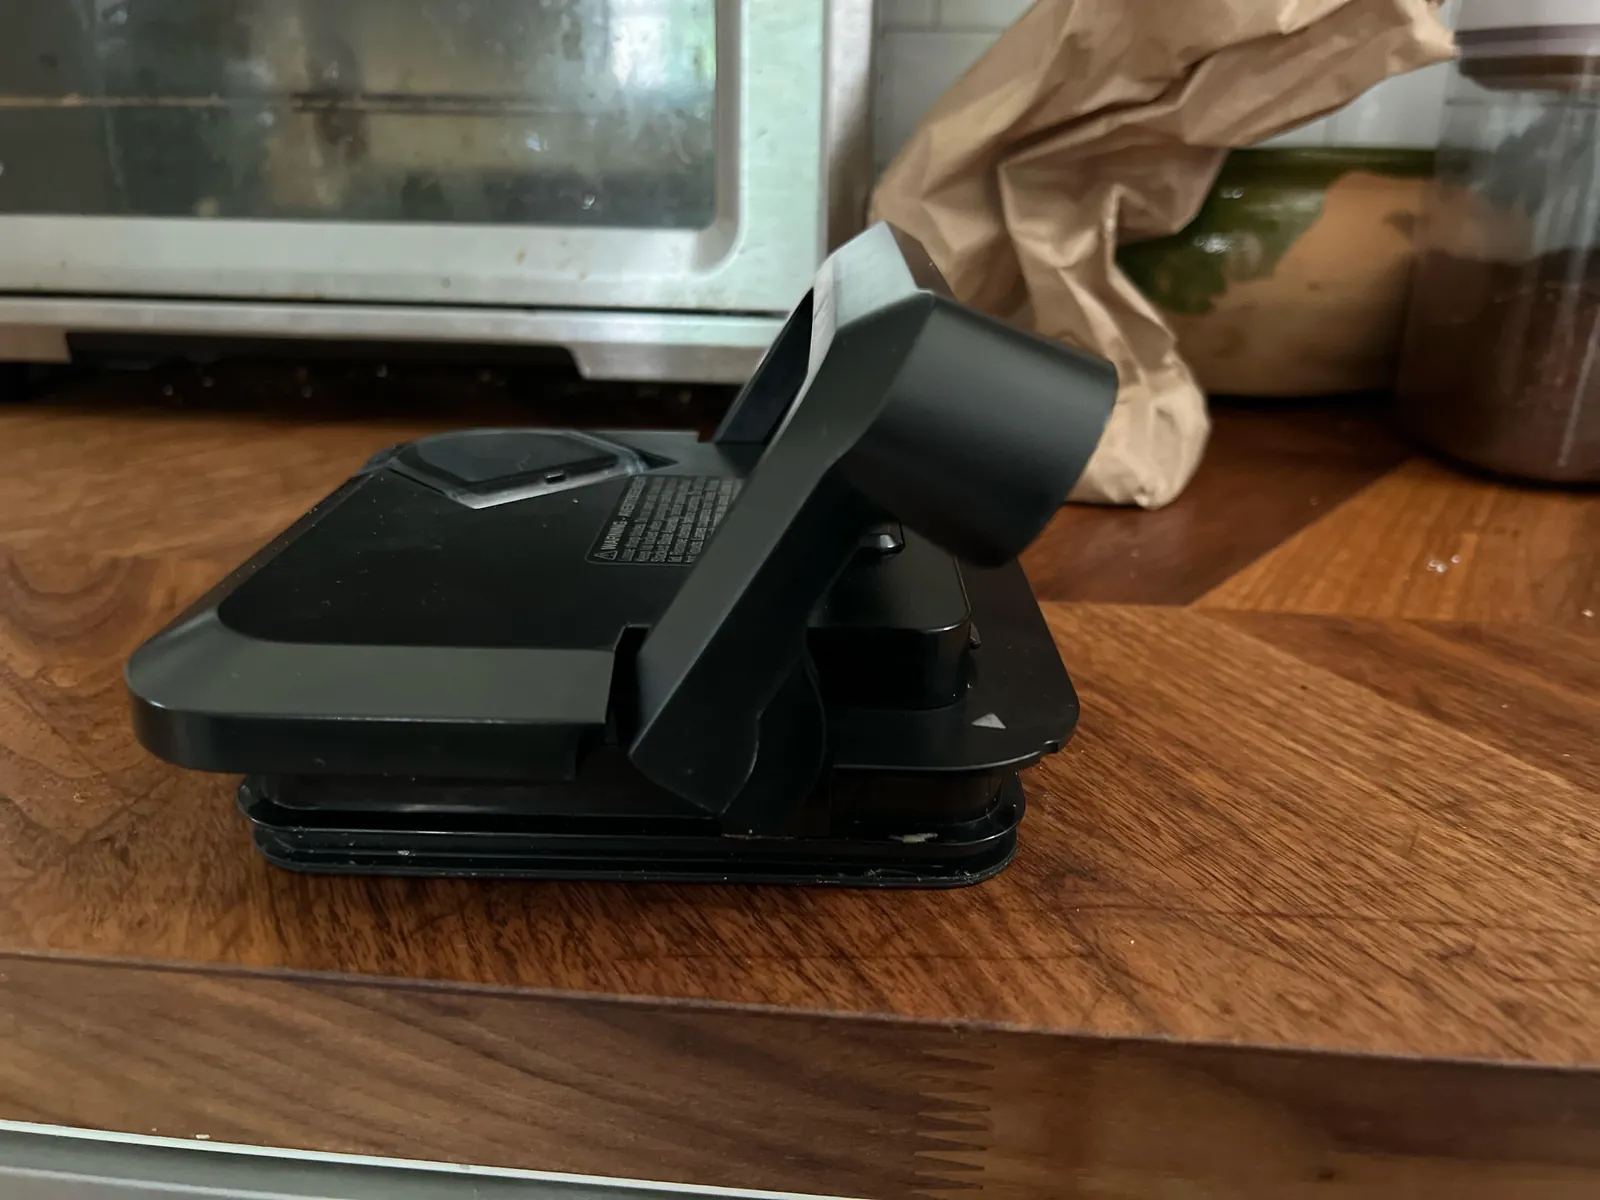
- Grasp the locking handle on the lid and pull it downward toward the jar handle until you hear a clear, audible click.
- Check that the handle is locked by gently pulling up on it; it shouldn’t move or pop open.
- If your model has a “Power” button, wait until the control panel lights up to confirm the lid is properly engaged.
The single judgement call that separates a good result from a poor one is how much pressure you apply to the lid before locking it. If you don’t push the lid down firmly before engaging the latch, the seal will be loose, and the safety sensor might fail to activate.
If you have tried these steps and the machine still doesn’t turn on, stop and check the user manual for your specific model to see if there’s a secondary safety switch.
Comparison of lid systems
| Lid Type | Locking Method | Effort Level | What to watch for |
|---|---|---|---|
| Single-latch | Push handle down | Low | Click sound |
| Dual-latch | Press both sides | Medium | Even pressure |
| Twist-lock | Rotate clockwise | High | Alignment marks |
| Snap-fit | Press down firmly | Low | Flush seal |
| Screw-on | Rotate until tight | Medium | Cross-threading |
Single-latch systems are ideal for frequent access, but they fail if the plastic hinge fatigues. If your lid feels loose after extended use, the plastic latch or hinge has likely worn down. Replace the unit immediately to avoid accidental spills.
Dual-latch lids provide superior security for travel. However, users often make the mistake of pressing one side before the other. This uneven force warps the lid, creating a permanent gap that breaks the airtight seal. Always press the center of the lid to distribute weight equally.
Twist-lock mechanisms rely on internal grooves. If you encounter resistance, don’t force the rotation. You’re likely cross-threading the plastic, which destroys the seal integrity. Back the lid off a quarter turn until you feel it drop into the lead thread.
Snap-fit lids offer the fastest closure. Check the perimeter for a flush seal after every use. If you see a gap, the gasket is likely misaligned.
Screw-on lids require the most precision. If the lid doesn’t spin freely for the first two rotations, stop.
Getting the best seal
Preparing the gasket
Experienced users always check the rubber gasket on the underside of the lid before they begin. If the gasket is twisted or missing, the blender will leak even if the handle is locked down. You can gently pull the gasket out to clean it, but make sure you press it back into the groove completely. If you force the lid closed with a misaligned gasket, you risk tearing the rubber seal.
Managing the locking handle
Beginners often try to lock the handle before the lid is fully seated, which can cause the plastic to stress or crack. You should always feel the lid touch the rim of the jar before you move the locking handle. If you feel strong resistance, stop immediately. Look for a small piece of food or a bent gasket that might be blocking the path. Never use tools to force the handle shut.
Common issues and fixes
| What you notice | What it usually means | What to do first | How to stop it happening again |
|---|---|---|---|
| Handle won’t click | Debris on rim | Wipe jar rim | Clean after every use |
| Lid feels loose | Worn gasket | Check rubber seal | Replace gasket yearly |
| Won’t turn on | Improper alignment | Re-align handles | Check for “click” sound |
| Leaking liquid | Overfilled jar | Remove excess liquid | Respect fill lines |
| Handle is stiff | Plastic expansion | Let jar cool | Avoid hot dishwasher cycles |
A common mistake is forcing a stiff handle, which often snaps the internal locking pin. This repair can cost half the price of a new unit. If the handle resists, stop immediately and wait ten minutes for the plastic to contract.
You can distinguish between a worn gasket and a loose lid by checking the seal’s texture. If the rubber feels tacky or leaves residue on your fingers, it has degraded beyond recovery. A firm, dry seal should never leave a mark.
Alignment issues often stem from debris trapped in the base track. If you don’t hear a distinct “click” when locking the unit, don’t plug it in. Attempting to operate the blender without a full lock will prevent the motor from starting due to the safety interlock.
If you’re unsure if your liquid level is safe, use the internal fill line as your absolute limit. Filling past this mark creates pressure that forces liquid into the motor housing. If the unit leaks, unplug it instantly to prevent a short circuit.
Safety and maintenance rules
The safety rules for using a blender are set by the manufacturer, Ninja Kitchen. You can find the specific requirements for your machine in the printed manual or on the official Ninja Kitchen website. The most important rule is to never bypass the safety sensors on the lid. These sensors are designed to stop the blades from spinning if the lid isn’t locked, which prevents accidental injury.
If your blender jar or lid is cracked, stop using it immediately. A cracked jar can’t hold the pressure generated by the motor and may shatter during use. You can order replacement parts directly from the manufacturer’s website if you have your model number ready.
Never attempt to repair the electrical components in the base yourself. If the base doesn’t recognize that the lid is locked, the unit requires professional service from a technician.
A common mistake is placing the base on a wet surface. This risks shorting the internal circuitry. Always ensure the counter is dry before plugging in the cord.
Use this simple decision rule: If the blades struggle to rotate through thick ingredients, add two tablespoons of liquid at a time. If the motor emits a burning smell, stop immediately and unplug the unit, as the motor may have sustained permanent damage.
The cost of improper use
The cost of not locking your lid correctly is primarily measured in time and potential damage to the machine. If you run the blender with an unlocked or loose lid, the contents will spray out, which creates a large mess that takes time to clean. More importantly, constant vibration from a loose lid can wear out the plastic locking tabs on the jar.
Replacing a broken jar or lid is inexpensive compared to the cost of a new blender, depending on the model and where you buy the part. You can compare current prices on the official website. The effort to clean the blender base is another hidden cost.
If liquid leaks into the motor base, it can damage the internal electronics. Always ensure the lid is secure before you press any button. If you’re in a rush, take the extra five seconds to verify the click. It’s much cheaper to be careful than to replace a broken jar.
Maintenance for your blender
To keep the locking mechanism working, wash the lid by hand with warm, soapy water. While many Ninja lids are labeled as dishwasher-safe, the high heat can warp the plastic over time, making it harder to lock. If you do use a dishwasher, place the lid on the top rack only.
Check the locking handle for any signs of cracks or stress every few months. If the handle starts to feel loose or if the “click” becomes quiet, it’s a sign that the plastic is wearing out. You should also check the jar’s locking tabs for wear. If the tabs are rounded off, the lid won’t hold down firmly.
You don’t need a strict schedule for this. Simply check the parts whenever you notice the lid feels different during your normal cleaning routine.
A common mistake is forcing the lid when it resists. If the lid doesn’t lock easily, stop immediately. Check the gasket for food buildup. A thin layer of dried smoothie residue is often enough to prevent a proper seal, leading users to overtighten and crack the plastic tabs.
If you see debris, soak the lid in warm water for ten minutes to loosen it. Never use a metal tool to scrape the seal, as this can create microscopic tears that harbor bacteria.
When this method fails
If you follow these steps and the blender still doesn’t start, the issue may be the safety sensor in the base, not the lid itself. Don’t try to open the motor base to fix the sensor, as this is dangerous and will void your warranty. If you have tried a different jar and the unit still refuses to power on, contact the manufacturer’s customer support line.
Another situation where this guide is the wrong choice is if you’re using a commercial-grade blender or a specialized food processor attachment. These machines have different locking sequences and safety interlocks that are much more complex.
If your unit has a digital screen that displays an error code, follow the instructions in your manual for that specific code. Trying to force a lid that’s designed for a different series of blender can damage both the lid and the jar. Always consult the official documentation if you’re unsure about compatibility.
Frequently asked questions
Can I use the blender if the lid is slightly loose?
No, you can’t use the blender if the lid isn’t fully locked. The safety sensor is designed to prevent the motor from starting unless the lid is completely secure. If you attempt to operate the machine with a loose lid, the contents may spray out, and the blades won’t engage.
Why does my lid pop open while blending?
Your lid pops open because the locking handle wasn’t fully engaged or the jar rim was dirty. Ensure you hear a clear click when you push the handle down. If the handle is locked but still opens, check the locking tabs on the jar for wear or damage.
How long does the locking mechanism last?
The locking mechanism typically lasts for several years if it’s handled with care. The lifespan depends on how often you use the blender and whether you wash the lid in a dishwasher. If the plastic tabs on the jar or lid appear worn or rounded, they will need replacement.
Is it safe to force the handle if it’s stuck?
It isn’t safe to force the handle if it feels stuck. If you apply too much pressure, you risk breaking the plastic latch or the lid itself. Stop and check for food debris on the rim or ensure the gasket is seated correctly before trying again.
What happens if I overfill the jar?
If you overfill the jar, the ingredients will press against the lid and prevent it from sealing. This creates excess pressure that can cause leaks or prevent the locking handle from clicking into place. Always keep your ingredients below the maximum liquid line to ensure a proper seal.
Does the lid need to be completely dry before use?
The lid doesn’t need to be dry, but the rim of the jar must be clean and free of food. While a little water is fine, food particles can prevent the gasket from creating an airtight seal. Wipe the rim with a cloth to ensure the lid sits flat against the jar.
Conclusion
Start by wiping the rim of the jar clean and checking that the rubber gasket is in place. You should expect the lid to click into position with firm, steady pressure, indicating a secure seal. If the locking handle remains loose or the motor doesn’t start, stop immediately and contact the manufacturer’s support team for help with the safety sensors.