How To Work A Ninja Blender: Step-by-Step Guide for Beginners
If you own a Ninja Blender, you already have a powerful kitchen tool. But many people feel unsure about how to use all its features. Some just blend smoothies and never try anything else. Others worry about cleaning, safety, or the right settings.
Whether you’re new or want to use your Ninja Blender better, this guide will help you get confident. You’ll learn step-by-step how to use every part, avoid mistakes, and get the most from your blender. By the end, you’ll know exactly how to work a Ninja Blender for smoothies, soups, doughs, and more.
Getting Familiar With Your Ninja Blender
Every Ninja Blender is a bit different, but most share the same basic parts. Understanding these helps you use it safely and efficiently.
- Base: This is the heavy part that sits on the counter. It contains the motor.
- Pitcher: The main container where you add ingredients. Usually made of plastic or glass.
- Blade Assembly: The sharp blades that chop, blend, and mix. They attach to the bottom of the pitcher.
- Lid: The top cover, often with a locking mechanism and a removable cap for adding ingredients.
- Control Panel: Buttons or dials for different speeds and functions.
Some models come with extra cups, special blades for dough, or extra accessories. Before you start, check your blender’s manual for details.
Typical Ninja Blender Models
Ninja blenders have several main types. Here’s a quick comparison so you know what features yours might have:
| Model | Capacity | Functions | Best For |
|---|---|---|---|
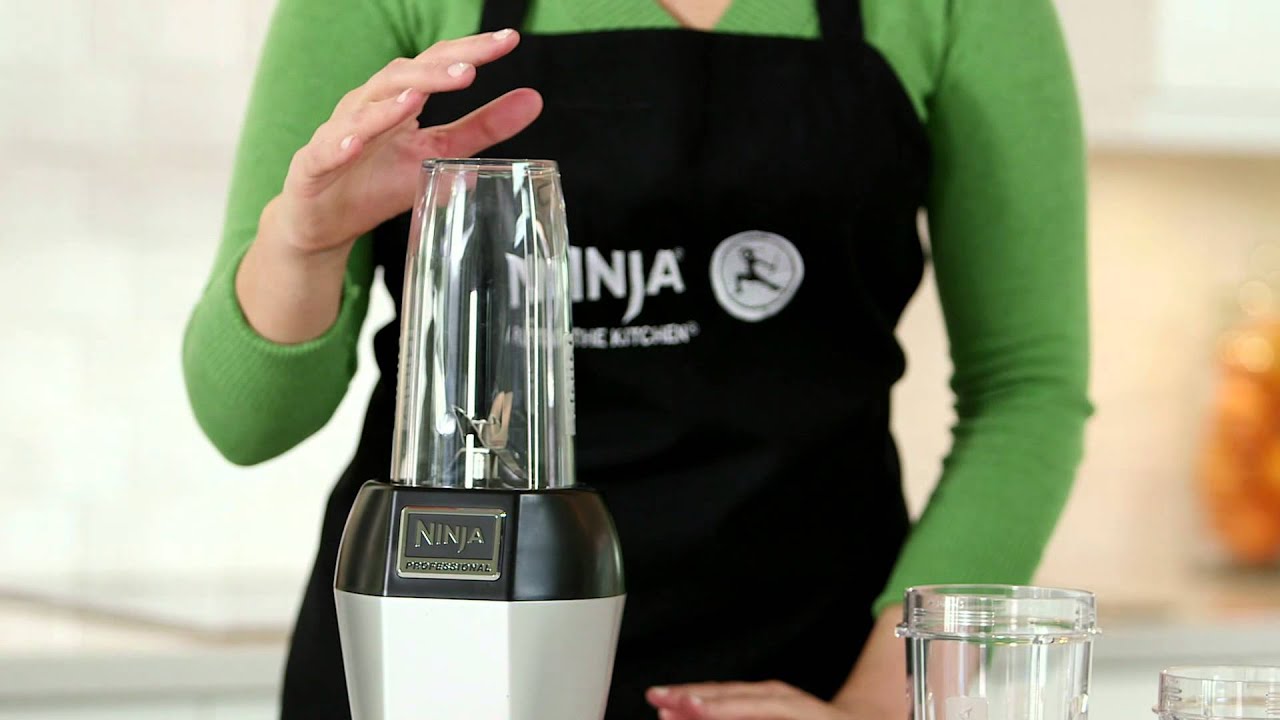
| Nutri Ninja Pro | 24 oz | Single-Serve, Pulse | Smoothies, shakes |
| Ninja Professional 1000 | 72 oz | Multiple speeds, pulse | Large batches, ice crushing |
| Ninja Foodi Power Pitcher | 72 oz | Blending, food processing, dough | Baking, meal prep |
| Ninja Compact System | 48 oz | Blending, chopping | Small kitchens, multi-use |
If you have a specialty model, like one with a food processor bowl or dough blade, read the manual for special instructions. But the basic steps in this article work for most Ninja Blenders.
Setting Up Your Ninja Blender
Before blending anything, setup is important. This prevents leaks, accidents, and damage.
Step 1: Place The Base
Put the base on a flat, stable surface. Avoid wet or uneven counters. Ninja bases are heavy for stability—don’t try to move them while blending.
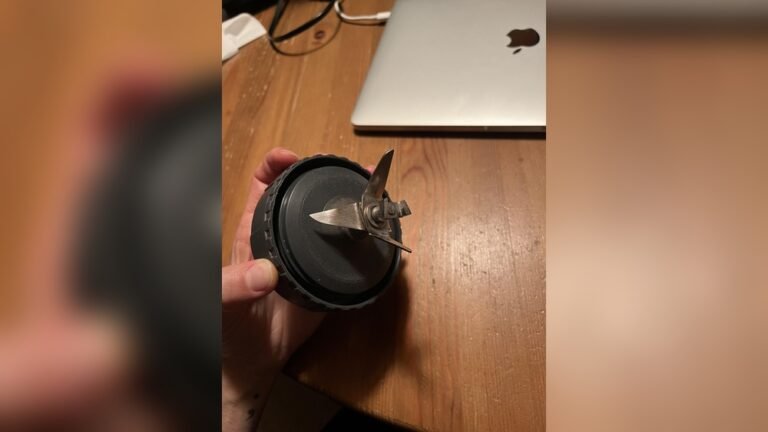
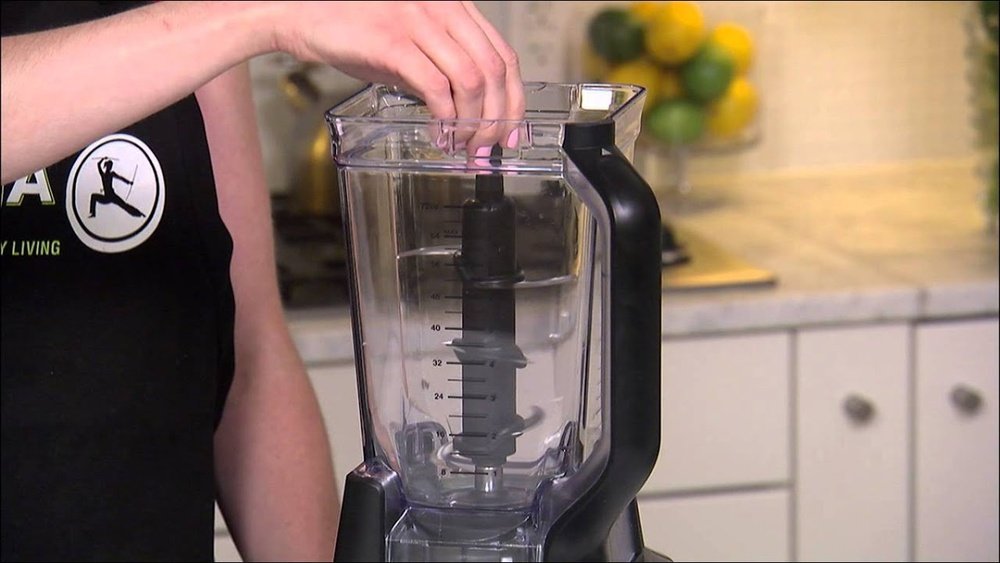
Step 2: Insert The Blade
Most Ninja Blenders have removable blades. Hold the blade assembly by the plastic part, not the metal. Insert it into the pitcher, making sure it sits flat. The blades are very sharp—be careful.
Step 3: Add Ingredients
Put your ingredients in the pitcher. For best blending:
- Add liquids first (water, milk, juice)
- Add soft items next (yogurt, banana, spinach)
- Add harder items last (ice, frozen fruit)
This order helps the blades spin smoothly.
Step 4: Secure The Lid
Place the lid on the pitcher. Most Ninja lids have a locking mechanism—press until you hear a click. If the lid isn’t locked, the blender won’t turn on.
Step 5: Attach The Pitcher To The Base
Align the pitcher with the base. Turn or press down until it locks. If it’s not locked, the blender won’t work.
Step 6: Plug In
Plug the blender into a grounded outlet. Don’t plug in before assembling—Ninja blenders have safety features, but it’s best to avoid accidents.

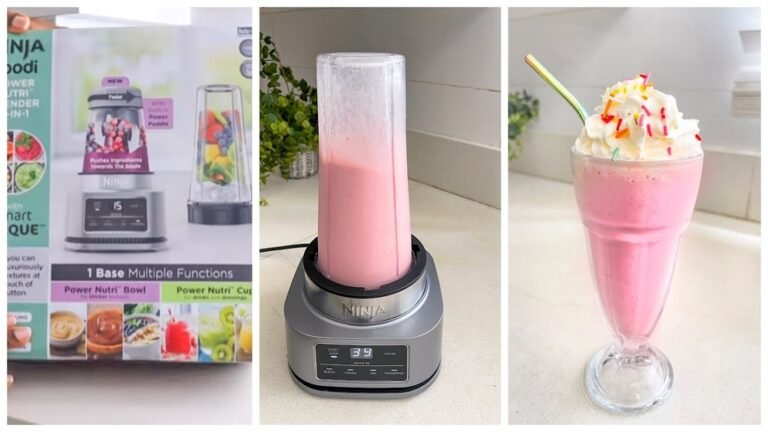
Credit: www.express-careclinic.com
Understanding The Control Panel
Ninja Blenders have simple or advanced control panels. Here’s what you might see:
- Power: Turns the blender on/off.
- Pulse: Blends in short bursts—good for chopping or mixing.
- Speed Settings: Usually labeled as Low, Medium, High, or numbered (1, 2, 3).
- Preset Functions: Smoothie, Ice Crush, Dough, etc.
Some newer models have digital displays or touch panels. If you’re unsure, check your manual. But most functions work like this:
| Button | Purpose | Best Use |
|---|---|---|
| Power | Turns blender on/off | Start/stop blending |
| Pulse | Short bursts | Chopping, mixing, control |
| Speed 1 (Low) | Gentle blending | Soft ingredients, sauces |
| Speed 2 (Medium) | Standard blending | Smoothies, batters |
| Speed 3 (High) | Strong blending | Ice crushing, tough items |
| Smoothie | Preset cycle | Smooth, creamy drinks |
| Ice Crush | Preset cycle | Frozen drinks, snow ice |
| Dough | Preset cycle | Baking prep |
Basic Blending: Smoothies And Drinks
Smoothies are the most popular use for Ninja Blenders. Here’s how to make a perfect smoothie:
Step-by-step Smoothie Guide
- Add 1 cup of liquid (milk, almond milk, juice).
- Add 1 cup of soft ingredients (yogurt, banana, spinach).
- Add 1–2 cups of frozen fruit or ice.
- Secure lid and lock pitcher.
- Choose “Smoothie” preset or Speed 2.
- Blend for 30–60 seconds.
- Stop and check texture. If it’s too thick, add more liquid and blend again.
If you want to make protein shakes, use the same process but add your protein powder after the liquids.
Tip: Don’t overfill the pitcher. Most Ninja Blenders have a max fill line—never go above it. Overfilling can cause leaks or uneven blending.
Common Mistakes
- Adding all ingredients at once—can jam blades.
- Forgetting to lock lid—blender won’t start.
- Using wrong speed—too high can overheat soft ingredients.

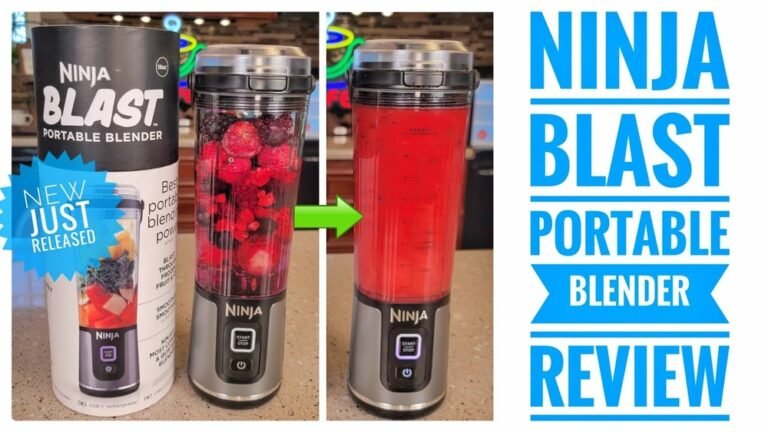
Credit: www.wikihow.com
Crushing Ice And Frozen Ingredients
Ninja Blenders are famous for crushing ice. But there’s a trick to doing it well.
How To Crush Ice
- Add 2 cups of ice cubes to pitcher.
- Use “Ice Crush” preset or Speed 3 (High).
- Pulse for 10–15 seconds, then blend for 30 seconds.
- Stop and check texture.
Tip: For snow-like ice, use smaller cubes. Large cubes can strain the motor.
Non-obvious insight: Let ice sit at room temperature for 2–3 minutes before blending. This helps prevent jamming and gives a softer result.
Making Frozen Drinks
For slushies or frozen cocktails:
- Add ice, fruit, juice, and sweetener.
- Use “Frozen Drink” or “Ice Crush” preset.
- Blend for 1 minute, stopping to stir if needed.
- Serve immediately.
Making Nut Butters, Sauces, And Dips
Ninja Blenders can make nut butters, hummus, salsa, and pesto. Many people don’t try these because they think the blender is only for drinks.
Example: Homemade Peanut Butter
- Add 2 cups roasted peanuts.
- Add 1–2 tablespoons oil (peanut, canola).
- Secure lid.
- Use Speed 2 and pulse for 30 seconds.
- Blend for 1–2 minutes until creamy.
Tip: For chunkier butter, stop blending earlier. For smooth, blend longer.
Example: Hummus
- Add 1 can (15 oz) chickpeas, drained.
- Add 1/4 cup tahini, 2 tablespoons lemon juice, 2 tablespoons olive oil, 1 garlic clove.
- Secure lid.
- Blend on Speed 2 for 1 minute.
Example: Salsa
- Add 4 tomatoes, 1/2 onion, 1 jalapeño, 1/4 cup cilantro, juice of 1 lime.
- Secure lid.
- Pulse for 10 seconds, check texture.
Non-obvious insight: For thick dips, use the pulse function instead of continuous blending. This gives better control and avoids turning dips into liquid.
Making Soups And Hot Foods
Some Ninja Blenders can blend hot ingredients, but most cannot heat food. You must cook the ingredients first.
How To Blend Soups
- Cook vegetables and broth on stove.
- Let cool for 5–10 minutes.
- Add to blender, fill only halfway.
- Secure lid and remove vent cap (if your lid has one).
- Use Speed 2 or “Soup” preset.
- Blend for 30–60 seconds.
Tip: Never blend boiling hot liquid. Steam can build up and force the lid off.
Non-obvious insight: For creamy soups, add a splash of cream or coconut milk after blending, then stir.
Doughs And Batters
Many Ninja Blenders (especially Foodi models) have a dough blade and preset. This lets you make bread, pizza, or cake batter.
How To Make Dough
- Add flour, water, yeast, salt as recipe says.
- Attach dough blade (not standard blade).
- Secure lid.
- Use “Dough” preset or Speed 1.
- Blend for 30–60 seconds.
- Check texture. Dough should be sticky but not wet.
Tip: Don’t over-blend. Dough gets tough if mixed too long.
Cake Or Pancake Batter
- Add wet ingredients first (eggs, milk, oil).
- Add dry ingredients (flour, sugar, baking powder).
- Secure lid.
- Use Speed 1 or Speed 2.
- Blend for 30 seconds.
Non-obvious insight: Scrape the sides halfway through blending. Many beginners forget this, causing dry pockets.
Chopping And Food Prep
Ninja Blenders can chop vegetables, nuts, and herbs. This is useful for meal prep.
How To Chop
- Add ingredients to pitcher (not more than halfway full).
- Secure lid.
- Use pulse function in short bursts.
- Stop and check after every burst.
Tip: For even chopping, cut items into small pieces first.
Making Baby Food
- Add cooked vegetables or fruits.
- Add liquid (water, milk, formula).
- Secure lid.
- Blend on Speed 1.
- Check texture—blend longer for smoother food.
Non-obvious insight: Use single-serve cups for small batches. Large pitchers waste food and make cleaning harder.
Cleaning Your Ninja Blender
Proper cleaning keeps your blender working well and prevents smells or stains.
Basic Cleaning Steps
- Unplug blender.
- Remove pitcher, lid, and blade assembly.
- Rinse parts with warm water.
- Wash with dish soap and a soft sponge.
- Rinse thoroughly.
- Dry parts before reassembling.
Tip: The blades are sharp—handle carefully when washing.
Deep Cleaning
For tough stains or smells:
- Fill pitcher halfway with warm water and a few drops of dish soap.
- Secure lid and blend on Speed 2 for 30 seconds.
- Rinse and dry.
Non-obvious insight: For lingering smells, add 1/4 cup baking soda to water and let sit for 30 minutes.
Dishwasher Safety
Most Ninja pitchers and lids are dishwasher safe (top rack only). The base is NOT dishwasher safe—never submerge it.
Credit: www.youtube.com
Safety Tips
Ninja Blenders are powerful. Using them safely prevents accidents.
- Always unplug before cleaning or removing blades.
- Never touch blades while blender is plugged in.
- Don’t blend boiling liquids—steam can build up.
- Lock lid and pitcher before blending.
- Keep hands and utensils out of pitcher while blending.
- Don’t run blender for more than 2 minutes without stopping (motor can overheat).
Non-obvious insight: If blender smells hot or stalls, stop immediately. Let cool for 10 minutes before restarting.
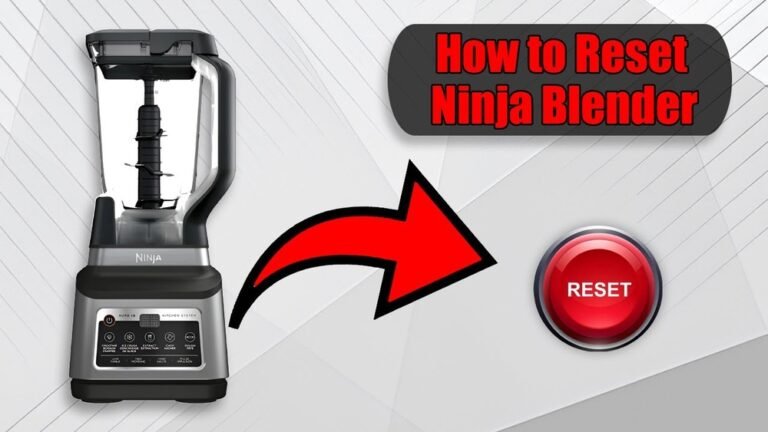
Troubleshooting Common Problems
Sometimes your Ninja Blender won’t work as expected. Here’s how to fix common issues.
Blender Won’t Start
- Check if pitcher and lid are locked.
- Check if plugged in and outlet works.
- Make sure lid is closed—many models have a safety switch.
Leaking
- Don’t overfill pitcher.
- Check if blade assembly is seated correctly.
- Inspect for cracks or broken seals.
Poor Blending
- Add more liquid.
- Cut ingredients smaller.
- Use correct speed for ingredients.
Overheating
- Don’t run for more than 2 minutes.
- Let cool between batches.
Tips For Getting The Best Results
If you want your Ninja Blender to last and give perfect blends every time, follow these practical tips:
- Use the right blade for the job—dough blades for dough, standard blades for drinks.
- Don’t overload the pitcher—follow max fill lines.
- Clean immediately after use—dried food is hard to remove.
- Alternate between pulse and continuous blending for tough ingredients.
- Experiment with different speeds for new recipes.
- Let frozen ingredients thaw for 2–3 minutes before blending.
- For creamy results, add a little fat (oil, yogurt, cream).
- Scrape sides during blending to prevent dry spots.
- Replace blades every 2–3 years for best performance.
- Store blender with lid off to prevent odors.
Ninja Blender Vs Other Blenders
How does a Ninja Blender compare to other brands? Here’s a quick look at performance, price, and versatility.
| Brand | Power (Watts) | Functions | Price Range | Durability |
|---|---|---|---|---|
| Ninja | 900–1400 | Blending, chopping, dough | $70–$200 | High |
| Vitamix | 1200–1700 | Blending, heating, food processing | $350–$600 | Very High |
| Oster | 500–1200 | Blending, basic chopping | $40–$120 | Medium |
| Hamilton Beach | 500–1000 | Blending, basic chopping | $30–$80 | Medium |
Ninja Blenders offer high power at mid-range prices. They’re versatile and durable, making them popular for both beginners and advanced users.
Advanced Features And Accessories
Some Ninja Blenders include advanced features or accessories. Here’s what to look for:
- Auto-iQ: Smart programs that adjust speed and time automatically.
- Single-Serve Cups: For quick smoothies or shakes.
- Food Processor Bowl: For chopping, slicing, and kneading.
- Dough Blade: For bread and pizza dough.
- Travel Lids: For taking drinks on the go.
Tip: If you plan to make many recipes, choose a model with more accessories.
Non-obvious insight: Auto-iQ is not just for drinks. You can use it for dips, sauces, and even soup prep. Try different programs for creative results.
Maintenance And Longevity
A Ninja Blender can last years with good care. Here’s how to keep it working well:
- Clean after every use.
- Check blades for dullness—replace if needed.
- Store with lid off.
- Don’t force pitcher onto base—align carefully.
- Avoid blending very hot or sticky foods often (can strain motor).
- Use only Ninja-approved accessories.
Stat: Most Ninja Blenders last 3–5 years with regular use. Heavy users may need new blades after 2 years.
Real-life Examples: How People Use Ninja Blenders
People use Ninja Blenders for more than just smoothies. Here are a few examples:
- Meal Prep: Chopping onions, carrots, celery for soups.
- Baking: Mixing dough for bread and pizza.
- Healthy Eating: Making green smoothies, nut milks, pureed vegetables.
- Entertaining: Mixing margaritas, frozen cocktails, dips.
- Family Cooking: Making baby food, pancake batter, sauces.
Non-obvious insight: Many users prep ingredients in advance and freeze them in single-serve bags. This saves time and makes blending easier.
Frequently Asked Questions
How Do I Fix My Ninja Blender If It Won’t Turn On?
First, check if the pitcher and lid are locked. Ninja Blenders have safety switches—if parts aren’t secured, they won’t start. Make sure it’s plugged into a working outlet. If it still doesn’t work, unplug and wait 10 minutes, then try again.
If problems continue, contact customer support.
Can I Blend Hot Liquids In My Ninja Blender?
Most Ninja Blenders can handle warm liquids, but not boiling hot. Always let soup or hot ingredients cool for 5–10 minutes. Blending boiling liquid can cause steam build-up and force the lid off, which is dangerous.
Is My Ninja Blender Dishwasher Safe?
Almost all Ninja pitchers, lids, and blades are dishwasher safe (top rack only). The base is NOT dishwasher safe—never submerge it. Always check your model’s manual for details.
How Do I Avoid Leaks When Blending?
Never overfill the pitcher—follow the max fill line. Make sure the blade assembly sits flat and is secured. Check for cracks or broken seals. Tighten the lid and make sure it locks before starting.
How Long Does A Ninja Blender Last?
With proper care, most Ninja Blenders last 3–5 years. Clean after every use and replace blades every 2–3 years for best performance. Heavy use or blending tough ingredients may shorten lifespan.
When you know how to work a Ninja Blender, you unlock much more than smoothies. You can crush ice, make dough, prep meals, and create sauces or nut butters. Remember to follow the setup steps, use the right speed, clean carefully, and stay safe. With practice, you’ll get perfect results every time. If you want to see more tips and recipes, visit the official Ninja Kitchen site. Your Ninja Blender can do much more than you think—now you know exactly how.