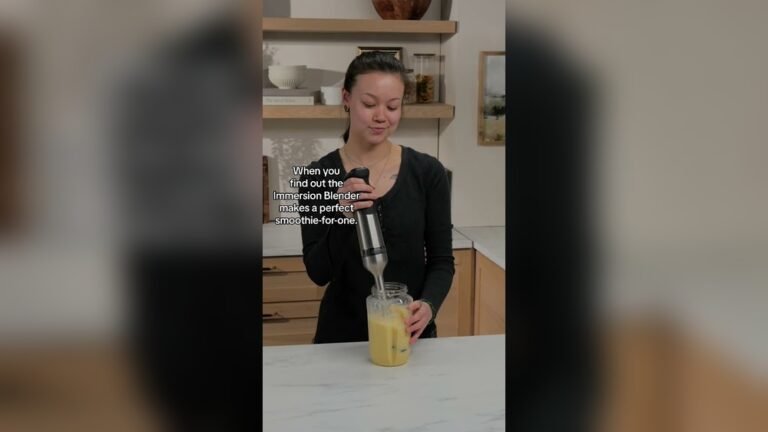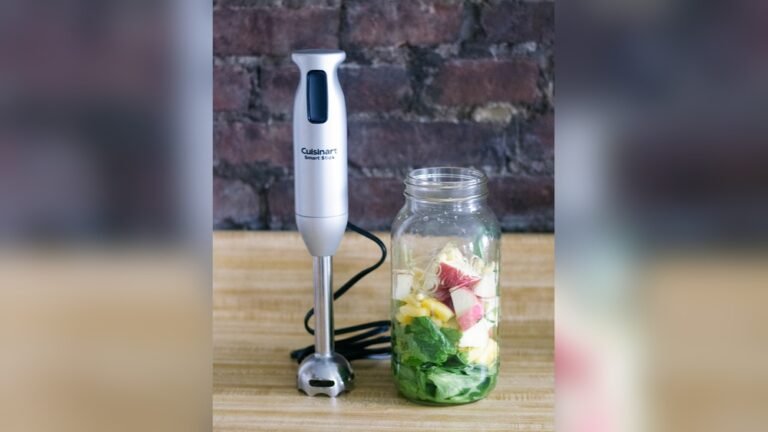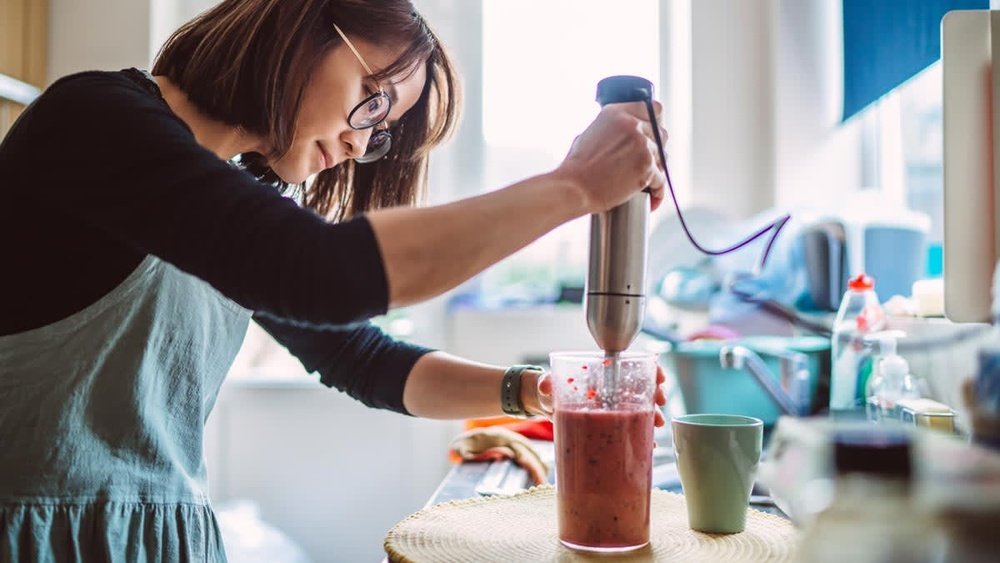
How To Use An Immersion Blender: Expert Tips for Perfect Blending
Have you ever struggled with chunky soups or lumpy sauces? An immersion blender can be your best kitchen helper, making blending quick and mess-free.
If you’re not sure how to use one or want to get the most out of it, you’re in the right place. This guide will show you simple steps to master your immersion blender and transform your cooking. Keep reading—you’ll be surprised how easy and fun blending can be!
Choosing The Right Immersion Blender
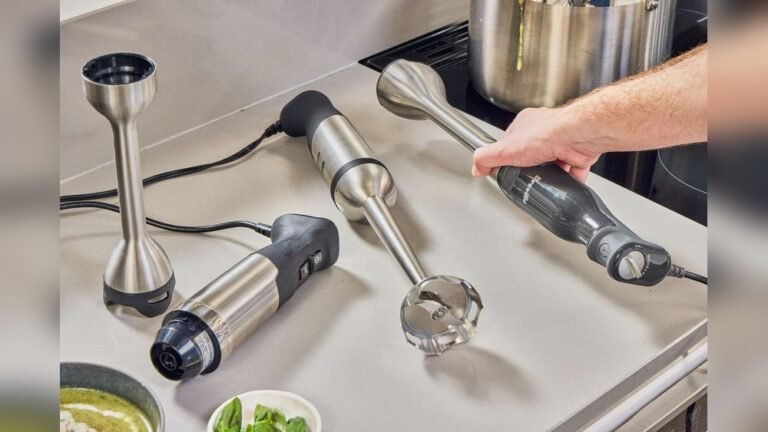
Choosing the right immersion blender is essential for efficient and enjoyable food preparation. This handheld tool can simplify tasks like blending soups, sauces, and smoothies. Selecting a model that fits your cooking style and needs makes the process smoother and quicker. Not all immersion blenders are the same, so understanding different types, features, and price ranges helps you make a smart choice.
Types Of Immersion Blenders
Immersion blenders come in several styles. Picking the best one depends on what you plan to use it for and how often. Here are the main types:
- Basic Corded Models: These plug into the wall and offer consistent power. Great for everyday kitchen use.
- Cordless Models: Battery-powered and portable. Ideal for quick tasks and easy storage.
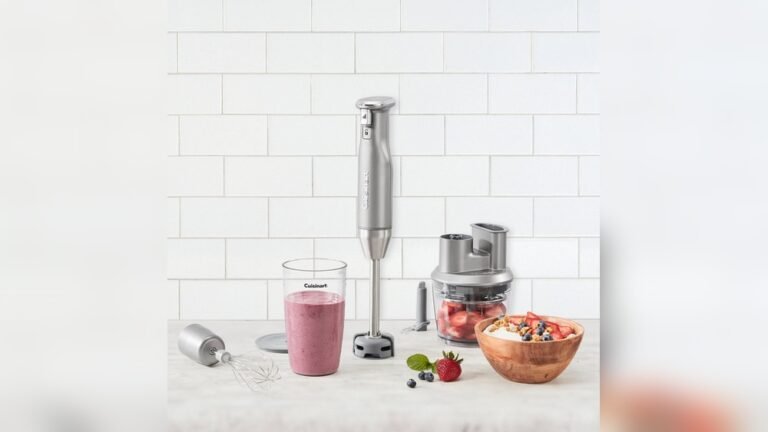
- Multi-Purpose Models: Often come with extra attachments like whisks or choppers. Perfect for versatile cooking.
Each type has advantages and limits. Corded blenders provide constant power but restrict movement. Cordless ones give freedom but may need recharging. Multi-purpose blenders save space by combining tools but can be more expensive.
| Type | Power Source | Best For | Pros | Cons |
|---|---|---|---|---|
| Basic Corded | Electric Outlet | Daily Blending | Strong Power, No Battery Worries | Limited Mobility |
| Cordless | Battery | Quick Tasks, Portability | Easy Movement, Convenient | Needs Charging, Less Power |
| Multi-Purpose | Electric Outlet | Multiple Kitchen Jobs | Versatile, Saves Space | Higher Cost, More Parts |
Key Features To Look For
Some features make an immersion blender better for your kitchen. Focus on these to get the most use out of your tool.
- Power: Look for 200 watts or more for smooth blending.
- Speed Settings: Multiple speeds give control over texture and consistency.
- Blade Quality: Stainless steel blades stay sharp and resist rust.
- Ergonomics: Comfortable grip and lightweight design reduce hand fatigue.
- Ease of Cleaning: Detachable shafts and dishwasher-safe parts save time.
- Safety Features: Some models include locking buttons to prevent accidents.
Extra attachments add value. A whisk helps with eggs and cream. A chopper attachment can cut vegetables or nuts quickly. Consider the blender’s length, too. A longer shaft blends deeper pots without splashing.
| Feature | Benefit |
|---|---|
| Power (200W+) | Efficient blending of thick mixtures |
| Variable Speeds | Better control over texture |
| Stainless Steel Blades | Durability and sharpness |
| Ergonomic Design | Comfort during use |
| Dishwasher-Safe Parts | Easy cleaning |
| Safety Lock | Prevents accidental starts |
Budget Considerations
Immersion blenders come in a wide price range. Setting a budget helps narrow choices without overspending.
Basic models start around $20 and work well for simple tasks. Mid-range blenders ($40 to $80) offer better power and features. Premium models over $100 include more attachments and higher durability.
Think about how often you will use the blender. Frequent users benefit from investing in a reliable, stronger model. Occasional users might prefer a budget-friendly option.
Here is a quick budget guide:
- Under $30: Basic blending, limited features, good for light use.
- $30 – $80: Better power, more speed options, some attachments.
- Above $80: High-end build, multiple accessories, best for heavy use.
Remember to check for warranty and customer support. These add value and protect your purchase. Buying a blender that lasts saves money in the long run.
Preparing For Blending
Preparing for blending is a key step in using an immersion blender efficiently. Taking time before you start ensures a smooth blending process and helps avoid mess or accidents. This stage involves gathering all ingredients and tools, following safety rules, and arranging your workspace properly. These actions make blending easier and more enjoyable, especially for beginners.
Gathering Ingredients And Tools
Start by collecting all ingredients needed for your recipe. Having everything ready saves time and keeps your workflow steady. Use fresh ingredients for the best taste and texture.
- Measure and prepare ingredients (chop vegetables, peel fruits, etc.)
- Check ingredient quantities to match your recipe
- Use containers or bowls that fit your immersion blender’s size
Next, gather the tools and accessories that work with your immersion blender:
| Tool | Purpose |
|---|---|
| Immersion Blender | Main blending device |
| Blending Beaker or Jar | Contains ingredients during blending |
| Spatula | Scrapes the sides of containers |
| Measuring Cups & Spoons | Ensure accurate ingredient amounts |
Double-check the blender’s power cord and attachments before you start. Make sure the blade is clean and undamaged. A clean blade blends better and lasts longer.
Safety Precautions
Immersion blenders have sharp blades that spin fast. Always handle them with care to prevent injuries. Follow these safety tips before blending:
- Unplug the blender before attaching or removing parts
- Keep fingers and hands away from the blades
- Do not immerse the motor part in water
- Hold the blender firmly to avoid slipping
- Use in a deep container to prevent splashes
Wear an apron to protect clothing from splatter. Avoid loose clothing or jewelry that may catch on the blender. If children are nearby, keep them at a safe distance.
Check the blender for any damage before use. Do not use if the cord is frayed or the blade is bent. Using a damaged blender can cause electric shock or injury.
Setting Up The Workspace
Arrange your workspace to support a clean and safe blending experience. Clear your counter space and gather all tools within reach. This setup saves time and reduces distractions.
- Place a non-slip mat or towel on the counter to stabilize containers
- Set up good lighting to see ingredients and blender clearly
- Keep a clean bowl or plate nearby for scraps
- Have paper towels or a cloth ready to wipe spills
Ensure the power outlet is close enough for the blender’s cord without stretching. Organize ingredients in the order you will blend them. This helps keep the process smooth and prevents forgetting items.
Maintain a dry area around the outlet and blender to reduce the risk of electric shock. Keep liquids away from the motor part. A tidy workspace means fewer accidents and easier cleanup.
Basic Blending Techniques
Using an immersion blender is simple once you learn the basic blending techniques. These techniques help create smooth soups, sauces, and smoothies quickly. Understanding how to hold the blender, where to blend, and how to control speed makes every blending task easier and safer. Following these tips ensures better results and less mess in the kitchen.
Proper Grip And Handling
Holding the immersion blender correctly improves control and safety. Use a firm but relaxed grip on the handle to avoid slipping. Keep your wrist straight and your fingers wrapped around the handle. This position reduces strain and gives better precision.
- Hold the blender with one hand. This frees your other hand for steadying the container.
- Keep the blender upright. Avoid tilting it too much to prevent splashing.
- Press the power button gently. Avoid sudden starts that can cause spills.
Here is a quick guide on grip and handling:
| Step | Action | Benefit |
|---|---|---|
| 1 | Hold handle firmly | Better control and precision |
| 2 | Keep wrist straight | Prevents fatigue and injury |
| 3 | Use one hand | Keeps other hand free for support |
Blending In Containers
Choosing the right container improves blending quality and reduces mess. Use a tall, narrow container for best results. This shape keeps food near the blades and prevents splashing. Avoid wide or shallow bowls unless you move the blender constantly.
- Fill containers no more than two-thirds full. This leaves space for blending without spills.
- Keep the blender blade fully submerged. Lifting it too high causes splashes.
- Stir contents gently before blending. This helps ingredients mix evenly.
Use the following tips for smooth blending:
- Start blending at the bottom of the container.
- Move the blender slowly up and down.
- Blend in short bursts to avoid overheating.
Adjusting Speed Settings
Most immersion blenders have multiple speed settings. Adjust speed depending on the texture you want. Low speed works well for soft foods and liquids. High speed is best for tougher ingredients or thicker blends.
Follow these guidelines:
- Start at low speed. It reduces splashing and gives more control.
- Increase speed gradually. This helps reach a smoother texture.
- Use pulse mode for chunky blends. Pulsing chops without overblending.
Here is a simple speed setting chart:
| Speed | Best For | Notes |
|---|---|---|
| Low | Soups, soft fruits, liquids | Gentle blending, less splash |
| Medium | Sauces, medium textures | More power for thicker blends |
| High | Hard vegetables, chunky foods | Use short bursts to prevent overheating |
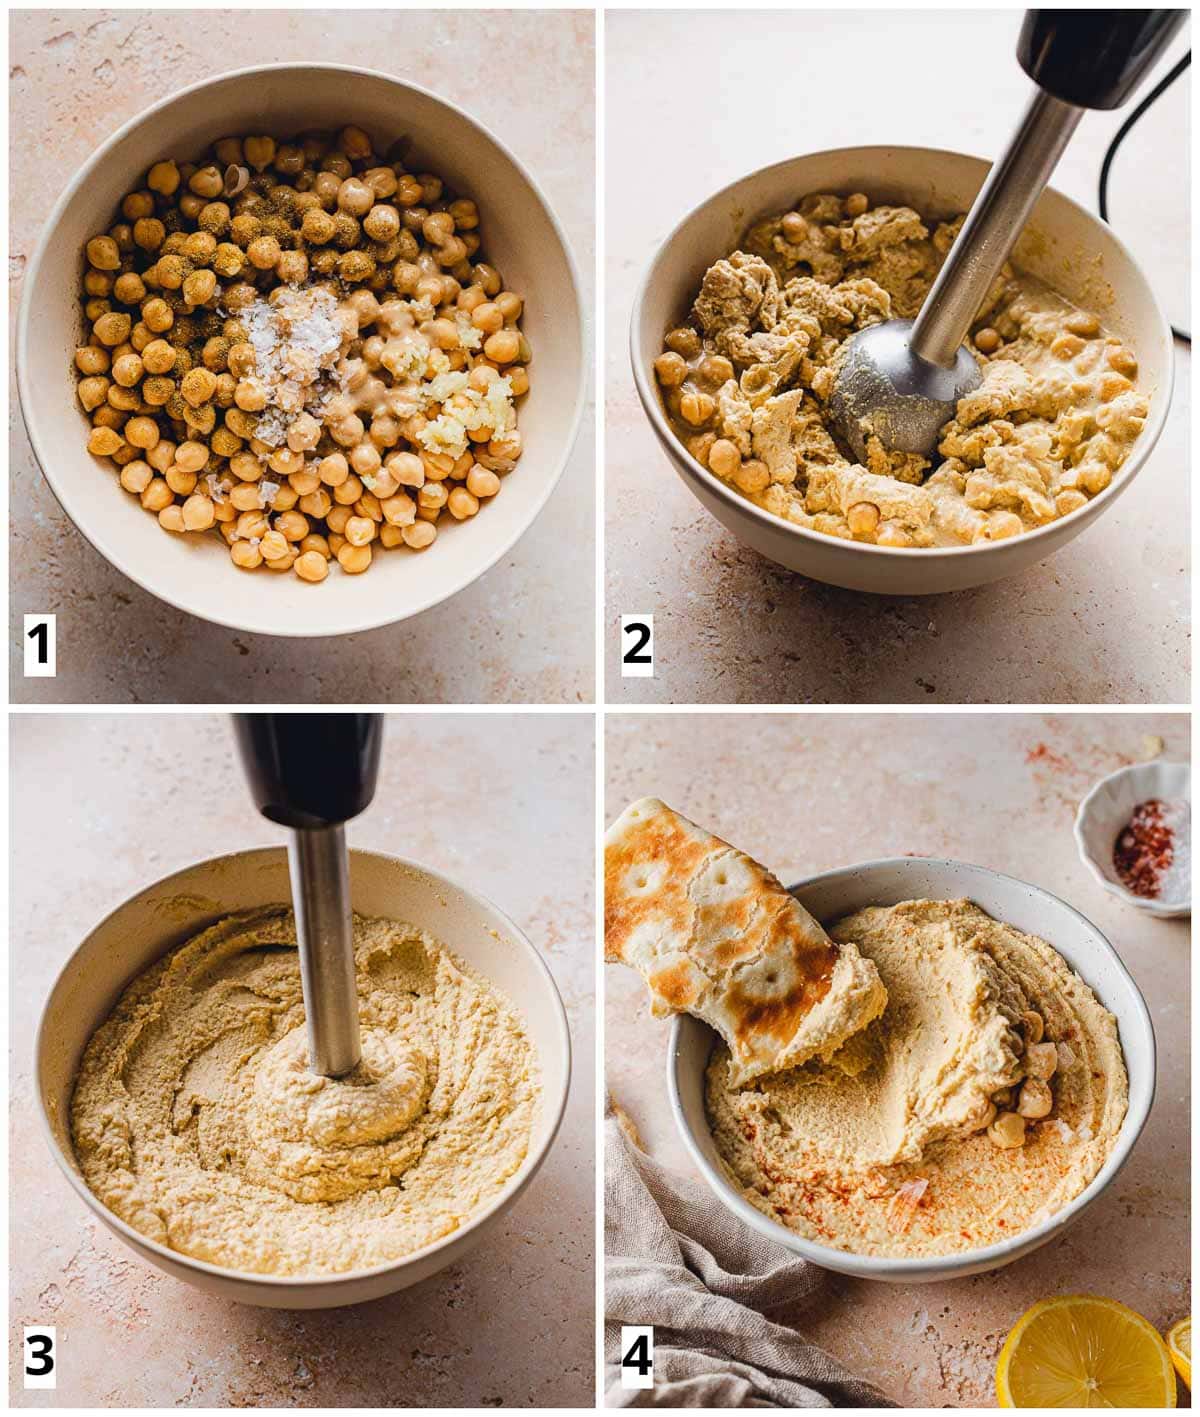
Credit: myveganminimalist.com
Recipes Perfect For Immersion Blenders
An immersion blender is a handy tool in the kitchen, especially for blending and mixing ingredients quickly. It fits right into pots, bowls, or pitchers, making it easy to prepare many dishes. Certain recipes work best with immersion blenders because they allow smooth blending without the need for multiple tools. These recipes include smoothies, soups, sauces, and baby food. Using an immersion blender can save time and reduce cleanup.
Smoothies And Shakes
Smoothies and shakes blend easily with an immersion blender. The blender quickly crushes fruits, vegetables, and ice to create a smooth, creamy texture. It works well in tall glasses or pitchers, so you can blend and serve in the same container.
Tips for making smoothies and shakes:
- Start with soft fruits like bananas, berries, or mangoes.
- Add liquid such as milk, juice, or yogurt to help blending.
- Include ice or frozen fruit for a cold, thick shake.
- Blend in short bursts to avoid over-mixing.
| Ingredient | Purpose |
|---|---|
| Bananas | Add creaminess and natural sweetness |
| Spinach | Boost nutrition without changing taste |
| Greek Yogurt | Increase protein and make it thicker |
| Almond Milk | Keep it dairy-free and smooth |
Soups And Sauces
An immersion blender is perfect for making smooth soups and sauces. It blends hot or cold ingredients directly in the cooking pot, avoiding extra dishes. This tool helps create creamy textures without lumps.
How to blend soups and sauces:
- Let the soup cool slightly if very hot to avoid splashes.
- Insert the blender head into the pot, keeping it submerged.
- Blend slowly, moving the blender around to mix evenly.
- Stop blending once the soup or sauce reaches the desired smoothness.
Use an immersion blender to prepare tomato sauce, butternut squash soup, or creamy mushroom soup. It helps to mix ingredients evenly and keeps the texture silky.
Baby Food And Purees
Immersion blenders make fresh baby food and purees quickly. Blending cooked fruits, vegetables, or grains creates soft, smooth textures ideal for babies. This tool allows control over consistency, from chunky to very smooth.
Steps to prepare baby food with an immersion blender:
- Cook ingredients until very soft, using steaming or boiling.
- Place ingredients in a deep bowl or pot for blending.
- Blend until smooth or to the texture your baby prefers.
- Add water, breast milk, or formula to thin the puree if needed.
Common purees include sweet potato, apple, carrot, and peas. Freshly made baby food is free from preservatives and can be stored in the fridge for up to 48 hours.
Cleaning And Maintenance Tips
Keeping your immersion blender clean and well-maintained ensures it works efficiently and lasts longer. Regular cleaning removes food particles and prevents odors or stains. Proper maintenance avoids damage and keeps the motor running smoothly. Follow these simple steps to care for your immersion blender after each use.
Disassembling The Blender
Start by unplugging the immersion blender to avoid accidents. Most models have detachable parts for easy cleaning. Carefully separate the blending arm from the motor body. This prevents water damage to the electrical components.
- Press the release button or twist the blending arm to remove it.
- Remove the blade guard if your model allows it.
- Handle the blades with care; they are sharp and can cause injury.
Use the table below as a quick guide:
| Step | Action | Tips |
|---|---|---|
| 1 | Unplug the blender | Always disconnect power first |
| 2 | Detach blending arm | Press release button or twist gently |
| 3 | Remove blade guard (if possible) | Use caution to avoid cuts |
Disassembling correctly makes cleaning easier and protects your blender’s motor.
Washing And Drying
Wash the detachable parts immediately after use to prevent food from drying on the blades. Use warm, soapy water and a soft sponge or brush. Avoid abrasive materials that might scratch or dull the blades.
- Never submerge the motor body in water.
- Rinse parts thoroughly to remove soap residue.
- Dry all parts with a clean towel or air dry completely before reassembly.
Some immersion blender parts are dishwasher safe. Check your user manual. If dishwasher safe, place parts on the top rack only.
Follow these tips for best results:
- Clean immediately after use to prevent buildup.
- Use gentle scrubbing tools for blades.
- Ensure all parts are fully dry to avoid rust or mold.
Storage Recommendations
Store your immersion blender in a dry, cool place to protect it from damage. Keep all parts together to avoid losing small components like the blade guard or blending arm.
- Wrap the cord neatly to prevent tangles and damage.
- Store the blender upright or in a container to protect the blades.
- A dedicated kitchen drawer or cupboard works well.
Consider these storage tips:
| Storage Method | Benefits | Precautions |
|---|---|---|
| Dedicated container | Keeps parts together and clean | Choose a ventilated container to avoid moisture |
| Kitchen drawer | Easy access for daily use | Use a blade cover to prevent accidents |
| Wall hook or stand | Saves counter space | Ensure stable mounting to avoid falls |
Following these simple cleaning and storage steps keeps your immersion blender safe and ready for every kitchen task.

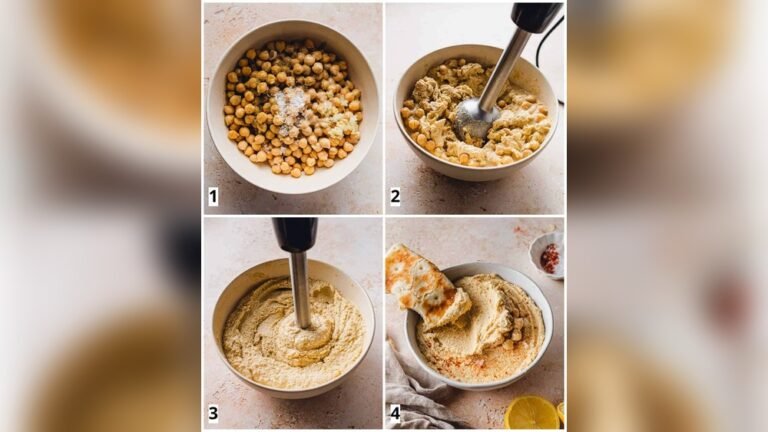
Credit: www.asavoryfeast.com
Troubleshooting Common Issues
Troubleshooting common issues with an immersion blender ensures smooth kitchen experiences. This tool saves time but may face simple problems. Knowing quick fixes helps keep it working well. Read on for easy ways to solve common problems.
Blender Not Starting
When the immersion blender does not start, it can be frustrating. First, check if it is properly plugged in. Loose connections stop the blender from working. Also, try pressing the power button firmly. Some models require holding the button continuously.
Here are steps to follow if it still won’t start:
- Check the power source: Test the outlet with another device.
- Inspect the power cord: Look for cuts or damage.
- Ensure proper assembly: The blender may not start if parts are loose.
- Reset the blender: Some models have a reset button or switch.
Use this table to diagnose the problem:
| Issue | Possible Cause | Solution |
|---|---|---|
| Blender won’t start | Power cord unplugged or damaged | Plug in securely, replace cord if damaged |
| Power button unresponsive | Button stuck or faulty | Press firmly, clean button area |
| Overloaded motor protection | Motor overheated | Let blender cool, reset if available |
Overheating Problems
Immersion blenders can overheat if used too long. This stops the motor and may cause damage. Avoid running the blender continuously for more than 1 minute. Let it rest for 2 minutes between uses.
Ways to prevent overheating:
- Blend in short bursts, not continuously.
- Keep the motor housing away from hot surfaces.
- Do not blend very thick mixtures for long.
- Clean the blender regularly to avoid clogging.
If the blender overheats:
- Turn it off immediately.
- Unplug and let it cool down for 15-20 minutes.
- Check for blockage or food stuck in blades.
- Restart only after the motor feels cool.
Following these tips can extend the blender’s life and improve performance.
Uneven Blending
Uneven blending is common with immersion blenders. This happens when ingredients do not mix well or blades miss parts of the mixture. Stir ingredients before blending to help even mixing.
Tips to avoid uneven blending:
- Move the blender slowly in a circular motion.
- Blend from top to bottom and side to side.
- Cut ingredients into small pieces before blending.
- Use enough liquid to allow smooth blending.
If chunks remain:
- Stop blending and stir the mixture manually.
- Continue blending in short bursts.
- Use pulse mode if your blender has it.
Proper technique ensures smooth, even results every time.
:max_bytes(150000):strip_icc()/sea-primary-immersion-blenders-sep-24-rkilgore-0658-89167e1e4bd44afb93d9c847674b09e4.jpeg)
Credit: www.seriouseats.com
Frequently Asked Questions
How Do I Safely Use An Immersion Blender?
Always keep the blender submerged before turning it on. Avoid touching the blades while operating. Unplug the device before cleaning to prevent accidents. Use a sturdy container to avoid spills and ensure better control.
Can I Blend Hot Soups With An Immersion Blender?
Yes, immersion blenders are ideal for hot soups. Ensure the container is heat-resistant and deep enough to prevent splatters. Blend gently to avoid hot liquid splashing. This method saves time and enhances soup texture.
What Foods Can I Prepare With An Immersion Blender?
Immersion blenders work well for soups, smoothies, sauces, and baby food. They can also whip cream and emulsify dressings. Their versatility makes them a handy kitchen tool for quick blending tasks.
How Do I Clean An Immersion Blender Properly?
Detach the blending arm and rinse it under warm water immediately after use. Use mild soap and a soft brush to clean blades carefully. Avoid submerging the motor part in water to prevent damage.
Conclusion
Using an immersion blender makes cooking faster and easier. It blends soups, sauces, and smoothies right in the pot or cup. Keep the blender steady to avoid splashes. Clean it soon after use to save time. Practice with simple recipes first to gain confidence.
This tool fits well in small kitchens and saves space. Enjoy the convenience and quick results it offers. Try different foods to see what works best. Cooking can be fun and simple with the right tools.