How to Use an Oster Blender: Steps, Speeds, and Tips
You can use an Oster blender by assembling the jar on the base, adding ingredients in the right order (liquids first, then soft foods, then ice or frozen items last), locking the lid, and choosing a speed or preset that matches what you’re making. From there, the real skill is knowing which button to press, how long to run it, and how to avoid the two most common problems: leaking jars and stalled blades.
Key Takeaways
- Add ingredients in order: liquids and soft items first, then hard or frozen items on top, and never fill past the MAX line.
- Match the mode to the job: low speeds for chopping and folding, high speeds for smoothies and purees, and pulse for coarse textures like salsa.
- Most Oster blenders aren’t built for dry grinding or for hot liquids straight off the stove; let hot food cool before blending.
- A stalled blade usually means too little liquid or too much frozen material packed at the bottom — stop, unplug, and rearrange.
- Clean the jar, lid, and blade assembly right after use; dried residue under the blade is the leading cause of lingering smells.
- Check your specific model’s manual for wattage, jar material, and whether the jar is dishwasher safe, because Oster sells dozens of configurations.
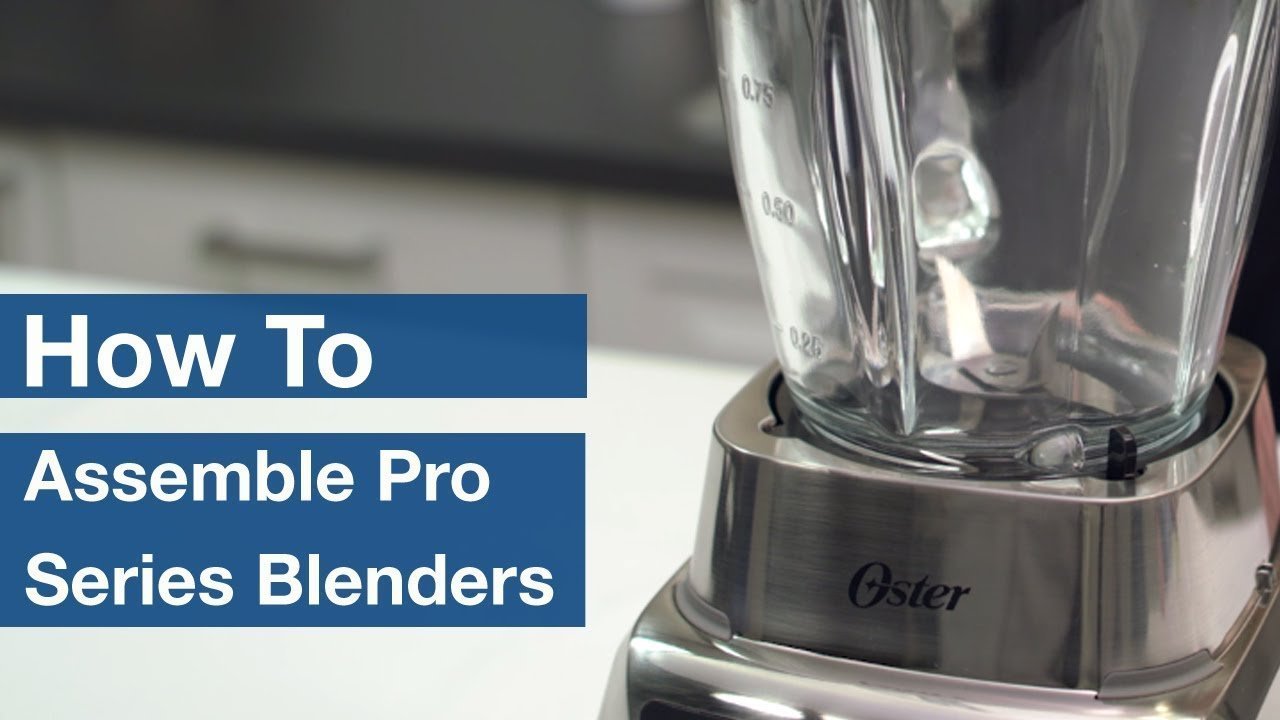
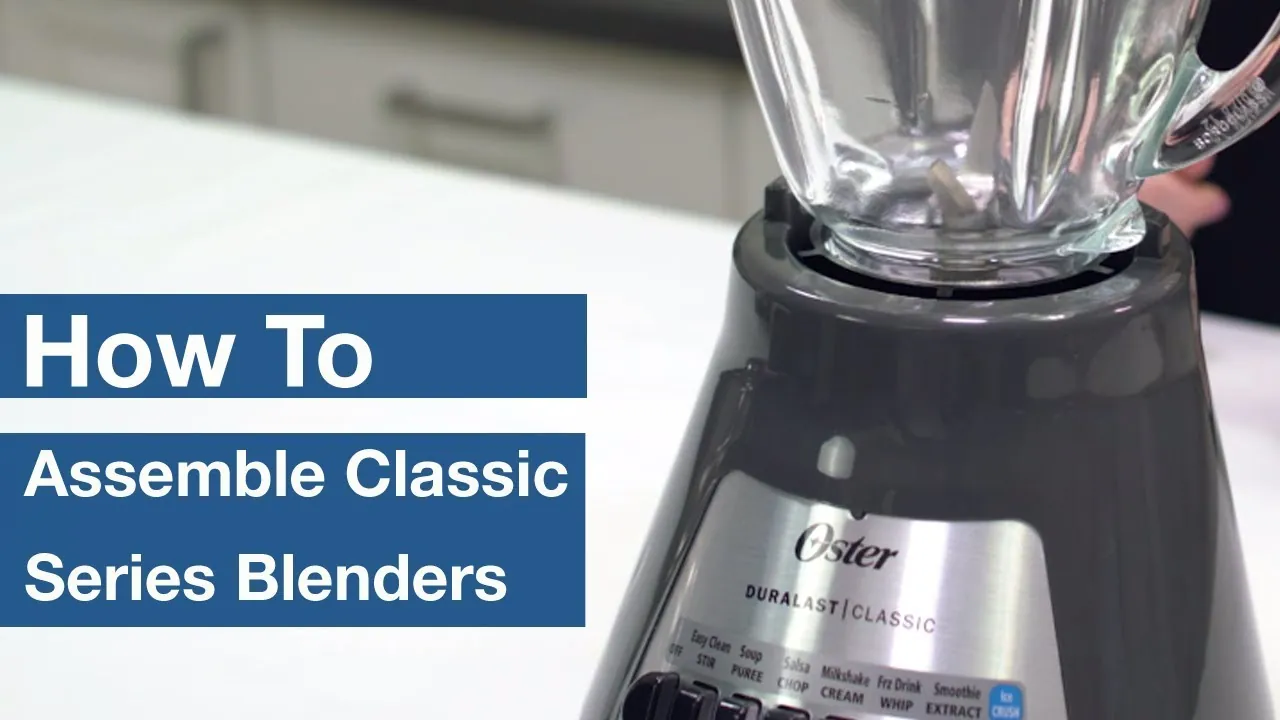
How to Assemble Your Oster Blender
Before you press a single button, the blender has to be put together correctly. Skipping this step is why a lot of people think their blender is broken when it isn’t.
The three main parts
Every Oster countertop blender breaks down into the same basic pieces:
- Motor base: the heavy bottom unit with the dial or buttons and the cord.
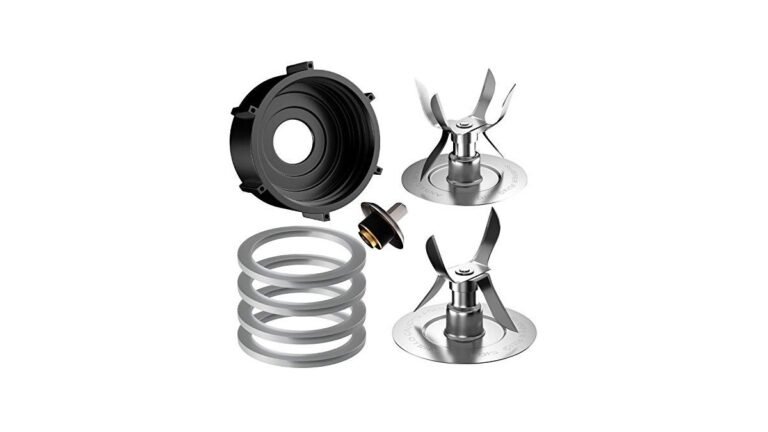
- Blade assembly: the metal collar with the cutting blades, which may be a separate piece or permanently attached to the jar, depending on your model.
- Jar with lid: the plastic or glass container, plus a lid and often a removable filler cap.
Assembly steps
- Set the motor base on a flat, dry counter near an outlet. Keep it away from the edge so vibration doesn’t walk it off.
- If your model has a separate blade assembly, screw it onto the bottom of the jar, turning clockwise until it’s snug. Don’t force it; cross-threading is a common cause of leaks.
- Place the jar onto the base. Most Oster models twist slightly to seat, while others simply sit on the drive coupling. Line up the jar’s tabs or threads with the base and turn until it stops.
- Add your ingredients (see the loading order below).
- Press the lid down firmly all the way around the rim. If your lid has a filler cap, insert it unless you’re adding ingredients mid-blend.
- Plug in the cord last, so nothing starts spinning while you’re still handling the jar.
Pro Tip: On models with a glass jar, run the jar under warm water before adding frozen fruit. A room-temperature or warm jar releases frozen contents more easily and reduces the chance of the blade stalling.
Loading the Jar in the Right Order
Ingredient order matters more than most people expect. Blenders work by pulling food down into the blades, and if the blades are buried in solid material with no liquid to create a vortex, nothing moves.
The general rule
Add ingredients from softest and wettest at the bottom to hardest and driest at the top. That means:
- Liquids: water, milk, juice, yogurt, broth, oil.
- Soft solids: fresh fruit, leafy greens, cooked vegetables, nut butter, soft cheese.
- Powders: protein powder, cocoa, spices, flour.
- Hard and frozen items: ice cubes, frozen fruit, nuts, raw root vegetables.
Why the order works
The liquid at the bottom gets pulled into the blade first and creates a vortex — the funnel-shaped circulation pattern that drags everything else down. Powders go in the middle so they don’t clump at the bottom or stick to the walls. Ice and frozen fruit go on top so their weight pushes the softer layers down as they break apart.
Fill levels and headroom
Never fill past the MAX line on the jar. Blending increases volume, especially with anything aerated like milk or eggs, and overfilling forces liquid up through the lid. For hot foods, fill only halfway; heat expands and steam builds pressure.
Warning: Never blend hot liquid in a sealed jar with the filler cap in place. Steam expands, pressure builds, and the lid can blow off. Remove the filler cap and cover the opening with a folded towel instead, or let the food cool to room temperature first.
Understanding the Controls
Oster blenders come in a few control styles, and the labels vary, but the underlying logic is the same.
| Control type | Typical models | How to use it | Best for |
|---|---|---|---|
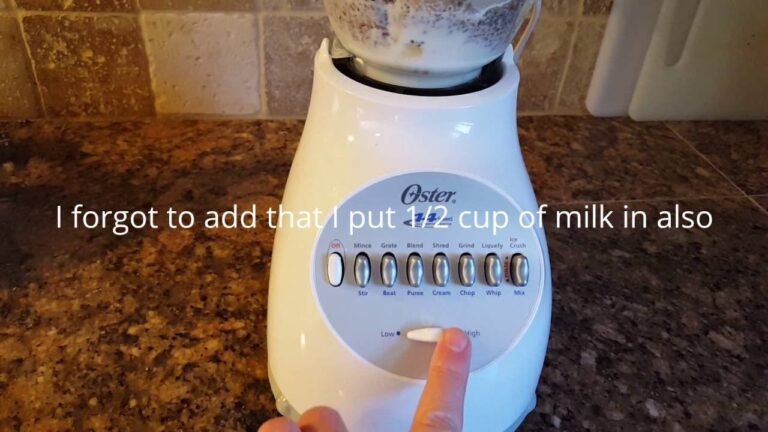
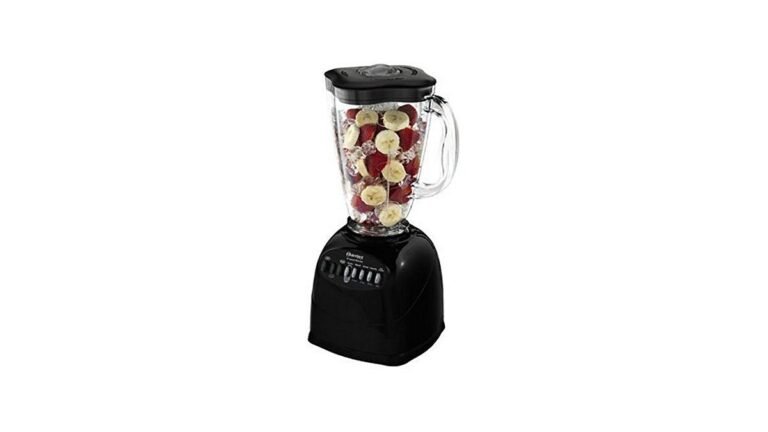
| Single dial (Low–High) | Oster 2-Speed, many 6-cup models | Turn to Low to start, then advance to High | Smoothies, soups, purees |
| Buttons with presets | Oster Pro 1200, Master Series | Press a labeled preset (Smoothie, Salsa, Milkshake) | Hands-off blending; the machine runs a timed cycle |
| Dial plus Pulse button | Oster Blender with Blend-N-Go cups | Hold Pulse for bursts, dial for continuous | Salsa, pesto, chopping, crumb toppings |
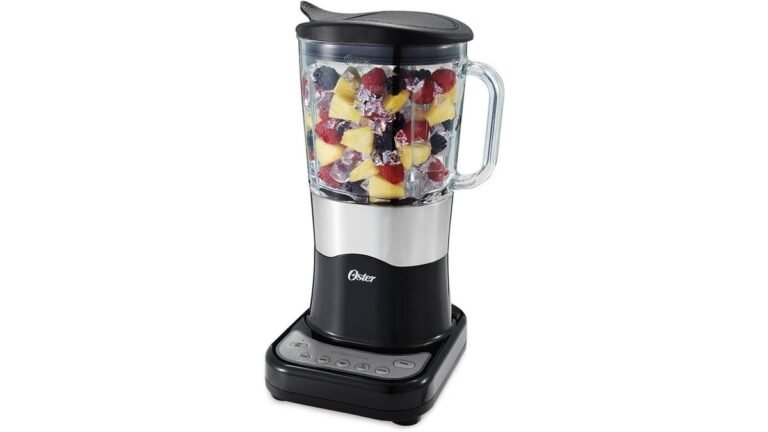
| Touchpad with manual speeds | Higher-wattage Oster models | Tap a speed number, then Start | Full control over texture |
What each speed actually does
- Low (1–2): folding, mixing, chopping soft items, combining batters.
- Medium (3–4): emulsifying dressings, blending cooked soups, making pancake batter.
- High (5 and up): crushing ice, pulverizing frozen fruit, making smooth nut milks.
- Pulse: short bursts you control. Best for anything you want coarse rather than smooth.
The rule for presets
Presets are just timed programs that combine speeds. If your preset produces a texture you don’t like, switch to manual control and adjust. A Smoothie preset that runs 45 seconds may be too long for a thin smoothie and too short for a jar packed with frozen mango.
Speed and Time by Recipe
This table is the practical shortcut most people are looking for. Times assume a standard 6-cup jar and a blender in the 500–1200 watt range.
| What you’re making | Starting speed | Total run time | Technique notes |
|---|---|---|---|
| Green smoothie | Low, then High | 45–60 seconds | Load spinach below frozen fruit; scrape down once |
| Thick smoothie bowl | Low, then Pulse | 30–45 seconds | Use minimal liquid; stop while still scoopable |
| Ice crush | Pulse, then High | 20–30 seconds | Add 1 tbsp liquid per 2 cups ice |
| Salsa | Pulse only | 10–15 pulses | Stop when you still see distinct chunks |
| Soup (cooked, cooled) | Low, then High | 60–90 seconds | Blend in two batches; never fill past halfway |
| Nut butter | High, continuous | 3–5 minutes | Scrape down every 30–45 seconds; expect a long process |
| Milkshake | Low | 20–30 seconds | Add ice cream last, blend briefly |
| Baby food (cooked) | Low, then High | 45–60 seconds | Add cooking liquid gradually to reach desired texture |
| Pancake batter | Low | 15–20 seconds | Stop as soon as flour disappears; over-blending makes tough pancakes |
| Breadcrumbs | Pulse | 10–15 pulses | Use stale bread, torn into pieces, 1 cup at a time |
Pro Tip: For nut butter, start with 2 cups of roasted nuts and be patient. The mixture goes through a crumbly stage, then a ball stage, then finally liquefies. Scraping down the sides every 30 to 45 seconds is what gets you there.
Choosing the Right Mode for the Job
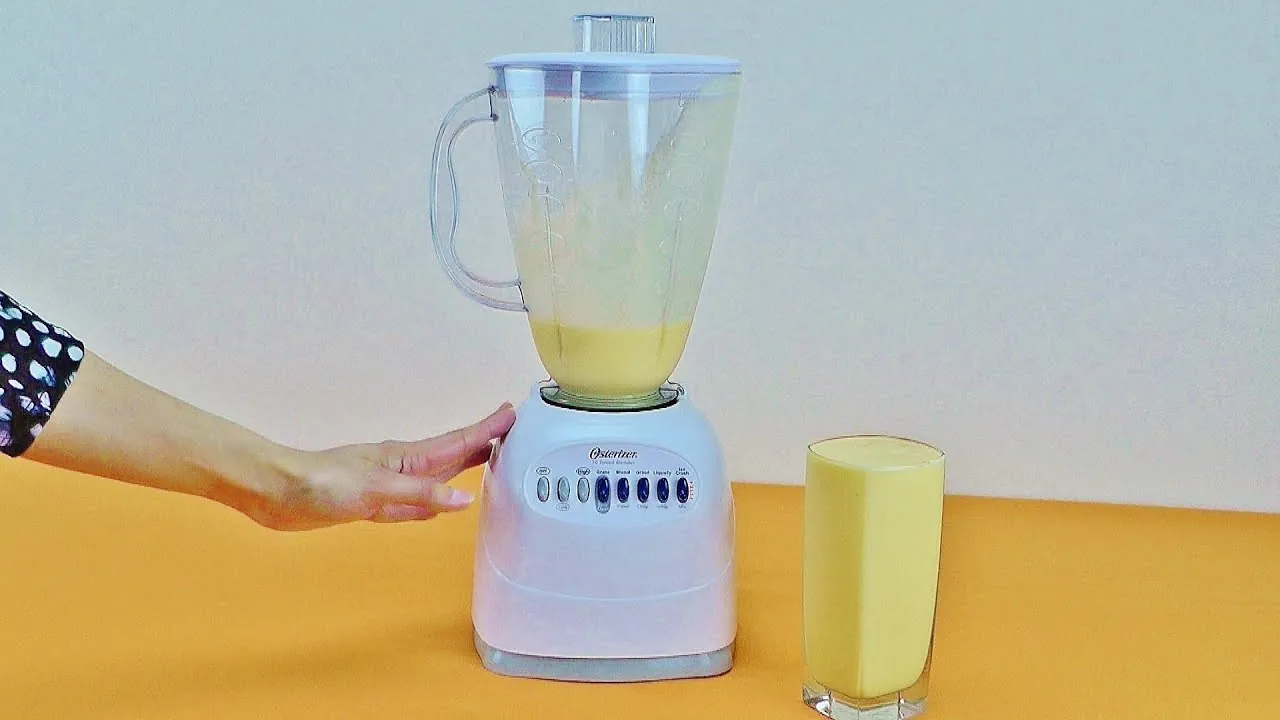
The single biggest mistake people make is running everything on High. High speed generates heat through friction, which can warm a smoothie, wilt fresh herbs, and turn salsa into soup.
- Use Pulse for anything you want chunky: salsa, pesto, chopped nuts, crumb toppings, chopped vegetables.
- Use Low for anything delicate: whipped cream, emulsified dressings, folded batters, fresh herbs.
- Use High for anything you want completely smooth: pureed soups, smoothies with fibrous greens, nut milks, frozen drinks.
- Use presets when you want consistency: the same smoothie every morning without thinking about it.
When to scrape down
Stop the blender, unplug it if you’re being cautious, and use a spatula to push ingredients from the walls back toward the blades. Do this whenever you see food clinging to the sides and the center isn’t circulating. Never use a spoon or knife while the blender is plugged in, and never reach into the jar with your hand.
Common Mistakes and How to Fix Them
| Problem | Likely cause | Fix |
|---|---|---|
| Blade spins but nothing blends | Air pocket around blades; too little liquid | Stop, remove jar, shake or stir contents, add 2–4 tbsp liquid |
| Leaking from the bottom | Loose or cross-threaded blade assembly; worn gasket | Empty jar, re-seat the collar squarely, hand-tighten; replace gasket if cracked |
| Blender smells hot or burnt | Running too long without rest; overloaded jar | Run in 30–60 second bursts; let the motor rest 1–2 minutes between |
| Ice stays chunky | Not enough liquid; too much ice at once | Add 1 tbsp liquid per 2 cups ice; process in smaller batches |
| Smoothie is warm | Too long on High | Blend 45 seconds max, use frozen fruit instead of ice, or chill the jar first |
| Lid pops off | Overfilled jar; hot contents; filler cap left in | Fill to half for hot foods, remove filler cap, blend in batches |
| Motor won’t start | Jar not seated; base unplugged; thermal cutout tripped | Re-seat jar, check outlet, wait 15–20 minutes for the cutout to reset |
Warning: If your blender smells like burning rubber or the motor housing is hot to the touch, stop immediately and unplug it. Thermal overload protection resets on its own after the unit cools, but repeated overheating shortens motor life.
What Oster Blenders Can and Can’t Do
Oster blenders are workhorses for wet blending. They aren’t universal kitchen machines, and knowing the limits saves you from disappointment and broken equipment.
What they handle well
- Frozen drinks and smoothies, including ice and frozen fruit
- Pureed soups, once the food has cooled
- Emulsions: mayonnaise, vinaigrette, hollandaise-style sauces
- Batters and pancake mixes
- Baby food and purees
- Nut milks with soaked nuts
- Crumb toppings and small-batch grinding of soft dry goods
What they struggle with
- Dry grain grinding: rice flour, wheat flour, and similar. This overheats motors and dulls blades.
- Very small quantities: less than about 1 cup of liquid won’t reach the blades on most full-size jars.
- Hot liquids straight from the stove: pressure and steam risk.
- Hard spices in large amounts: cinnamon sticks, whole nutmeg, and similar are better in a dedicated spice grinder.
- Kneading dough: even models with a dough setting are limited; dense dough stresses the motor.
Personal blender cups
Many Oster sets include a Blend-N-Go style personal cup. These work the same way but with a twist: you fill the cup, screw on the blade base, flip the cup onto the motor base, and press down to blend. Don’t fill past the MAX line, and always make sure the blade base is screwed on tightly before inverting.
Cleaning and Maintenance
Cleanup is where blenders live or die. Residue that dries under the blade assembly is the number-one cause of smells, sticky blades, and eventually a seized bearing.
The quick daily clean
- Fill the jar one-third full with warm water and add a drop of dish soap.
- Run on Low for 10–15 seconds.
- Pour out, rinse thoroughly, and invert on a drying rack.
The deep clean
- Unplug the base.
- Disassemble the jar, lid, filler cap, and blade assembly.
- Wash the jar, lid, and cap in warm soapy water, or on the top rack of the dishwasher if your manual says they’re dishwasher safe.
- Wash the blade assembly by hand with a bottle brush. Handle it by the collar, never by the blades.
- Wipe the motor base with a damp cloth only. Never submerge it.
- Dry everything completely before reassembling. Moisture trapped in the collar promotes rust and odor.
Gasket care
The gasket is the rubber ring that seals the blade assembly to the jar. It’s the part most likely to fail first. Check it monthly for cracks, stiffness, or a stretched shape. A replacement gasket costs a few dollars and solves most leak complaints.
What not to put in the dishwasher
- The motor base, ever.
- Blade assemblies on models where the manual warns against it, since heat can degrade the seal.
- Any jar with printed measurements you want to keep readable; high heat fades them over time.
Pro Tip: If your jar smells like last week’s garlic, blend a paste of baking soda and warm water for 20 seconds, then rinse. For stubborn odors, let the jar sit overnight with a solution of warm water and white vinegar.
Troubleshooting a Blender That Won’t Run
Work through this in order before assuming the unit is dead.
- Is it plugged in? Check the outlet with another appliance.
- Is the jar seated? Many Oster models have a safety interlock that prevents the motor from running unless the jar is fully twisted into place.
- Has the thermal cutout tripped? If you were blending something thick or running it hard, unplug it and wait 15 to 20 minutes.
- Is the lid on? Some models won’t start without the lid seated, though most Oster models will.
- Is the dial in the Off position? On dial models, the blender won’t respond to a preset button if the dial isn’t at Off or Standby.
- Is the drive coupling stripped? If the motor runs but the blades don’t turn, the plastic or rubber coupling between the base and the jar may have worn out. It’s a replaceable part on most models.
If all six check out and nothing happens, the issue is internal and the unit likely needs service or replacement.
Frequently Asked Questions
How do I use an Oster blender to crush ice without damaging it?
Add 1 tablespoon of liquid per 2 cups of ice, start on Pulse for five or six bursts to break the cubes, then switch to High for 15 to 20 seconds. Never run the blender dry with only ice, and never crush more than 2 cups at a time. Let the motor rest between batches.
Why does my Oster blender stop working after a few seconds?
Most likely the thermal overload protection tripped. This happens when the motor overheats from a thick mixture, an overloaded jar, or continuous running. Unplug the blender, let it cool for 15 to 20 minutes, then resume with a smaller batch and shorter bursts.
Can I put hot soup in an Oster blender?
Only if it has cooled to room temperature or lukewarm. Hot liquid in a sealed blender jar creates steam pressure that can blow the lid off and cause burns. If you must blend warm food, fill the jar no more than halfway, remove the filler cap, and cover the opening with a folded towel.
What’s the difference between the Oster blender’s Pulse and Low settings?
Pulse runs the motor only while you hold the button, giving you short, controlled bursts ideal for chunky textures like salsa and chopped nuts. Low runs continuously at a slow speed, which is better for folding batters, emulsifying dressings, and mixing soft ingredients without aerating them.
How do I stop my Oster blender from leaking?
Check three things: that the blade assembly is screwed on squarely and hand-tight, that the gasket is intact and not stretched, and that you haven’t overfilled the jar past the MAX line. Most leaks come from a worn gasket or a cross-threaded collar, both of which are easy and cheap to fix.
Can I grind coffee beans or grains in an Oster blender?
It’s possible but not recommended for regular use. Dry grinding overheats the motor, dulls blades quickly, and produces an uneven grind. Oster makes dedicated coffee grinders for that job, and a blender is better reserved for wet blending, frozen drinks, and purees.
Matching Your Oster Model to the Task
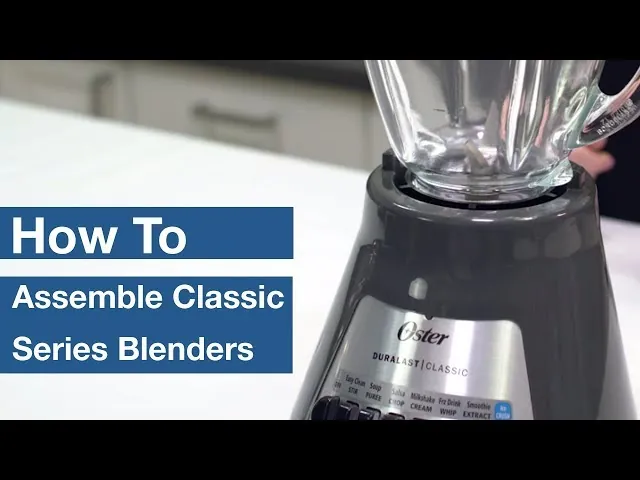
Oster sells a wide range of blenders, and the model you own changes what it’s good at. Here’s how the common categories compare.
| Model category | Typical wattage | Jar type | Best suited for | Watch out for |
|---|---|---|---|---|
| Classic 2-speed / 6-cup | 350–500 W | Glass or plastic | Smoothies, shakes, light purees | Struggles with dense frozen loads |
| 8-speed / Beehive style | 450–600 W | Glass | Everyday blending, soups, dips | Heavier and bulkier on the counter |
| Pro 1200 and similar | 1000–1200 W | Borosilicate glass | Frozen fruit, nut butters, tough greens | Louder; needs a stable surface |
| Personal Blend-N-Go sets | 250–400 W | Tritan cups | Single servings, protein shakes | Small capacity; not for ice-heavy loads |
| Immersion (hand) blenders | 200–500 W | Stainless shaft | Soups in the pot, sauces, baby food | Not for ice or thick frozen mixtures |
If you’re not sure which category yours falls into, check the label on the bottom of the motor base or look up the model number on the manufacturer’s site. Wattage is the single best predictor of what a blender can handle.
Getting Better Results from Any Oster Blender
A few habits separate people who love their blender from people who shove it in a cabinet and forget it.
- Cut ingredients into 1-inch pieces before adding them. Smaller pieces circulate better and put less strain on the motor.
- Blend in batches rather than filling the jar. Two half-full batches always beat one overfilled one.
- Start slow, then increase. Beginning on High throws ingredients up the walls before they reach the blades.
- Use frozen fruit instead of ice for cold drinks. It adds flavor and thickness without diluting.
- Chill your jar in the refrigerator for 10 minutes before making frozen drinks in summer.
- Keep the lid on and your hand on it for the first few seconds of any high-speed blend.
- Respect the rest cycle. If you’re blending something thick like nut butter, give the motor a break every minute or two.
Once you’ve got the loading order, the speed choice, and the cleaning routine down, an Oster blender handles most everyday kitchen jobs reliably. Start with a simple green smoothie tomorrow morning: liquids first, greens next, frozen fruit on top, lid locked, Low for ten seconds, then High for forty. That one run will teach you more about your machine than any manual.