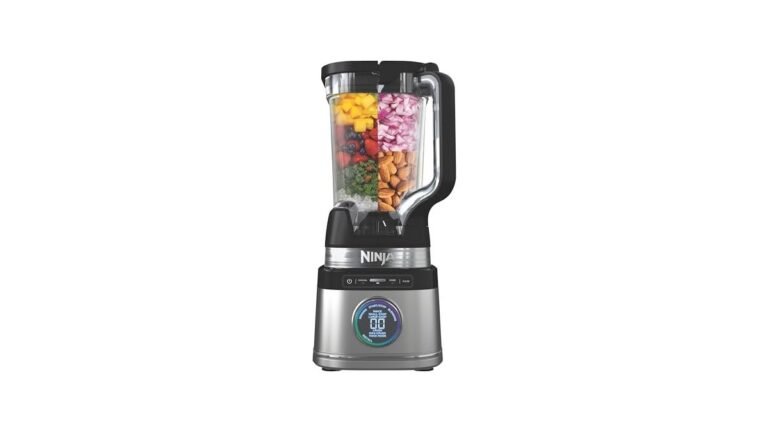
How To Put The Lid On A Ninja Blender: Step-by-Step Guide
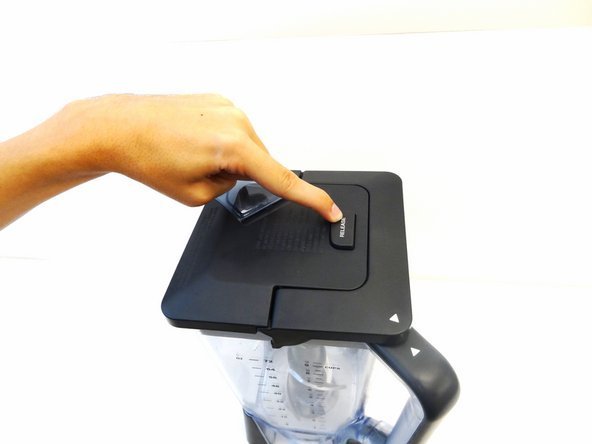
To secure the container correctly, you must align the arrows on the lid with the pouring spout and press down until the handle clicks into the locked position. Putting the lid on a ninja blender is straightforward once you understand that the locking mechanism relies on a specific sequence of pressure and alignment.
Your success depends on the model version and the amount of ingredients in the pitcher. If you overfill the container, the lid won’t seat properly, and if the safety tab is misaligned, the motor won’t engage.
Who needs to use a Ninja blender
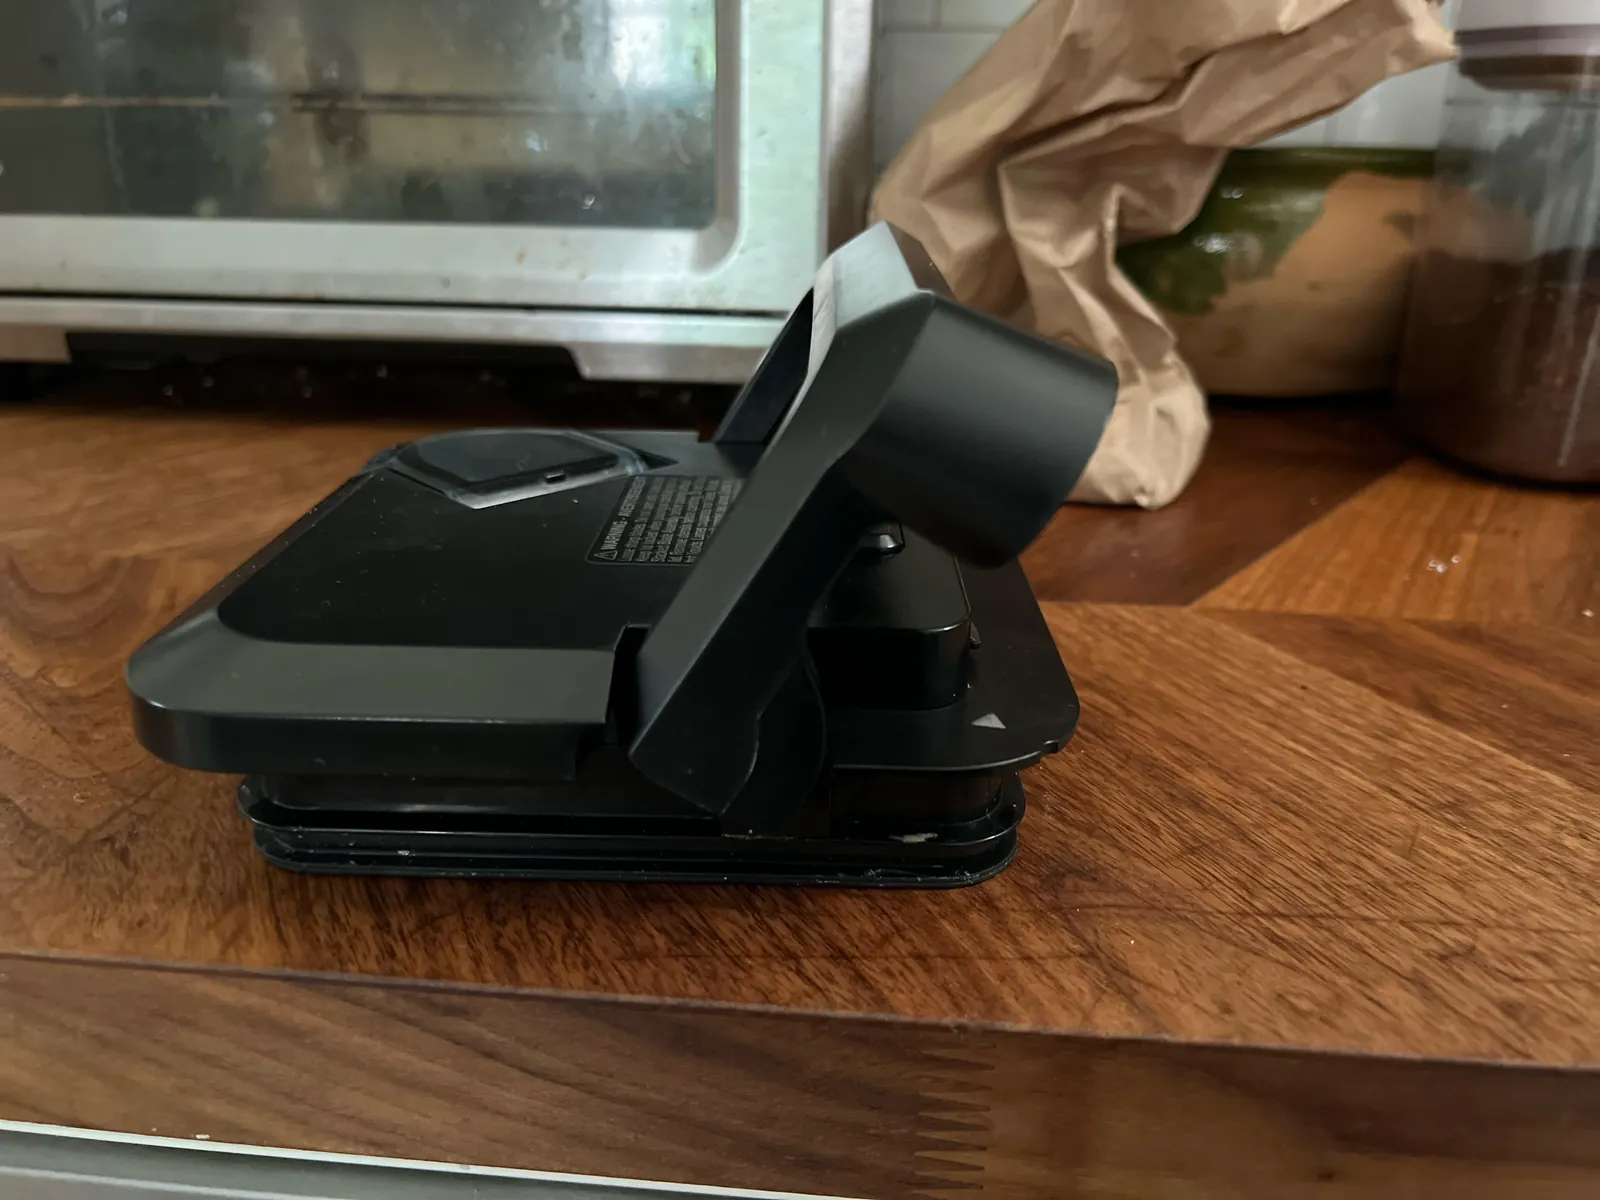
This guide is for home cooks who have recently purchased or are struggling with the safety features of a Ninja professional or kitchen system blender. You likely find that your machine refuses to start or the lid feels loose, even after you have tried to force it into place. This page serves users who own standard pitcher-style Ninja blenders with the locking handle mechanism.
If you’re using a personal “bullet” style cup that screws on directly, this guide isn’t for you, as those models function differently. The information here assumes you’re using a standard, large-capacity pitcher with a locking lid and a handle-mounted trigger. We assume your equipment is in good working order and that the plastic tabs on the pitcher rim aren’t cracked or damaged.
If you’re struggling with a unit that has visible damage to the locking clips, you should contact the manufacturer directly for replacement parts rather than attempting a workaround. This page will help you clear the most common hurdle—the safety interlock—so you can get back to blending without worrying about spills or electrical safety cutoffs.
Factors that change the result
The most important factor is the alignment of the locking tabs. The lid must slide into the grooves on the rim of the pitcher before the handle can be depressed. If you try to push the handle down before the rear of the lid is seated in the back groove, the locking mechanism will bind.
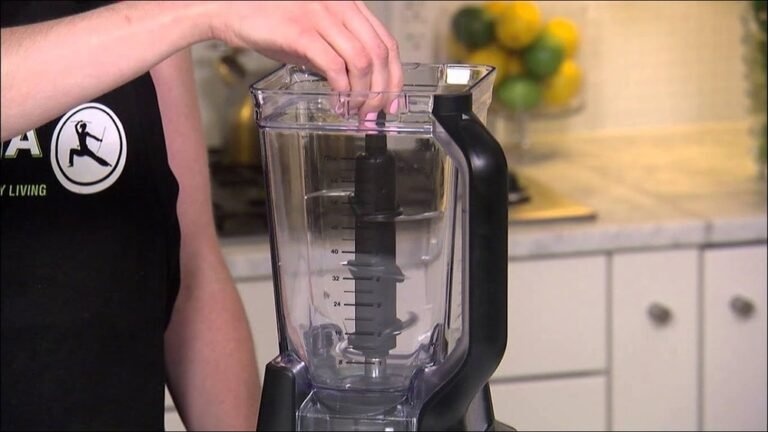
Ingredient volume is the second factor. If your ingredients rise above the “max liquid” line marked on the pitcher, the lid may not create a proper seal. This causes the internal pressure to push against the lid, which can trigger the safety sensor to shut off the motor during operation. Always keep your mixture below the marked limit to ensure the lid stays locked.
The third factor involves the cleanliness of the locking components. Food residue, such as dried smoothie mix or sticky syrups, can build up inside the handle trigger or the rim grooves. This prevents the plastic tabs from sliding fully into place. If you feel resistance, don’t force the handle, as this can snap the plastic. Instead, rinse the rim and the lid under warm water to clear the debris.
People most often make the mistake of trying to snap the lid down from the front first. This is incorrect. You must always hook the rear of the lid into the back hinge area of the pitcher before lowering the front. If you attempt to press the front down while the rear is misaligned, you’ll force the plastic, which often results in a cracked lid or a bent locking tab.
Steps to secure your blender lid
- Check that the pitcher is empty or filled only to the “max liquid” mark.
- Place the lid onto the pitcher, ensuring the pouring spout on the lid aligns with the pouring spout on the pitcher rim.
- Slide the rear portion of the lid into the locking groove located on the back of the pitcher rim.
- Press the front of the lid down firmly so that it sits flush against the rubber gasket.
- Grasp the handle trigger and pull it upward or press it down, depending on your specific model, until you hear a distinct, audible click.
- Verify the lock by gently pulling up on the handle; the lid should remain fixed to the pitcher without moving.
- Plug the unit into the power outlet only after the lid is fully locked.
- Press the power button to ensure the interface lights up, confirming the safety sensor has detected the locked lid.
The judgement call here is the amount of force you apply. You should feel a firm snap, but you should never need to use your full body weight to close the lid. If it doesn’t close with moderate pressure, stop and check for debris or misalignment. If the safety sensor still fails to detect the lid, you must stop using the machine and contact Ninja customer support, as a faulty sensor is a safety risk.
Variations at a glance
| Situation | Action | Effort | What to watch for |
|---|---|---|---|
| Empty pitcher | Align rear first | Low | Ensure gasket is clean |
| Full to max line | Press front firmly | Moderate | Check for lid bulging |
| Sticky residue | Rinse with water | Low | Look for clogged tabs |
| Damaged locking tab | Replace lid unit | High | Stop using immediately |
| Motor not starting | Re-seat the lid | Moderate | Listen for the click |
When seating an empty pitcher, always align the rear hinge before the front latch. Failing to do this often creates a microscopic gap that prevents the safety sensor from engaging. If the motor fails to start, don’t force the button. Instead, lift the lid completely and press down firmly on the center.
You should hear a distinct, mechanical click. If you hear nothing, inspect the gasket for dried food particles. Even a crumb the size of a grain of salt can prevent a flush seal.
If you’re filling to the max line, use moderate pressure on the front latch only. If you see the lid bulging upward, you have exceeded the capacity. Stop immediately and remove excess liquid. Running the motor with a bulging lid puts undue stress on the plastic locking tabs.
If a locking tab snaps, the unit is no longer safe for operation. Never attempt to bypass the safety switch with tape or magnets. This mistake can cause the pitcher to disengage while the blades are spinning at high speeds. If the lid doesn’t snap into place with a firm, audible sound, it’s time for a replacement unit. Always check the tabs for stress fractures after any accidental drop.
Details for a perfect fit
Preparing the container
Experienced users always check the rubber gasket before putting the lid on. Over time, the gasket can shift or become loose, which prevents a tight seal. If the gasket isn’t sitting flat in its channel, the lid will feel loose even when locked. Beginners often ignore the gasket, leading to leaks during high-speed blending. A quick visual check ensures the ring is seated evenly around the entire circumference of the lid.
Working in sequence
The order of operations is the primary difference between a quick setup and a frustrating one. You must complete the rear alignment before attempting to lock the handle. Experienced users perform this in one fluid motion, whereas beginners often struggle by trying to press the whole lid down at once. If you find the handle won’t lock, release the pressure and start the alignment sequence over from the back.
Troubleshooting common issues
| What you notice | What it means | What to do first | How to stop it |
|---|---|---|---|
| Lid feels loose | Gasket is unseated | Reset rubber ring | Clean gasket weekly |
| Handle won’t click | Debris in groove | Rinse the rim | Wipe rim after use |
| Motor won’t start | Lid not detected | Re-seat the lid | Check for alignment |
| Lid pops open | Overfilled pitcher | Remove ingredients | Follow max line |
| Plastic makes noise | Force was applied | Inspect for cracks | Use less pressure |
If your motor fails to start, first check the safety sensor. If the lid is seated but the machine remains silent, ensure the pitcher is locked into the base. A common mistake is forcing the pitcher into place; if it doesn’t click, you likely have dried residue in the base tracks. This friction can damage the plastic housing over time.
When the lid pops open during operation, you have exceeded the maximum fill line. The internal pressure has no room to vent, pushing the seal upward. If the liquid level is below the line and it still pops, check your gasket for hairline tears. A compromised seal loses its suction, which costs you efficiency and creates a mess.
To determine if your gasket is damaged, stretch it slightly under a bright light. If you see white stress marks or small fissures, replace it immediately. If the unit vibrates excessively, stop immediately and check the base feet for uneven wear.
Rules for safe operation
The safety interlock is a mandatory feature designed to prevent the high-speed blades from spinning while the container is open. According to the manufacturer’s user manual, the blender won’t activate unless the lid is correctly locked and the pitcher is properly seated on the base. You should never attempt to bypass the safety switch or insert objects into the interlock sensor area.
If you notice the blender cutting out during use, it’s likely the thermal protection or the safety sensor detecting an unseated lid. Don’t try to hold the lid down by hand while the motor is running. This is dangerous and can lead to spills or accidental contact with the lid if it shifts. If the lid doesn’t stay locked on its own, it’s time to order a replacement part from the official brand website.
What it costs you
The cost of this task is primarily your time and the potential replacement price of the lid assembly. A new lid assembly is generally inexpensive. While this is an expense, it’s far cheaper than replacing the entire motor base due to liquid damage from an improper seal.
The most common mistake is overtightening the locking tabs. When you force the lid past its natural stop, you create micro-fractures in the plastic housing. These invisible cracks eventually lead to catastrophic failure during high-speed cycles. If the lid feels resistant, stop immediately. Check the gasket for debris or food buildup that prevents a flush fit.
You can tell if you’re in the danger zone by the sound of the machine. Replace the gasket immediately at the first sign of wear rather than waiting for the lid to fail.
If you maintain the cleanliness of your lid and avoid forcing the locking mechanism, you can avoid these costs entirely. The effort required is minimal, but consistency is the key to extending the life of your plastic components. Treat the assembly as a precision part rather than a rugged tool to ensure your motor base remains dry and functional for years.
Keeping your lid in condition
To keep your lid working properly, wash it by hand with warm water and mild soap after every use. While many parts are labeled as dishwasher safe, high heat can warp the plastic tabs and the rubber gasket over time.
If the lid no longer seals properly, the gasket is likely the culprit rather than the plastic housing.
If you notice the handle trigger becoming stiff, a small amount of warm water can help dissolve sugar or starch buildup. Don’t use abrasive scrubbers or steel wool, as these create micro-scratches that harbor bacteria and compromise the structural integrity of the seal.
If the locking mechanism stops clicking firmly, check for hairline fractures in the plastic tabs. If you see white stress marks near the hinge, the plastic is fatigued and requires replacement to prevent a spill.
Use this simple decision rule: If the lid is stained or retains odors after a soak, perform a deep clean with a mixture of baking soda and water. If the lid fails the “click test” after cleaning, the internal spring mechanism has likely failed. You can view the specific maintenance schedule for your model in the manual provided by the manufacturer.
When to seek an alternative
If your blender lid is cracked, warped, or the locking tabs are broken, you shouldn’t attempt to use the machine. A compromised lid can’t guarantee that ingredients will stay contained during high-speed operation, which poses a risk of injury from flying debris. In this situation, the only correct alternative is to stop using the pitcher immediately and purchase a genuine replacement part.
Never use tape or external weights to hold a broken lid in place. Adhesive residue can contaminate your food, and makeshift weights often fail to provide the consistent pressure required to trigger the safety interlock switch. If you try to bypass these sensors, you risk the pitcher shifting during a cycle, which often leads to the base motor stripping its drive coupling. Repairing a stripped coupling frequently costs more than half the price of a new unit.
If the motor base itself is the issue and refuses to engage despite a perfectly functioning lid, you should consult a professional service center or the manufacturer’s support team. You can diagnose this by checking if the base engages with a known working pitcher from the same model line.
If the base remains unresponsive, the internal magnetic sensor or the control board has likely failed. In these cases, professional intervention is mandatory to avoid electrical hazards or further damage to the motor’s internal circuitry.
Frequently asked questions
Can I run the blender without the lid if I hold it down?
No, it isn’t safe to run the blender without the lid locked into place. The safety interlock system prevents the motor from spinning unless the lid is fully engaged. Attempting to bypass this is dangerous and can cause liquid to spray out of the container at high speeds.
How long should the lid last before it needs replacing?
The lid should last for the entire lifespan of the blender with proper care. There’s no set number of years, but you should replace it if you notice cracks in the plastic, a hardened or brittle rubber gasket, or if the handle trigger no longer clicks into the locked position.
Is it safe to put the lid in the dishwasher?
While many Ninja lids are dishwasher safe, hand washing is better to prevent warping. High temperatures in the dishwasher can cause the plastic tabs to lose their shape over time, which makes the lid difficult to lock. If you must use a dishwasher, place it on the top rack.
What happens if I force the handle when it’s stuck?
Forcing the handle when it’s stuck will likely break the plastic tabs or the locking mechanism. If the handle doesn’t click easily, it means there’s debris in the grooves or the lid isn’t aligned correctly. Stop, clean the rim, and try again to avoid permanent damage.
Does it matter if the gasket is slightly loose?
Yes, a loose gasket will prevent a proper seal and may cause leaks. If the gasket isn’t sitting flat in the groove, the pressure inside the pitcher won’t be contained. Remove the gasket, wash it, and press it firmly back into the channel before attaching the lid.
Why does my blender shut off while blending?
The blender will shut off if the lid isn’t fully locked or if the motor is overheating. Ensure the lid is clicked into place and that you haven’t filled the pitcher above the maximum liquid line. If the issue continues, let the unit cool down for 15 minutes.
Conclusion
Start by placing the lid on the pitcher and aligning the pouring spout. Expect a firm click when the handle is locked, confirming the machine is ready for use. If the handle fails to click despite a clean rim and proper alignment, stop and contact the manufacturer’s support team for further assistance.