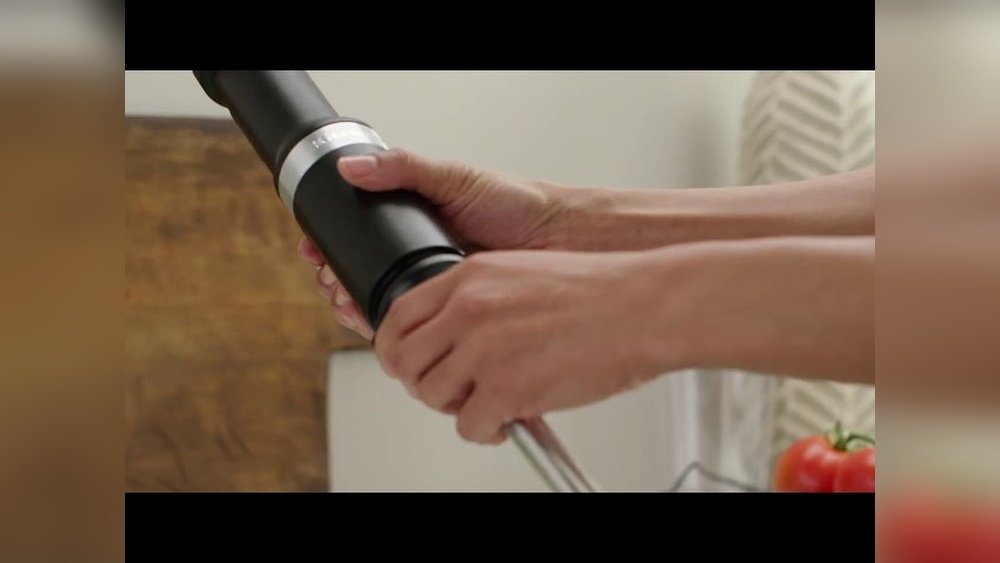
How To Charge Kitchenaid Immersion Blender: Quick & Easy Guide
Charging your KitchenAid immersion blender may seem simple, but many people overlook key steps and miss out on valuable usage tips. If you’re new to cordless kitchen gadgets or want to make sure your immersion blender stays reliable, understanding the proper charging process is essential.
This article will walk you through every step, explain common mistakes, and share practical advice for maximizing battery life. You’ll also find useful data, comparisons, and answers to frequent questions, all designed to help you use your KitchenAid immersion blender with confidence.
Understanding Your Kitchenaid Immersion Blender
The KitchenAid immersion blender is a popular tool for blending soups, sauces, smoothies, and more. Unlike traditional blenders, it’s handheld and often cordless, giving you flexibility in the kitchen. Cordless models rely on a rechargeable battery, making charging an important part of daily use.
Cordless immersion blenders use lithium-ion batteries, which are known for their quick charging and long-lasting power. You’ll usually find a charging port or dock included in the box. Knowing the battery type and charging mechanism helps you avoid mistakes and ensures the blender performs well.
Key Features
- Cordless convenience: No tangled cords, easy to move. You can blend ingredients directly in pots or bowls, and even take the blender outside for picnics or barbecues.
- Rechargeable battery: Usually lithium-ion, lasting through multiple uses. Lithium-ion batteries are less likely to lose charge quickly compared to older battery types, like nickel-cadmium.
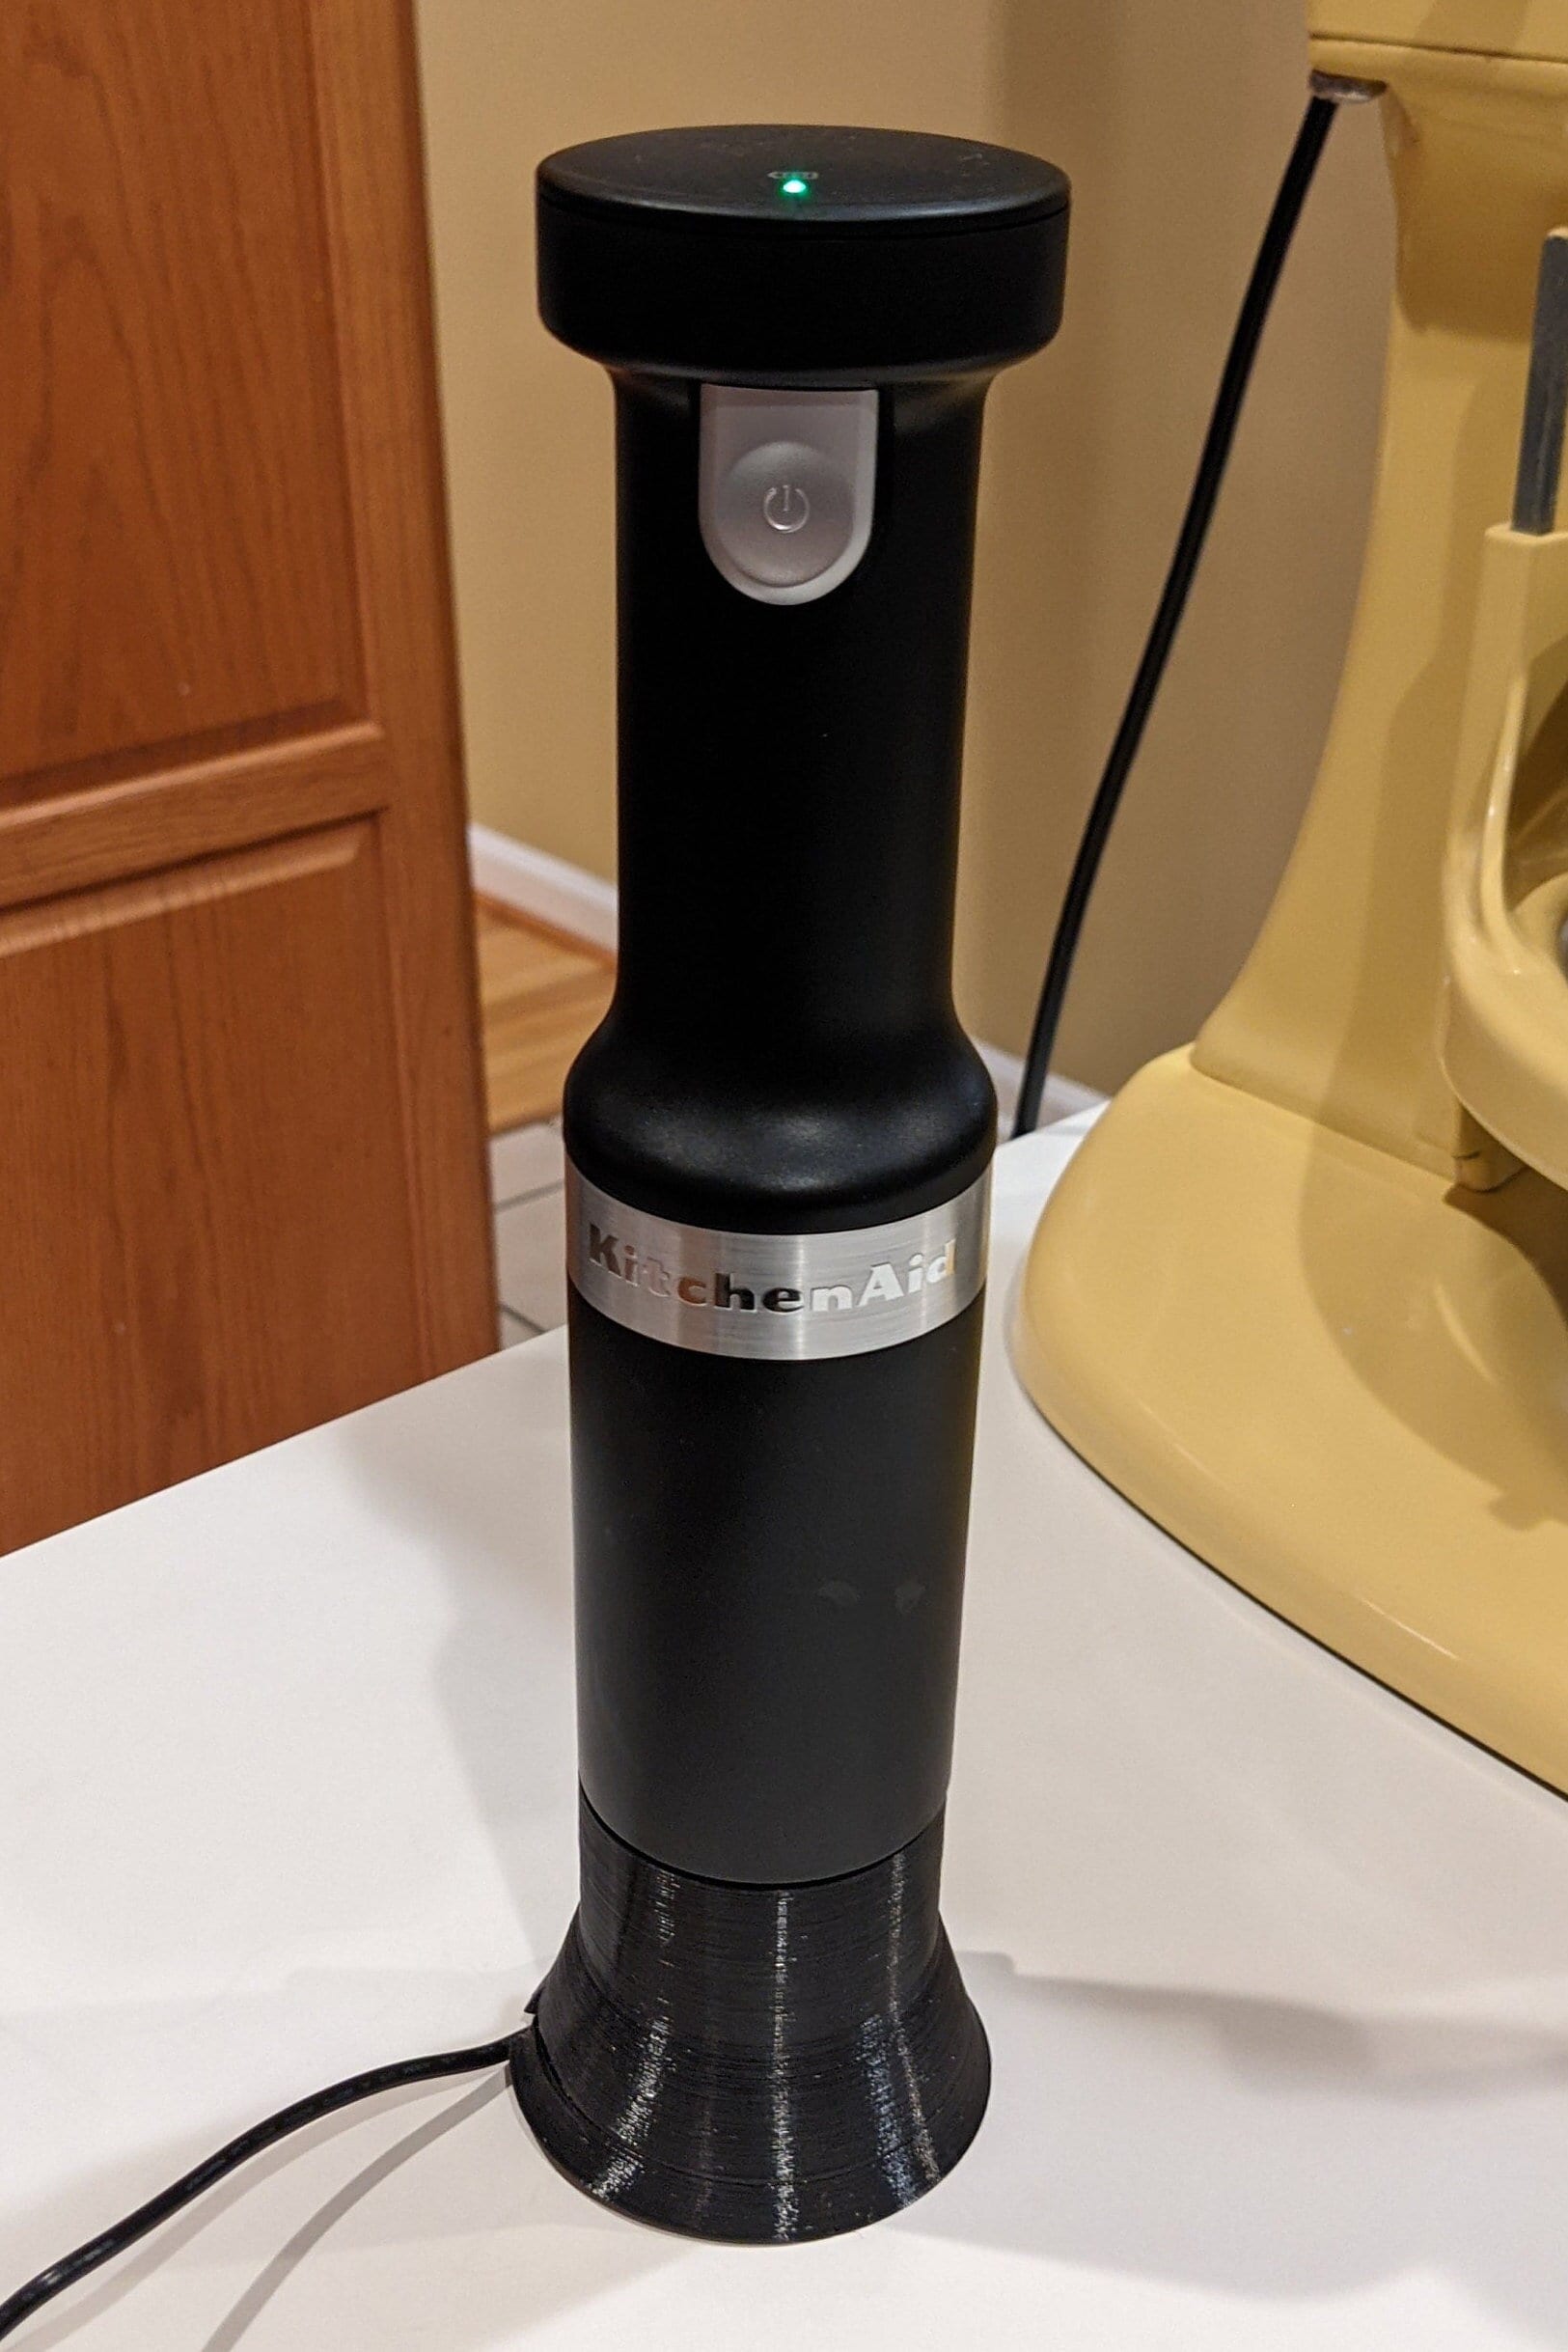
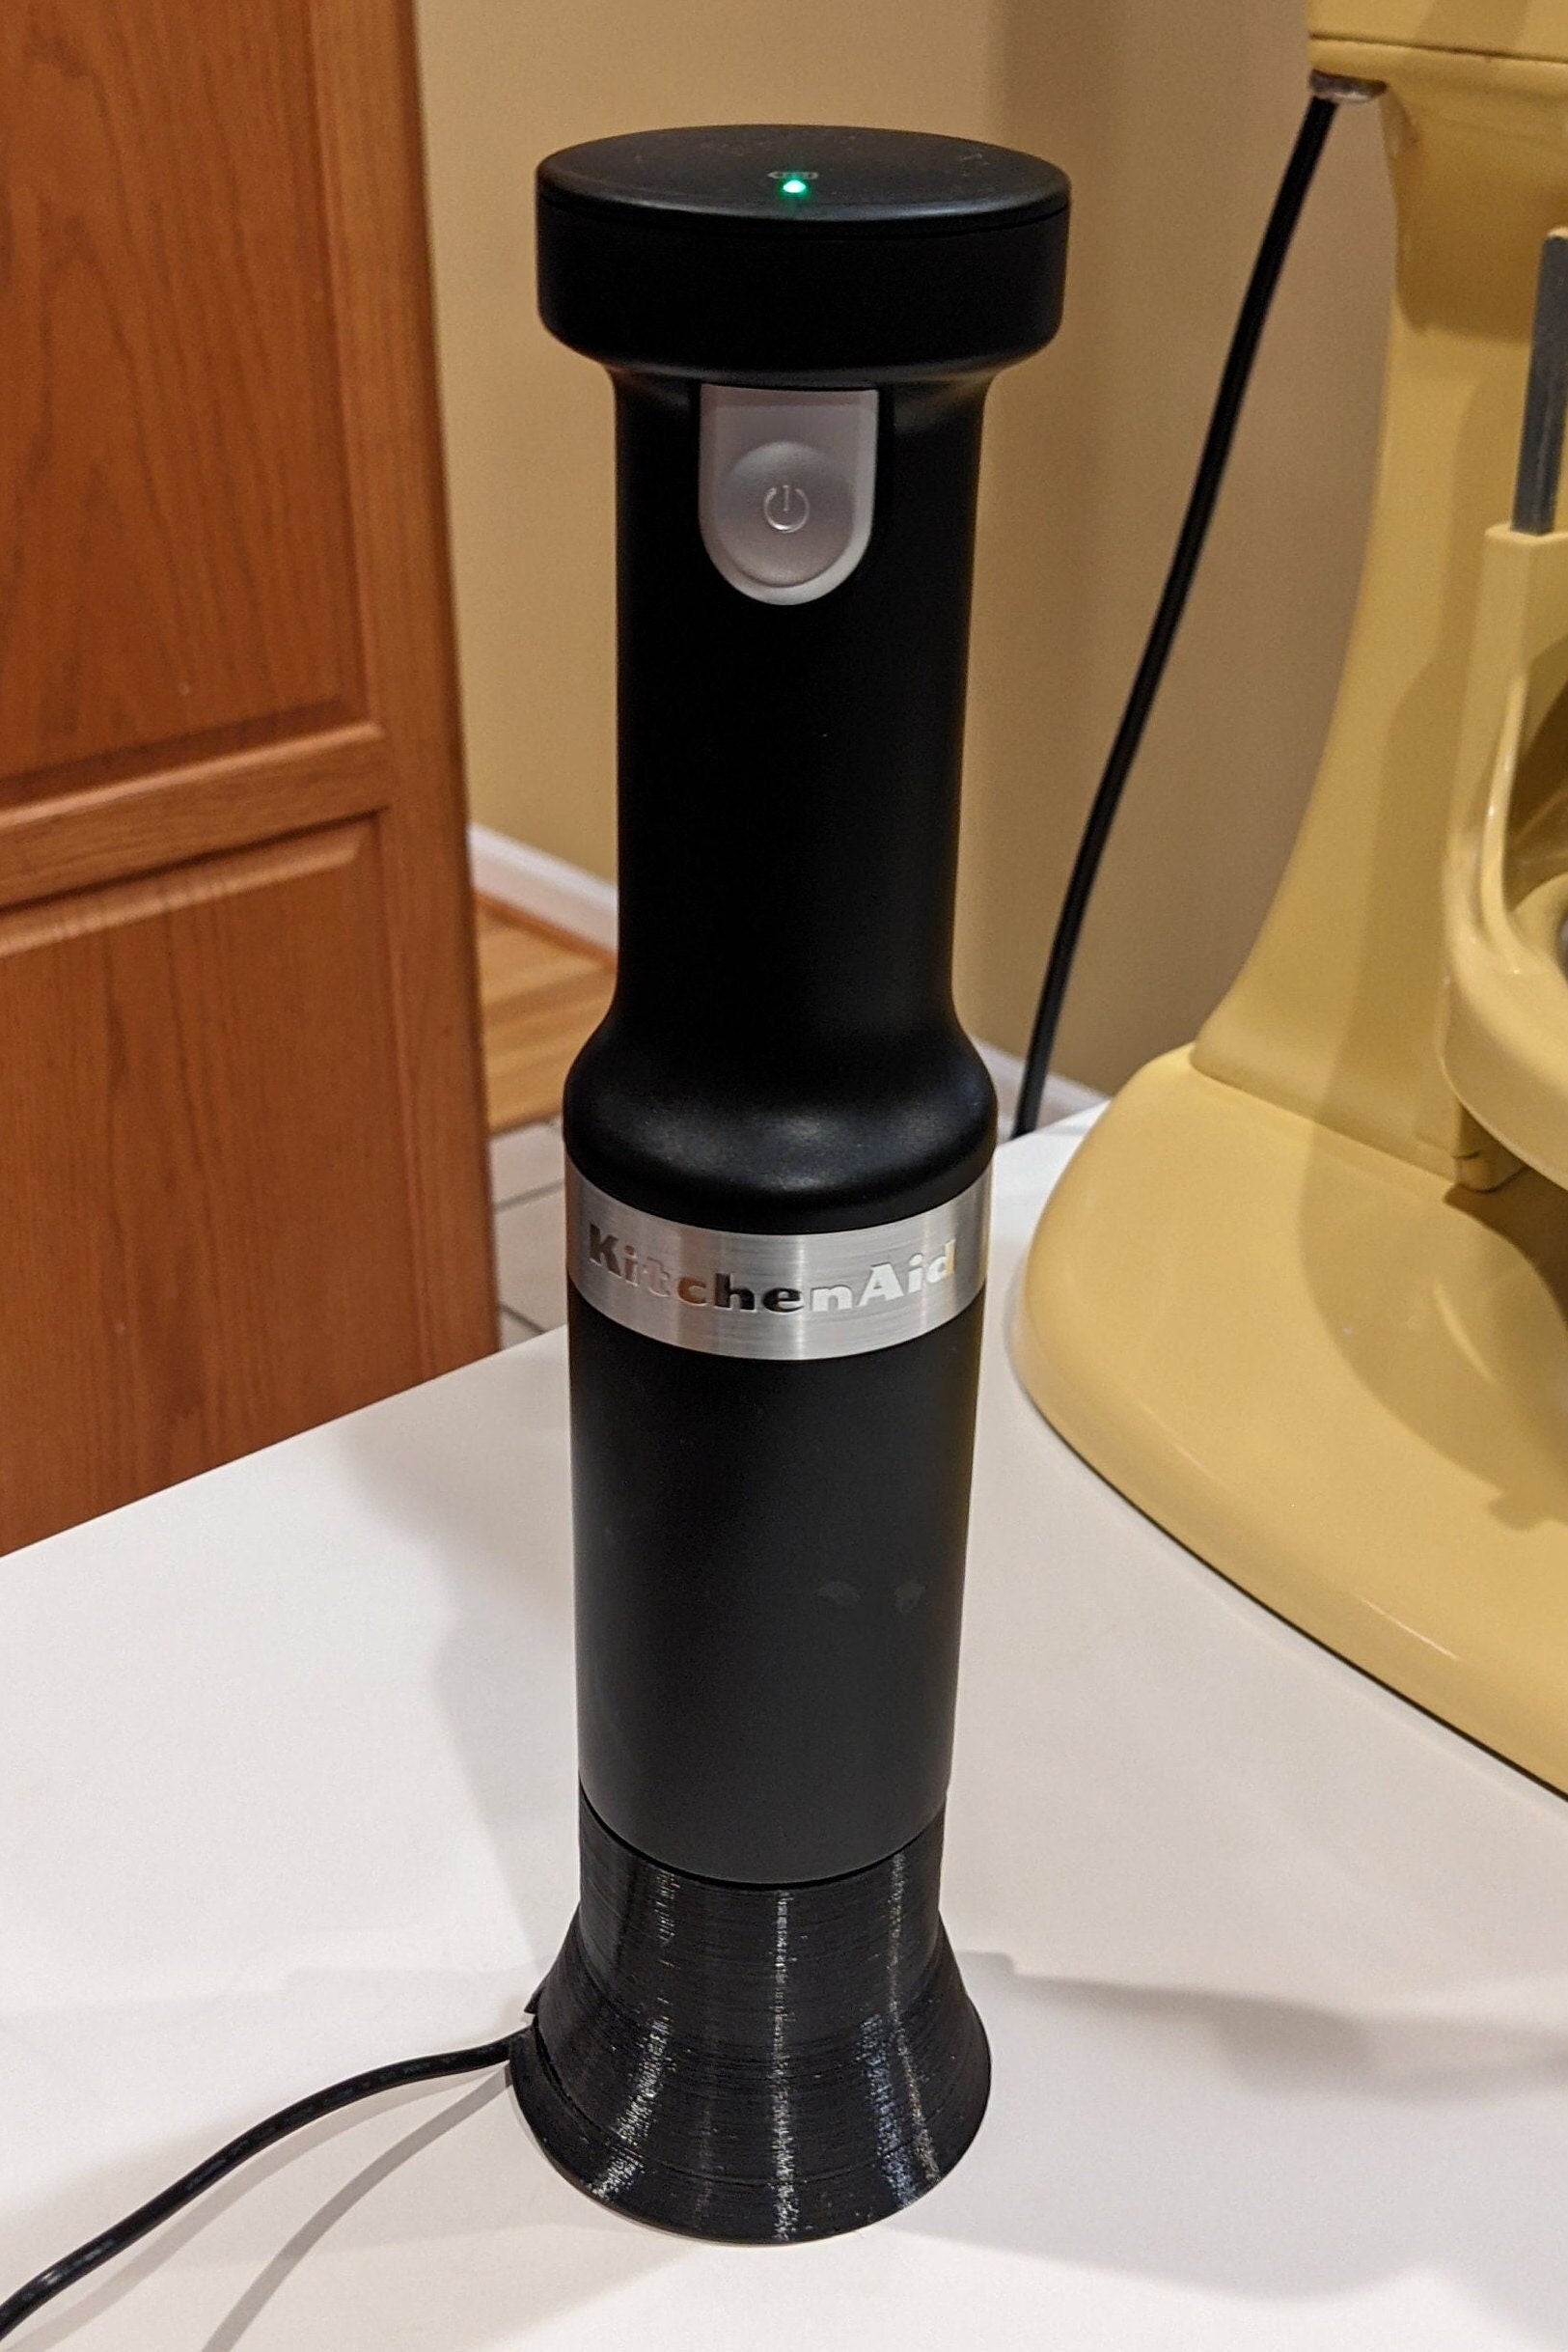
- LED indicators: Show battery status and charging progress. Some models have multi-color LEDs, while others use a simple green/red system.
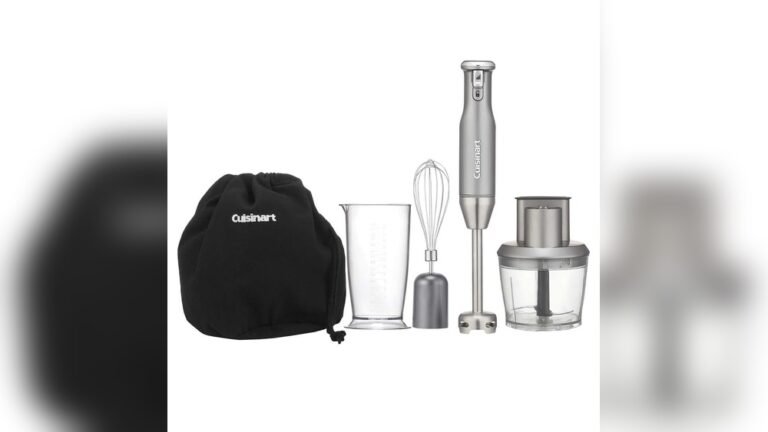
- Detachable accessories: Easy cleaning and storage. The blending arm, whisk, or chopper can be washed separately, reducing mess and simplifying maintenance.
Battery Specifications
Most KitchenAid cordless immersion blenders feature a 12V lithium-ion battery. These batteries typically offer:
- Up to 20 minutes of continuous blending per charge. For example, you can puree a pot of soup, make a smoothie, and whip cream before needing to recharge.
- Charging time of 2–3 hours for a full battery. This is fast compared to older rechargeable kitchen gadgets.
- Hundreds of charge cycles before battery replacement. KitchenAid batteries are designed to last for years with normal use.
This gives you enough runtime for several recipes before needing to recharge. If you’re preparing multiple dishes or have guests, you can finish most tasks without interruption.
Preparing To Charge: What You Need
Before charging your KitchenAid immersion blender, gather these items:
- Blender base: The main handheld part with the battery.
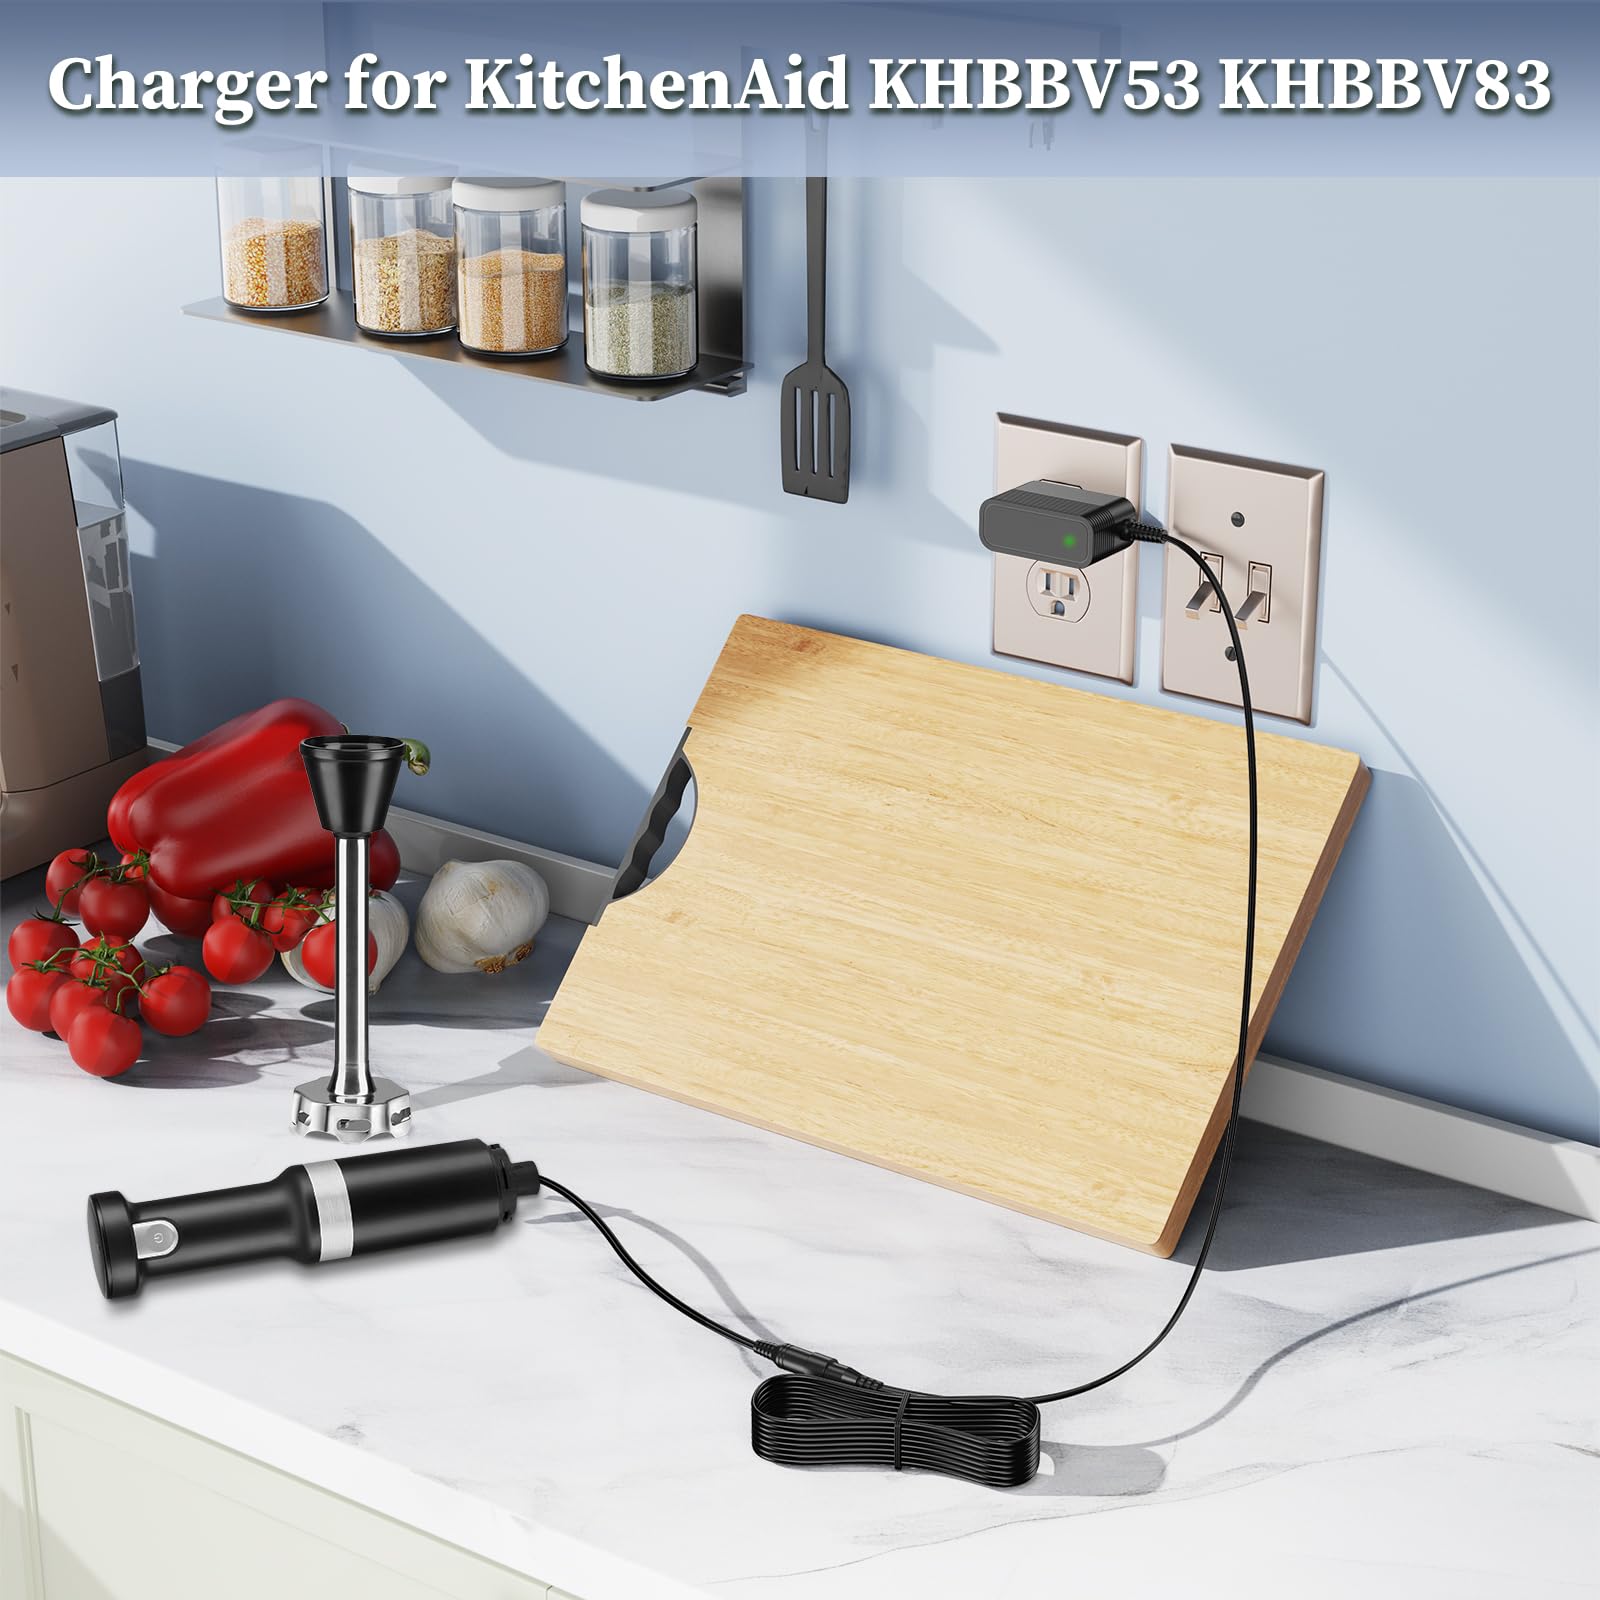
- Charging cord or dock: Included with the product. Some models use a USB-style cable, while others come with a custom dock.
- Power outlet: Standard US wall socket. If you’re outside the US, use the correct adapter and voltage.
Always use the official KitchenAid charger. Using third-party chargers may damage the battery or void your warranty. Even if another charger fits, it might supply the wrong voltage or current, which could shorten battery life or cause charging errors.
Safety Precautions
- Place the charger on a dry, flat surface. This prevents accidental drops or spills.
- Avoid water or moisture near the charging area. Moisture can cause short circuits or damage the battery.
- Check the charger for visible damage before use. Look for bent prongs, exposed wires, or cracks in the casing.
- Do not plug in the charger if the cord is frayed. A damaged cord can cause electrical shocks or fires.
These steps help prevent electrical accidents and protect your blender. If you notice any damage, contact KitchenAid support before attempting to charge.
Credit: www.amazon.com
Step-by-step: How To Charge Kitchenaid Immersion Blender
Charging your immersion blender is straightforward if you follow these steps:
1. Remove Attachments
Detach any blending arms, whisks, or accessories from the main body. The battery is inside the base, so only the base needs charging. If you charge with attachments, they can block the port or damage the connection.
2. Locate The Charging Port
On most models, the charging port is near the bottom or side of the blender’s main body. It’s often covered by a small rubber flap for protection. Gently lift the flap to access the port.
3. Connect The Charger
Plug the charger into the port. If you have a charging dock, simply place the blender in the dock. Make sure the connection is secure. If you feel resistance or the plug doesn’t fit smoothly, check for debris or misalignment.
4. Plug Into Power
Insert the charger’s plug into a standard wall outlet. The LED indicator on the blender will light up, showing charging has started. If you don’t see the LED, check that the outlet is working and the charger is properly connected.
5. Monitor Charging
Watch the LED indicator:
- Red light: Charging in progress. On some models, the red light may pulse or stay steady.
- Green light: Fully charged. Some blenders turn off the light automatically after a few minutes.
- Flashing: Error or incorrect connection. If you see a flashing light, unplug and reconnect, or check the manual for error codes.
Charging usually takes 2–3 hours. You don’t need to monitor constantly, but avoid leaving the blender plugged in for days. If you’re in a hurry, a partial charge (30–60 minutes) can give enough power for a quick job.
6. Disconnect When Charged
When the LED shows green, unplug the charger and remove the blender. Overcharging can reduce battery lifespan, so try to remove it soon after charging is complete. If you forget and leave it overnight occasionally, it’s not a disaster, but don’t make it a habit.
7. Store Properly
Store the blender in a dry place. Avoid extreme temperatures, which can affect battery health. For example, don’t leave it in direct sunlight or near a stove.
Charging Summary
Here’s a quick overview:
| Step | Action | Notes |
|---|---|---|
| 1 | Remove attachments | Only the main base needs charging |
| 2 | Find charging port | Usually near bottom/side |
| 3 | Connect charger | Secure connection is important |
| 4 | Plug into outlet | Use standard wall socket |
| 5 | Monitor LED | Red: charging, Green: charged |
| 6 | Disconnect | Don’t overcharge |
| 7 | Store blender | Dry, cool place |
Charging Times And Battery Life
Knowing how long to charge your KitchenAid immersion blender helps you plan kitchen tasks and keep the battery healthy.
Typical Charging Times
Most KitchenAid models need 2–3 hours for a full charge. The exact time depends on:
- Battery size (usually 12V)
- Age and condition of battery. Batteries slowly lose capacity over time, so older units may take longer.
- Room temperature
Charging in a hot or cold room can affect speed. Lithium-ion batteries charge fastest at room temperature (68–77°F). If you live in a very cold climate, try charging indoors.
Battery Life Expectancy
A fully charged blender can blend for about 20 minutes continuously. For most home cooks, this means 3–5 uses before needing a recharge. If you only blend small batches, the battery can last longer between charges.
Over time, battery capacity decreases. KitchenAid lithium-ion batteries usually last 300–500 charge cycles before noticeable decline. One charge cycle means fully charging from empty. If you charge often but rarely fully drain the battery, it may last even longer.
How Charging Time Compares
Here’s a comparison with other cordless kitchen tools:
| Device | Battery Size | Charging Time | Run Time |
|---|---|---|---|
| KitchenAid Immersion Blender | 12V | 2–3 hours | 20 mins |
| Cordless Hand Mixer | 7.2V | 3–4 hours | 30 mins |
| Cordless Food Chopper | 10V | 2 hours | 15 mins |
As you see, the immersion blender has a reasonable charging time and runtime compared to similar kitchen gadgets. If you plan big cooking sessions, consider charging all devices in advance.
Credit: www.etsy.com
Maximizing Battery Performance
Getting the most from your blender’s battery isn’t just about charging—it’s about smart usage and care. Here are practical tips:
- Charge fully before first use: This helps the battery calibrate. Manufacturers often ship batteries with partial charge, so a full charge ensures accurate battery readings.
- Avoid deep discharge: Recharge before the battery is completely empty. Running the battery to zero repeatedly can shorten its lifespan.
- Don’t overcharge: Unplug after the LED turns green. If your model has auto shut-off, it’s safer, but manual unplugging is best.
- Store at room temperature: Extreme heat or cold harms the battery. For example, avoid storing the blender in a garage or near a heater.
- Use regularly: Batteries stay healthy with regular use. If you use the blender only a few times a year, try to charge and run it monthly to keep the battery active.
- Clean charging contacts: Dust or grease can block charging. Use a dry cotton swab, not water, to clean the port.
Non-obvious Insights
- Partial charging is safe: Unlike older batteries, lithium-ion doesn’t need full discharge before recharging. You can “top up” whenever you want, with no harm.
- Long-term storage: If you won’t use the blender for months, store it at about 50% charge to prevent battery stress. Fully charged or empty batteries can lose capacity if not used for a long time.
These tips help your KitchenAid immersion blender last longer and perform better. For advanced users, consider keeping track of charge cycles to predict when the battery may need replacement.
Troubleshooting Common Charging Problems
Sometimes, your blender doesn’t charge as expected. Here’s how to fix common issues:
Blender Doesn’t Charge
- Check charger: Is it plugged in and working? Try another device in the outlet to confirm.
- Inspect port: Look for dust or debris. Use a flashlight if needed.
- LED error: Flashing lights may mean a loose connection. Remove and reinsert the charger.
Try another outlet or test the charger with another device, if possible. If the charger works elsewhere, the problem may be the blender.
Led Indicator Not Working
- Reset blender: Unplug and reconnect after 5 minutes. Sometimes, electronics need a brief reset.
- Check manual: Some models require specific steps. For example, pressing a button or holding the power key.
Charger Gets Hot
- Unplug immediately: Hot chargers can be dangerous. This can indicate a short circuit or overload.
- Let cool: Wait before trying again. Don’t cover the charger while in use.
- Check for damage: Replace if the cord is frayed. Always buy official replacements.
Blender Charges Slowly
- Room temperature: Move to a cooler spot if it’s hot. Charging in warm environments slows the process.
- Battery age: Older batteries charge slower. If your blender is more than three years old, slower charging is normal.
- Clean contacts: Use a dry cloth on the port. Sometimes, even small amounts of dust can cause problems.
When To Seek Help
If you’ve tried all fixes and your blender still won’t charge, contact KitchenAid customer support. Most models have a one-year warranty covering battery issues. If your warranty has expired, KitchenAid can often recommend repair or replacement options.
Comparing Cordless Vs Corded Models
Choosing between a cordless and corded immersion blender depends on your kitchen habits. Here’s a practical comparison:
| Feature | Cordless | Corded |
|---|---|---|
| Mobility | High | Limited |
| Power | Moderate | High |
| Charging Needed | Yes | No |
| Runtime | 20 mins per charge | Unlimited |
| Weight | Lighter | Heavier |
| Price | Higher | Lower |
Cordless blenders are best for small kitchens, outdoor cooking, or when you want to avoid cords. Corded models suit heavy blending tasks and unlimited runtime. If you blend large batches or need high power for tough ingredients (like nuts or ice), a corded model may be better.
A non-obvious insight: Cordless blenders are quieter than corded ones, since they have less powerful motors. If noise is a concern, cordless may be preferable.
Frequently Asked Questions
How Often Should I Charge My Kitchenaid Immersion Blender?
Charge your blender after every 3–5 uses, or when the LED indicator shows low battery. For best battery health, avoid letting the battery go completely empty before recharging. If you use the blender daily, it’s fine to charge every night.
Can I Use The Blender While It’s Charging?
No, KitchenAid immersion blenders are designed to operate only when unplugged. This protects the battery and keeps you safe from electrical hazards. Using while charging can cause overheating or electrical faults.
What Do The Led Lights Mean?
The LED indicator shows the charging status:
- Red light: Charging
- Green light: Fully charged
- Flashing: Error or loose connection
Check your user manual for model-specific LED meanings. Some models may use blinking to signal battery health or charging speed.
Is It Safe To Leave The Blender Charging Overnight?
While modern chargers stop supplying power when full, it’s best to unplug your blender soon after charging finishes. Leaving it plugged in for days can shorten battery lifespan. If you forget overnight once in a while, don’t worry, but avoid making it a routine.
Where Can I Buy A Replacement Charger?
You can buy official KitchenAid chargers from their website or authorized retailers. Avoid third-party chargers, as they may not match the voltage or could damage your blender. For more information, visit the KitchenAid Official Site.
Credit: www.3d-elemental.com
Final Thoughts
Charging your KitchenAid immersion blender correctly isn’t just about plugging it in. By understanding battery types, charging times, and common mistakes, you can keep your blender running smoothly for years. Remember to use the official charger, monitor the LED indicator, and store your blender properly.
Regular care and smart charging habits help you enjoy the full benefits of cordless blending—without unexpected interruptions.
Whether you’re blending soups, making smoothies, or whipping up sauces, a well-charged KitchenAid immersion blender is a valuable kitchen companion. With these tips, you’ll always be ready to cook, blend, and create with confidence. For best results, make charging part of your kitchen routine, and don’t hesitate to reach out to KitchenAid if you run into trouble.
Your blender—and your recipes—will thank you.