How To Clean Vitamix Blender
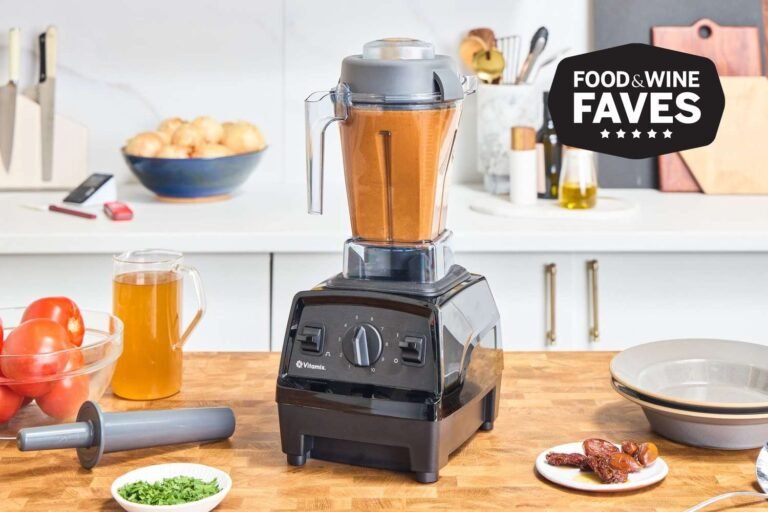
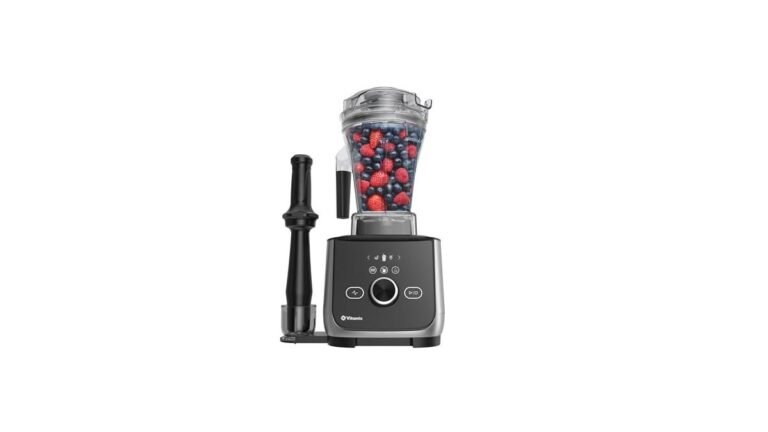
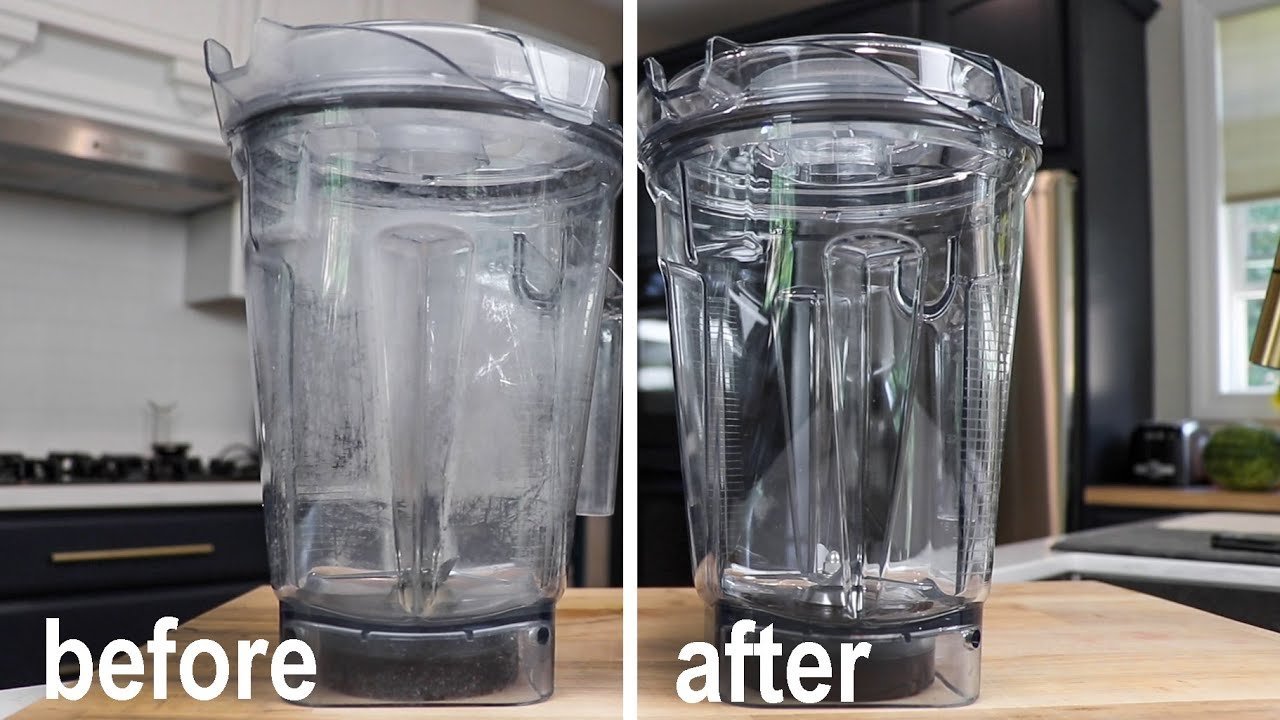
How to clean Vitamix blender takes under 60 seconds with warm water, a drop of dish soap, and the self-cleaning cycle. For tough residue, fill the container halfway with water, add one teaspoon of baking soda, and run it on high for 30–60 seconds. This method works for all Vitamix models, including the Ascent and Explorian series. The key factors that change the process are how often you use it, what you blended (oily, sticky, or fibrous), and whether you rinse right after use.
Who needs to clean their Vitamix blender

This page helps people who blend smoothies, nut butters, or soups daily and hate scrubbing their blender. It’s for those who’ve tried rinsing with cold water and still found dried bits stuck to the blades. It also helps people who bought a Vitamix thinking it’s “set and forget,” then got frustrated when food built up over time.
If you’ve used vinegar, bleach, or a brush and ruined the finish, this is for you too. It’s not for someone who blends once a week and rinses immediately — they don’t need this guide. This article assumes you use your blender regularly, blend thick or sticky ingredients, and want a fast, safe method that won’t damage the container or motor base.
If you blend almond butter, peanut butter, or protein shakes, you’re in the target group. Those sticky residues don’t just cling — they harden into a glue-like film that resists soaking and scrapes off only with force. That force is what cracks the plastic, dulls the blades, or seeps into the seal around the base.
People who scrub with steel wool or baking soda paste often think they’re cleaning — they’re actually wearing down the jar’s surface, creating micro-scratches where bacteria hide. You’ll see it next time you make a light-colored smoothie: faint gray streaks where the plastic has been abraded. That’s not dirt. That’s damage.
If you blend five or more times a week, and your blender sits on the counter for hours after use, you’re already losing time and risking contamination. The real cost isn’t the extra minute of cleaning — it’s the months of degraded performance, the eventual replacement, or the lingering odor that no amount of vinegar removes. This guide gives you the one method that works every time without touching the jar.
You don’t need to disassemble anything. You don’t need special tools. You just need water, a drop of dish soap, and ten seconds after each use. Do it before you walk away. Do it before you rinse the spoon. Do it while the motor’s still warm. That’s the rule.
What decides the outcome
How often you clean it matters most. If you rinse the container right after use — even just with a quick swish of warm water — cleaning takes 10 seconds next time. If you wait 12 hours, you’ll need baking soda and a full cycle. The type of food you blend changes it too. Oily nut butters leave a film; fibrous greens stick to the blades; sticky dates or banana pulp harden into glue.
You can tell which you’re dealing with by how the water swirls: oily water beads up, sticky water clings to the sides. The container’s material also affects cleaning. Vitamix’s low-profile containers (like the 48-oz) have narrower blades and trap more residue than the tall 64-oz model. Check your model number on the base — it’s printed near the power cord. The biggest mistake? Letting food dry. Once it hardens, even the self-clean cycle needs help.
Step by step
- Rinse the container with warm water immediately after use — don’t wait. Swirl it for 5 seconds to loosen bits.
- Add 1–2 cups of warm water (not hot) and one drop of dish soap to the container.
- Secure the lid tightly — the blender won’t start if it’s loose.
- Set the dial to “Clean” if your model has it. If not, run on high (10) for 30–60 seconds.
- Pour out the soapy water. Check the blade area — if any bits cling, repeat step 2–4.
- Rinse the container again with clean water. Wipe the outside and lid with a damp cloth.
- Dry the container upside down on a rack. Never store it sealed while wet — mildew grows inside.
The judgment call: if the blades still feel sticky after two cycles, don’t force it. Stop and use baking soda (next section). Forcing it risks motor strain or cracked blades.
The variations at a glance
| Situation | What to do | What it takes | What to watch for |
|---|---|---|---|
| Blended nut butter | Add 1 tsp baking soda + warm water, run 60 sec | 2 minutes | Film may remain — wipe with microfiber cloth |
| Blended greens or soup | Use soap + self-clean cycle | 1 minute | Fibers cling to lid seal — clean under rim |
| Leftover dried oatmeal | Soak 10 min in warm water, then clean | 15 minutes | Hard chunks can crack blades if forced |
| Used daily, rinsed right after | Just rinse and self-clean | 30 seconds | Water spots form if air-dried in sun |
| Used once a week, not rinsed | Baking soda + 60 sec cycle | 3 minutes | Smell lingers — air out container overnight |
| Lid or gasket stuck | Soak lid in warm soapy water, twist gently | 10 minutes | Never pry with metal — scratches the seal |
| Blender smells sour | Run cycle with 1 cup vinegar + 1 cup water, then rinse | 5 minutes | Vinegar may leave residue — rinse twice |
What separates a good result from a poor one
Prep matters more than power
Experienced users rinse the container while it’s still warm — heat loosens residue. Beginners wait until it’s cold, then scrub. A warm rinse cuts cleaning time by 80%. You can feel the difference: if the water beads, it’s oily. If it sheets off, it’s clean.
They never use abrasive tools
Experts never use steel wool, stiff brushes, or oven cleaner. Vitamix containers are made of Eastman Tritan — tough, but scratches easily. A scratch holds bacteria. They use a soft sponge or microfiber cloth. If you see fine scratches, stop scrubbing. The manufacturer says Vitamix container care only recommends mild soap and water.
What goes wrong, and what to do
| What you notice | What it usually means | What to do first | How to stop it happening again |
|---|---|---|---|
| White film on container | Hard water minerals | Rinse with vinegar water, then plain water | Use filtered water for cleaning |
| Sticky residue after cleaning | Dried food, not soap | Add baking soda, run 60 sec | Rinse within 5 minutes of use |
| Blender won’t start | Lid not locked | Check lid alignment, press down firmly | Always hear the click before turning on |
| Sour smell | Mildew in lid seal | Remove lid, wash seal with soapy brush | Dry lid upside down after every use |
| Blades feel dull | Food buildup, not wear | Clean with baking soda cycle | Don’t let thick blends sit overnight |
| Water leaks from base | Damaged gasket | Replace seal — order from Vitamix | Never soak base in water |
| Cloudy container | Scratches from scrubbing | Stop using abrasive tools | Only use soft cloths or sponges |
The rules that apply
Vitamix says not to immerse the motor base in water — even for a second. Water can enter the base and damage the electronics or create a shock risk. Always wipe the base with a damp cloth, never run it under the tap. If your base gets wet, unplug it immediately and let it dry thoroughly before use.
Vitamix’s official care guide says: “Never submerge the motor base.” Vitamix container care confirms this. Never use bleach, oven cleaner, or dishwasher detergent — they degrade the plastic. Dishwasher use isn’t recommended by Vitamix, even if the container is labeled “top-rack safe.” The heat warps the seal over time.
What it costs you
Time is the real cost: seconds saved now prevent minutes lost later. The materials needed are common household items with no added expense. The risk, however, is significant—improper cleaning can damage the unit or invite harmful growth. Daily use demands immediate attention; even weekly use requires consistent care. Mold doesn’t delay.
Keeping it right afterwards
Dry the container upside down—never seal it while damp. Moisture trapped in the gasket breeds mold unseen. Check weekly: if it feels sticky, smells sour, or shows white residue, clean it immediately with warm soapy water and a soft cloth. Never use a brush. Dry thoroughly and leave off the container overnight. Replace the seal if it cracks, flattens, or loses elasticity. Even with regular rinsing, residue hides in its folds. Clean it regularly—it’s the line between hygiene and contamination.
When this is the wrong approach
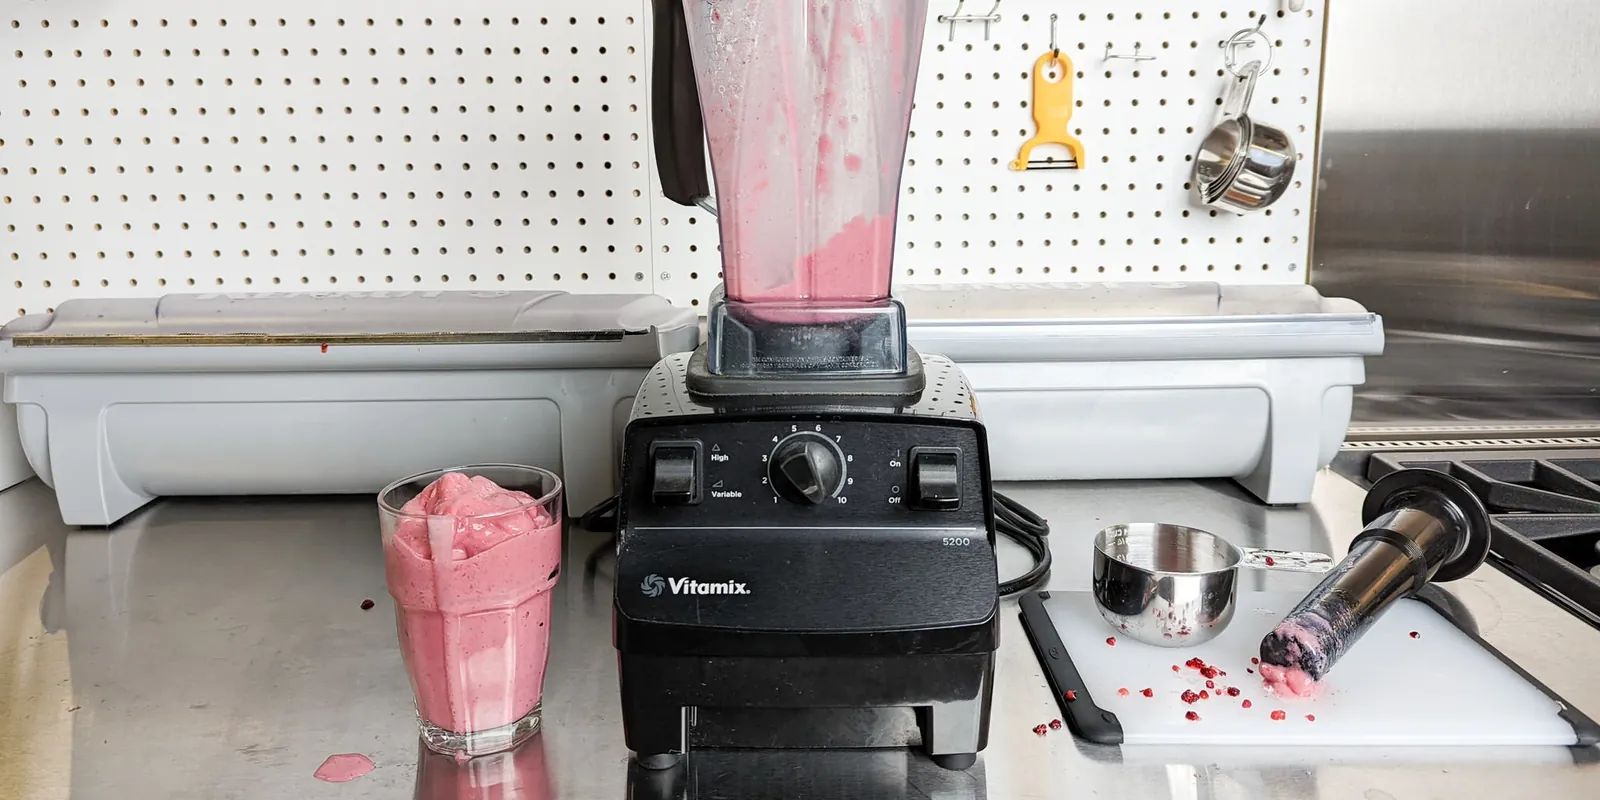
This method won’t fix a cracked container, a leaking base, or blades that won’t spin. If the motor hums but doesn’t turn, or the container has deep scratches, cracks, or leaks—stop. These need professional attention. Don’t attempt motor repairs—capacitors hold dangerous charge even when unplugged. If you smell burning plastic or hear grinding, unplug and contact support. This guide applies only to routine cleaning, not mechanical failure.
If the blades spin slowly under light load but stall when you add anything thick, the issue isn’t dirt — it’s worn gears or a failing motor. A clean unit should handle frozen fruit or nuts without hesitation. If it strains even with water and ice, the problem is internal.
No amount of vinegar or baking soda will restore torque. Many users keep running it, thinking more time will help, but that overheats the motor and shortens its life. You’ll end up paying twice: once for the failed fix, once for the new machine.
If the base is cracked near the sealing ring, even a tiny gap lets liquid seep into the electronics—corrosion follows. Unplug immediately. Don’t tape it or hope it dries out. Moisture inside fries circuit boards. Replace the container. Keep the motor if it still performs.
Frequently asked questions
How long does it take to clean a Vitamix blender?
Under 60 seconds if you rinse right after use. If food is dried, expect 3–5 minutes with baking soda and the self-clean cycle. Time depends on how long you waited to clean.
Is it safe to put a Vitamix container in the dishwasher?
Vitamix says no. Even if the container is labeled top-rack safe, heat warps the seal over time, causing leaks. Hand wash with soap and water instead.
Why does my Vitamix still smell after cleaning?
Mold or bacteria grew in the lid gasket. Remove the lid, wash the seal with soapy water, and dry it completely. Clean it monthly, even if you rinse daily.
Can I use vinegar to clean my Vitamix?
Yes, but only for odors. Mix 1 cup vinegar and 1 cup water, run 60 seconds, then rinse twice. Don’t use vinegar regularly — it can dull the container finish over time.
What happens if I don’t clean my Vitamix after blending nut butter?
Oily residue hardens into a film that traps bacteria. It won’t wash off with water alone — you’ll need baking soda and a full cycle. Left untreated, it can cause sour smells or mold.
Does it matter if I use hot or cold water?
Yes. Warm water (not boiling) loosens grease and sugar faster. Cold water won’t dissolve oils — you’ll need more soap and longer cycles.
Is it normal for the blades to look dull after years of use?
Yes. Vitamix blades are hardened steel — they don’t rust, but food residue can build up and mask their shine. Cleaning with baking soda removes residue and restores appearance. If the blades no longer cut effectively, they may be worn — contact Vitamix.
What to do next
Start by rinsing your blender with warm water right after use—don’t wait. Swirl for five seconds while the blade spins, then dump it out. This cuts deep cleaning to under 30 seconds. If residue remains, run a baking soda cycle: one teaspoon with warm water, 30 seconds on high. Stop if the motor hesitates, whines, or smells hot—that’s not normal. Call Vitamix before trying again. Early reporting preserves your warranty.