How To Disassemble Nutribullet Blender Parts Safely
Taking apart a NutriBullet blender means separating the cup, blade assembly, gasket and motor base. Disassembling the parts safely keeps you from breaking the plastic tabs or cutting yourself on the blades. You’ll need only your hands and a soft cloth for routine cleaning.
Your exact model decides which pieces come off and which stay put. The age of the rubber gasket changes how hard it’s to pull free. Whether you’re cleaning it or fixing a leak determines how deep you go.
Who needs to disassemble a NutriBullet
Someone typing this usually has one of three problems in front of them. The first reader just made a smoothie and wants to wash every part properly. They already own the machine and know the cup twists off, but they aren’t sure if the blade comes out or if the rubber ring should be pulled loose. This page serves that person best.
The second reader has a leak. Liquid drips down the cup threads during blending, so they want to pull everything apart to check the seal. They need to know which piece actually stops the leak and which ones shouldn’t be forced. If the leak comes from inside the blade housing itself, taking it further apart won’t fix it. That’s a job for the manufacturer’s warranty team.
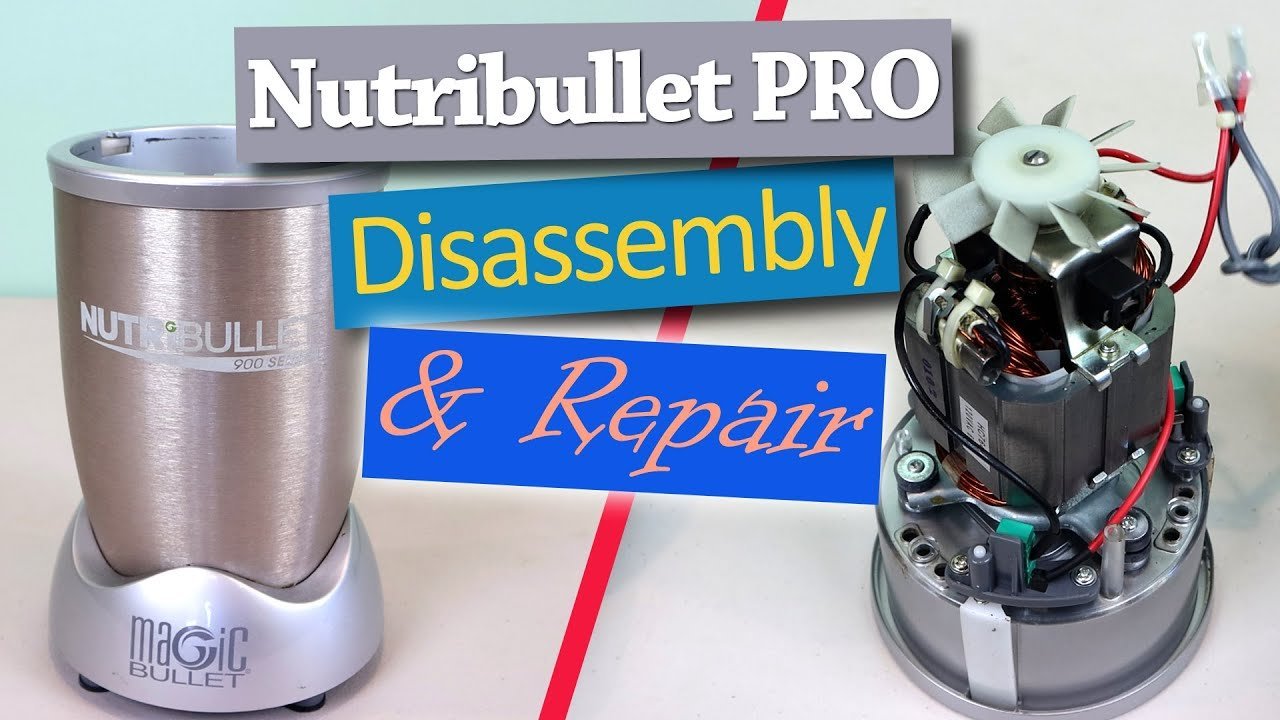
The third reader hears a grinding noise or smells burning from the motor base. They want to unscrew the bottom panel to look at the motor. Don’t do that. Opening the motor base exposes high-voltage parts. A capacitor inside can hold a lethal charge even when the plug is pulled from the wall. Checking the power button, the outlet or the breaker is all you should do. Anything past the outer casing requires a qualified appliance repair technician.
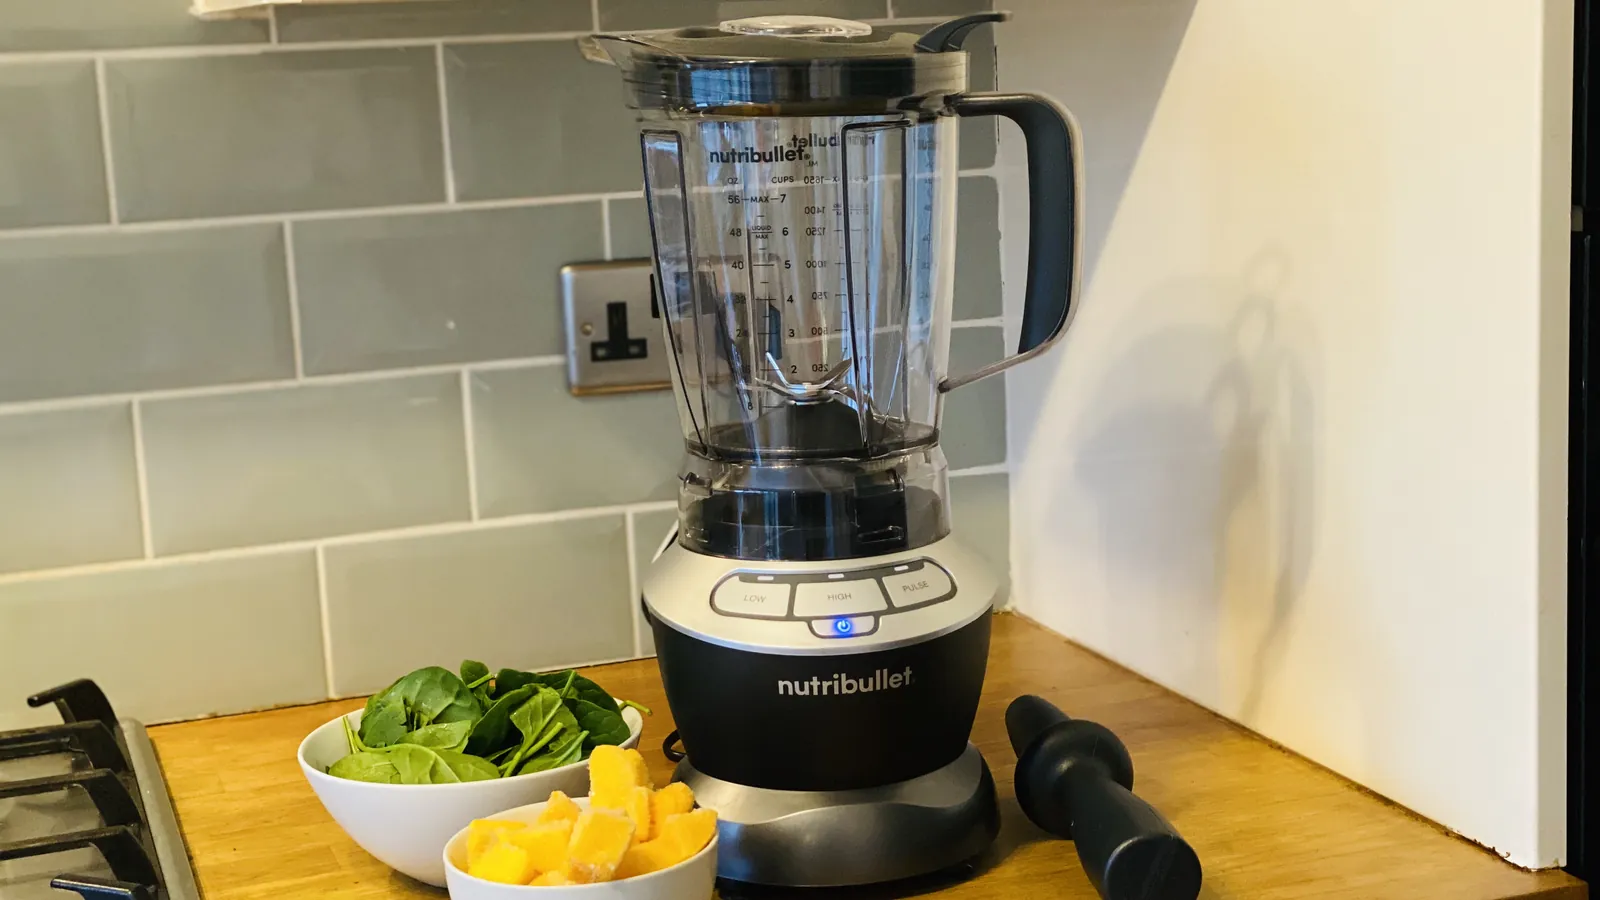
This guide assumes you have a standard 600-watt or 900-watt NutriBullet with a twist-on extractor blade. If you own a NutriBullet Rx or Blender Combo, the pitcher mechanisms differ, so check your specific manual.
What decides if it comes apart easily
Three things decide whether your blender separates cleanly or fights you the whole way. Getting the first one wrong is why people crack their cups or slice their fingers.
The direction you twist matters more than anything else. The blade assembly uses standard right-hand threads. You turn it counter-clockwise to loosen it. If you force it clockwise because you think it’s a reverse thread, you’ll strip the plastic collar. That ruins the cup. Always turn left to open it.
The condition of the silicone gasket changes the effort you need. A fresh gasket pulls out with light finger pressure. One that’s been baked by hot liquids or soaked in citrus for two years turns stiff. If yours feels like hard plastic instead of soft rubber, don’t pry it with a knife. Soak the blade assembly in warm water with a drop of dish soap for 15 minutes first. That softens the residue holding it tight.
The specific model you own dictates what is allowed to move. On the original 600-watt version, the gasket sits loosely in a groove. On some newer Pro models, the seal is pressed into the blade housing permanently. If your gasket doesn’t lift out after soaking, it isn’t stuck. It’s fixed there by design. Forcing it breaks the housing. Look up your exact model number on the bottom of the motor base to see which type you have.
Sugar dries into cement between the threads. If you blended fruit and didn’t rinse the cup immediately, dried syrup locks the blade to the plastic. Warm water dissolves this. Cold water won’t.
Steps to separate the parts
Clear a flat space near your sink and lay down a towel. The blade is extremely sharp, and a dropped assembly can bounce off a hard counter.
- Unplug the motor base from the wall outlet. Never work on the unit while it has power.
- Lift the blending cup straight up and off the motor base. Set the heavy base aside where it won’t get wet.
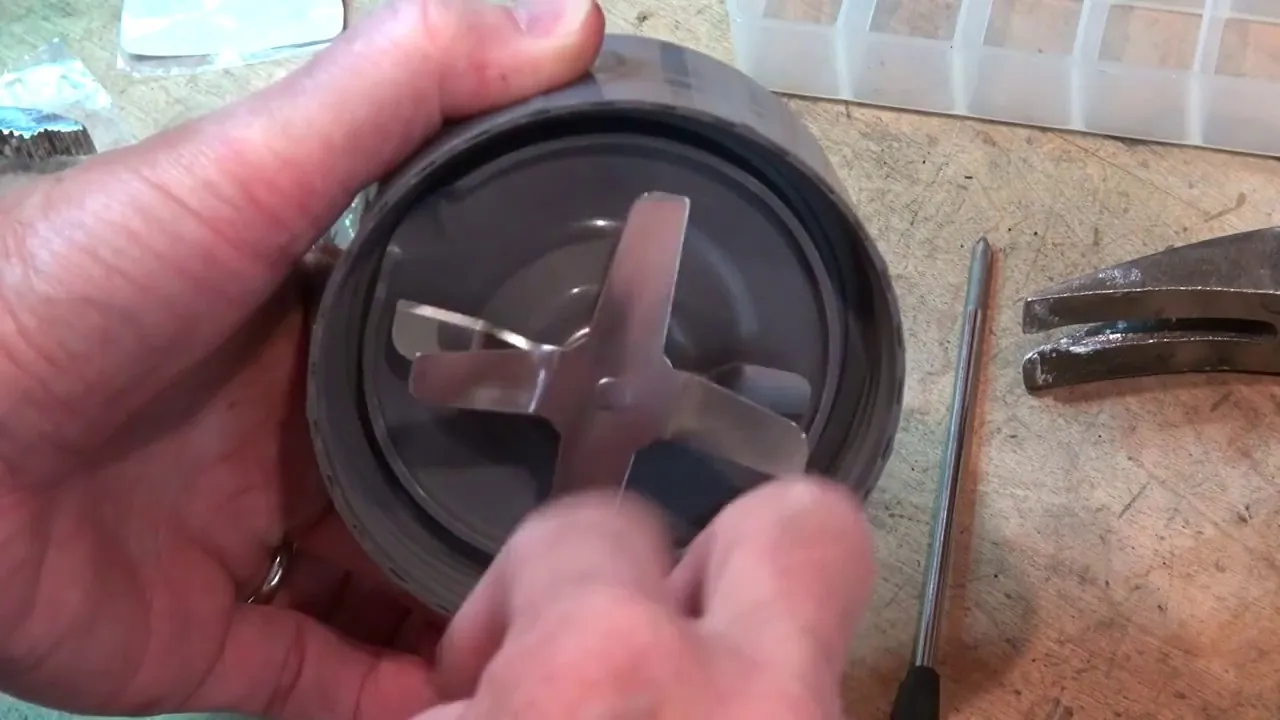
- Hold the cup upside down over the sink. Grip the ridged plastic ring of the blade assembly firmly.
- Turn the blade assembly counter-clockwise until it unthreads completely. These times assume a clean cup; if sugar has dried in the threads, soak the inverted cup in warm water for 10 minutes before turning.
- Place the detached blade assembly on the towel, sharp side facing up. Keep your fingers away from the metal edges.
- Look inside the threaded collar you just removed. You’ll see a rubber or silicone ring sitting in a groove.
- Pinch the edge of the gasket with your thumb and index finger. Pull it gently up and out of its channel. If it resists, stop and soak the part in warm soapy water for 15 minutes.
- Wash the cup, blade assembly and gasket separately in warm water below 140°F. Boiling water warps the plastic cup and degrades the silicone.
- Dry every piece completely with a cloth. Moisture trapped under the gasket causes mold.
- Put the gasket back into the groove, pressing it flat all the way around. Thread the blade assembly back onto the cup clockwise until it’s snug.
The single judgement call here is how tight to make the blade when you put it back. Hand-tight is enough. If you use pliers or grip it with both hands and wrench it hard, you crush the gasket flat. A crushed gasket leaks. Tighten it until the rubber just makes contact, then give it another quarter turn. That’s the line between sealed and broken.
Different situations at a glance
Every problem you bring to the sink needs a slightly different approach. Here is what to do based on what you’re looking at.
| Situation | What to do | What it takes | What to watch for |
|---|---|---|---|
| Daily washing | Unscrew blade, rinse parts | 2 minutes | Dull blade edges |
| Stuck blade assembly | Soak in warm water | 15 minutes | Don’t force clockwise |
| Leaking during use | Remove and reseat gasket | 5 minutes | Tears in rubber |
| Hardened gasket | Soak in soapy water | 15 minutes | Don’t use knives |
| Deep cleaning | Disassemble fully, scrub | 10 minutes | Mold under seal |
| Motor base dirty | Wipe with damp cloth | 3 minutes | Never submerge base |
| Grinding noise | Stop using immediately | 0 minutes | Call appliance technician |
If your issue involves the motor making noise or smelling like burning plastic, unplugging it’s the only step you take. Internal electrical repairs require training and specialized tools.
Details that keep the parts intact
Handling the blade and seal
The extractor blade cuts through raw carrots and frozen fruit. It will cut through skin just as fast. When you hold the blade assembly to unscrew it, grip only the outer plastic collar. Your fingers should never touch the stainless steel fins.
Pulling the gasket out requires patience rather than strength. Use your fingernails to lift one edge. Once you have a lip raised, work your way around the circle slowly. Yanking it from one spot stretches the silicone. A stretched gasket won’t sit flat in the groove again, and your next smoothie ends up on the counter.
Check the gasket every time you wash it. Run your finger along the inner and outer edges. If you feel a nick, a tear or a hard brittle spot, throw it away. Replacement rings cost very little, and a compromised seal is the main reason these machines leak.
Cleaning without damage
Dishwashers seem like a shortcut, but they’re a trade-off. The high heat on the bottom rack warps the plastic cup over time. The harsh detergent dulls the blade faster than blending ice does. If you must use a dishwasher, put the cup and blade on the top rack only. Hand washing with a soft sponge takes two minutes and keeps the parts fitting together tightly for years.
Never use abrasive scouring pads on the plastic threads. Scratches in the plastic create tiny gaps where fruit pulp hides. That hidden pulp ferments, smells sour and eventually blocks the threads from closing smoothly. A bottle brush reaches the bottom of the cup without scratching the sides.
NutriBullet problems and fixes
When something goes wrong, match what you see to the cause before you start pulling harder.
| What you notice | What it usually means | What to do first | How to stop it happening again |
|---|---|---|---|
| Liquid leaking down cup | Gasket is loose or torn | Reseat or replace gasket | Check seal before blending |
| Blade won’t unscrew | Dried sugar in threads | Soak in warm water | Rinse immediately after use |
| Grinding metal sound | Blade bearing is failing | Stop using the machine | Buy new blade assembly |
| Burning smell from base | Motor is overheating | Unplug and let cool | Blend in shorter pulses |
| Cup stuck on base | Tabs locked in position | Press down, twist left | Align arrows before locking |
| Black flakes in drink | Rubber gasket is degrading | Replace the gasket | Avoid boiling hot liquids |
| Machine won’t start | Safety tab not engaged | Push cup down firmly | Clean the activator slots |
A burning smell from the motor base means you’ve overloaded it. Thick mixtures like nut butter stall the blades. The motor pushes harder and heats up, which can damage it over time. If the burning smell persists after the machine has cooled, the motor is damaged. Testing internal fuses or wiring with a multimeter is dangerous. Leave that to an electrician or appliance repair shop.
Safety rules for the motor base
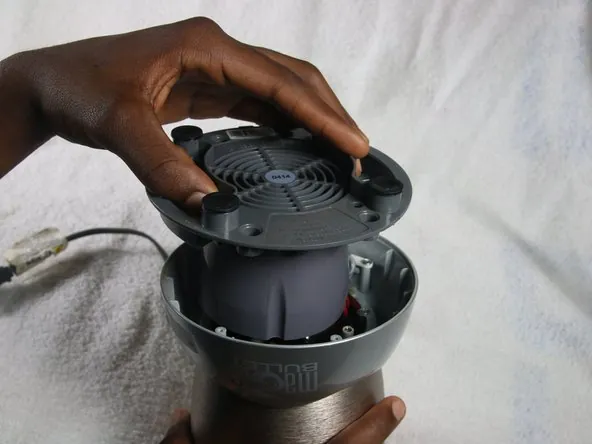
The US Consumer Product Safety Commission can order recalls of household appliances that prove hazardous. The motor base of your blender houses live electrical components connected directly to your home’s mains power. Water and electricity don’t mix, which is why the base is never meant to be submerged or opened by the owner.
Your warranty covers defects, but the manufacturer may refuse a claim if it decides your own disassembly caused the damage. If you suspect an electrical fault—like a frayed cord or a switch that sparks—the safe action is to stop using it and contact NutriBullet support directly.
Cleaning limits are simple. The outside of the base gets wiped with a damp cloth. The power cord gets checked visually for cuts. The small plastic activators inside the top ring, which tell the motor the cup is locked, can be cleared of debris with a dry cotton swab.
Nothing else should be touched. If a liquid spill runs down into the motor vents, unplug the machine immediately and let it dry thoroughly before trying it again. If it still acts strangely afterward, it needs professional inspection.
What replacing parts costs
The real cost of taking your blender apart isn’t money—it’s the risk of breaking a plastic tab or tearing a gasket you didn’t mean to remove. But when parts do break, knowing the price helps you decide whether to fix it or buy a new machine.
Replacement gaskets are the cheapest fix, inexpensive compared with buying a whole new blade assembly or base unit. This assumes you’re buying standard aftermarket seals online. Genuine manufacturer parts might cost more. If your gasket tears during disassembly, this is what you’ll pay to get blending again.
A complete replacement blade assembly is inexpensive compared with buying a whole new base unit. If the bearings wear out and cause that grinding noise, you can’t buy just the metal blade. You have to buy the whole threaded housing. The 600-watt and 900-watt Pro blades are different sizes, so you must match the wattage printed on your motor base. Buying the wrong one means it won’t thread onto your cup.
A new blending cup is inexpensive compared with buying a whole new base unit. This happens when someone forces the blade clockwise and cracks the plastic collar. Compare that to a brand-new base unit, which costs considerably more.
If your motor base dies, repairing it usually costs more than replacing it. The trade-off is clear: protect the base, and treat the cups and blades as wearable parts that eventually need swapping. Prices shift constantly, so check current retail listings before ordering.
Keeping the parts working longer
How you store the blender after washing decides how long the gasket lasts. If you screw the blade assembly tightly onto the cup and put it in the cabinet, you compress the silicone gasket 24 hours a day. Over months, it loses its ability to spring back. Store the cup upside down without the blade attached. Let the gasket sit loosely in its groove or rest flat in a drawer.
Mold grows where moisture stays trapped. After washing, don’t just shake the parts dry. Wipe the threads of the cup and the inside of the blade collar with a dry cloth. Pay attention to the groove where the gasket sits. If you see black spots forming in that channel, the seal is already harboring mold. Pull the gasket out, scrub the groove with a small brush and white vinegar, and dry it completely before putting it back.
The blade dulls over time. You can’t sharpen these small extractor fins safely at home. Instead, notice how long your blends take. If a smoothie that used to take 40 seconds now leaves chunks after 60 seconds, the blade is worn. Replacing the assembly restores the speed. Write the date you bought a new blade on the box with a marker so you know exactly how many months you’ve run it.
When taking it apart is wrong
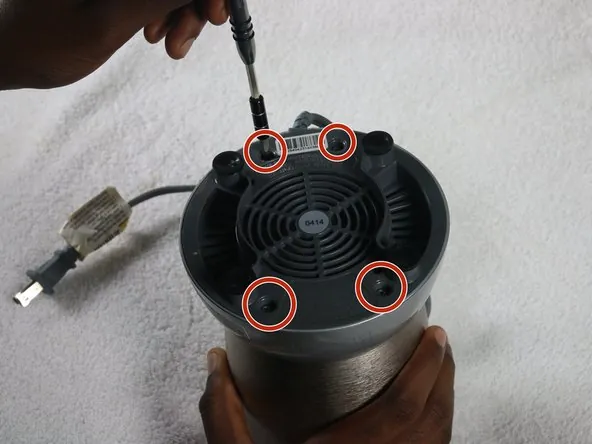
Disassembling the cup and blade is normal maintenance. Taking apart the motor base is where this guide stops being useful. If your problem is electrical, pulling out screwdrivers creates danger.
If the blender trips your kitchen circuit breaker every time you press the cup down, the short circuit is inside the base. Taking the base apart won’t show you a loose wire you can safely twist back together. The capacitors store energy that can shock you severely. An appliance repair technician handles this.
If the plastic drive gear on top of the motor spins freely without engaging the motor shaft, the internal coupling is stripped. You can’t reach this part without opening the housing. Ordering a “repair kit” online doesn’t change the fact that accessing the part requires dismantling safety interlocks designed to keep your fingers away from moving metal.
Attempting to fix a recalled hazard yourself voids any free replacement the manufacturer owes you. In all three cases, the alternative is contacting customer service or taking the base to a licensed repair shop. Don’t guess with mains voltage.
Frequently asked questions
Can I put the blade assembly in the dishwasher?
Yes, but only on the top rack. The heating element at the bottom of a dishwasher warps the plastic housing and degrades the rubber gasket much faster. Hand washing with warm water and dish soap takes less than a minute and keeps the seal intact longer.
Why is my NutriBullet leaking from the bottom?
A leak from the bottom threads means the gasket is either missing, seated crookedly or torn. Unscrew the blade, pull out the rubber ring and inspect the edges for nicks. If it looks fine, wash the groove, dry it and press the gasket back in evenly before threading the blade on hand-tight.
How long should I soak a stuck blade?
Soak the inverted cup in warm water for 10 to 15 minutes. This assumes the blade is stuck from dried fruit sugars. Hot water works faster than cold. Never use pliers to grip the plastic collar, as crushing it ruins the threads permanently.
Is it safe to remove the rubber gasket every time?
Yes, removing it for daily washing is safe if you use your fingers and pull gently. Stretching or tearing it happens when you use sharp tools to pry it out. If you blend only water-based drinks, leaving it in and rinsing thoroughly is acceptable, but fruit pulp demands removal.
What happens if I tighten the blade too much?
Over-tightening crushes the silicone gasket flat against the plastic. A crushed gasket loses its shape and allows liquid to seep through the threads during blending. Hand-tight plus a quarter turn is the limit. If you need tools to get it tight enough to stop a leak, the gasket is already dead.
Does the motor base ever need to be opened?
No, the motor base should never be opened by the user. It contains high-voltage electrical components and capacitors that hold a charge even when unplugged. If the motor fails, smells like burning plastic or sparks, unplug it immediately and contact a professional appliance repair service.
How often should I replace the extractor blade?
Replace the blade assembly when the fins dull and blends start leaving chunks. This assumes you’re blending frozen fruit and ice. The metal fins dull over time, forcing the motor to work harder. If your blends leave large chunks or take twice as long, the blade is worn out.
Can I use a different brand’s gasket?
You can, but the thickness varies between brands. A gasket that’s even one millimeter too thick prevents the blade from threading on fully. A thin one leaks. Stick to replacements sized specifically for your exact NutriBullet wattage model to ensure the groove fits perfectly.
First steps for your NutriBullet
Unplug the motor base and set it away from the sink before you touch anything else. Twist the blade assembly counter-clockwise by hand, pull the gasket out with your fingers, and wash each piece in warm soapy water. You’ll know you did it right when the parts air-dry completely and thread back together smoothly without leaking. If you hear grinding from the motor or smell burning plastic, stop immediately and contact an appliance repair technician.