How To Remove Blade From Nutribullet Blender Combo
Removing the blade from a NutriBullet Blender Combo depends on which blade you’re dealing with: theExtractor Blade on the single-serve cups unscrews counterclockwise like a jar lid, while the pitcher’s blade assembly on the large jug is held in place from underneath the base and lifts out once the retaining seal is unscrewed. Neither blade should ever be forced, and both should only be removed with the unit unplugged and the container empty. This guide walks through both procedures step by step, covers the stuck-blade situations that trip most people up, and explains how to clean, maintain, and replace each blade type safely.
Key Takeaways
- The single-serve cup blade (Extractor Blade) unscrews counterclockwise from the top of the cup — no tools needed under normal conditions.
- The pitcher blade assembly is removed from underneath the pitcher after unscrewing the black sealing ring/retainer at the base.
- Always unplug the base and empty the container before attempting any blade removal.
- Stubborn, stuck blades usually come free with a jar-gripper pad, warm water soak, or a drop of dish soap around the threads — never with pliers on the blade itself.
- Blades are wear items: NutriBullet recommends replacing the Extractor Blade roughly every six months with regular use.
- Replacement blades are widely available from NutriBullet’s own website and major retailers, typically costing between $10 and $25 depending on the blade type and pack size.
Which Blade Are You Trying to Remove?
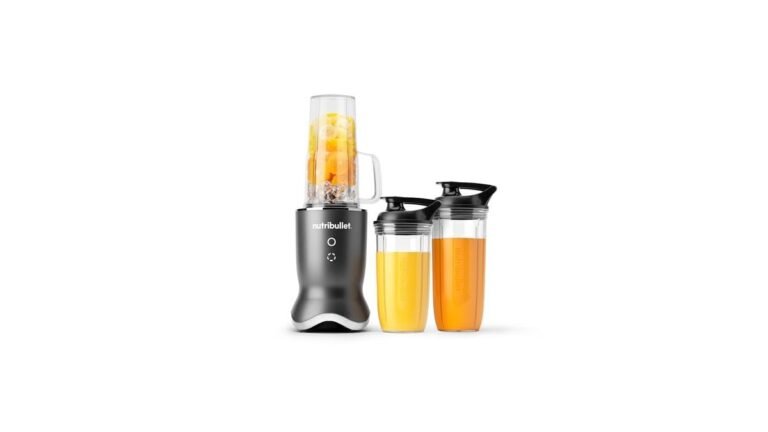
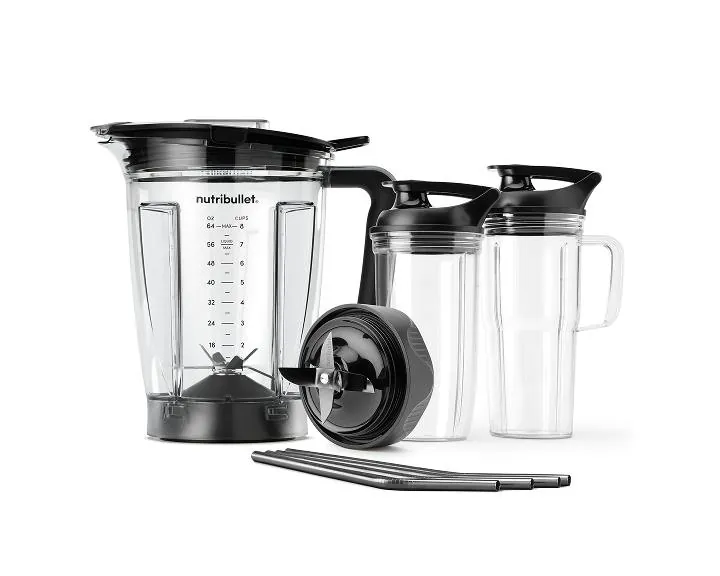
The NutriBullet Blender Combo is a hybrid machine, and that’s the source of most confusion. It ships with two blending systems, each with its own blade and its own removal method:
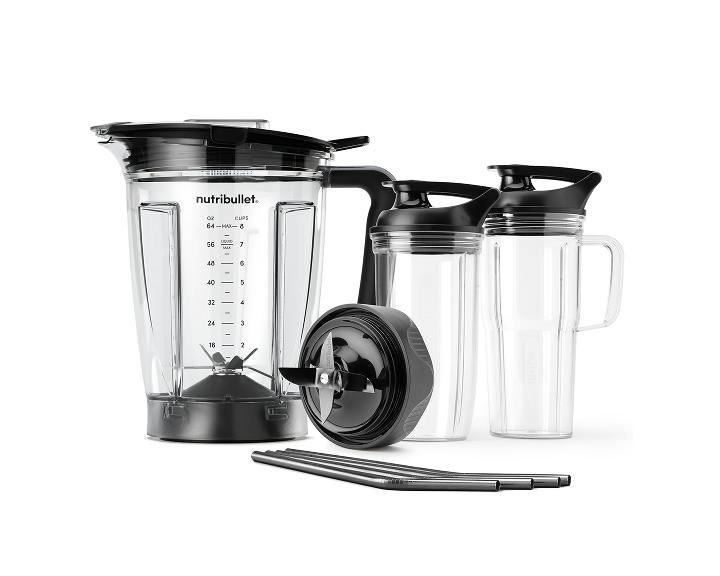
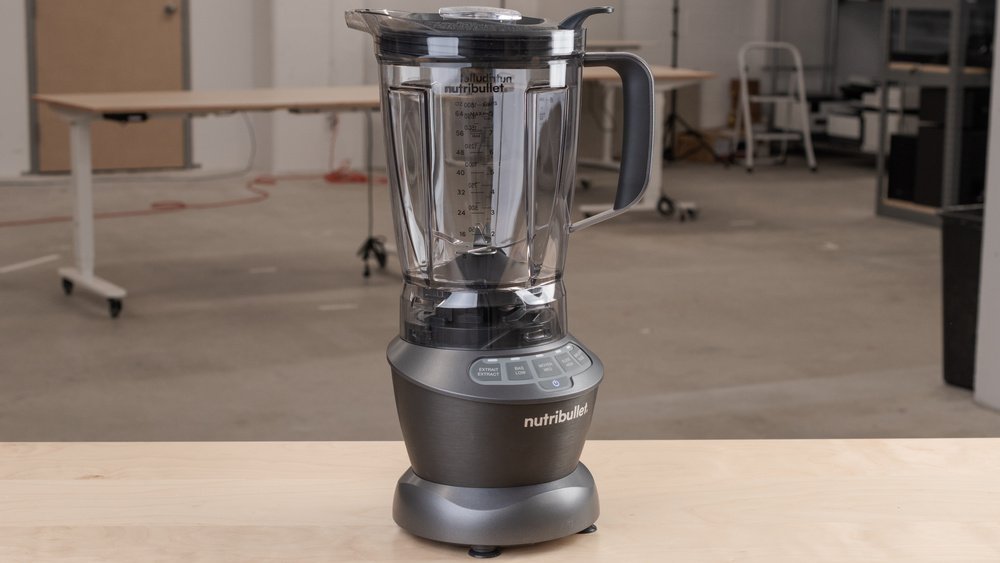
- A 1200-watt pitcher (64 oz) for large batches, with a blade assembly fixed into the bottom of the jug.
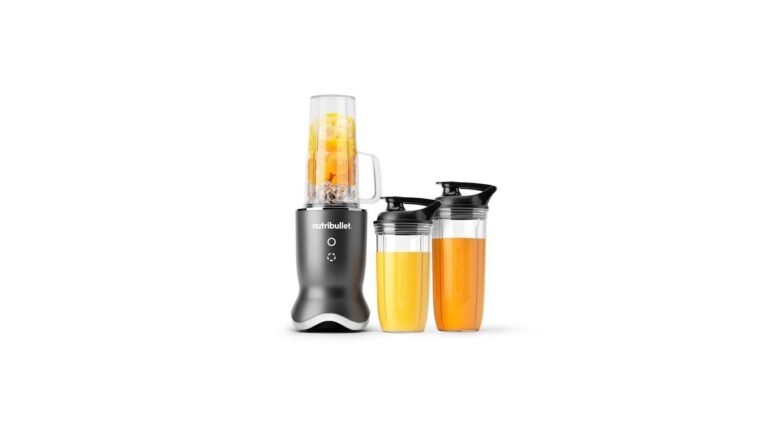
- Single-serve cups (typically 24 oz and 32 oz with handled and non-handled versions) that use a screw-on Extractor Blade with a fixed cup on the underside.
The cup blade comes off by twisting it; the pitcher blade comes off by working underneath the jug. The two procedures share one rule: unplug the motor base first, and never place or remove a blade while the unit is connected to power.
Removing the Extractor Blade From a Single-Serve Cup
This is the blade most people mean when they search for removal instructions, and it’s the easier of the two.
Step-by-step:
- Unplug the motor base. Confirm the unit is disconnected before touching any blade.
- Empty the cup. Pour out the contents. A cup full of liquid is heavy, slippery, and likely to spill when the seal breaks free.
- Rinse the threads if needed. Dried smoothie residue acts like glue between the blade collar and the cup threads.
- Grip the blade collar, not the blades. Place your palm over the flat plastic or metal collar surrounding the blades.
- Twist counterclockwise (left when viewed from above) with firm, steady pressure. It should break free within a quarter turn.
- Lift the blade straight off. The rubber gasket inside the collar may stay in the blade or stick to the cup — either is normal.
Warning: The Extractor Blade’s edges are sharp on both the cutting faces and the underside flutes. Keep your fingers on the collar, never on the blade itself, and don’t wash it by feeling around inside the cup with a sponge.
If the blade spins freely but won’t lift out, it’s usually just seated tightly by the gasket. Work one edge up gently with your thumb and it will pop loose.
How to Remove the Blender Combo Pitcher Blade
The large pitcher’s blade is a removable assembly held into the bottom of the jug by a threaded retainer. Here’s the procedure:
- Unplug the base and pour out all contents.
- Flip the empty pitcher upside down on a towel on the counter to protect the rim.
- Locate the black sealing retainer — a wide rubber or plastic ring at the bottom center of the pitcher, surrounding the blade shaft.
- Grip the retainer firmly and turn it counterclockwise. It’s designed to be hand-loosened; a jar-opener pad helps if it’s tight.
- Continue unscrewing until it releases, then set the retainer aside.
- Push the blade assembly up and out from the bottom. It slides out of the mounting hole in the jug’s base.
- Remove the blade carefully, noting the orientation of any washers or seals so reassembly is straightforward.
Pro Tip: Take a quick photo of the blade assembly, washers, and retainer in their original order before disassembly. Reassembly is simple, but the photo removes all guesswork about which seal goes where.
To reinstall, reverse the process: insert the blade assembly from the bottom, thread the retainer on clockwise, and hand-tighten until snug. Don’t use tools to overtighten — the seal needs compression, not force.
Why Your Blade Is Stuck
Blades get stuck for predictable reasons, and identifying the cause tells you which fix to use:
- Dried food residue in the threads. Smoothie ingredients — banana, nut butter, protein powder, dates — dry into an effective adhesive.
- Overtightening at the last use. Many people crank the cup blade down hard to prevent leaks, which makes it harder to open.
- Gasket suction. The rubber seal can create light vacuum or friction that holds the blade in place even with clean threads.
- Thermal effects. Blending hot soups (which the pitcher supports) can soften residue and let it seep into the threads, then harden as it cools.
- Cross-threading. If the blade was seated at an angle, the threads bind instead of engaging smoothly.
None of these require tools or force to fix — they require patience and one of the methods below.
Safe Ways to Free a Stuck Blade
Work through these in order; each one is low-risk and requires no special equipment.
The jar-gripper method
A rubber jar-opener pad (the flat grippy sheets sold in kitchen aisles) gives you traction on the blade collar without touching the blades. Press the pad against the collar, hold the cup with a towel, and twist counterclockwise. This alone resolves most stuck cup blades.
The warm-water soak
Fill the cup with warm (not boiling) water, add a drop of dish soap, let it sit for 10–15 minutes, then pour it out and try again. Warm water and soap soften dried residue in the threads. For the pitcher blade, flip the pitcher and let warm soapy water sit in the recess around the retainer.
The tap-and-twist method
Hold the cup blade collar in one hand and firmly tap the side of the cup against your palm or a folded towel. The vibration often breaks the seal between gasket and cup. Then twist as normal.
The rubber-glove grip
A dry dish glove or a thick rubber band wrapped around the collar adds grip without metal tools. This is the go-to if you have limited hand strength or arthritis.
Warning: Never grip the blade itself with pliers, a wrench, or a dish towel wrapped around the metal. You can bend the blade, damage the balance of the assembly, or cut yourself badly. All force belongs on the collar or retainer only.
What not to do
- Don’t run hot boiling water into a cold cup — thermal shock can crack the plastic.
- Don’t use WD-40 or any lubricant that isn’t food-safe. A drop of dish soap around the threads is the only lubricant you need.
- Don’t put the cup in the freezer to “contract” the threads; it rarely helps and can crack the cup.
Cleaning the Blades After Removal
Once the blade is off, clean it properly so the next removal is easy:
- Rinse immediately under warm water before residue dries.
- Use a dish brush with a narrow head or an old toothbrush on the underside of the blade, where pulp collects in the flutes.
- Skip the dishwasher for the cup blade. NutriBullet’s guidance for most models is that the cups and pitcher are top-rack dishwasher safe, but the blades with their bearings and seals last longer with hand washing. Check the care card that came with your unit.
- Dry the blade fully, especially the bearing area at the center, before storing. Trapped moisture is the main cause of a stiff or rusty blade.
- Clean the gasket groove. Peel the rubber seal gently, wipe underneath, and reseal. Debris trapped here causes both leaks and stuck blades.
Pro Tip: Rinse the cup within a few minutes of blending, even if you’ll wash it properly later. That single habit eliminates the majority of stuck-blade problems before they start.
When to Replace the Blade Instead
Blades are consumables. NutriBullet’s own customer support recommends replacing the Extractor Blade approximately every six months under daily use, and the signs of a worn blade are easy to spot:
- Longer blend times for the same recipes.
- Chunks or grit left in smoothies that used to come out smooth.
- A wobbly blade — visible side-to-side play in the assembly indicates worn bearings.
- Leaks from the cup bottom, meaning the gasket is cracked, flattened, or the seal is failing.
- Rust spots or a stiff, grinding feel when the blade spins.
A worn blade doesn’t just perform poorly — a leaking or wobbling assembly can let liquid into the motor base, which is a genuine safety hazard. Replacement is cheap insurance.
Replacement Blades: Options and Typical Costs
You have three main routes for a replacement, and the table below compares them.
| Option | Typical Cost (USD) | What You Get | Best For |
|---|---|---|---|
| NutriBullet official website | $15–$25 per blade | Guaranteed-compatible Extractor or pitcher blades, often in 2-packs | Anyone wanting an exact factory match |
| Major retailers (Target, Walmart, Amazon listings) | $10–$30 | Genuine NutriBullet blades and multi-packs, sometimes bundled with cups | Convenience and fast shipping |
| Third-party compatible blades | $8–$18 | Generic blades made to fit NutriBullet cups | Budget replacement, with mixed durability reports |
Two cautions when buying: first, confirm the blade matches your model — the Blender Combo’s cup blade and older NutriBullet 600/900 blades look similar but aren’t always interchangeable. Second, check that a replacement pitcher blade assembly includes the sealing gasket and retainer, since some aftermarket versions ship without them.
Reassembling Everything Correctly
Reassembly mistakes cause leaks, so take it slowly:
- Seat the gasket evenly in the blade collar. It must sit flat with no twist or pinch.
- Thread the cup blade clockwise until it’s snug — hand-tight, not cranked. Overtightening is the number-one cause of a stuck blade next time.
- For the pitcher, insert the blade assembly from the bottom, confirm the seals are stacked in their original order, and hand-tighten the retainer clockwise.
- Test with water before food. Fill with plain water, run a short blend over the sink-adjacent counter, and check for leaks at the cup base or pitcher underside.
- Check the drive socket alignment. The blade’s drive coupler must drop freely into the base’s socket. If it resists, the blade isn’t seated — never force the cup onto a running base.
Common Mistakes to Avoid
A few errors account for nearly every blade-removal injury and breakage:
- Removing a blade with the base plugged in. Even a bumped button can spin the blade.
- Twisting counterclockwise on the pitcher retainer while the pitcher is upright, spilling contents into the blade recess.
- Using metal tools on the blade edges, which dulls or bends them.
- Losing or misplacing the pitcher’s seals, then reassembling without them and blending soup all over the counter.
- Storing the blade wet inside the cup, which traps moisture against the bearing and accelerates corrosion.
Frequently Asked Questions
Is the NutriBullet Blender Combo blade dishwasher safe?
The cups and pitcher are top-rack dishwasher safe per NutriBullet’s care guidance, but the Extractor Blade and pitcher blade assembly should be hand washed. Dishwasher detergent and heat degrade the rubber gasket and bearing lubricant over time, shortening blade life significantly.
Why won’t my cup blade come off even with force?
Dried residue in the threads is the usual culprit. Soak the cup in warm soapy water for 10–15 minutes, then use a rubber jar-gripper pad on the collar and twist counterclockwise. If it still resists, repeat the soak. Never apply pliers to the blade metal itself.
Can I remove the pitcher blade to clean under it?
Yes, and it’s worth doing occasionally. Flip the empty pitcher, unscrew the black retainer at the base counterclockwise, and slide the blade assembly out. Clean the recess, the seals, and the blade underside, then reassemble hand-tight and test with water before blending food.
How often should I replace my NutriBullet blade?
NutriBullet recommends replacing the Extractor Blade roughly every six months with regular use. Replace sooner if you notice chunks in smoothies, a wobbly blade, leaks at the cup base, rust spots, or a grinding feel when the blade spins freely.
Are third-party blades safe to use in the Blender Combo?
Compatible aftermarket blades exist and generally fit, but quality varies. Check reviews for gasket durability and verify the blade is listed for the Blender Combo specifically, since older NutriBullet 600 and 900 series blades may not seal correctly on this model’s cups.
What do I do if the blade is leaking after I put it back?
Remove the blade and inspect the rubber gasket for twists, pinches, or cracks. Reseat it flat in the collar, reattach the blade hand-tight, and test with water. If leaking continues, the gasket or the blade assembly itself has failed and needs replacement.
One Last Tip Before You Blend Again
Now that the blade is off, clean, and correctly reassembled, run one quick water-only test blend over the counter before your next smoothie — it takes thirty seconds and confirms the gasket is seated and the blade is tight. Make a habit of rinsing cups immediately after use and replacing the Extractor Blade every six months, and you’ll never wrestle a stuck blade again. Enjoy the smooth blends ahead.