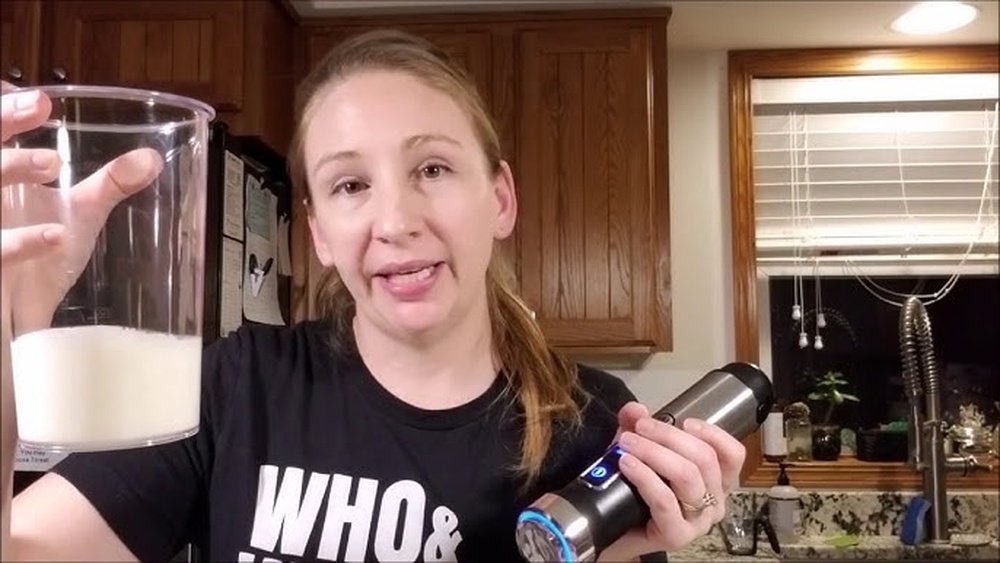
How To Make Butter With Immersion Blender: Quick & Easy Guide
Making your own butter at home is a simple pleasure that feels almost magical. You start with just heavy cream, and after a few minutes, you have fresh, creamy butter. Most people think you need special equipment like a stand mixer or food processor. But you can make butter easily with an immersion blender—the stick-shaped device many people use for soups and smoothies. In this guide, you’ll learn every step, from choosing the cream to storing your finished butter. Along the way, you’ll discover how to customize the flavor, avoid common mistakes, and even understand the science behind butter making. If you’re looking to impress your friends, save money, or simply enjoy real butter, you’re in the right place.
Why Make Butter With An Immersion Blender?
Most home cooks use store-bought butter without ever thinking about making their own. But making butter yourself has clear benefits:
- Freshness: Homemade butter is fresher than anything from the store.
- Control: You decide the ingredients, from the type of cream to the salt or herbs.
- Cost Savings: Sometimes, making butter at home can be cheaper, especially if you buy cream in bulk.
- Fun: The process is quick and rewarding. Kids love watching cream turn into butter.
The immersion blender is perfect for this job. Unlike hand-churning, it’s fast and requires little effort. It’s also easier to clean than a stand mixer, and works well with small batches.
Understanding Butter: The Basics
Before you start, it helps to know what butter is. Butter is made by separating the fat from the liquid in cream. When you blend cream, the fat molecules stick together, forming solid butter. The leftover liquid is called buttermilk.
Butter is about 80% fat, 18% water, and 2% milk solids. The taste and texture depend on the type of cream and how it’s processed.
Types Of Cream For Butter Making
Not all cream is the same. The fat content and freshness matter.
- Heavy cream: Contains 36–40% fat. Best for making butter.
- Whipping cream: Usually 30–36% fat. Works, but yields less butter.
- Double cream: Common in the UK, has even more fat. Produces richer butter.
Ultra-pasteurized cream is heated to high temperatures, which can affect flavor and yield. Fresh, non-ultra-pasteurized cream gives the best results.
Equipment And Ingredients
To make butter with an immersion blender, you’ll need:
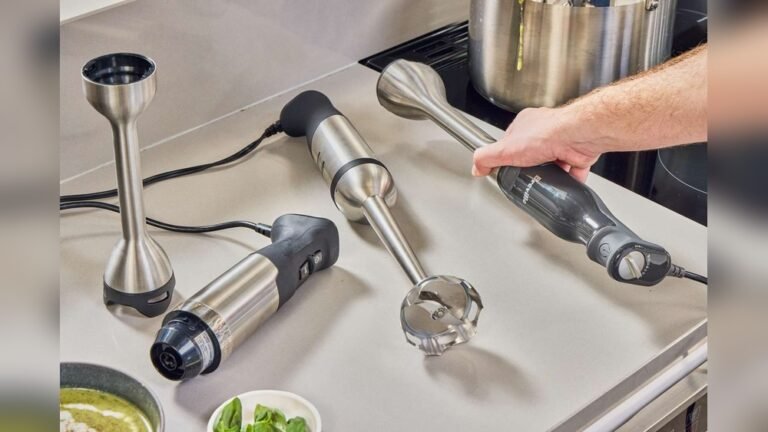
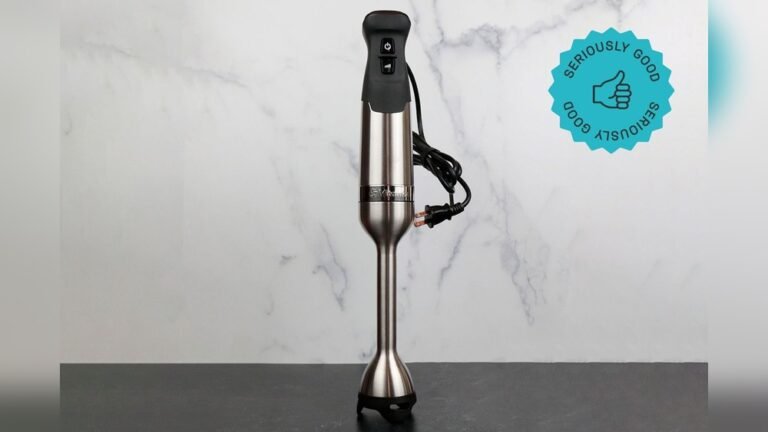
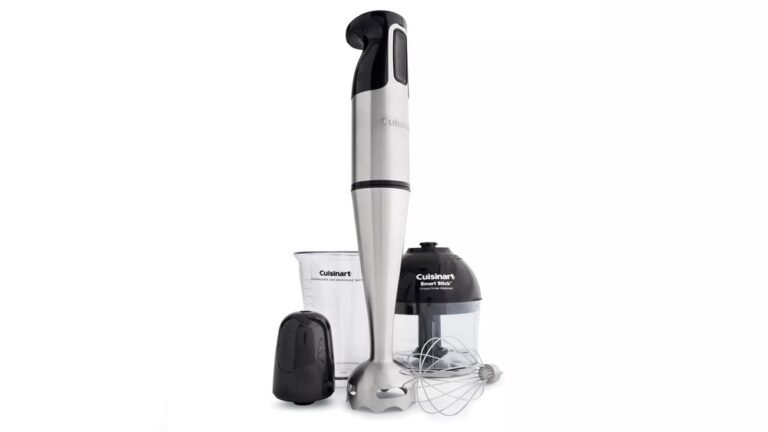
- Immersion blender: Any model with a strong motor.
- Tall mixing jar or bowl: Should fit the blender and allow splashing.
- Fine mesh strainer or cheesecloth: For separating butter from buttermilk.
- Cold water: For rinsing the butter.
- Heavy cream: About 2 cups (16 oz) is a good starting amount.
- Salt (optional): For flavor.
- Spatula: To scrape and shape the butter.
Optional extras include herbs, garlic, or honey to make flavored butter.
Step-by-step Guide: Making Butter With Immersion Blender
Let’s break down the process so you can follow along easily.
1. Prepare Your Tools
Wash and dry your blender, bowl, and strainer. If your kitchen is warm, chill the bowl and blender in the fridge for 10 minutes. Cold tools help the butter form better.
2. Pour The Cream
Measure out 2 cups of heavy cream and pour it into your mixing jar or bowl. Make sure the container is deep enough to prevent splashing.
3. Start Blending
Place the immersion blender into the cream. Start on low speed, then move to high. Blend for about 2–4 minutes. At first, you’ll see the cream thicken and turn into whipped cream. Keep blending. The mixture will start to look grainy, then suddenly separate—yellowish butter solids and milky liquid.
4. Separate Butter And Buttermilk
Once you see solid butter and liquid buttermilk, stop blending. Pour the contents through a fine mesh strainer or cheesecloth into another bowl. Gently press the butter to squeeze out more buttermilk. Save the buttermilk for baking or pancakes.
5. Rinse The Butter
Rinsing helps remove leftover buttermilk so the butter stays fresh longer.
- Pour cold water over the butter in the strainer.
- Gently knead and press the butter.
- Repeat 2–3 times until the water runs clear.
6. Add Salt And Flavor (optional)
If you like salted butter, sprinkle in 1/4 teaspoon salt and mix well. For flavored butter, add herbs, spices, or honey now.
7. Shape And Store
Use a spatula to form the butter into a ball or block. Wrap it in wax paper or store in an airtight container. Refrigerate and use within 1–2 weeks.
Summary Table: Steps For Making Butter
Here’s a quick overview for easy reference.
| Step | Details | Time Needed |
|---|---|---|
| Prepare Tools | Wash, chill if needed | 5 min |
| Pour Cream | 2 cups heavy cream | 1 min |
| Blend | Use immersion blender | 3 min |
| Separate | Strain butter and buttermilk | 2 min |
| Rinse | With cold water | 3 min |
| Add Flavor | Salt, herbs, honey | 2 min |
| Shape/Store | Form and refrigerate | 2 min |
Credit: parnellthechef.com
Tips For Perfect Butter Every Time
Most beginners make a few mistakes, but you can avoid them with these practical tips:
- Use cold cream: Butter forms faster and is less messy.
- Don’t over-blend: Stop as soon as the butter separates. Blending too long can make the butter greasy.
- Rinse well: Removing buttermilk helps butter stay fresh and avoids sour flavors.
- Don’t skip chilling tools: Especially in hot kitchens, cold tools help.
- Use real heavy cream: Lower-fat cream yields less butter and more buttermilk.
Common Mistakes And How To Avoid Them
- Using warm cream: Warm cream doesn’t separate well.
- Not rinsing enough: Leftover buttermilk causes spoilage.
- Adding salt too soon: Wait until after rinsing for best texture.
How Much Butter Will You Get?
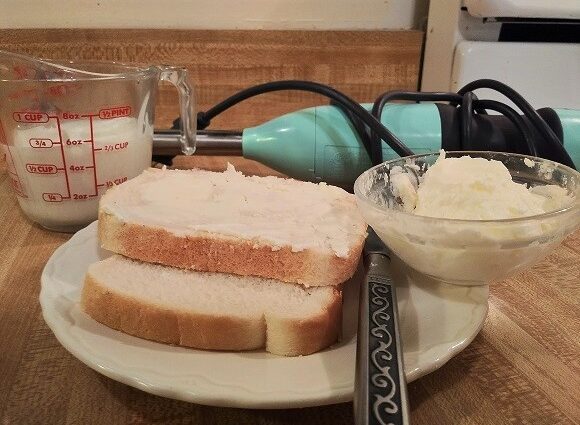
The yield depends on the cream’s fat content. From 2 cups (16 oz) of heavy cream, expect about 3/4 cup (6 oz) of butter and 1 cup (8 oz) of buttermilk.
Yield Comparison Table
| Cream Type | Fat % | Butter Yield (from 2 cups) | Buttermilk Yield |
|---|---|---|---|
| Heavy Cream | 36–40% | 3/4 cup (6 oz) | 1 cup (8 oz) |
| Whipping Cream | 30–36% | 2/3 cup (5 oz) | 1 1/4 cup (10 oz) |
| Double Cream | 40–48% | 7/8 cup (7 oz) | 3/4 cup (6 oz) |
If you want more butter, simply use more cream. The process stays the same.
Customizing Your Butter: Flavors And Uses
Homemade butter is delicious on its own, but you can make it even better by adding flavors. Here are some ideas:
Salted Butter
- Mix in 1/4 teaspoon salt per batch after rinsing.
Herb Butter
- Add chopped chives, parsley, dill, or basil.
- Try 1 tablespoon of fresh herbs for 2 cups of cream.
Garlic Butter
- Add 1–2 cloves minced garlic and a pinch of salt.
Honey Butter
- Mix in 1 tablespoon honey for a sweet spread.
Spicy Butter
- Add 1/2 teaspoon chili flakes or paprika.
Lemon Butter
- Mix in 1 teaspoon lemon zest for a fresh taste.
Butter can be used for spreading, baking, cooking, or as a topping. Homemade butter is especially good on warm bread, corn, or roasted vegetables.
Butter Storage: Keeping It Fresh
Butter keeps best when stored correctly:
- Refrigerator: Store in an airtight container for up to 2 weeks.
- Freezer: Butter freezes well. Wrap tightly and store for up to 3 months.
Storage Comparison Table
| Storage Method | Duration | Notes |
|---|---|---|
| Refrigerator | 2 weeks | Keep airtight; rinse well to extend freshness |
| Freezer | 3 months | Wrap tightly; label date |
| Room Temp | 2–3 days | Use only if kitchen is cool; best for soft butter |
Avoid storing butter near strong-smelling foods, as it can absorb odors.
The Science Behind Butter Making
Butter making is more than just blending cream. Understanding the science helps you make better butter.
- Cream is an emulsion: Fat droplets are suspended in water. Blending breaks the emulsion, causing fat to clump together.
- Temperature matters: Cold cream forms butter faster, while warm cream takes longer and may separate poorly.
- Fat content is key: Higher fat means more butter and better texture.
When you blend, the cream first becomes whipped cream, then starts to break. The fat forms solid clumps, and the liquid left behind is buttermilk.
Non-obvious Insights
- Butter color changes with cream quality: Cream from grass-fed cows produces yellow butter due to higher beta-carotene.
- Rinsing reduces spoilage: Leftover buttermilk is the main cause of butter going bad quickly. Rinsing well can extend shelf life by several days.
Comparing Immersion Blender Vs Other Methods
You might wonder how the immersion blender compares to other ways of making butter.
Stand Mixer
- Works for large batches.
- More cleanup and noise.
- Not ideal for small amounts.
Food Processor
- Fast, but can overheat butter.
- Harder to rinse and shape.
Hand Churning
- Traditional, but slow and tiring.
- Good for large groups or making cultured butter.
Immersion blender is best for small batches, fast results, and easy cleanup.

Credit: www.youtube.com
Using The Leftover Buttermilk
After making butter, you’re left with buttermilk. Don’t throw it away—it’s useful!
- Use in pancakes, biscuits, or muffins.
- Add to soups for a creamy texture.
- Marinate chicken or fish.
Buttermilk from homemade butter is thinner than store-bought but still tasty and nutritious.
Troubleshooting: Fixing Problems
Sometimes things go wrong. Here’s how to fix common issues.
Butter Won’t Form
- Check that your cream is cold and has enough fat.
- Blend longer, but stop if it gets too warm.
- Try chilling the cream and tools again.
Butter Is Greasy
- You may have blended too long. Stop as soon as butter separates.
Butter Is Sour
- Rinse thoroughly to remove buttermilk.
- Use fresh cream, not cream that’s about to expire.
Butter Is Too Soft
- Chill after shaping. If still soft, add ice water during rinsing.
Making Cultured Butter With Immersion Blender
Cultured butter has a richer, tangier flavor. To make it:
- Mix 2 cups cream with 2 tablespoons plain yogurt.
- Cover and let sit at room temperature for 12–24 hours.
- Proceed with blending and separating as usual.
Cultured butter lasts longer and adds depth to baked goods.
Health Benefits Of Homemade Butter
Butter is often seen as unhealthy, but homemade butter has advantages:
- No artificial additives or preservatives.
- Higher in healthy fats if made from grass-fed cream.
- Contains vitamins A, D, E, and K.
A study from the USDA found that grass-fed butter contains more omega-3 fatty acids and vitamin K2 than conventional butter.
Credit: parnellthechef.com
Cleaning Up: Caring For Your Immersion Blender
Cleaning your blender after making butter is important. Butter is oily and can stick to the blades.
- Unplug and detach the blender head.
- Wash with warm, soapy water immediately.
- Rinse and dry thoroughly.
- For stubborn residue, soak for a few minutes.
This keeps your blender ready for next time.
Sustainability: Why Homemade Butter Matters
Making butter at home reduces packaging waste and lets you support local dairy farms. Choosing cream from local sources helps the environment and improves taste. If you’re concerned about food miles, homemade butter is a simple step toward sustainability.
Real-world Example: Butter Making In Action
Sarah, a home baker from Oregon, started making butter with an immersion blender during the pandemic. She found that using local organic cream gave her butter a rich yellow color and deeper flavor. By experimenting with herbs and garlic, she created her own signature spreads.
Sarah now makes butter every two weeks, saving money and reducing waste.
Expert Insight: What Dairy Pros Say
Dairy experts recommend using non-ultra-pasteurized cream for the best results. Ultra-pasteurized cream can have a cooked flavor and lower yield. According to the National Dairy Council, the quality of cream is the biggest factor in butter taste.
Saving Money With Homemade Butter
Butter prices have risen in many countries. By making butter at home, you can save up to 20–30% compared to buying premium brands. Buying cream in bulk or from local dairies can lower costs even more.
Butter For Baking And Cooking
Homemade butter works well for baking, cooking, and spreading. It melts smoothly and gives a rich flavor to cakes, cookies, and sauces. If you bake often, homemade butter can improve the taste and texture of your recipes.
How To Scale Up: Making Larger Batches
If you want to make more butter, use a bigger bowl and blend in batches. Don’t fill the bowl more than halfway to prevent splashing. Larger batches may take longer to blend but work the same way.
Quick Recap: The Essentials
- Use cold, high-fat cream.
- Blend until butter separates.
- Rinse thoroughly.
- Customize with salt or flavors.
- Store properly.
With practice, you’ll master butter making in no time.
Frequently Asked Questions
How Long Does Homemade Butter Last?
Homemade butter lasts up to 2 weeks in the fridge if rinsed well and stored airtight. If frozen, it keeps for up to 3 months. Always check for sour smell or off taste before using.
Can I Use Half-and-half Or Low-fat Cream?
No, half-and-half and low-fat cream won’t produce enough fat for butter. Stick to heavy cream or double cream with at least 30% fat for reliable results.
Is Homemade Butter Healthier Than Store-bought?
Homemade butter is healthier if made from fresh, high-quality cream. It contains fewer additives and preservatives. Grass-fed cream has more vitamins and healthy fats.
Can I Use The Immersion Blender For Other Dairy Products?
Yes, the immersion blender can be used for whipped cream, yogurt, milkshakes, and even soft cheeses. It’s a versatile tool for many kitchen tasks.
Why Does My Butter Taste Bland?
If your butter tastes bland, try adding salt or herbs after rinsing. Using fresh cream and experimenting with flavors will improve the taste.
Making butter with an immersion blender is easy, fast, and fun. With the right cream and a few simple steps, you’ll have fresh butter in just minutes. The process lets you control the flavor, save money, and enjoy a homemade treat that’s better than store-bought.
Whether you use it for baking, cooking, or simply spreading on toast, homemade butter will upgrade your kitchen. Give it a try—you might never go back to store-bought butter again.