How To Make Homemade Mayo With Immersion Blender: Easy Guide
Homemade mayonnaise is more than just a condiment—it’s a simple kitchen skill that can transform your sandwiches, salads, and dips. If you’ve ever wondered why store-bought mayo never tastes quite right, or if you want to avoid preservatives and control your ingredients, making mayo at home is the answer. Using an immersion blender makes the process quick, easy, and almost foolproof. In this guide, you’ll learn exactly how to make homemade mayo with an immersion blender, discover useful tips, and see how homemade compares to store brands. We’ll cover everything from choosing the right ingredients to troubleshooting common problems, plus answer the most popular questions about homemade mayonnaise.
Why Make Mayo At Home?
Many people buy mayonnaise without thinking about what’s inside. Store brands often contain stabilizers, sugar, and oils that aren’t healthy. With homemade mayo, you choose the oil, the egg, and other key ingredients—so you control the flavor, nutrition, and freshness.
You also get:
- Better taste: Fresh, creamy, and customizable.
- Healthier choices: No preservatives or artificial flavors.
- Cost savings: Homemade often costs less per serving.
- Fast preparation: With an immersion blender, it takes less than five minutes.
Let’s see a quick comparison between homemade and store-bought mayo.
| Feature | Homemade Mayo | Store-Bought Mayo |
|---|---|---|
| Ingredients | Simple, fresh (egg, oil, lemon/vinegar, salt) | Processed, often includes stabilizers and sugar |
| Flavor | Customizable, rich, and fresh | Uniform, sometimes bland |
| Nutrition | Depends on chosen ingredients | Can include unhealthy fats, additives |
| Preparation Time | Less than 5 minutes | Ready to use |
| Cost | Lower per serving | Varies, often higher for premium brands |
Making mayo at home is not just a trend—it’s a practical skill that gives you full control.
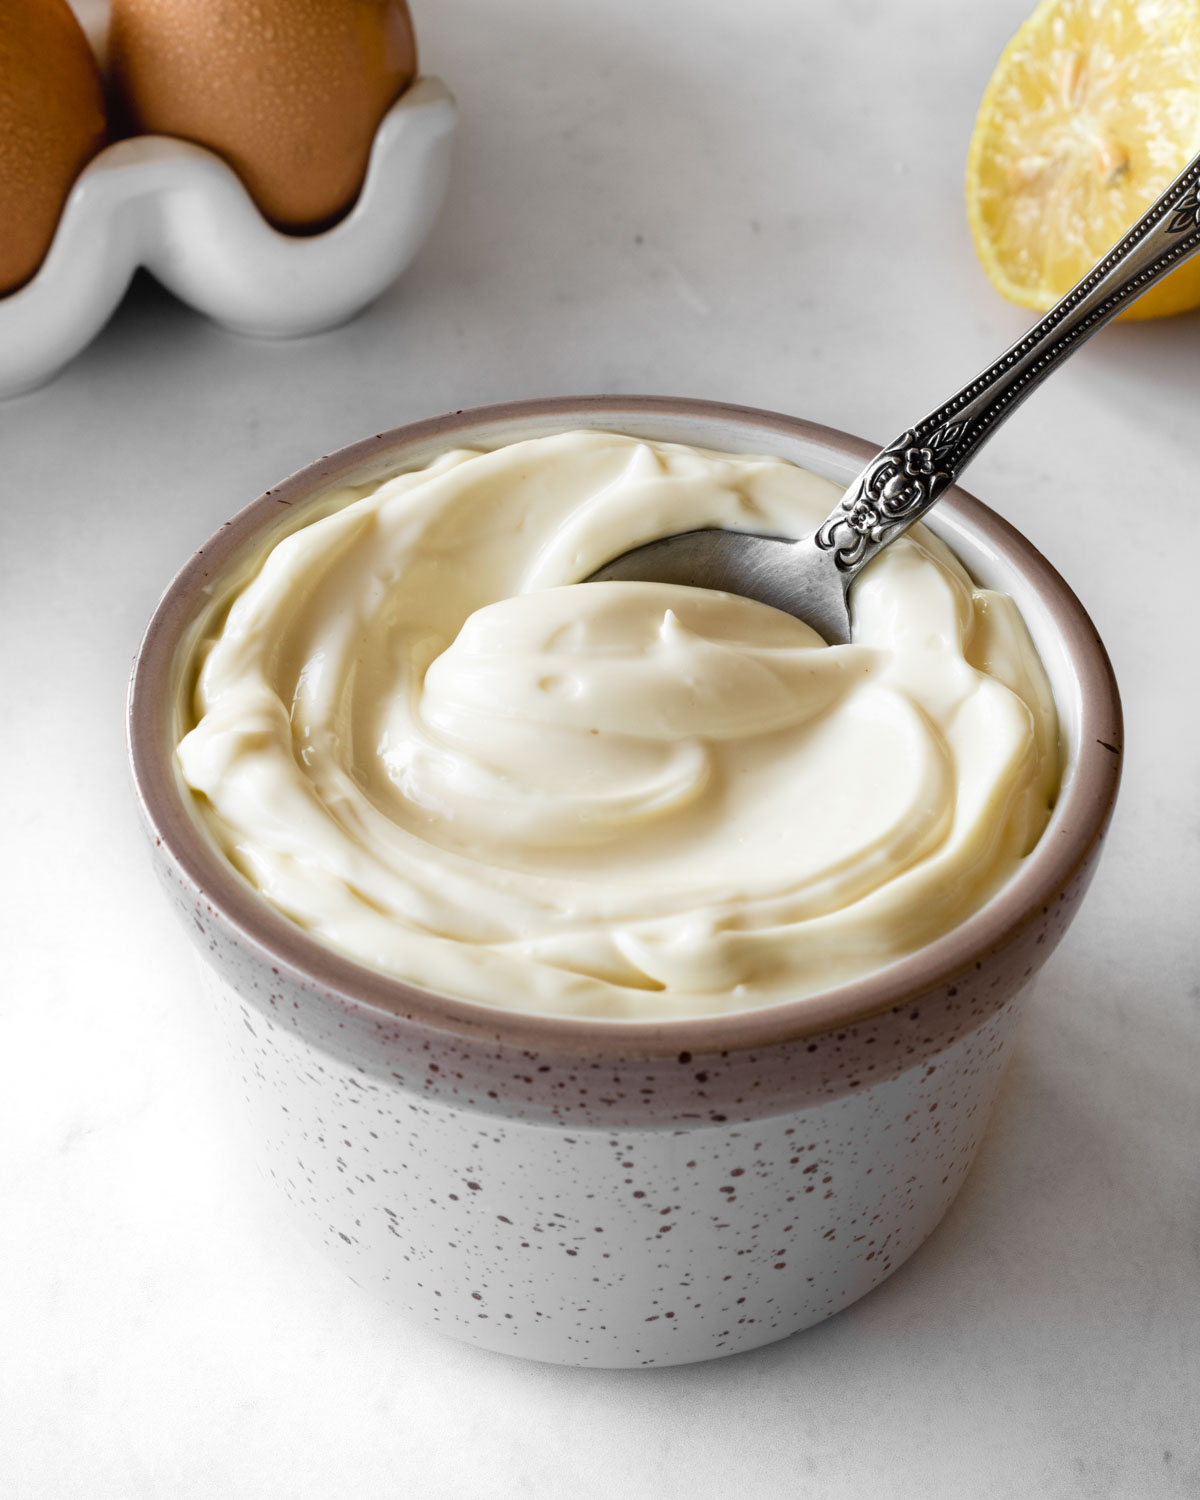
Essential Ingredients For Homemade Mayo
The beauty of homemade mayo lies in its simplicity. You only need four basic ingredients, but each plays an important role.
- Egg: Most recipes use a whole egg for both flavor and texture. The egg helps bind the oil and liquid together.
- Oil: This is the main ingredient. Choose a neutral oil like canola, sunflower, or avocado oil. Olive oil works too, but can taste strong.
- Acid: Usually lemon juice or vinegar. It adds tang and helps preserve the mayo.
- Salt: For seasoning. Adjust to taste.
Optional extras include mustard (for flavor and stability), pepper, garlic, or herbs.
Here’s a standard recipe:
- 1 whole egg (room temperature)
- 1 cup oil (neutral oil is best)
- 1 tablespoon lemon juice or vinegar
- 1/2 teaspoon salt
- Optional: 1 teaspoon mustard
Most immersion blender recipes call for a whole egg. This helps the mayo emulsify quickly and makes it safe for blending.
Ingredient Quality Matters
Fresh eggs and high-quality oil make a big difference in taste and texture. Always use eggs that are as fresh as possible, especially since mayo is not cooked. If you have concerns about raw eggs, use pasteurized eggs.
For oil, avoid strong-smelling oils (like extra-virgin olive oil) unless you want that flavor. Neutral oils give classic mayo taste.
Common Variations
You can easily customize your mayo:
- For a lighter mayo, use half oil and half Greek yogurt.
- For spicy mayo, add sriracha or chili powder.
- For garlic mayo (aioli), blend in a clove of garlic.
- For herb mayo, add chopped fresh herbs like dill or parsley.
Choosing The Right Oil: Flavor And Nutrition
Oil is the base of mayo, so your choice affects both taste and health. Many beginners don’t realize that using the wrong oil can ruin the flavor or texture.
Here’s a comparison of common oils:
| Oil Type | Flavor Profile | Nutrition | Recommended Use |
|---|---|---|---|
| Canola Oil | Neutral | Low saturated fat | Classic mayo, light flavor |
| Sunflower Oil | Neutral | Low saturated fat | Good for basic mayo |
| Avocado Oil | Mild, buttery | Heart-healthy fats | Premium mayo, rich flavor |
| Olive Oil (Light) | Mild, slightly fruity | Healthy monounsaturated fats | For Mediterranean-style mayo |
| Extra-Virgin Olive Oil | Strong, peppery | High antioxidants | For robust flavor, but can taste bitter |
| Grapeseed Oil | Very neutral | Low saturated fat | Great for classic mayo |
Tip: Start with canola, sunflower, or grapeseed oil if you want traditional mayo flavor. For extra nutrition, avocado oil is excellent.
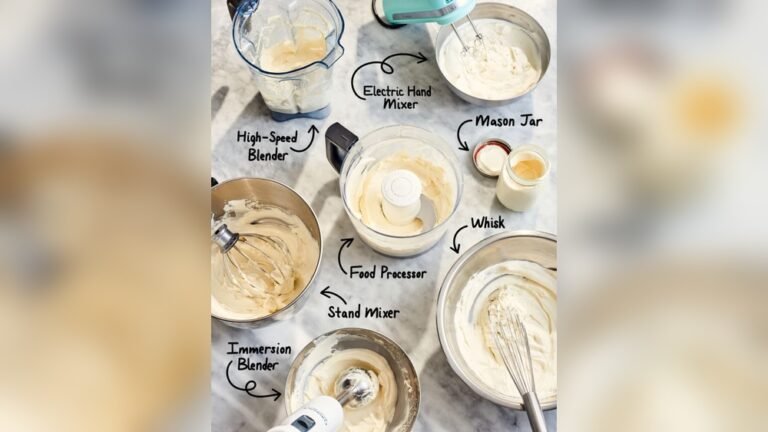
Equipment: Why Use An Immersion Blender?
Making mayo used to require slow whisking or a food processor. The immersion blender (also called a stick blender or hand blender) changed everything. It’s fast, easy, and creates smooth, thick mayo almost every time.
Advantages:
- Speed: Mayo forms in seconds.
- Consistency: Perfect emulsification, no splitting.
- Easy cleanup: One tall jar, one blender.
What You Need:
- Immersion blender
- Tall, narrow jar (often the one that comes with the blender)
- Measuring spoons
- Fresh ingredients
Non-obvious insight: The jar must be just wide enough for the blender head. Too wide, and the mayo may not emulsify properly.
Step-by-step Guide: Making Homemade Mayo With Immersion Blender
Many recipes online miss small details that make or break homemade mayo. Follow these steps for reliable results.
Step 1: Prepare Your Ingredients
Gather all ingredients and bring them to room temperature. Cold eggs or oil can cause the mayo to split.
- Crack the egg into the jar.
- Add oil, lemon juice (or vinegar), salt, and any extras.
Step 2: Layer Ingredients Correctly
Place the egg at the bottom of the jar. Add the oil on top. This order matters—the immersion blender pulls the egg and oil together for perfect emulsification.
Step 3: Insert Immersion Blender
Put the blender straight down until it touches the bottom of the jar. Don’t tilt it.
Step 4: Blend Without Moving
Turn the blender on and keep it still. In about 10–15 seconds, you’ll see thick, white mayo forming at the bottom. Wait until most oil is blended.
Step 5: Slowly Lift Blender
Once the bottom is thick, slowly raise the blender to mix in the remaining oil. This step ensures the whole mixture emulsifies.
Step 6: Taste And Adjust
Stop blending when all oil is mixed. Taste the mayo. Add more salt, lemon juice, or extras if needed. Blend briefly to mix.
Estimated time: 2–3 minutes total.
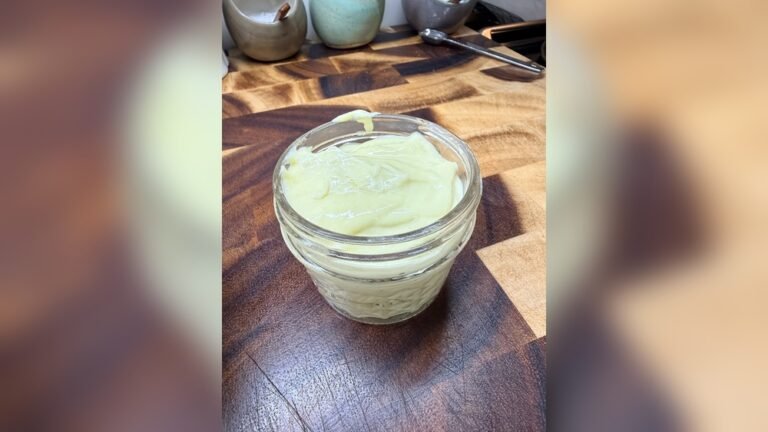
Step 7: Store Properly
Transfer the mayo to a clean jar. Cover and refrigerate. Homemade mayo lasts about 5–7 days because it doesn’t have preservatives.
Serving size: This recipe makes about 1 cup—enough for 8–10 sandwiches.
Troubleshooting Common Mayo Problems
Even with an immersion blender, some issues can happen. Here’s how to fix them.
Problem: Mayo Too Thin
Causes: Not enough emulsification, wrong oil, cold ingredients.
Fix: Add another egg yolk and blend again. Or add a teaspoon of mustard (it helps emulsify).
Problem: Mayo Split Or Separated
Causes: Ingredients too cold, jar too wide, not enough acid.
Fix: Start over with a new egg in a clean jar. Slowly add the failed mayo while blending.
Problem: Mayo Tastes Bitter
Causes: Using extra-virgin olive oil or strong oils.
Fix: Use neutral oil next time. Mask bitterness with a little honey or extra lemon juice.
Problem: Mayo Too Salty Or Acidic
Causes: Adding too much salt or lemon/vinegar.
Fix: Blend in more oil to dilute. If too acidic, add a pinch of sugar.
Non-obvious Insight: If Your Mayo Is Too Thick, Add A Teaspoon Of Water And Blend Briefly. Many Beginners Don’t Realize This Fixes Texture Without Ruining Flavor.
:max_bytes(150000):strip_icc()/two-minute-mayonnaise-step-2-collage-b3f6dae2881542569a313486733355de.jpg)
Credit: www.seriouseats.com
Safety Tips: Handling Raw Eggs
Raw eggs are safe for most people, but there’s a small risk of salmonella. Here’s how to stay safe:
- Use fresh eggs from reliable sources.
- Refrigerate eggs and mayo promptly.
- Use pasteurized eggs if you want extra safety.
- Never leave mayo at room temperature for more than 2 hours.
Commercial mayo uses pasteurized eggs and stabilizers, so it lasts longer. Homemade mayo is safe if you follow basic hygiene.
Flavor Variations: Custom Mayo Ideas
Homemade mayo is a blank canvas for flavor. Try these ideas:
- Garlic Aioli: Blend in one minced garlic clove.
- Chipotle Mayo: Add 1 teaspoon chipotle powder or sauce.
- Herb Mayo: Mix in chopped parsley, dill, or basil.
- Sriracha Mayo: Add sriracha to taste for spicy mayo.
- Curry Mayo: Blend in 1/2 teaspoon curry powder.
- Lemon Zest Mayo: Add grated lemon zest for bright flavor.
- Honey Mustard Mayo: Mix in honey and mustard.
- Bacon Mayo: Blend in crisp bacon bits for smoky taste.
You can also use homemade mayo as a base for ranch, tartar sauce, or remoulade.
Credit: forksandfoliage.com
Comparing Homemade Mayo Vs. Store Brands
Is homemade mayo really better? Let’s look at taste, nutrition, and cost.
| Aspect | Homemade Mayo | Store Mayo |
|---|---|---|
| Taste | Fresh, customizable | Standardized, sometimes bland |
| Nutrition | Depends on oil and egg quality | Often contains sugar, stabilizers |
| Shelf Life | 5–7 days | 1–3 months after opening |
| Preparation Time | 2–3 minutes | Instant |
| Cost per Cup | ~$1.00 | $1.50–$3.00 |
Homemade mayo is fresher and cheaper, but doesn’t last as long. Store mayo is more convenient for busy kitchens.
Practical Tips: Making Perfect Mayo Every Time
- Use room-temperature ingredients: This is the number one secret for reliable mayo.
- Choose the right jar: Tall and narrow jars work best. The immersion blender must fit snugly.
- Don’t rush blending: Let the blender work for 10–15 seconds before lifting.
- Add flavors after basic mayo forms: This prevents splitting.
- Store in glass jars: Plastic can absorb odors.
- Label and date jars: Homemade mayo spoils faster.
- Clean your blender well: Mayo residue can spoil future batches.
Many beginners overlook the importance of jar shape. If your mayo keeps failing, try a different jar.
Nutritional Facts: Mayo At A Glance
Homemade mayo is mostly fat, but the type of fat depends on your oil. Here’s an average nutrition breakdown for 1 tablespoon:
- Calories: 90–100
- Fat: 10g (mostly unsaturated)
- Protein: 0.2g
- Carbs: 0.1g
- Sodium: 50–100mg
If you use avocado or olive oil, you get healthier fats. Mayo is high in calories, so use in moderation.
What Science Says About Homemade Mayo
Mayo is an emulsion—a mixture of oil and water that doesn’t separate. The egg yolk contains lecithin, a natural emulsifier. The immersion blender forces tiny oil droplets to mix with the egg and acid, creating thick, creamy mayo.
Studies show homemade mayo can be safer if made with pasteurized eggs and handled correctly. The texture and flavor depend on oil choice and blending speed. For more scientific background, see Wikipedia.
Using Homemade Mayo: Recipes And Ideas
Don’t just use mayo for sandwiches. Try these ideas:
- Salad dressings: Mix with vinegar and herbs for creamy dressings.
- Coleslaw: Use as a base for classic or spicy coleslaw.
- Dips: Blend with garlic, lemon, and spices for veggie dips.
- Burger sauce: Combine with ketchup and relish for a tangy sauce.
- Potato salad: Mix with mustard and celery for traditional potato salad.
- Egg salad: Stir into chopped eggs and green onions.
Mayo is also great for grilling—brush it on bread for crispy sandwiches.
Cleaning And Storing: Best Practices
After making mayo, wash your immersion blender right away. Mayo dries fast and can be hard to clean.
- Rinse blender head with warm water.
- Use a small brush for crevices.
- Dry completely before storing.
Store mayo in glass jars with tight lids. Keep in the fridge and use within 7 days. If mayo smells sour or separates, discard it.
:max_bytes(150000):strip_icc()/two-minute-mayonnaise-02-5-e2eca0287aec476c9e20c1474adefef2.jpg)
Credit: www.seriouseats.com
Scaling Up: Making Large Batches
If you need more mayo (for parties or meal prep), use a larger jar and double the ingredients. Blend in stages to prevent splitting.
Tip: For every extra cup of oil, add another egg. This keeps the emulsion stable.
Avoiding Common Mistakes
- Using cold eggs or oil: Causes splitting.
- Choosing the wrong jar: Too wide or shallow jars prevent emulsification.
- Moving the blender too soon: Wait until mayo forms before lifting.
- Adding acid too late: Always add lemon/vinegar at the start.
- Using strong oils: Extra-virgin olive oil can make mayo bitter.
If you follow the main steps, homemade mayo is almost always successful.
The Truth About Mayo Myths
Some believe homemade mayo is unsafe or difficult. In reality, it’s safe with fresh eggs and easy with an immersion blender.
Myth: You need only egg yolks.
Truth: Whole eggs work well and make blending easier.
Myth: You must drizzle oil slowly.
Truth: With immersion blender, you add all oil at once.
Myth: Homemade mayo spoils in hours.
Truth: It lasts up to 7 days if refrigerated.
Frequently Asked Questions
Is Homemade Mayo Safe To Eat?
Homemade mayo is safe if you use fresh eggs and keep it refrigerated. For extra safety, use pasteurized eggs. Avoid leaving mayo at room temperature for more than 2 hours.
Can I Use Extra-virgin Olive Oil For Mayo?
Yes, but it creates a strong, sometimes bitter flavor. For classic mayo, use light olive oil or a neutral oil. If you want a Mediterranean taste, extra-virgin olive oil works—but expect a peppery finish.
How Do I Fix Mayo That Has Separated?
If your mayo separates, add a new egg to a clean jar and slowly blend in the failed mayo. The fresh egg helps re-emulsify the mixture. Mustard also helps stabilize mayo.
How Long Does Homemade Mayo Last?
Homemade mayo lasts about 5–7 days in the fridge. Because it has no preservatives, check for sour smell or separation before using. Always store in a clean, airtight jar.
Can I Make Vegan Mayo With An Immersion Blender?
Yes. Replace the egg with aquafaba (liquid from canned chickpeas). Use the same method: blend aquafaba, oil, acid, and salt. Vegan mayo has a similar texture and taste but is egg-free.
Homemade mayonnaise made with an immersion blender is quick, easy, and delivers unbeatable flavor. Whether you want classic mayo or a creative variation, you control every ingredient. With the right oil and a few practical tips, you’ll make mayo that rivals any store brand.
Try it once, and you may never go back to store-bought again.