How To Make Juice With Ninja Blender: Quick and Easy Guide
Juice making at home has become much easier with modern blenders. Among them, the Ninja Blender stands out for its powerful motor and sharp blades. But if you’ve ever wondered how to make juice with a Ninja Blender, you’re not alone. Many people think blenders are only for smoothies or purees. In reality, you can make fresh, delicious juice with your Ninja—no need for expensive juicers or complex steps. This article shows you how, step-by-step, using simple language and clear guidance. You’ll learn the difference between juice and smoothies, how to pick the right ingredients, and how to get smooth, pulp-free juice every time. Plus, you’ll discover practical tips, common mistakes, and answers to your most frequent questions.
Understanding Juice Vs. Smoothie
Before you start, it’s important to know what makes juice different from a smoothie. While both use fruits and vegetables, their texture and nutrition are not the same.
Juice is a clear, liquid drink made by extracting water and nutrients from produce. It usually does not contain pulp or fiber. Smoothies, on the other hand, use the whole fruit or vegetable, so they are thicker and contain fiber.
With a Ninja Blender, the default result is closer to a smoothie because blenders don’t separate fiber. But with a few extra steps, you can make clear, smooth juice.
Key differences:
- Juice: Thin, clear liquid, less fiber, more concentrated flavors.
- Smoothie: Thick, creamy, more fiber, sometimes heavier.
For juice, you need to blend and then strain the mixture to remove pulp. This process gives you a drink closer to what a juicer produces.
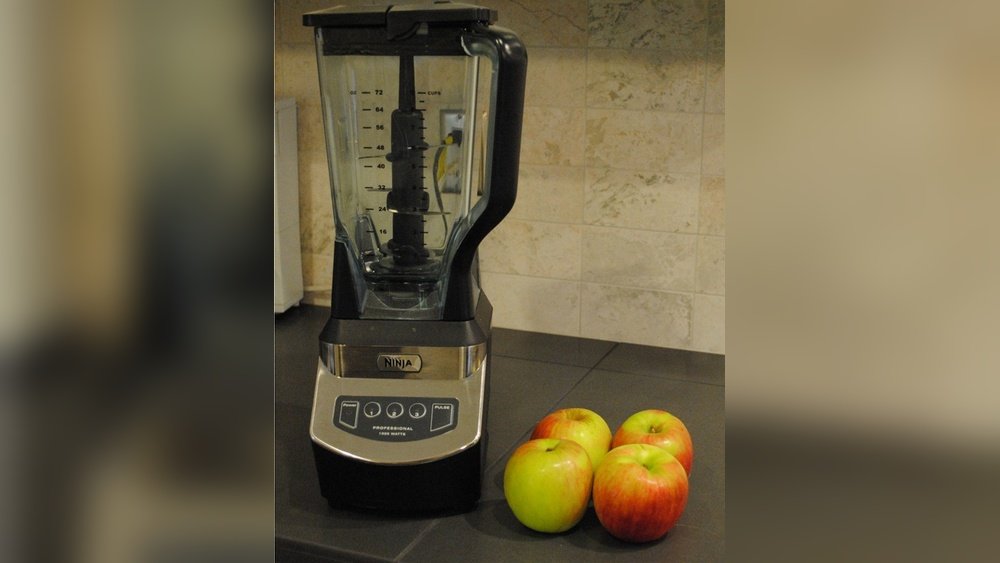
Why Use A Ninja Blender For Juice?
Ninja Blenders have become popular for several reasons:
- Powerful motor: Most Ninja models can crush hard ingredients like carrots and apples.
- Sharp blades: They cut through produce quickly, making fine pulp.
- Easy to clean: Parts are dishwasher-safe and simple to rinse.
- Versatile: You can blend, puree, and even make nut milk.
But there are also some facts beginners miss:
- Not all Ninja Blenders are equal. Some have higher wattage, making them better for tough vegetables.
- Ninja blenders do not automatically separate juice from pulp. You must strain the mixture after blending.
If you have a Ninja and want juice, you can get great results with the right steps.
:max_bytes(150000):strip_icc()/ses-product-ninja-blast-portable-blender-renu-dhar-04-c42a241ebdf04ae495d7030055c08de0.jpeg)
Credit: www.thespruceeats.com
Choosing Ingredients For Ninja Blender Juice
The quality of your juice depends on the ingredients you use. Fresh produce leads to better taste and more nutrition.
Best fruits for juicing:
- Apples
- Oranges
- Pineapple
- Watermelon
- Grapes
- Strawberries
Best vegetables for juicing:
- Carrots
- Celery
- Cucumber
- Spinach
- Kale
- Beets
Some fruits, like bananas and avocados, are not ideal for juice because they produce a thick, cloudy texture. Stick with water-rich produce.
Tips for ingredient selection:
- Freshness matters: Use ripe, fresh fruits and vegetables. Older produce can taste dull and reduce juice quality.
- Organic: If possible, choose organic to avoid pesticides.
- Wash thoroughly: Rinse all produce before blending.
Non-obvious insight: Adding a small piece of ginger or lemon boosts flavor and nutrition without overpowering the juice.
Preparing Ingredients: Steps And Tips
Proper preparation helps your Ninja Blender work better and makes juice smoother.
- Wash thoroughly: Remove dirt, pesticides, or wax from skin.
- Peel if needed: For citrus fruits or thick-skinned produce, remove peel. For apples and carrots, skin can stay on if washed well.
- Cut into chunks: Chop fruits and vegetables into pieces about 1–2 inches. This helps the blender process them evenly.
- Remove seeds and pits: Take out large seeds (like from apples) and pits (like from peaches).
Practical tip: For leafy greens, roll them up before blending. This helps blades catch them faster.

Credit: www.youtube.com
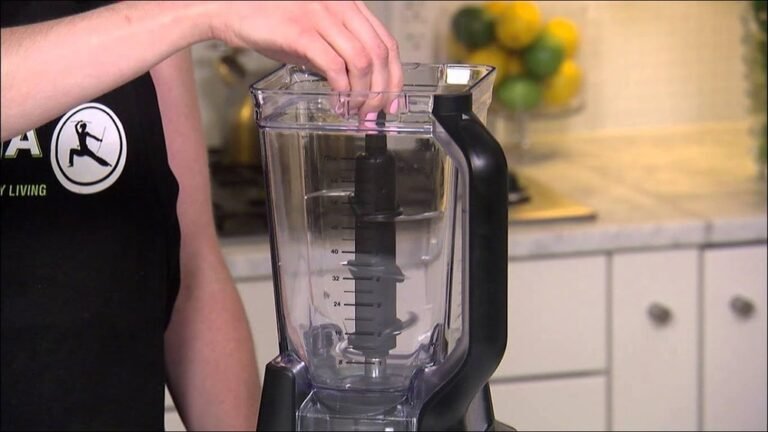
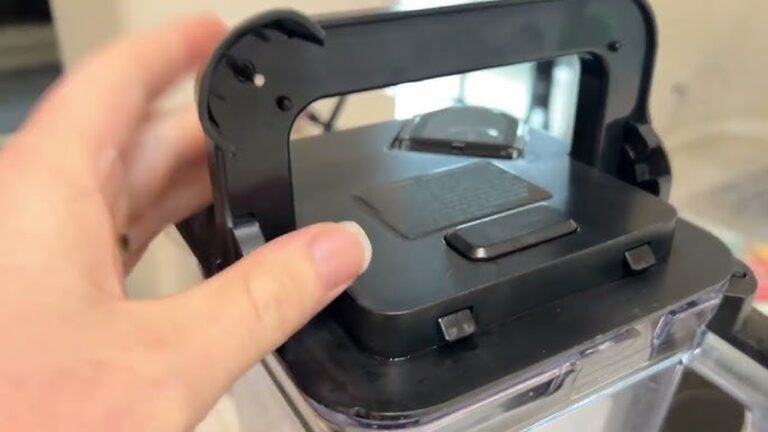
Setting Up Your Ninja Blender
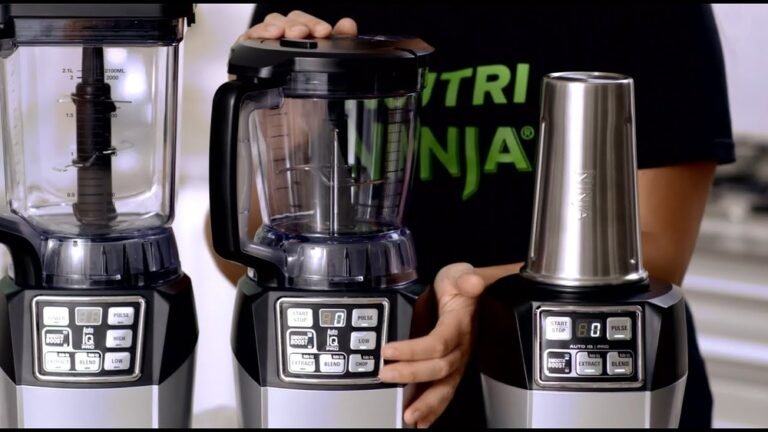
Whether you have a Ninja Professional, Ninja Auto-iQ, or Ninja Nutri, setup is similar. These are the main steps:
- Place the pitcher or cup on the base.
- Add ingredients. Start with softer items, then add harder produce.
- Add liquid. Water, coconut water, or apple juice works well. Usually, 1/2 to 1 cup per batch.
- Secure lid tightly. Ninja blenders have safety locks—make sure the lid clicks in place.
- Plug in and select the blending setting. For juice, use “blend” or “extract” mode if available.
Non-obvious insight: Don’t overfill the blender. Leave space at the top to help ingredients move freely.
Blending Process: Getting Perfect Juice
Now it’s time to blend. Follow these steps for best results:
- Pulse first: Use the pulse function for 5–10 seconds. This breaks down large chunks.
- Blend: Use the “blend” or “extract” setting for 30–60 seconds. If your Ninja has variable speed, start slow, then go faster.
- Check texture: Stop and check if the mixture is smooth. If there are chunks, blend another 15–30 seconds.
Tip: If the mixture is too thick, add a little more water and blend again.
Common mistake: Blending too long can heat up the mixture, which may affect flavor. Keep blending time under 2 minutes.
Straining The Juice: Getting Clear Liquid
After blending, you have a thick mixture. To make clear juice, you must strain out the pulp.
Methods For Straining
- Fine mesh strainer: Place a strainer over a bowl. Pour blended mixture through it. Use a spoon to press juice out.
- Nut milk bag: Pour mixture into bag, squeeze with hands over a bowl. This method removes more pulp.
- Cheesecloth: Line a bowl with cheesecloth, pour mixture in, and gather edges. Twist to squeeze juice out.
Comparison of straining methods:
| Method | Pulp Removal | Ease of Use | Cost |
|---|---|---|---|
| Fine mesh strainer | Moderate | Easy | Low |
| Nut milk bag | High | Medium | Medium |
| Cheesecloth | High | Medium | Low |
Non-obvious insight: Straining while the mixture is still cool is easier. If it’s warm, pulp can stick to the filter.
Juice Recipes For Ninja Blender
Here are three juice recipes you can try. Each gives about 2 servings and takes less than 10 minutes.
Apple Carrot Ginger Juice
Ingredients:
- 2 apples (medium, cored and chopped)
- 2 carrots (peeled and chopped)
- 1-inch piece fresh ginger
- 1 cup water
Steps:
- Add apples, carrots, ginger, and water to Ninja Blender.
- Pulse 5 seconds. Blend for 45 seconds.
- Strain using nut milk bag.
- Serve chilled.
Green Detox Juice
Ingredients:
- 1 cucumber (peeled, chopped)
- 2 celery stalks (chopped)
- 1 handful spinach
- 1 apple (chopped)
- 1 lemon (peeled)
- 1 cup water
Steps:
- Add all ingredients to blender.
- Blend for 60 seconds.
- Strain with cheesecloth.
- Drink immediately.
Pineapple Mint Juice
Ingredients:
- 1 cup pineapple (chopped)
- 1 handful fresh mint
- 1/2 cup water
- 1 lime (peeled)
Steps:
- Place all ingredients in blender.
- Blend for 45 seconds.
- Strain with fine mesh strainer.
- Serve over ice.
Practical tip: Always taste your juice before serving. If it’s too tart, add a little honey or agave.
Adjusting Juice Texture And Flavor
Sometimes juice can taste too strong or too weak. Here’s how to fix common problems:
- Too thick: Add more water or ice, blend again, and strain.
- Too thin: Use less water next time. You can add more fruits, like apples or pears, to thicken.
- Too sour: Add a sweet fruit (pineapple, apple) or a little honey.
- Too sweet: Add lemon or lime juice for balance.
Non-obvious insight: If your juice separates after sitting, stir gently or shake before drinking. This is normal with homemade juice.
Cleaning Your Ninja Blender After Juicing
Cleaning is important to keep your blender working well and avoid bad smells.
- Rinse immediately: After blending, rinse pitcher and blades with warm water.
- Soak: Fill with water and add a drop of dish soap. Let sit for 5–10 minutes.
- Blend: Run blender for 30 seconds with soapy water. This cleans inside surfaces.
- Disassemble and wash: Remove blades, wash all parts by hand or in dishwasher.
Practical tip: Never leave pulp or juice in the blender overnight. It dries and becomes hard to clean.
Comparing Ninja Blender To Other Juicers
Many people wonder if a Ninja Blender can really replace a juicer. Let’s compare:
| Machine | Juice Quality | Fiber Content | Ease of Cleaning | Cost |
|---|---|---|---|---|
| Ninja Blender | Good (with straining) | Low (after straining) | Easy | Medium |
| Traditional Juicer | Excellent | Very Low | Medium | High |
| Handheld Citrus Press | Fair | None | Easy | Low |
Key points:
- Ninja Blender is versatile and cheaper than most juicers.
- You must strain juice to remove pulp.
- Juicers produce clearer juice but are more expensive and harder to clean.
Common Mistakes When Making Juice With Ninja Blender
Even experienced users make mistakes. Here are some you can avoid:
- Using wrong produce: Bananas, avocados, or starchy fruits make thick drinks, not juice.
- Skipping straining: Without straining, your drink is a smoothie, not juice.
- Over-blending: This heats up juice and can affect flavor.
- Adding too much liquid: Dilutes taste and makes juice watery.
- Not cleaning immediately: Blender can smell and pulp becomes hard to remove.
Practical tip: Always strain juice in small batches. Pouring too much at once can overflow filters.
How To Store Homemade Juice
Homemade juice is best when fresh. But if you need to store it:
- Use a glass jar or bottle with a tight lid.
- Fill to the top to reduce air exposure.
- Refrigerate immediately.
Shelf life: Juice lasts 24–48 hours in the fridge. After that, flavor and nutrition drop.
Non-obvious insight: Citrus juice (like orange or lemon) lasts longer than green juice because acidity slows spoilage.
Boosting Nutrition In Your Juice
You can make your juice healthier by adding:
- Leafy greens: Spinach, kale, or parsley for vitamins.
- Herbs: Mint, basil for flavor and antioxidants.
- Superfoods: Chia seeds, spirulina (blend first, then strain).
Tip: Start with small amounts. Too much can change taste and texture.
Example: Add 1 tablespoon chia seeds to green juice, blend, let sit 5 minutes, then strain.
How To Make Juice For Kids
Kids often prefer sweeter, milder juice. Here’s how:
- Use sweet fruits: Apples, pears, strawberries.
- Avoid strong flavors: Skip ginger, kale, or lemon.
- Add water to dilute.
- Strain well to remove pulp.
Practical tip: Serve juice cold and in fun cups. Kids are more likely to enjoy it.
Making Juice For Weight Loss
Juice can help with weight loss if used correctly.
- Use vegetables: Cucumber, celery, spinach, kale.
- Limit fruit: Too much fruit adds sugar.
- Avoid honey or sweeteners.
Sample weight loss juice:
- 1 cucumber
- 2 celery stalks
- 1 handful spinach
- 1 lemon
- 1 cup water
Blend, strain, and drink before meals.
Non-obvious insight: Drinking juice slowly helps you feel full and reduces hunger.

Credit: www.thissavoryvegan.com
Environmental Benefits Of Homemade Juice
Making juice at home reduces waste:
- No plastic bottles or cartons.
- You can compost leftover pulp.
- Use reusable bottles for storage.
Tip: Pulp can be added to muffins, soups, or compost.
Cost Comparison: Homemade Juice Vs. Store-bought
Let’s look at the cost. Store-bought juice can be expensive and often contains additives.
| Type | Cost per Serving | Additives | Freshness |
|---|---|---|---|
| Homemade (Ninja) | $1.00–$1.50 | None | High |
| Store-bought | $2.50–$5.00 | Often | Low |
Practical tip: Buy fruits and vegetables in bulk to save more. Use local produce when possible.
Safety Tips When Making Juice
- Always secure lid before blending.
- Never put hands in blender while running.
- Don’t blend hot liquids.
- Clean blades carefully—they are sharp.
Tip: If you have allergies, check ingredients carefully. Some fruits can cause reactions.
Using Ninja Blender For Other Drinks
Besides juice, your Ninja can make:
- Smoothies
- Nut milk (blend nuts with water, then strain)
- Soup (blend cooked vegetables)
This makes Ninja a good investment for healthy living.
Frequently Asked Questions
How Much Fruit And Vegetables Do I Need For One Cup Of Juice?
Usually, you need about 2 cups of chopped produce to make 1 cup of juice. After blending and straining, the pulp reduces liquid. For harder vegetables like carrots, use more.
Can I Use Frozen Fruits In Ninja Blender Juice?
Yes, frozen fruits blend well and make juice cold. But they may produce a thicker texture, so add extra water and strain carefully.
Why Does My Juice Separate After Sitting?
Homemade juice separates because it has no stabilizers. Just stir or shake before drinking. Separation is normal and does not mean the juice is bad.
Is Ninja Blender Juice As Healthy As Juice From A Juicer?
It can be, if you strain well. Some fiber may remain, which is actually healthy. Juicers remove more pulp, but Ninja juice is still rich in vitamins and minerals.
What Can I Do With Leftover Pulp?
You can add pulp to muffins, soups, or compost it. It’s full of fiber and nutrients. Some people freeze pulp to add to smoothies later.
Making juice with a Ninja Blender is simple, fast, and healthy. You get fresh flavor and control over ingredients. With the right steps—washing, chopping, blending, and straining—you can enjoy clear, delicious juice at home. Plus, you save money and reduce waste. Whether you want juice for health, taste, or fun, your Ninja Blender is up to the job. For more information on juicing benefits, check out Wikipedia’s Juice page. Try new recipes, experiment with flavors, and discover how easy it is to make juice with Ninja Blender—your kitchen will never be the same.