How To Blend With A Ninja Blender: Effortless Smoothies Every Time
Blending with a Ninja Blender is more than just pressing a button. It’s about getting the texture, consistency, and flavor you want—every time. Whether you’re making a green smoothie, crushing ice for cocktails, or preparing creamy soups, your Ninja Blender can do the job with power and precision.
But to get the best results, you need to understand how to use your machine correctly, choose the right settings, and avoid common mistakes. This guide will walk you through everything you need to blend like a pro with your Ninja Blender, even if you’re a beginner.
Understanding Your Ninja Blender
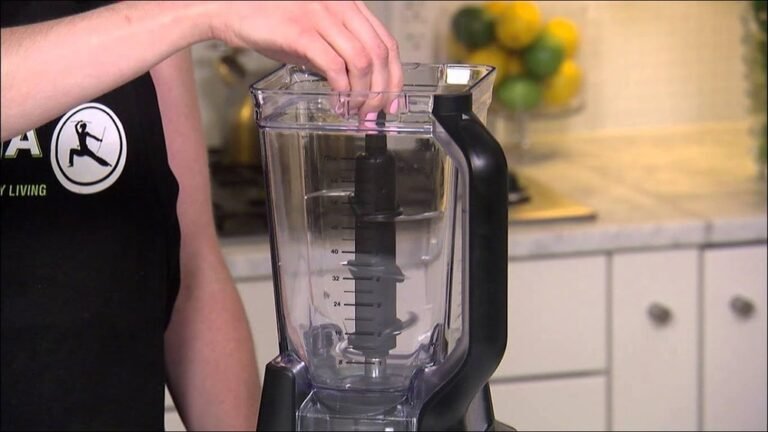
Before you start blending, it’s important to know the features and parts of your Ninja Blender. While models vary, most Ninja Blenders share some key components.
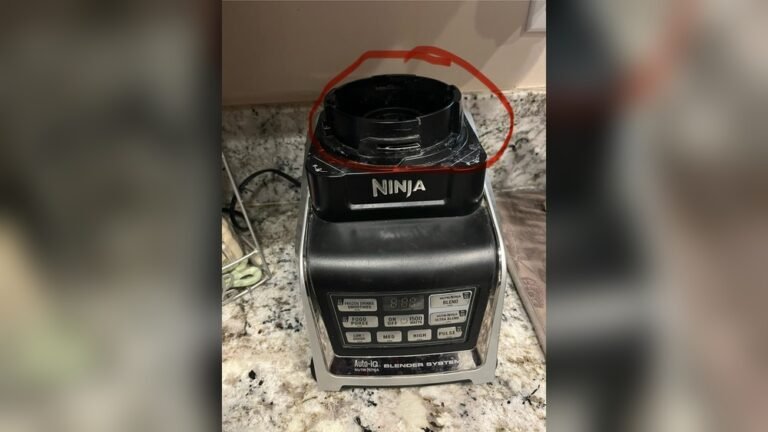
- Blender base: This is the motor housing. It powers the blades and controls the speed.
- Pitcher or cup: This is where you put your ingredients.
- Blade assembly: Ninja Blenders often have stacked blades for better chopping and blending.
- Lid: Keeps everything inside while blending and often includes a removable cap for adding ingredients.
Some models have extra features like Auto-iQ programs, single-serve cups, or special blades for dough. Always check your user manual to understand your exact model.
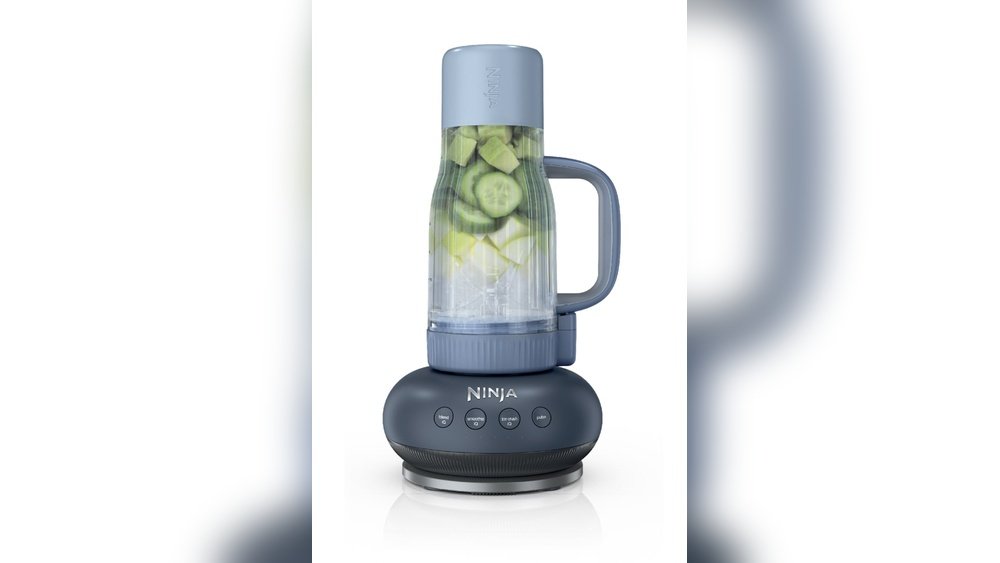
Types Of Ninja Blenders
Ninja offers several types of blenders. Here’s a quick comparison:
| Model Type | Main Use | Capacity | Special Features |
|---|---|---|---|
| Professional Blender | Large batches, smoothies, ice crushing | 72 oz (approx.) | Stacked blade, multiple speeds |
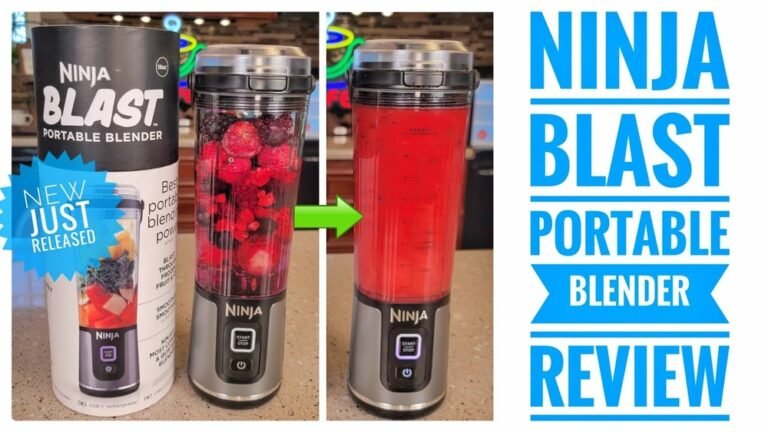
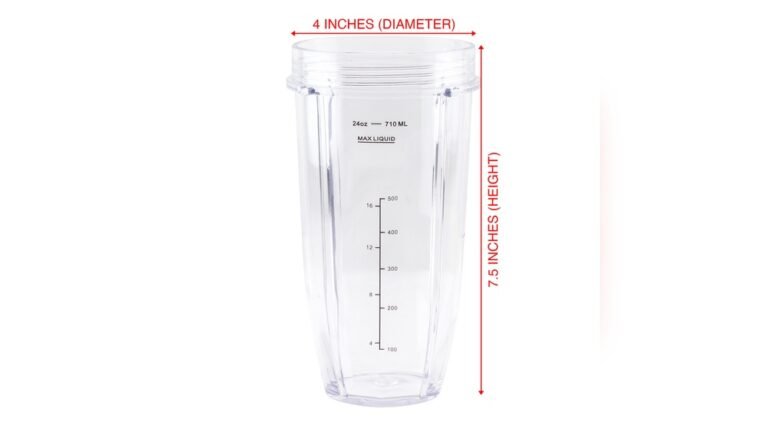
| Personal Blender | Single-serve smoothies, shakes | 16-24 oz | To-go lids, compact design |
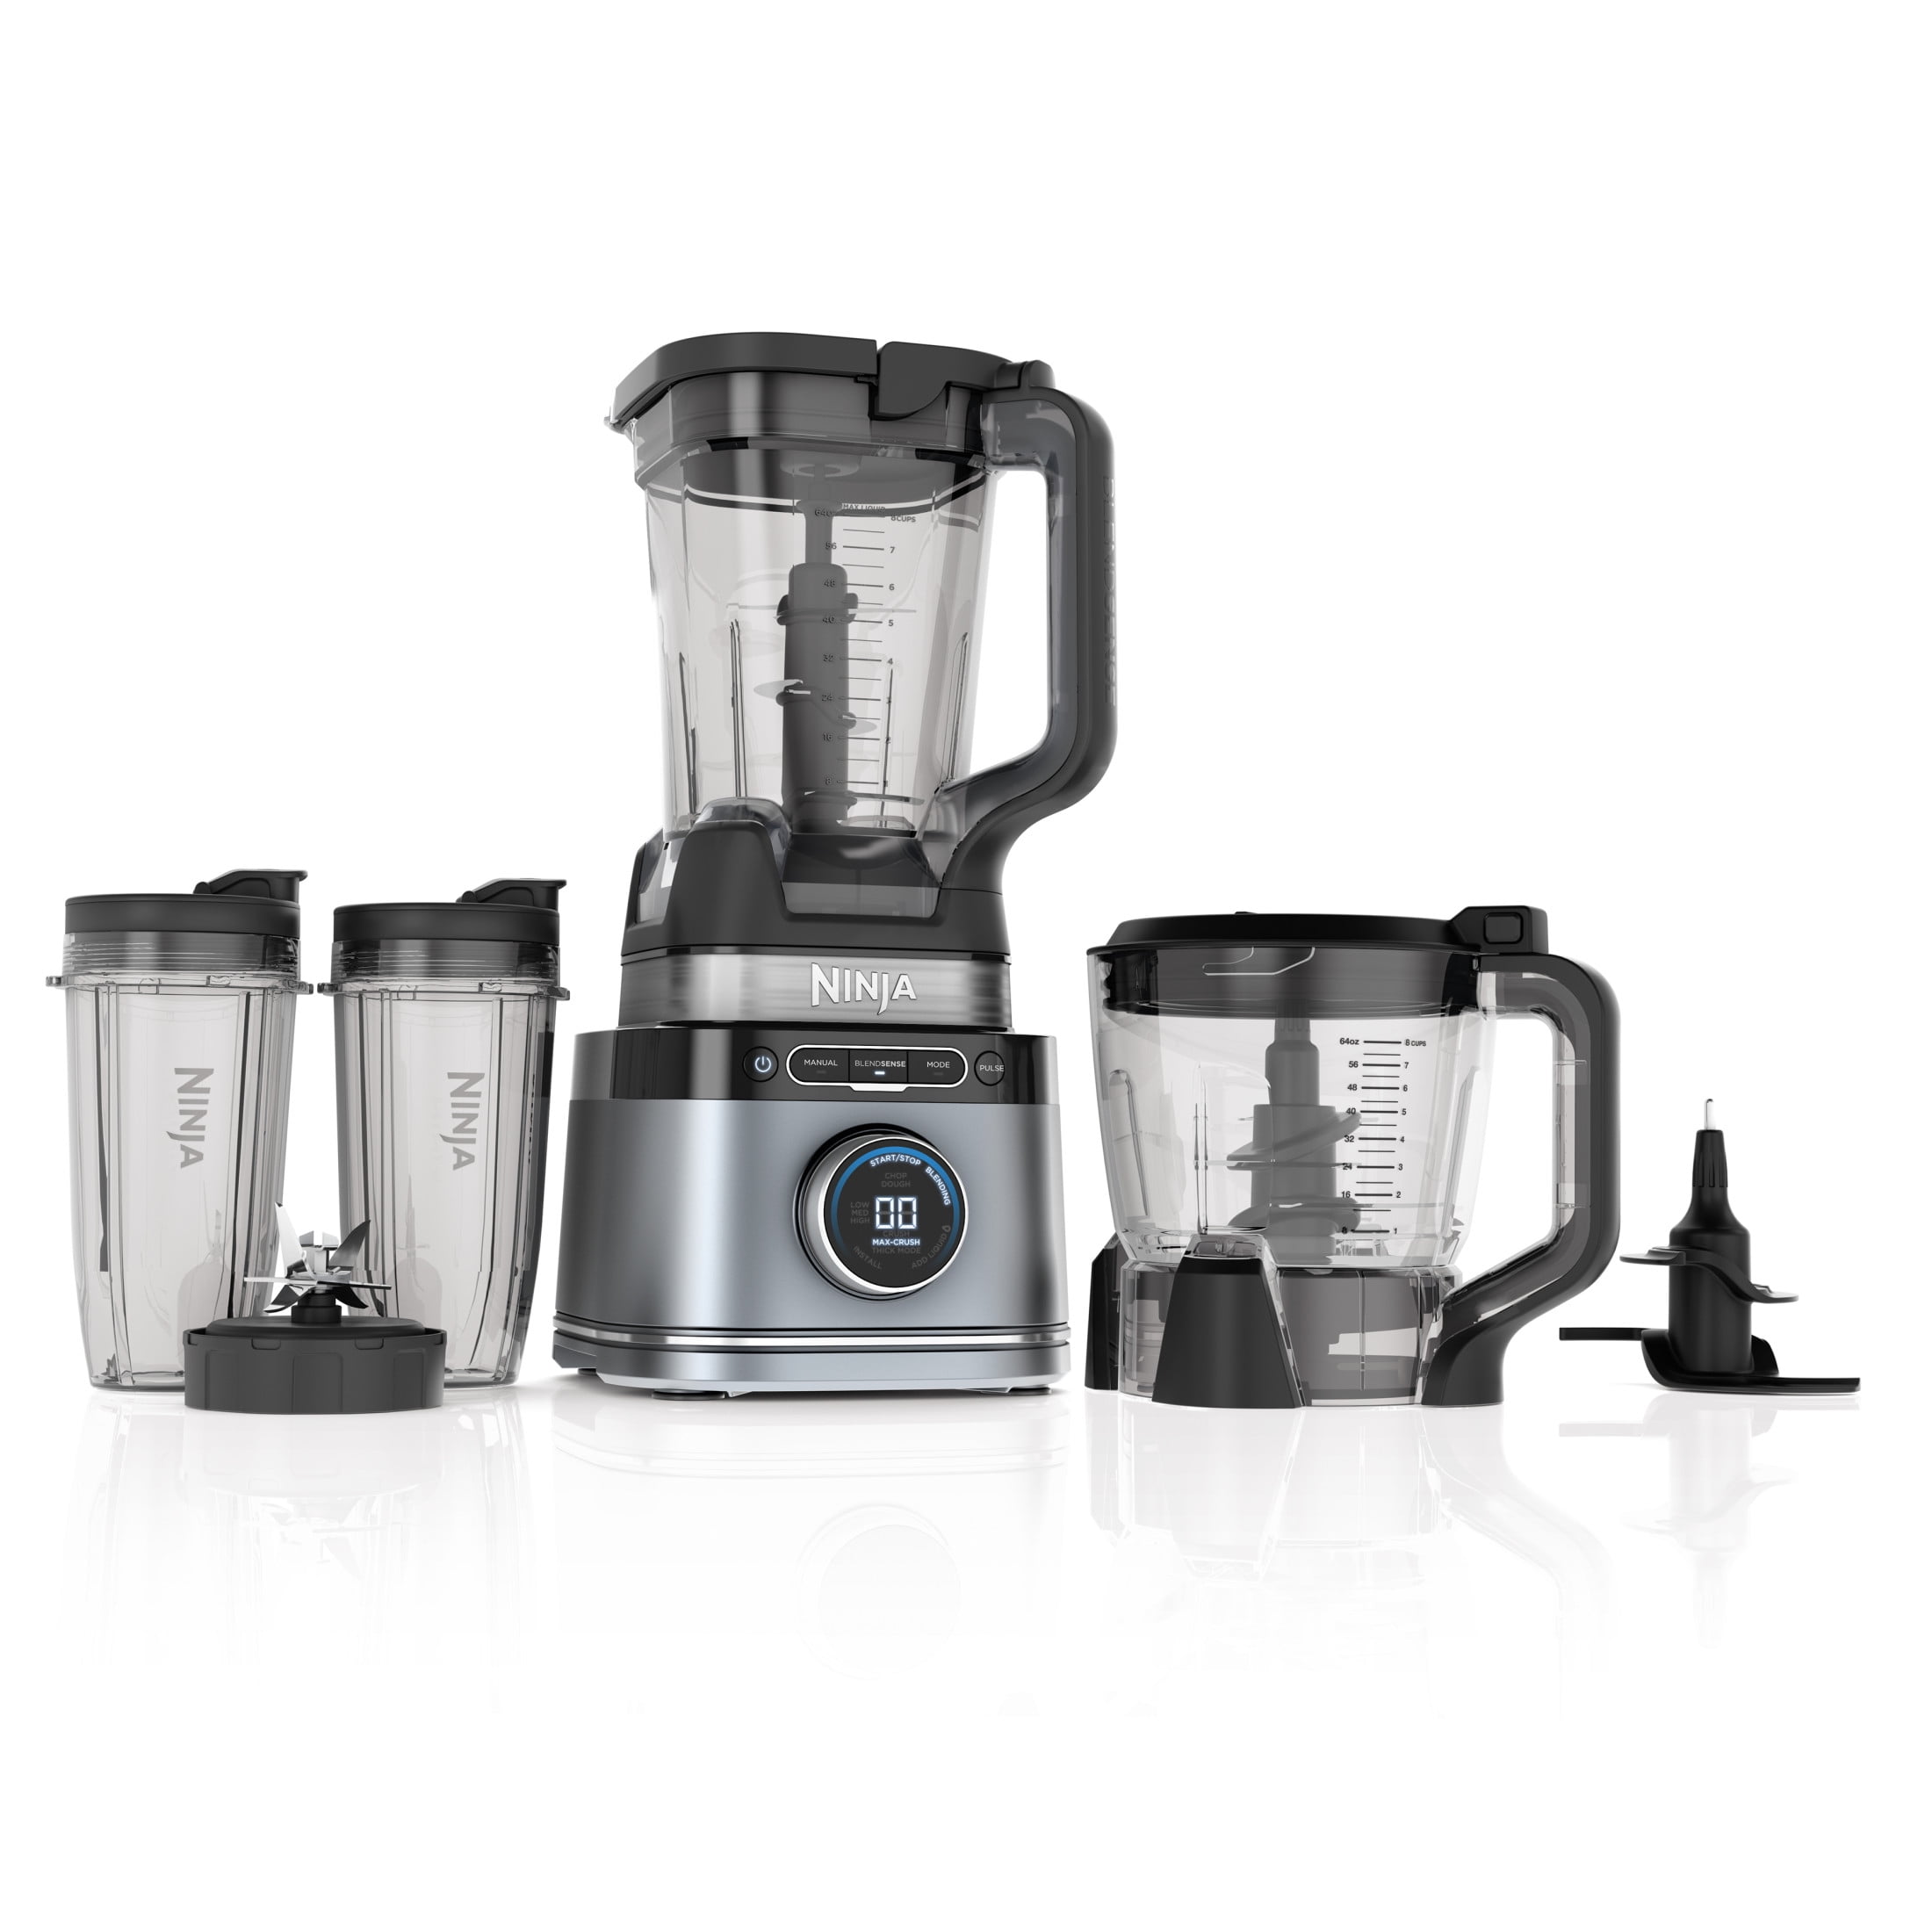
| Foodi Power Blender | Blending, food processing, dough | 72 oz + bowl | Auto-iQ, variable speed control |
Non-obvious insight: The blade design in Ninja Blenders is unique. Stacked blades help pull ingredients down, so you get fewer “dead spots” compared to traditional blenders. Another subtle benefit is how the vertical blades allow for better blending of fibrous ingredients, like celery or kale, which often get stuck in standard horizontal blade designs.
If you want to blend both small and large portions, models with personal cups and full pitchers are more versatile. For someone who makes smoothies for breakfast and soup for dinner, this flexibility is useful.
Preparing To Blend
A great blend starts with preparation. Don’t just throw everything in and hope for the best. Here’s how to set yourself up for success.
Choose The Right Ingredients
Fresh, high-quality ingredients give the best flavor and texture. Use ripe fruit for smoothies, chilled liquids for cold drinks, and cut tough ingredients (like carrots) into smaller pieces for easier blending.
Tip: If you’re blending leafy greens, roll them up tightly before adding to the blender. This helps the blades catch and chop them faster. For seeds and nuts, soaking them for 10-20 minutes can make them softer and easier to blend, resulting in smoother textures.
Frozen ingredients add thickness and chill without watering down your mixture. If you’re using frozen fruit, let it sit at room temperature for a few minutes before blending to reduce strain on the motor.
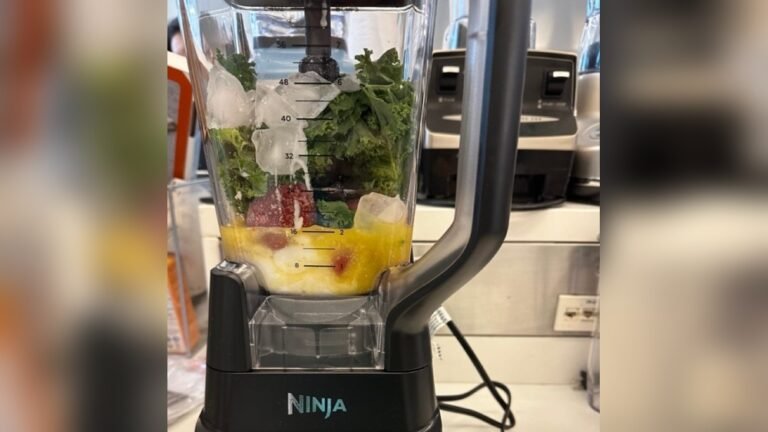
Load Ingredients In The Correct Order
The order you add ingredients matters—especially in powerful blenders like Ninja. For smooth blending, follow this sequence:
- Liquids first (water, milk, juice, etc.)
- Soft ingredients (yogurt, soft fruits, nut butters)
- Hard ingredients (frozen fruit, ice, raw vegetables)
- Leafy greens and powders (spinach, protein powder)
- Sweeteners and flavorings (honey, spices)
This order helps the blades move freely and blend all ingredients evenly. For thick blends, like smoothie bowls, consider adding liquids gradually and using a spatula to help mix stubborn ingredients.
Non-obvious insight: If you are blending sticky ingredients, like dates or dried fruit, place them between layers of softer ingredients. This prevents them from sticking to the sides and makes blending easier.
Don’t Overfill
Never fill the pitcher or cup above the max fill line. Overfilling can cause leaks or uneven blending. For thick mixtures, use less at first and blend in batches if needed.
Overfilling also puts extra stress on the motor. If you notice the blender struggling or stopping, remove some ingredients and try again.
Secure The Lid Properly
Always make sure the lid is locked into place before you start. Most Ninja Blenders won’t run unless everything is locked, but double-check for safety and less mess.
If your model has a vent cap, make sure it’s closed unless you’re blending hot liquids, in which case open the vent slightly to let steam escape. This prevents pressure buildup and keeps your kitchen safe.
Choosing The Right Settings
Ninja Blenders offer a variety of speeds and pre-programmed functions. Picking the right one makes a big difference.
Manual Speeds Vs. Auto-iq
- Manual speeds: You control how long and how fast the blender runs. Use low for chopping, medium for mixing, and high for smooth blends.
- Auto-iQ programs: These are pre-set cycles that change speed and time automatically for smoothies, ice crush, or dough. They’re great for beginners.
Experiment with manual speeds if you want more control. For example, pulsing vegetables for salsa lets you decide how chunky you want it. Auto-iQ is perfect for consistent results, like creamy smoothies or frozen drinks.
Common Functions Explained
| Function | Best For | How It Works |
|---|---|---|
| Pulse | Chopping, chunky salsa, control over texture | Short bursts of power; stops when released |
| Low/Medium/High | Mixing, blending, pureeing | Runs at constant speed until stopped |
| Auto-iQ Blend | Smoothies, milkshakes | Alternates speeds for creamy results |
| Auto-iQ Crush | Ice, frozen drinks | Powerful bursts for hard ingredients |
Pro tip: Use the Pulse button for chunky mixtures and to prevent over-blending. For example, pulsing nuts for a few seconds gives you chopped nuts instead of nut butter. Pulsing is also useful for prepping vegetables before cooking or for making dips like guacamole.
If your recipe calls for a specific texture, start with Pulse and finish with a short blend. This gives you more control and prevents turning everything into mush.
Blending Techniques For Perfect Results
Now it’s time to blend. Here’s how to get the best possible results for different recipes.
Making Smoothies
Smoothies are one of the most popular things to make in a Ninja Blender. Here’s how to get a creamy, lump-free drink:
- Start on low speed for 5-10 seconds to mix ingredients and pull them toward the blades.
- Increase to high speed for 30-60 seconds until smooth.
- Stop and scrape down sides if needed, then blend again briefly.
If your smoothie is too thick, add more liquid and blend again. If it’s too thin, add more frozen fruit or ice.
Non-obvious insight: Use frozen banana slices instead of ice for a creamier texture and natural sweetness. Another trick is to add a spoonful of oats or avocado for extra creaminess without changing the flavor.
If you want to boost nutrition, add a handful of spinach or kale. Ninja Blenders handle greens well, but to avoid small bits, blend them first with liquid before adding other ingredients.
Crushing Ice And Frozen Ingredients
Ninja Blenders are known for their ice-crushing power. To avoid dulling the blades or overworking the motor:
- Add enough liquid when crushing ice. Dry ice can jam the blades.
- Use the Auto-iQ Crush or Pulse setting in short bursts.
- Don’t try to crush huge blocks of ice. Use regular ice cubes.
For frozen drinks, like slushies or frappes, blend ice with flavored liquids, then pulse until you get the right texture. If ice gets stuck, stop the blender and shake the pitcher gently before continuing.
Making Nut Butters
You can make peanut or almond butter in a Ninja Blender, but it takes patience. Here’s the process:
- Add roasted nuts to the pitcher.
- Start with Pulse for a few seconds to chop.
- Blend on high, stopping often to scrape down sides.
- Continue until you reach the desired creaminess (usually 3-5 minutes).
For smoother butter, add a small amount of oil (like peanut or coconut oil). If the mixture seems dry, wait a minute between blending cycles to let the motor cool and prevent overheating.
Non-obvious insight: For flavored nut butter, add a pinch of cinnamon, cocoa powder, or honey after the nuts are mostly blended. This avoids clumping and spreads flavors evenly.
Pureeing Soups And Sauces
Let hot foods cool slightly before blending to prevent pressure build-up. For the best results:
- Fill the pitcher only halfway for hot ingredients.
- Remove the lid’s center cap to let steam escape, but cover the hole with a towel.
- Start on low and increase speed gradually.
Safety warning: Never blend boiling liquids. Steam can force the lid off and cause burns.
If you want ultra-smooth soup, strain it after blending. For chunky sauces, pulse ingredients instead of blending on high.
Making Dough (for Dough-capable Models)
If your Ninja Blender has a dough blade or setting, you can quickly mix pizza or bread dough. Here’s how:
- Add flour and dry ingredients first.
- Add liquids on top.
- Use the dough setting or pulse in short bursts.
- Stop as soon as the dough comes together. Over-mixing can make dough tough.
For sticky dough, dust the blade with flour before adding ingredients. If dough sticks to the sides, scrape it down and pulse again.

Credit: www.walmart.com
Cleaning And Maintenance
A clean blender lasts longer and keeps flavors fresh. Here’s how to do it right.
Quick Cleaning After Each Use
- Fill the pitcher halfway with warm water and a few drops of dish soap.
- Run the blender on high for 30-45 seconds.
- Rinse well with clean water.
For personal cups, add water and soap, then shake and blend for quick cleaning.
Deep Cleaning
For tough stains or smells, try this method once a week:
- Fill the pitcher with warm water and 1/4 cup of baking soda.
- Blend on high for 1 minute.
- Let sit for 10-15 minutes, then scrub and rinse.
Don’t: Put the blade assembly or motor base in the dishwasher. Hand wash these parts.
If you blend sticky or oily foods, like nut butters, use vinegar or lemon juice to cut through residue.
Maintaining Blades And Seals
Check the blades for dullness or damage. Replace if needed—sharp blades are safer and more effective. Inspect the rubber gaskets for cracks or wear, as they help prevent leaks.
Non-obvious insight: If you notice a cloudy film on your pitcher, soak it in a vinegar-water mix (1:1) for an hour. This often removes mineral buildup. For persistent odors, try blending water with a slice of lemon or a tablespoon of baking soda.
Dry all parts completely before reassembling to prevent mold growth.
Troubleshooting Common Problems
Even great blenders like Ninja can have issues. Here’s how to handle the most common ones.
Blender Won’t Start
- Make sure the pitcher and lid are locked in place.
- Check if the power cord is plugged in and outlet works.
- Some models have a safety switch—press down on the pitcher until it clicks.
If the blender still doesn’t start, try plugging into a different outlet or checking for a blown fuse.
Poor Blending Or Chunks Left
- Check ingredient order. Add liquids first.
- Don’t overfill. Blend in batches if necessary.
- Pulse a few times, then blend on high.
If you often get chunks, try pre-cutting ingredients smaller or blending longer.
Leaking
- Inspect the gasket and blade assembly for damage.
- Tighten the blade assembly and lid.
- Don’t fill above max line.
Leaks can also happen if the pitcher is cracked. Replace damaged parts for safe operation.
Overheating
- If the motor stops or smells hot, unplug for 15 minutes.
- Let the motor cool before reusing.
- Avoid blending thick mixtures for too long.
For tough recipes, blend in short cycles and rest between cycles.
Unpleasant Smells Or Stains
- Clean with baking soda or vinegar solution.
- Avoid storing food in the pitcher.
Pro tip: If your blender makes loud noises or vibrates, check that it’s on a stable surface and the blades aren’t jammed. Sometimes loose blades or stuck ingredients cause extra noise.
Smart Tips For Better Blending
- Chill your pitcher before making cold drinks—this prevents melting and keeps flavors sharp.
- Pre-soak tough ingredients like dried fruit, chia seeds, or flaxseed to help them blend smoothly.
- Use a tamper (if included) for thick mixtures like smoothie bowls or frozen desserts.
- Layer flavors: Add a squeeze of citrus or a pinch of salt to enhance taste.
- Don’t walk away: Keep an eye on the blender, especially for hot or thick mixes.
If you don’t have a tamper, stop and scrape down the sides with a spatula. For creamy soups, blend part of the mixture, then stir it back into the pot for a smoother texture.
Comparing Ninja With Other Blenders
Curious how your Ninja stacks up against other brands like Vitamix or NutriBullet? Here’s a quick look:
| Brand | Power (Watts) | Price Range | Best For | Warranty |
|---|---|---|---|---|
| Ninja | 900-1400 | $60-$200 | Everyday blending, ice, smoothies | 1 year |
| Vitamix | 1200-1500 | $350-$650 | Professional, hot soups, nut butters | 5-10 years |
| NutriBullet | 600-1200 | $60-$120 | Personal smoothies, small jobs | 1 year |
Ninja offers a strong balance between power, price, and versatility. While Vitamix models are more powerful and last longer, they’re also much more expensive. NutriBullet is great for single-serve smoothies but can’t handle large batches or tough ingredients as well as Ninja.
Another advantage of Ninja is the variety of models. You can find a blender for almost any budget and need, from small personal cups to full-size pitchers with food processing options. This makes it easier to match your kitchen habits.

Credit: www.sharkninja.com
Creative Recipes To Try In Your Ninja Blender
Blending isn’t just for smoothies. Here are some ideas you might not have tried:
- Green smoothie: Spinach, frozen mango, banana, coconut water, ginger.
- Frozen margarita: Ice, tequila, lime juice, orange liqueur, simple syrup.
- Creamy tomato soup: Roasted tomatoes, garlic, onion, vegetable broth, basil.
- Almond butter: Roasted almonds, pinch of salt, touch of honey.
- Cauliflower mash: Steamed cauliflower, a splash of cream, butter, garlic.
Try blending batters for pancakes, grinding oats into flour, or making homemade hummus.
For dessert, blend frozen berries with Greek yogurt and honey for a quick sorbet. Or make salad dressings by blending olive oil, vinegar, herbs, and mustard.
Non-obvious insight: Ninja Blenders can grind coffee beans. Use the Pulse setting for coarse grinds, or blend longer for fine grounds.
Safety Reminders
Ninja Blenders are powerful machines. Following safety rules keeps you and your kitchen safe.
- Keep hands and utensils away from blades while running.
- Unplug before cleaning or removing the blade assembly.
- Allow hot foods to cool to avoid pressure build-up.
- Always use on a flat, stable surface.
Never try to blend boiling liquids or use your blender for non-food items.
If you need to scrape ingredients, always turn off and unplug the blender first. Avoid using metal utensils, which can damage blades and pitcher.
Credit: www.walmart.com
Saving Time And Reducing Waste
Blending can help you save money and reduce food waste. Use leftover fruits or veggies in smoothies, or blend stale bread into breadcrumbs. Prep ingredients in advance and freeze in individual bags for quick smoothie packs.
Pro tip: Freeze leftover coffee or juice in ice cube trays—blend with milk or fruit for instant frozen drinks.
If you have wilting greens or soft fruit, blend them into sauces or soups instead of throwing them away. This not only saves money, but also adds flavor and nutrition.
When To Replace Your Blender Or Parts
Blenders don’t last forever. Here’s when to consider an upgrade or replacement:
- Blades are dull, bent, or rusted.
- Motor sounds weak or smells burnt.
- Pitcher is cracked or leaks.
- Gasket is damaged and can’t seal.
Ninja offers replacement parts for most models, so you don’t always need to buy a whole new machine.
If you use your blender daily, expect to replace blades every 1-2 years for best performance. Keeping spare gaskets on hand is also smart for quick fixes.
Finding Support And More Resources
If you lose your manual or need help, the official Ninja website offers downloadable manuals, recipes, and troubleshooting guides. For more inspiration, check out Ninja Kitchen.
Frequently Asked Questions
How Do I Stop My Smoothie From Being Too Thick?
If your smoothie is too thick, add more liquid (water, milk, or juice) a little at a time and blend again. Avoid adding too much at once; you can always add more, but you can’t take it out.
Can I Put Hot Liquids In My Ninja Blender?
You can blend warm (not boiling) liquids, but never blend boiling hot foods. Fill the pitcher halfway, open the vent cap, and blend on low to start. This prevents steam build-up, which can be dangerous.
Why Does My Ninja Blender Leak?
Leaks usually happen if the gasket is damaged, the blade assembly is loose, or you overfill the pitcher. Check the rubber seal and tighten all parts before blending.
How Do I Sharpen Ninja Blender Blades?
Ninja doesn’t recommend sharpening blades at home. If the blades are dull, buy a replacement blade assembly from the official store. This is safer and keeps your blender working well.
What Can I Do If My Blender Smells Burnt?
Stop blending immediately and unplug the machine. Let the motor cool for at least 15 minutes. If the smell continues, contact Ninja support—your motor might be overheating or need repair.
Blending with a Ninja Blender is simple once you understand the basics. With the right preparation, order of ingredients, and settings, you can make everything from creamy smoothies to chunky salsas. Clean your blender well, watch for common mistakes, and don’t be afraid to try new recipes.
You’ll soon see why Ninja is a favorite in kitchens everywhere.