How To Clean Inside Of Ninja Blender: Easy Steps for a Sparkling Finish
Cleaning the inside of a Ninja Blender can seem simple, but there’s more to it than just rinsing with water. If you want your blender to last long, avoid odors, and keep smoothies tasting fresh, learning the best way to clean every part is key.
Many people clean only the cup, but hidden food can stay in the blades, gasket, and even under the base. Over time, this can cause stains, smells, and even affect how well your blender works. Whether you use your Ninja Blender daily for green smoothies or just for occasional sauces, a deep clean will keep it running like new.
You might be surprised—most Ninja Blenders are not fully dishwasher safe. Some parts can handle the dishwasher, but others need hand washing. If you skip important steps, food bits, mold, and bacteria can hide in places you don’t see. This guide will show you, step-by-step, how to clean every part inside your Ninja Blender, including tricky spots like the blades and gasket.
We’ll cover both quick daily cleaning and deep cleaning for those days when your blender needs extra care. By the end, you’ll know exactly how to keep your Ninja Blender safe, fresh, and working at its best.
Why Cleaning Your Ninja Blender Properly Matters
At first glance, cleaning a blender might seem like a simple rinse-and-go job. But the inside of a Ninja Blender is more complicated than it looks. Leftover food and moisture can lead to mold, bacteria, and bad smells. Over time, this can change the taste of your drinks and even make you sick.
Not cleaning properly can also hurt the blender’s performance. Sticky residue can slow down the blades. If the gasket is not cleaned well, it can get clogged or damaged, causing leaks.
According to the NSF International report, blenders are among the kitchen appliances most often contaminated with yeast, mold, and bacteria. In one study, 43% of tested blender gaskets had harmful mold or bacteria—even after normal home cleaning. This shows why deep cleaning the inside of your Ninja Blender is more than just good practice—it’s essential for safety.
Understanding Your Ninja Blender’s Parts
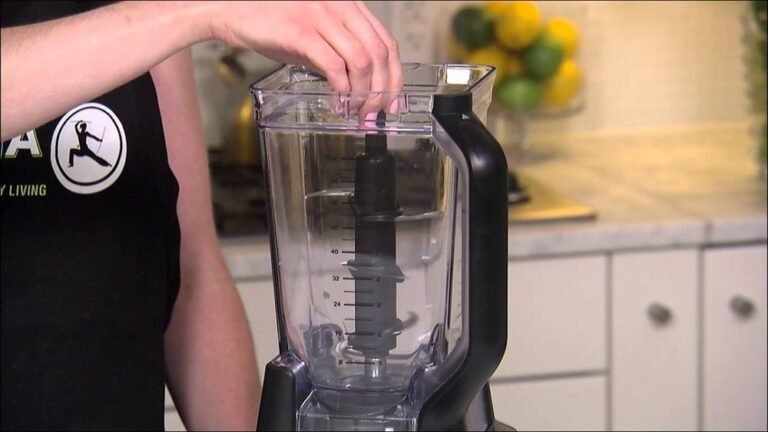
Before you start, it helps to know your Ninja Blender’s key parts. Each model may look a little different, but most have these main components:
- Pitcher or cup (the main container)
- Blade assembly (the sharp, removable part)
- Gasket or sealing ring (a rubber ring that keeps liquids from leaking)
- Lid and lid insert (the top cover, sometimes with a removable center cap)
- Base (the motor part, never submerged in water)
Some Ninja Blenders, like the Ninja Professional or Nutri Ninja, have single-serve cups and different blade shapes. Always check your manual to see which parts are dishwasher safe and which need hand washing.
Which Parts Need Extra Attention?
- Blades: Food can stick under and around the blades.
- Gasket: This rubber ring can trap liquids and food.
- Lid corners and spouts: Small spaces often hide residue.
Neglecting these spots is a common beginner mistake. Over time, leftover food can lead to stuck-on grime and even cause your blender to leak.
What You’ll Need For Cleaning
Gather these items before you start:
- Warm water
- Mild dish soap
- Sponge or soft brush
- Bottle brush (for deep cleaning narrow cups)
- Small toothbrush (for blades and gasket)
- White vinegar or baking soda (for odors/stains)
- Towel or drying rack
Avoid using harsh scrubbers or steel wool. They can scratch the surfaces and damage the gasket or plastic.
How Often Should You Clean Your Ninja Blender?
- After every use: Rinse and quick clean
- Weekly: Deep clean all parts, including the gasket and blades
- Monthly: Check for stains, mold, or lingering odors; clean thoroughly
A deep clean is especially important if you blend sticky, oily, or high-protein foods, as they leave more residue.

Credit: www.reddit.com
Quick Clean Vs. Deep Clean: What’s The Difference?
Quick cleaning is what you do after every use. It stops food from drying and sticking. Deep cleaning removes hidden grime, buildup, and odors.
Here’s how they compare:
| Cleaning Type | When to Do It | What’s Included | Time Needed |
|---|---|---|---|
| Quick Clean | After every use | Rinse, soap, water blend, rinse again | 2–3 minutes |
| Deep Clean | Weekly or when needed | Disassemble, clean blades, gasket, soak for odor removal | 10–20 minutes |
Many people skip deep cleaning because it seems like extra work. But skipping it is why blenders start to smell or leak.
Step-by-step: Quick Cleaning After Daily Use
For busy days, this method keeps your blender fresh and easy to use next time.
- Rinse Right Away: As soon as you finish blending, fill the pitcher or cup halfway with warm water. Add a few drops of dish soap.
- Blend the Soapy Water: Secure the lid. Run the blender for 30–60 seconds. This moves soapy water into every corner and around the blades.
- Rinse Thoroughly: Pour out the soapy water. Rinse with clean, warm water until all soap is gone.
- Dry: Air dry upside down on a rack or towel. If you must use it soon, dry with a lint-free towel.
This method works for most smoothies and shakes, especially if you clean right after use. But, for sticky or greasy foods (like nut butters), you need a deeper clean.
Step-by-step: Deep Cleaning The Inside Of Your Ninja Blender
If you notice stains, odors, or stuck food, it’s time for a deep clean. Here’s how to do it:
1. Unplug And Disassemble
Always unplug your blender first. Remove the pitcher or cup, blades, gasket, and lid. Take apart all removable pieces. If you’re not sure how, check the manual for your model.
2. Wash Each Part Separately
- Pitcher or Cup: Wash with warm, soapy water and a sponge. For narrow cups, use a bottle brush. Rinse well.
- Blades: Use a soft brush or old toothbrush. Scrub around and under the blades carefully. Watch your fingers—they’re sharp.
- Gasket: If removable, take it out and clean both sides with a small brush. Gaskets often trap food and liquid.
- Lid and Insert: Pay attention to corners, spouts, and seals. Use a brush to get into small spaces.
Never submerge the base or get the motor part wet. Wipe it with a damp cloth only.
3. Soak For Tough Stains Or Odors
If you notice stains, cloudiness, or lingering smells, soak the pitcher, blades, and gasket in a mix of:
- 1 part white vinegar
- 3 parts warm water
Soak for 5–10 minutes, then scrub and rinse. For stubborn stains, sprinkle baking soda inside and scrub gently. Vinegar and baking soda are safe and effective for removing odors and buildup.
4. Rinse And Dry Completely
Rinse each part until there’s no soap, vinegar, or baking soda left. Dry with a towel or air dry upside down. Make sure the gasket and blades are completely dry before reassembling.
5. Reassemble And Store Properly
Put all parts back together only when they are dry. This prevents mold and keeps the blender smelling fresh.
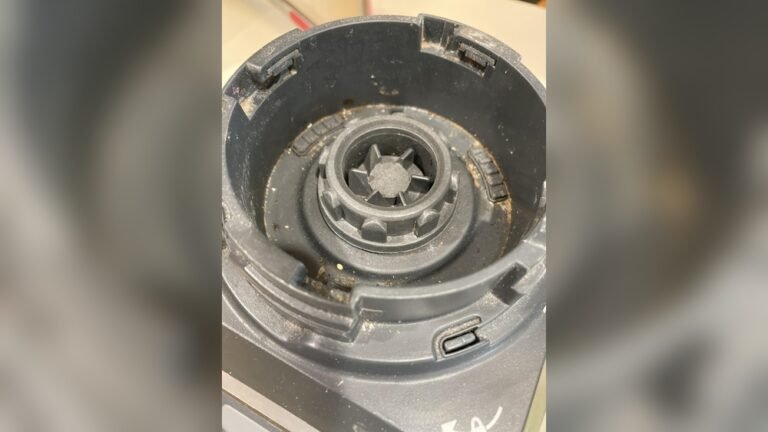
How To Clean The Gasket And Blade Assembly
The gasket and blade assembly are the most common places for stuck food and mold. Many people forget to remove the gasket, so food gets trapped underneath.
Cleaning The Gasket
- Remove the gasket from the blade assembly if possible.
- Soak in warm, soapy water for 5 minutes.
- Scrub with a soft brush or toothbrush, paying attention to grooves.
- Rinse and dry completely before putting back.
If your gasket is not removable, use a toothbrush to clean around and under it as much as possible.
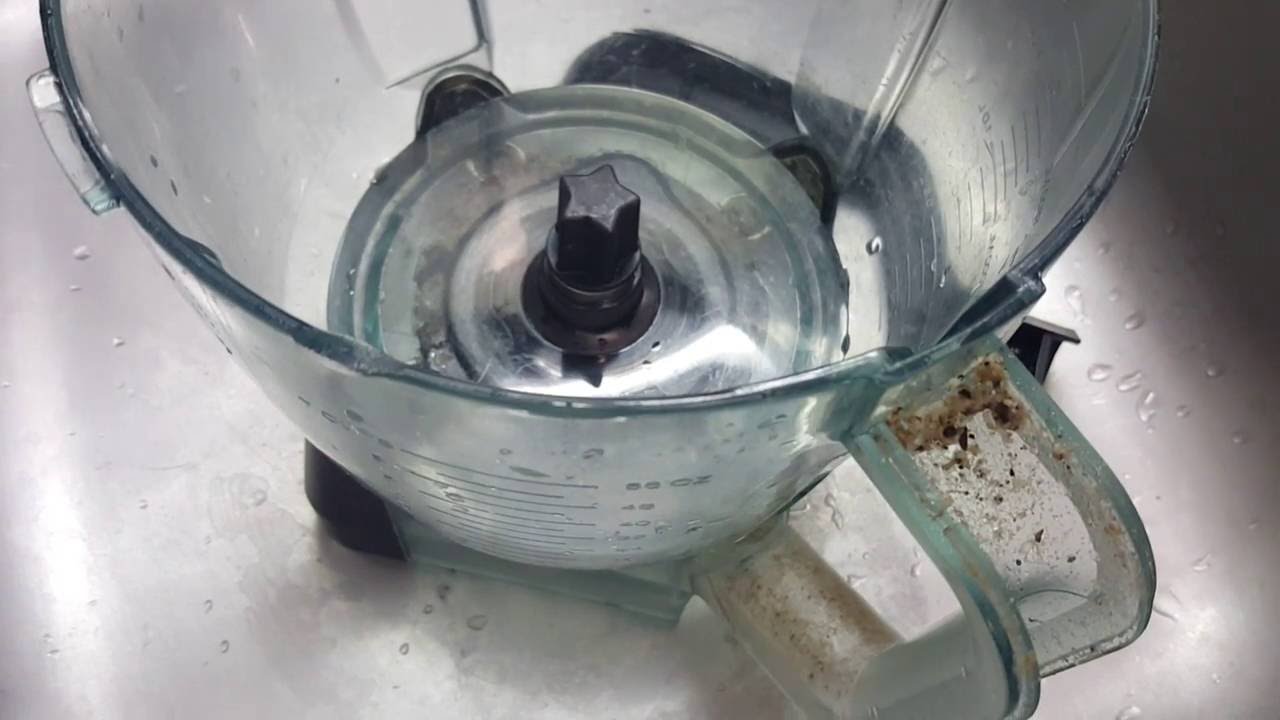
Cleaning The Blade Assembly
- Hold the blade by the plastic base, not the sharp edges.
- Use a brush or sponge to clean both top and bottom.
- For stubborn residue, soak in vinegar water.
- Rinse well and dry before reassembling.
If you notice any rust or damage on the blades, stop using the blender and replace the assembly. Rust can mix into food and is a sign of improper drying or cleaning.
Cleaning Ninja Blender Cups And Single-serve Attachments
Ninja’s single-serve cups are popular for quick smoothies. These cups are usually dishwasher safe (top rack), but hand washing keeps them looking new longer.
- Rinse right after use to prevent stains.
- Use a bottle brush for the bottom and corners.
- For protein shake residue, soak in warm soapy water for 10 minutes.
- Pay special attention to the threads (where the blade assembly attaches).
Pro tip: If cups become cloudy or develop a white film, soak in a mix of 2 tablespoons baking soda and warm water for 15 minutes, then rinse.
How To Remove Lingering Odors
Sometimes, even after washing, your blender can smell like garlic, onion, or old smoothies. Here’s what you can do:
- Fill the pitcher or cup with equal parts warm water and white vinegar.
- Add a few drops of lemon juice for extra freshness.
- Let it soak for 30 minutes.
- Rinse and air dry.
For tough smells, blend a mix of water, baking soda (2 tablespoons), and lemon juice for 30 seconds, then rinse. This method is safe for both plastic and glass blender parts.
What To Do If Your Blender Is Cloudy Or Stained
Clear Ninja pitchers and cups can turn cloudy over time, especially if you blend greens, coffee, or turmeric. This cloudiness is usually from mineral deposits or tiny scratches.
- Soak the pitcher in a mix of 1 part vinegar to 3 parts water for 30 minutes.
- Scrub gently with a soft brush or sponge.
- For hard water stains, sprinkle a little baking soda on a damp sponge before scrubbing.
Avoid harsh chemicals or abrasive pads, as they can scratch the plastic and make it cloudier.
Dishwasher Safety: What You Need To Know
Most Ninja Blender pitchers, cups, lids, and blades are top-rack dishwasher safe. However, dishwashers can sometimes cause plastic to cloud or make the gasket wear out faster.
Here’s a quick comparison of hand washing versus dishwasher cleaning for Ninja Blender parts:
| Part | Hand Wash | Dishwasher Safe? | Notes |
|---|---|---|---|
| Pitcher/Cup | Best for long-term clarity | Top rack only | May cloud in dishwasher |
| Blade Assembly | Recommended | Yes, top rack | Hand wash lasts longer |
| Gasket | Best by hand | Sometimes | Check manual |
| Lid | Easy by hand | Yes, top rack | Small parts may loosen |
| Base | Never submerge | No | Wipe only |
Always check your specific model’s manual for dishwasher guidelines. If in doubt, hand washing is safer.
Tips For Cleaning Hard-to-reach Blender Parts
Some Ninja Blenders have narrow spaces or corners that are hard to reach. Here are tips to keep every spot clean:
- Use a bottle brush or straw brush for the bottom of cups and pitchers.
- A small toothbrush is perfect for blade crevices and gaskets.
- For stuck-on residue, fill with warm soapy water and let soak before scrubbing.
- Don’t forget to clean the lid spout and any flip cap or insert; food can hide here and cause odors.
What Not To Do When Cleaning Your Ninja Blender
Even experienced users make mistakes. Avoid these common errors:
- Don’t use boiling water: It can warp plastic parts.
- Don’t use harsh chemicals: Bleach or abrasive cleaners can damage parts and affect food safety.
- Never submerge the base: Water can damage the motor and void the warranty.
- Don’t reassemble wet: Moisture can lead to mold or mildew.
- Don’t ignore the gasket: Food trapped here is a top cause of blender odor and leaks.
Another tip many people miss: If you blend nut butters or oily foods, clean right away. Oil is hard to remove once it dries.

Credit: simplicityandastarter.com
Signs Your Ninja Blender Needs More Than A Clean
Sometimes, cleaning isn’t enough—parts wear out over time. Watch for these signs:
- Persistent odors that don’t go away after cleaning
- Cracked or cloudy pitcher that won’t clear up
- Loose or worn gasket causing leaks
- Rusty blades or damaged blade assembly
If you notice these, it may be time to replace the part. Replacement parts are available on the Ninja website and many retailers.
How To Keep Your Ninja Blender Clean Longer
A few easy habits can keep your blender clean between deep cleans:
- Rinse immediately after each use. Don’t let food dry inside.
- Air dry all parts upside down.
- Store with the lid off to prevent odors.
- Check and clean the gasket weekly.
- Use a soft brush or sponge—never abrasive pads.
Using these habits, you’ll spend less time scrubbing and more time enjoying fresh blends.
Real-life Example: Cleaning A Ninja Professional Blender
Let’s walk through cleaning a popular model, the Ninja Professional Blender (BL610):
- Unplug and Disassemble: Remove pitcher, lid, blade assembly, and gasket.
- Quick Clean: Fill pitcher halfway with warm water and a drop of dish soap. Run for 30 seconds, then rinse.
- Deep Clean: Remove the blades and gasket. Wash each part with a brush and soapy water.
- Soak: If the pitcher smells or is cloudy, soak in vinegar water for 10 minutes.
- Dry and Reassemble: Make sure all parts are completely dry before putting back together.
This method works for most Ninja models. If you have a Nutri Ninja, use a bottle brush for the tall cups.
Comparing Ninja Blenders: Are Some Easier To Clean?
Not all Ninja Blenders are the same. Some models have more removable parts or easier-to-clean blades. Here’s a comparison of three common models:
| Model | Removable Blades? | Dishwasher Safe? | Ease of Cleaning |
|---|---|---|---|
| Ninja Professional (BL610) | Yes | Pitcher, lid, blades (top rack) | Easy |
| Nutri Ninja Pro (BL456) | Yes (cup base) | Cup, lid, blades (top rack) | Moderate |
| Ninja Foodi Power Blender | Yes | Most parts, check manual | Easy |
If you’re shopping for a new blender and want easy cleaning, look for models with fully removable blades and dishwasher-safe parts.
Can You Use Cleaning Tablets Or Pods?
Some companies sell special cleaning tablets for blenders. While these can work, most Ninja Blenders don’t need them. Mild dish soap, vinegar, and baking soda are safe and effective.
Be careful with cleaning pods or tablets that contain harsh chemicals. They may leave a taste or damage plastic parts over time.
Practical Tips For Busy Users
If you use your Ninja Blender every day, here’s how to keep cleaning quick and easy:
- Clean right after blending—don’t let food dry.
- Keep a small bottle brush by the sink for fast scrubbing.
- Once a week, do a deep clean of the blades and gasket.
- Use vinegar or lemon juice if you notice any odor.
Bonus tip: If you’re making multiple smoothies, rinse between each use to prevent cross-flavoring (like garlic and berry).
Environmental And Safety Considerations
When cleaning your Ninja Blender, keep these safety and eco-friendly tips in mind:
- Use only a small amount of dish soap—more is not better.
- Avoid single-use wipes or paper towels; use a reusable sponge or cloth.
- Don’t pour large amounts of vinegar or baking soda down the drain; use only what you need.
- Always unplug before cleaning the base to avoid accidents.
According to the Environmental Protection Agency (EPA), using less water and soap is better for the environment and your wallet. A simple soak is often enough to clean stuck-on food.
Frequently Asked Questions
Credit: www.youtube.com
How Do I Get Rid Of Strong Smells In My Ninja Blender?
Fill the pitcher or cup with equal parts warm water and white vinegar. Add a few drops of lemon juice for extra freshness. Let it soak for 30 minutes, then rinse and air dry. For persistent smells, blend a mix of water, baking soda, and lemon juice for 30 seconds.
Can I Put My Ninja Blender Parts In The Dishwasher?
Most Ninja Blender pitchers, cups, lids, and blade assemblies are top-rack dishwasher safe. However, hand washing keeps parts clearer and extends their life. Always check your model’s manual for specific instructions.
How Do I Clean Under The Blade And Gasket?
Remove the blade assembly and, if possible, take out the gasket. Soak both in warm, soapy water. Use a toothbrush to scrub under the blade and around the gasket. Rinse and dry thoroughly before reassembling.
What If My Blender Still Leaks After Cleaning?
Check the gasket for damage or incorrect placement. Make sure the blade assembly is tightened properly. If leaks continue, the gasket may need to be replaced. Always use genuine Ninja replacement parts.
Is It Safe To Use Vinegar Or Baking Soda In My Ninja Blender?
Yes, white vinegar and baking soda are safe and effective for cleaning Ninja Blender parts. They help remove odors and stains without damaging plastic or metal. Always rinse well after using them.
If you want more details about cleaning kitchen appliances safely, you can visit the EPA’s official cleaning guide.
Keeping your Ninja Blender clean inside isn’t hard, but it does take a little attention. Quick cleaning after each use, regular deep cleaning, and smart habits will keep your blender running smoothly, your drinks tasting fresh, and your kitchen safe.
With these tips, you’ll enjoy all the benefits of your Ninja Blender for years to come.