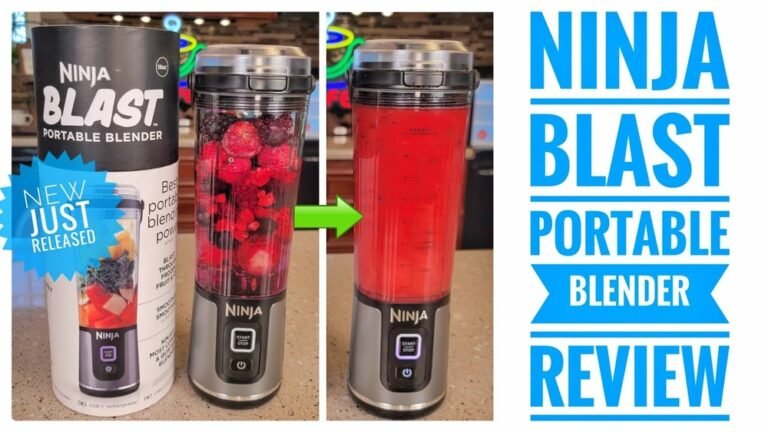
How To Turn On Ninja Blender: Quick Start Guide for Beginners
If you just bought a Ninja Blender, you probably expect a simple start. But sometimes, even basic steps can feel confusing, especially if you’ve never used a high-powered blender before. Ninja Blenders are popular for making smoothies, soups, sauces, and even frozen desserts at home. They’re fast and powerful, but they also have safety features and different models, which might make that first use a little tricky.
This guide covers everything you need to know about how to turn on a Ninja Blender. You’ll learn the basics, get step-by-step instructions for common models, discover why your blender might not start, and see how to use your Ninja safely.
Whether you’re a complete beginner or just switching from another brand, these tips will help you blend with confidence. Plus, you’ll find answers to the most common questions at the end, along with real-life examples and troubleshooting advice.
Understanding Your Ninja Blender Model
Not all Ninja Blenders work the same way. Knowing your specific model helps you follow the right steps and avoid mistakes. Here’s what you need to know.
Common Ninja Blender Types
Ninja offers a range of blenders, but most fit into three groups:
- Ninja Professional Series – Large countertop blenders for big batches. Usually have a pitcher and a locking lid.
- Ninja Personal Blenders (Nutri Ninja) – Small, cup-style blenders for single servings. Great for smoothies on the go.
- Ninja Kitchen Systems – Multi-function blenders with extra attachments for food processing, dough, and more.
Each type might have different buttons, power settings, or safety locks.
Key Parts You Should Know
Before you start, look at these parts:
- Base: The bottom part that plugs into the wall and holds the motor.
- Pitcher or Cup: The container where you put your ingredients.
- Lid: Keeps food inside while blending. Some have a safety lock or spout.
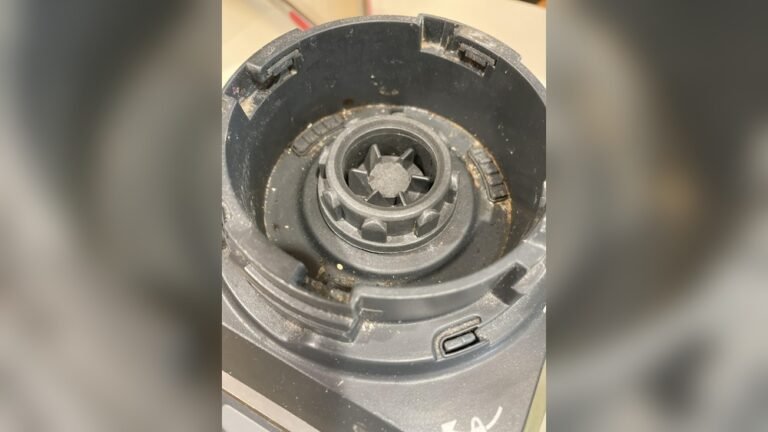
- Blades: Sharp, removable parts that do the blending.
- Control Panel: Where you find the power button, speed settings, and pre-set programs.
If you’re not sure about your model, check the label on the bottom or look at the user manual. You can also search the Ninja website for your blender’s exact name.
Table: Popular Ninja Blender Models And Their Features
Here’s a quick look at some popular models and what makes each one unique.
| Model | Type | Container Size | Power (Watts) | Special Feature |
|---|---|---|---|---|
| Ninja BL610 | Professional | 72 oz pitcher | 1000W | 3 speeds + Pulse |
| Ninja Nutri Pro BL456 | Personal | 24 oz cup | 900W | Twist-to-blend |
| Ninja Foodi Power Pitcher SS201 | Kitchen System | 72 oz pitcher | 1400W | Food processing |
| Ninja Professional Plus BL770 | Kitchen System | 72 oz pitcher | 1500W | Auto-iQ programs |
Basic Safety Before You Start
Every Ninja Blender comes with built-in safety features. These are designed to protect you and your machine. It’s important to follow them, or your blender may not turn on at all.
Key Safety Steps
- Check the Power Cord: Make sure the cord is dry and not damaged.
- Place on a Flat Surface: The base should sit evenly on your counter.
- Dry Hands Only: Never plug in or touch the controls with wet hands.
- Secure the Pitcher or Cup: The container must click or lock into place.
- Lock the Lid: Most models will not start unless the lid is fully locked.
- Don’t Overfill: Ingredients should not pass the max fill line.
- Keep Fingers Away from Blades: Always handle blades carefully.
Why Safety Locks Matter
If your Ninja Blender doesn’t start, it’s often because a safety feature is active. For example, if the pitcher or lid isn’t locked, the power button may not work. This is to prevent accidents, such as the blender running with an open lid or loose blades.
Pro tip: If you hear a click when you attach the pitcher or lid, that’s usually a sign it’s locked properly.

Credit: www.youtube.com
How To Turn On A Ninja Blender: Step-by-step Guide
Now let’s cover the exact steps to power up your Ninja Blender. The process is similar for most models, but you’ll see key differences for each type.
For Ninja Professional Series (pitcher Blenders)
- Place the Base: Set the blender base on a clean, flat surface near an outlet.
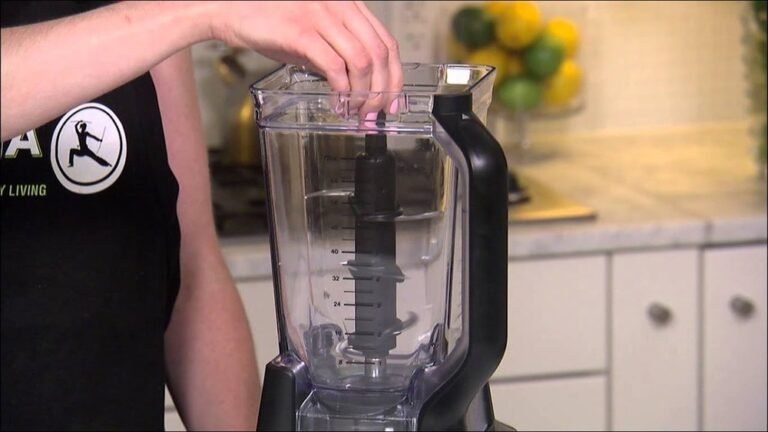
- Add Ingredients: Put your food or liquid into the pitcher. Do not go over the max fill line.
- Attach the Blades: Make sure the blades fit tightly in the pitcher.
- Secure the Pitcher: Place the pitcher onto the base. Rotate it until you hear a click or see it lock.
- Lock the Lid: Place the lid on top. Push down the handle or tab until it clicks. Some models have a spout that must be closed.
- Plug In: Insert the power cord into a safe outlet.
- Press Power: Most models have a Power button. The control panel lights should turn on.
- Choose a Setting: Select your speed or program (like “Low,” “High,” or “Pulse”).
- Start Blending: Press the button for your chosen setting.
If the blender doesn’t turn on, check that the pitcher and lid are both locked in place. You may need to remove and try again.
For Ninja Personal Blenders (single-serve Cups)
- Fill the Cup: Add ingredients to the cup. Don’t fill past the max line.
- Attach the Blade Lid: Screw the blade lid tightly onto the cup.
- Flip and Insert: Turn the cup upside down and fit it into the base.
- Twist to Lock: Rotate the cup until it clicks or locks (some models require a twist, others just push down).
- Plug In: Connect to power.
- Blend: Most personal models start blending when you push or twist the cup. There may not be a separate power button.
For these models, if the cup isn’t locked in, the blender won’t start. Never force the cup; it should fit easily if aligned properly.
For Ninja Kitchen Systems (multi-function Models)
These models often have attachments for food processing or dough mixing. The steps are similar, but you must use the right container.
- Choose Attachment: Pick the pitcher, bowl, or cup for your task.
- Add Ingredients and Blades: Fill as needed.
- Attach to Base: Lock the container in place.
- Lock the Lid: Every attachment has a safety lid.
- Plug In and Power Up: Use the control panel to turn on.
- Select Function: Choose a manual speed or a pre-set program (like “Dough” or “Smoothie”).
- Start Blending: Press the button for your function.
Table: Comparing Start-up Steps By Model Type
Here’s a quick look at how the steps change by model.
| Step | Professional | Personal | Kitchen System |
|---|---|---|---|
| Add Ingredients | Pitcher | Cup | Pitcher/Bowl/Cup |
| Attach Blades | Yes | Yes (in lid) | Yes |
| Lock Container | Twist to lock | Twist or push | Twist to lock |
| Lock Lid | Required | Required | Required |
| Power Button | Yes | Usually no | Yes |
| Choose Setting | Manual/Program | Manual (push/twist) | Manual/Program |
Why Your Ninja Blender Won’t Turn On (and How To Fix It)
It’s common for new users to have trouble getting their Ninja Blender to start. Most of the time, it’s not broken—just a small detail you missed. Here’s how to troubleshoot and solve the most frequent problems.
1. Pitcher Or Lid Not Locked
If the pitcher or lid is not fully locked, the blender’s safety system prevents it from starting. Double-check that both are secure. For some models, the handle or spout must also be closed.
Beginner insight: Sometimes, the lid looks closed but isn’t fully clicked. Try pressing down until you hear a snap.
2. Power Cord Issues
Make sure the cord is plugged in fully. Try a different outlet if needed. If your blender still won’t turn on, look for damage on the cord.
3. Overheating Protection
If you’ve been blending for a long time, the motor may stop to cool down. Wait 10–15 minutes before trying again.
4. Overfilled Container
Too many ingredients can stop the blades from turning. Reduce the amount and try again.
5. Stuck Or Misaligned Blades
If blades aren’t seated correctly, the blender may not start. Remove and reattach them carefully.
6. Tripped Circuit Breaker
If your kitchen power goes out when you try to start the blender, the circuit may be overloaded. Unplug other appliances and reset the breaker if needed.
7. Damaged Or Worn Parts
If the blender still won’t start, check for visible damage on the pitcher, lid, or base. Worn parts may need to be replaced.
Table: Quick Fixes For Common Ninja Blender Problems
| Problem | Possible Cause | Solution |
|---|---|---|
| No power/lights | Unplugged or bad outlet | Check plug/outlet |
| Power on but won’t blend | Pitcher/lid not locked | Re-lock and try again |
| Stops mid-blend | Overheating or overload | Let cool, reduce load |
| Motor sounds but blades stuck | Stuck or misaligned blade | Re-seat blades |
Important Safety Tips For First-time Users
Ninja Blenders are powerful and fast. That’s great for making smoothies, but it means you need to follow a few extra safety steps, especially if you’re new to blending.
What To Do
- Always secure the pitcher and lid before turning on.
- Keep hands and utensils out of the blender while running.
- Let the motor stop fully before opening the lid.
- Unplug before cleaning or touching blades.
- Use only recommended containers for your model.
What Not To Do
- Don’t try to override safety locks.
- Don’t put hot liquids (above 180°F/82°C) in the blender unless the manual says it’s safe.
- Don’t blend without the lid.
- Don’t fill past the max line.
Beginner insight: Even a small mistake, like using the wrong lid, can stop your blender from working. Always use the parts that came with your model.
Using The Control Panel And Settings
Modern Ninja Blenders have more than just an On/Off switch. Understanding the control panel helps you get the results you want.
Common Buttons
- Power: Turns the machine on or off.
- Low/Medium/High: Sets blade speed.
- Pulse: Runs the blender only while the button is held.
- Auto-iQ Programs: Pre-set blending cycles for smoothies, ice crush, etc.
- Start/Stop: Begins or ends a program.
Tips For Each Setting
- Pulse for chunky salsa or to break up ice.
- Low for soft fruits or mixing liquids.
- High for smoothies, frozen desserts, or tough vegetables.
- Auto-iQ programs are great for “set it and forget it” blending.
Why The Power Button Flashes
If the power button flashes or blinks, it often means something isn’t locked properly or the blender needs to cool down. Check the manual for your model’s exact codes.
First-time Blending: Step-by-step Example
Let’s walk through making a basic smoothie, one of the most popular uses for a Ninja Blender.
Ingredients
- 1 cup frozen fruit (like berries or mango)
- 1 banana, peeled
- 1 cup milk or juice
- 1/2 cup plain yogurt (optional)
- 1 tablespoon honey (optional)
- 3–4 ice cubes (optional)
Instructions
- Add Ingredients: Put all ingredients in the pitcher or cup. Add liquids first, then soft items, then frozen or ice last.
- Attach Blades and Lid: Secure both tightly.
- Lock in Place: Make sure everything clicks and is secure.
- Power On: Press the Power button.
- Select “Smoothie” or High: Use a pre-set if available, or blend on high for 45–60 seconds.
- Stop and Check: If chunks remain, blend a bit longer.
- Pour and Enjoy: Unplug before removing the lid. Pour into a glass and clean up.
Pro tip: Starting with liquids at the bottom makes blending smoother and reduces strain on the motor.
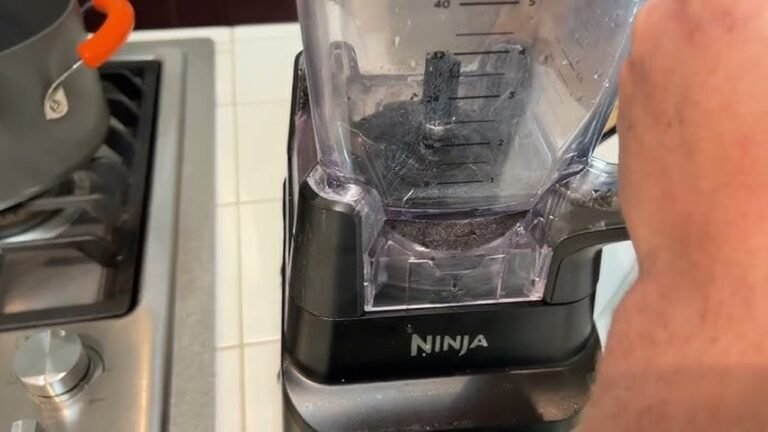
Cleaning And Maintenance After Use
A clean blender lasts longer and works better. Here’s the best way to clean your Ninja after each use.
Quick Cleaning Steps
- Unplug the Blender: Always do this first.
- Remove Pitcher/Cup and Blades: Take apart carefully.
- Rinse Right Away: Use warm water to rinse out leftovers.
- Soapy Wash: Use a sponge and mild soap. Blades can be sharp—handle with care!
- Lid and Parts: Wash the lid and seals too.
- Dry Completely: Let all parts air dry before putting away.
- Wipe the Base: Use a damp cloth. Never put the base in water.
Deep Cleaning
Every week or two, soak the pitcher and blades in warm soapy water for 15–20 minutes. Use a soft brush for stubborn spots.
Beginner insight: If you blend sticky or high-fat foods, clean right after use to prevent stains and smells.
Common Mistakes New Users Make
Even with clear instructions, some mistakes are easy to make. Here’s what to watch for.
- Forcing the Pitcher: If it doesn’t turn, don’t push harder—realign and try again.
- Not Checking the Max Fill Line: Overfilling can cause leaks or stops.
- Using Wrong Attachments: Always match lid and pitcher/cup to your model.
- Ignoring Safety Clicks: If you don’t hear a click, parts may not be locked.
- Running Too Long: Most blenders only need 30–60 seconds. Blending longer can overheat the motor.
- Washing the Base in Water: Only clean with a damp cloth. Water in the base can ruin the motor.
- Not Reading the Manual: Even if you’re experienced, small differences between models can matter.
How To Get The Best Results From Your Ninja Blender
Once you know how to turn it on, you can get better results with a few simple tips.
- Start Slow: Begin with a low speed, then increase as needed.
- Layer Ingredients: Put liquids at the bottom, then soft foods, then hard or frozen items.
- Cut Ingredients Smaller: Chop large fruits or veggies for smoother blending.
- Use Pulse for Tough Foods: Pulsing breaks up ice or nuts before full blending.
- Don’t Overfill: Follow the max lines for best results.
- Check Seals and Gaskets: Make sure everything is tight to prevent leaks.

Credit: www.wikihow.com
When To Contact Ninja Customer Support
If you’ve tried all the steps and your Ninja Blender still won’t turn on, it may need professional service.
- Under Warranty: Most new Ninja blenders come with a 1-year or longer warranty. Check your paperwork.
- Broken Parts: If you see cracks, broken blades, or damaged cords, stop using the blender.
- Burning Smell: Unplug and do not use. Contact support.
- Repeated Overheating: If your blender stops often, it could be a motor problem.
You can reach Ninja customer support through their official site or phone line. They can help with troubleshooting, repairs, or replacement parts. For more details, you can visit the Ninja Kitchen Support page.
Real-life Examples: What Users Experience
Here are two real-world stories that show common challenges and solutions.
Case 1: The Blinking Light Mystery
Sarah bought a Ninja Professional blender. She followed the instructions but saw only a blinking light—no blending. She discovered the lid wasn’t fully pressed down. After locking the lid until it clicked, the light stopped blinking and the blender started.
Lesson: Even a small misalignment can prevent the blender from turning on.
Case 2: The Overfilled Smoothie
Raj tried making a smoothie in his Nutri Ninja cup. He filled the cup to the very top, twisted it into the base, and nothing happened. After removing some of the ingredients, he tried again. The blender started immediately.
Lesson: Never exceed the max fill line, or the safety lock may stop the machine.
Credit: www.reddit.com
Frequently Asked Questions
Why Does My Ninja Blender’s Power Button Keep Blinking?
A blinking power button usually means a safety feature is active. Most often, this happens when the pitcher or lid is not locked correctly. Remove and reattach both parts, making sure they click into place. If the problem continues, unplug the blender for a minute, then try again.
Can I Turn On My Ninja Blender Without The Lid?
No, Ninja Blenders are designed with safety locks that prevent the motor from starting unless the lid is securely attached. This protects you from splashes and injury. Always lock the lid before pressing the power button.
What Should I Do If My Ninja Blender Stops During Use?
If the blender stops mid-blend, it’s often due to overheating or an overload of ingredients. Let the machine cool down for 10–15 minutes, then reduce the ingredient amount before trying again. Make sure nothing is blocking the blades.
Is There A Reset Button On Ninja Blenders?
Most Ninja Blender models do not have a physical reset button. To reset, unplug the machine for at least one minute, then plug it back in. If it still doesn’t work, check for locked parts or contact customer support.
Can I Use Hot Liquids In My Ninja Blender?
Some Ninja models can handle warm (not boiling) liquids, but most are not designed for very hot ingredients above 180°F (82°C). Hot liquids can cause pressure build-up and leaks. Always check your manual before blending hot foods.
Blending at home is easy once you know the steps. Your Ninja Blender is a powerful tool for healthy eating, but only if you use it safely and correctly. Remember to check every part before you turn it on, and don’t skip the safety clicks.
If something doesn’t work, double-check the lid and pitcher, and never force the machine. With these tips, you’ll be blending smoothies, soups, and more like a pro in no time.