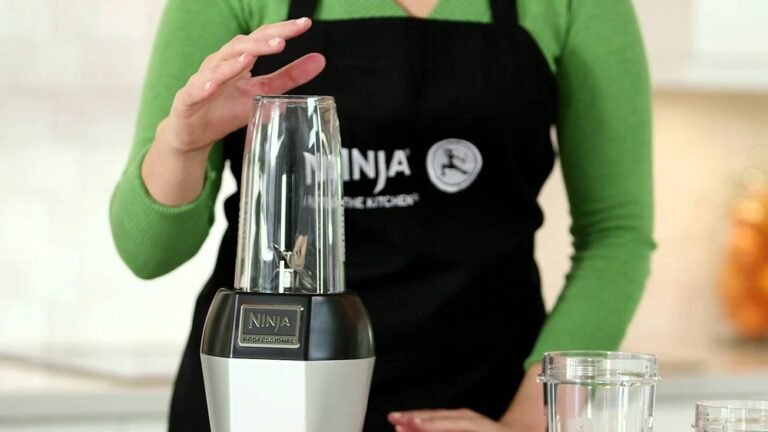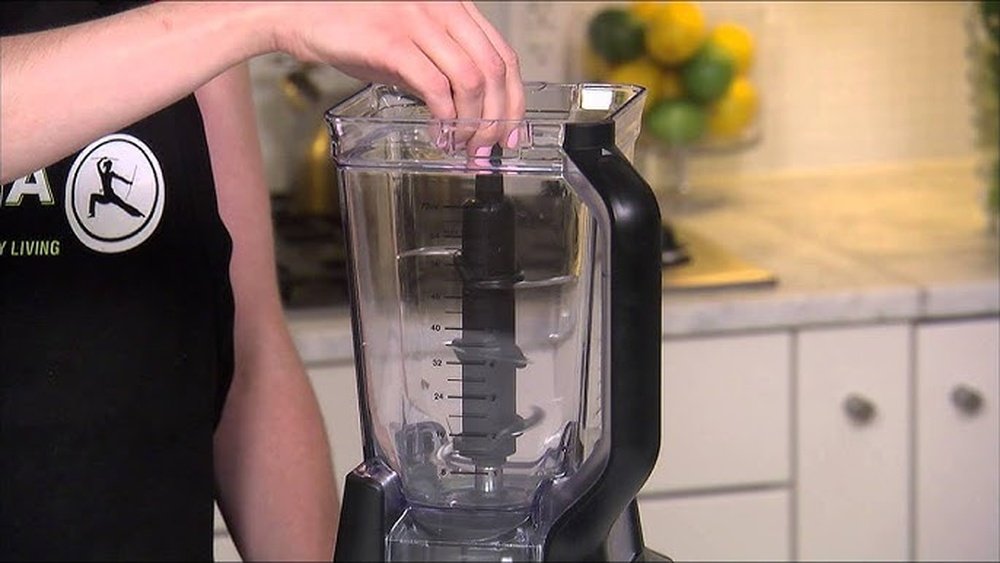
How To Detach Ninja Blender: Easy Steps for Quick Cleanup
Detaching a Ninja blender might seem simple, but many owners struggle with stuck parts, unclear instructions, or fears of breaking their appliance. If you use your Ninja blender often, you’ll need to take it apart for cleaning, repair, or even storage.
Doing this the right way keeps your blender working longer and prevents injuries from sharp blades or damaged seals. This article will guide you step by step, show you the safest methods, and share tips that even experienced users often overlook.
Whether you have a classic Ninja model or a newer variant, you’ll find practical advice tailored to your needs.
Understanding Your Ninja Blender
Before detaching anything, it’s important to know the parts of your Ninja blender. Most models have similar core pieces, though some features may vary.
- Base unit: The motor and controls sit here.
- Pitcher or cup: Where you blend ingredients.
- Lid: Keeps everything inside while blending.
- Blades and blade assembly: The sharp metal parts that cut and mix.
- Gasket or sealing ring: Prevents leaks.
- Locking mechanism: Secures pitcher/cup to the base.
Knowing these parts helps you identify what to detach and prevents mistakes. Some models, like the Ninja Professional or Nutri Ninja, might have extra accessories, but the detachment process stays similar.
Why Detach Your Ninja Blender?
Detaching your blender isn’t just for cleaning. Here are key reasons:
- Deep cleaning: Food residue can build up under blades or around seals.
- Maintenance: Parts may wear out or need replacement.
- Safety: Avoid mold, leaks, or blade dulling.
- Troubleshooting: Fixing stuck blades or jammed mechanisms.
- Storage: Helps save space or prevent accidental use.
Regular detachment also helps spot issues early, like cracks or worn gaskets, so you can fix them before they get worse.
Safety Precautions Before Detaching
Working with a blender means dealing with sharp blades and electrical parts. Here’s how to stay safe:
- Unplug the blender: Always disconnect from power.
- Wait for blades to stop: Never detach while blades spin.
- Handle blades carefully: Wear cut-resistant gloves if needed.
- Use a dry surface: Wet hands or counters increase slip risk.
- Check for hot parts: If used recently, let it cool first.
Some users skip these steps and end up with injuries or broken parts. Taking a few seconds to prepare keeps you safe.
How To Detach Ninja Blender: Step-by-step Guide
Now let’s walk through the detachment process. These steps cover most Ninja models, but always check your specific manual for unique features.
Step 1: Remove The Pitcher Or Cup
Start by detaching the pitcher or cup from the base.
- Hold the handle firmly.
- Turn counterclockwise to unlock (for most models).
- Lift straight up.
If your pitcher feels stuck, wiggle gently. For single-serve cups, press the release button or twist as instructed.
Step 2: Take Off The Lid
The lid often locks onto the pitcher. Unlocking is simple:
- Press the release button or tab (usually on the lid).
- Lift the lid away.
Some lids have safety locks that must be disengaged. If it resists, check for hidden latches or see if the blade assembly is blocking it.
Step 3: Detach The Blade Assembly
This part requires caution. The blade assembly sits inside the pitcher or cup.
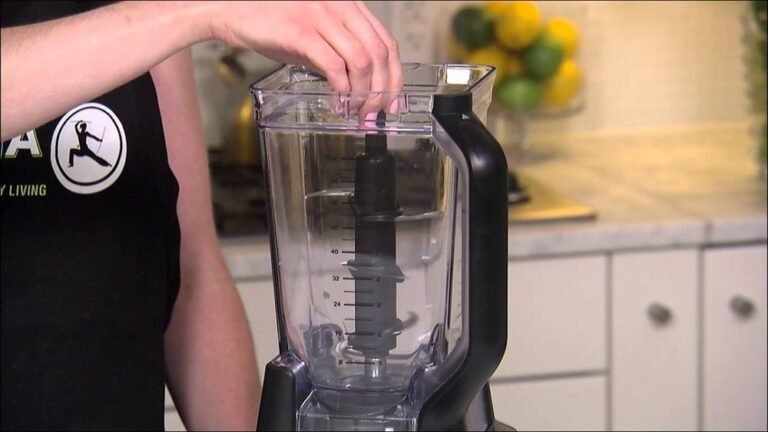
- For pitchers: Grasp the top of the blade assembly. Twist or pull up gently.
- For cups: Invert the cup and unscrew the blade base.
If the blade doesn’t budge, don’t force it. Blades can be sharp and hard to grip. Use a cloth or glove for extra grip and safety.
Step 4: Remove The Gasket Or Sealing Ring
The gasket sits around the blade base or inside the lid.
- Use a blunt tool (like a spoon handle) to lift the gasket.
- Pull gently, avoiding stretching.
Gaskets can stick over time due to food residue. If stuck, soak the part in warm water for 5-10 minutes to loosen it.
Step 5: Separate Accessories
Some models have extra accessories like pour spouts, travel lids, or mixing inserts. Detach them as per manual instructions.
- Slide out inserts or attachments.
- Twist off pour spouts.
- Remove travel lids by unscrewing.
These parts are usually easy to detach but can be missed during cleaning.
Common Problems When Detaching Ninja Blenders
Even with instructions, you may face issues. Here are frequent problems and fixes:
Blender Pitcher Is Stuck
If the pitcher won’t come off:
- Make sure it’s unlocked. Some models need extra twisting.
- Tap gently around the base to loosen.
- Check for spills under the pitcher that create suction.
Avoid forcing, as this can crack the pitcher or damage the base.
Blade Assembly Won’t Budge
Blades can get stuck due to dried food or improper locking.
- Soak the pitcher in warm, soapy water for 10-15 minutes.
- Use a towel for grip and twist gently.
- Avoid metal tools that may scratch.
Some users miss that blades lock more tightly after blending thick foods.
Gasket Won’t Come Out
Sticky gaskets are a nuisance.
- Try warm water soaking.
- Use a plastic tool, not sharp objects.
- Replace if torn or misshapen.
A worn gasket causes leaks, so check its condition regularly.
Lid Lock Mechanism Jammed
Lid locks can jam if food gets stuck.
- Clean around the locking area.
- Move the lock back and forth to loosen.
- Dry fully before detaching again.
Jammed locks are common after blending sticky foods like nut butter.
How To Clean Detached Ninja Blender Parts
Once you’ve detached all parts, cleaning is easier and more effective.
Manual Cleaning
- Rinse each part in warm water.
- Use mild soap and a soft sponge.
- Scrub around blades carefully.
- Clean gaskets separately.
- Dry with a towel or air dry.
Avoid harsh scrubbers on plastic parts; they can scratch and weaken over time.
Dishwasher Cleaning
Most Ninja blender parts are dishwasher safe.
- Place pitcher, lid, and blade assembly on the top rack.
- Remove gaskets before washing.
- Don’t wash the motor base in the dishwasher.
Dishwasher cleaning is convenient but can fade markings on pitchers if done frequently.
Deep Cleaning Tips
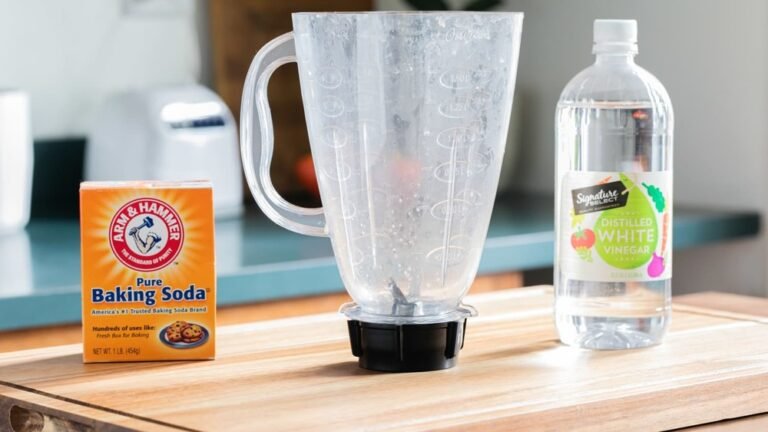
- Soak blades in vinegar solution for tough stains.
- Use a toothbrush for small crevices.
- Sanitize gaskets by soaking in boiling water for a few minutes.
Many users overlook deep cleaning, leading to odors or mold growth.
Reassembling Your Ninja Blender
After cleaning, reassemble carefully to avoid leaks or misalignment.
- Insert the gasket back into its slot.
- Place the blade assembly in the pitcher or cup.
- Secure the lid tightly.
- Lock the pitcher onto the base.
Test with a small amount of water to check for leaks before blending food.
Ninja Blender Models Compared: Detachment Differences
Different Ninja blender models have unique detachment methods. Here’s a comparison to help:
| Model | Pitcher Removal | Blade Detachment | Gasket Access |
|---|---|---|---|
| Ninja Professional | Twist & Lift | Pull Up | Easy |
| Ninja Nutri | Twist | Unscrew Base | Moderate |
| Ninja Auto-iQ | Twist & Button | Lift Out | Easy |
| Ninja Foodi | Twist | Pull Up | Hard |
Some models, like the Ninja Foodi, have tighter blade assemblies and harder gasket access. Always check your manual if unsure.

Credit: www.ifixit.com
What To Do If Parts Are Damaged During Detachment
Sometimes, parts break or wear out during detachment. Here’s how to handle this:
- Blade assembly: Replace immediately if bent or chipped.
- Pitcher: Cracks mean you need a new pitcher.
- Gasket: Torn gaskets cause leaks—buy replacements.
- Lid: Broken locks are unsafe; replace the lid.
You can find replacement parts through Ninja’s official website or trusted retailers. Using damaged parts can cause leaks, injury, or motor damage.
Tips For Easier Detachment Next Time
Detaching gets easier with practice. Here are expert tips:
- Clean after every use: Food dries and sticks if left too long.
- Lubricate gaskets lightly: Use a food-safe oil for smoother removal.
- Check for wear: Old parts are harder to detach.
- Store separately: Prevents sticking and makes each part easy to access.
- Avoid over-tightening: Too much force when assembling makes detachment harder later.
Many users skip lubrication and regret it when gaskets stick months later.
Ninja Blender Maintenance Schedule
Keeping your blender in top shape means regular maintenance. Here’s a sample schedule:
| Task | Frequency | Notes |
|---|---|---|
| Detachment & Cleaning | After Each Use | Prevents buildup |
| Deep Cleaning | Weekly | Removes odors |
| Gasket Check | Monthly | Replace if worn |
| Blade Inspection | Every 3 Months | Sharpen or replace |
| Motor Base Wipe | Weekly | Keep dry |
Sticking to a schedule avoids most detachment problems and extends your blender’s life.
How To Store Detached Ninja Blender Parts
Proper storage keeps parts safe and clean:
- Dry all parts fully before storing.
- Keep blades in a separate container to avoid injury.
- Store gaskets in a cool, dry place to prevent drying out.
- Stack pitchers and lids carefully to avoid cracks.
Some users use zip bags or food containers for small parts. Avoid storing damp parts, as this causes mold and odors.
Troubleshooting: Ninja Blender Won’t Detach After Blending Thick Foods
Blending sticky or thick foods, like nut butter or dough, can make detachment harder. Here’s what to do:
- Let the blender cool down for 5-10 minutes.
- Add a little warm water to the pitcher and blend again for a few seconds.
- Try detaching after the water loosens stuck food.
- If still stuck, soak the pitcher in warm, soapy water.
Avoid forcing parts apart, as this can damage the locking mechanism.
Ninja Blender Blade Safety Tips
Blender blades are extremely sharp. Here’s how to handle them safely during detachment:
- Always hold blades by the top, not the edges.
- Use gloves if you’re unsure.
- Never touch blades while the blender is plugged in.
- Clean blades with a brush, not fingers.
Many people get small cuts from rushing the process. Take your time and stay safe.
Ninja Blender Detachment Myths Debunked
There are several myths about detaching Ninja blenders:
- “You must use a tool to detach blades.” Not true—most models allow hand removal.
- “Dishwasher cleaning damages parts.” Only over time; occasional use is fine.
- “Stuck pitchers need force.” Excessive force causes cracks; gentle wiggling is better.
- “Gaskets never need replacing.” Gaskets wear out and cause leaks if not replaced.
Understanding the facts saves you time, money, and frustration.
Real-life Example: Fixing A Stuck Blade Assembly
Sarah, a Ninja blender owner, tried to detach her blade assembly after making thick smoothies. The blade wouldn’t budge, even after twisting. Here’s what she did:
- Soaked the pitcher in warm, soapy water for 15 minutes.
- Used a towel for grip and gently twisted.
- The blade assembly loosened and came out.
Sarah learned that soaking and patience were more effective than force. This method also avoided damaging her blender.

Credit: www.reddit.com
Ninja Blender Vs. Other Blender Brands: Detachment Comparison
How does Ninja stack up against other brands for detachment ease?
| Brand | Detachment Process | Common Issues | Safety |
|---|---|---|---|
| Ninja | Twist & Lift | Stuck blades, tight gaskets | High |
| NutriBullet | Unscrew Base | Blade jamming | Moderate |
| Vitamix | Lift Out | Heavy pitcher | High |
| Oster | Unscrew Blade | Leaky gasket | Moderate |
Ninja blenders are known for strong safety locks and easy detachment for most users. However, tight gaskets are a frequent complaint.
Environmental Impact: Disposing Detached Blender Parts
When replacing or disposing parts, be eco-friendly:
- Recycle plastic pitchers and cups at local centers.
- Metal blades can be recycled as scrap.
- Gaskets usually go in regular trash.
- Check local regulations for electronic waste.
Many users don’t realize pitchers and blades can be recycled. This reduces landfill waste and helps the environment.
When To Seek Professional Help
If your blender won’t detach or parts are badly stuck, consider professional help:
- Contact Ninja support for guidance.
- Visit a certified repair center if needed.
- Avoid DIY fixes that require prying or cutting.
Getting help prevents further damage and keeps your warranty valid.
Ninja Blender Detachment: Non-obvious Insights
Here are two insights most beginners miss:
- Gasket lubrication: Lightly lubricating the gasket before assembly makes detachment easier and prevents sticking.
- Blade assembly orientation: Always align the blade assembly with the pitcher’s notches. Misalignment causes jamming and makes detachment harder.
These tips are rarely mentioned but can save time and frustration.

Credit: www.youtube.com
Frequently Asked Questions
How Often Should I Detach And Clean My Ninja Blender?
You should detach and clean your Ninja blender after every use. This prevents food buildup, odors, and keeps the blades sharp. Deep cleaning once a week is recommended for heavy users.
Can I Use Tools To Detach Stuck Parts?
Avoid sharp or metal tools, as they can damage plastic parts. Use a blunt tool like a spoon handle, or a towel for grip. Soaking parts in warm water is often more effective.
Are All Ninja Blender Parts Dishwasher Safe?
Most pitchers, lids, and blade assemblies are dishwasher safe. Always check your model’s manual. Remove gaskets before washing, and never put the motor base in the dishwasher.
What Should I Do If My Blender Leaks After Reassembly?
Check the gasket for damage or misplacement. Make sure all parts are dry and properly aligned. If leaks continue, replace the gasket or check for cracks in the pitcher.
Where Can I Find Replacement Parts For My Ninja Blender?
You can buy genuine Ninja blender parts from the official Ninja website or trusted retailers. For more guidance, visit Ninja Kitchen.
Final Thoughts
Detaching your Ninja blender is a simple skill that makes cleaning, maintenance, and troubleshooting much easier. Knowing the right steps and safety tips helps you avoid common mistakes and keeps your blender working for years. Even if you’re a beginner, following this guide will make detachment smooth and safe.
Remember to clean regularly, check for worn parts, and handle blades with care. With the right methods, you’ll get more out of your Ninja blender and enjoy smoother, tastier blends every time.