How To Disassemble A Ninja Blender: Step-by-Step Guide
Disassembling a Ninja Blender can seem tricky at first, especially if you have never taken apart a kitchen appliance. But once you understand the parts and follow clear steps, it’s much easier—and safer—than you might expect. Whether you need to deep clean your blender, replace a worn piece, or troubleshoot a problem, knowing how to properly disassemble it can save time and prevent damage.
This article will guide you through each step, highlight important safety tips, and share practical advice most beginners miss. By the end, you’ll be confident handling your Ninja Blender, even if English is not your first language.
Understanding Ninja Blender Models
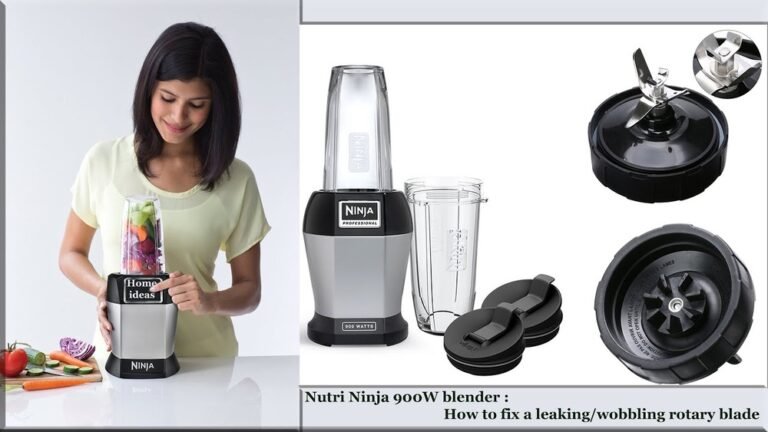
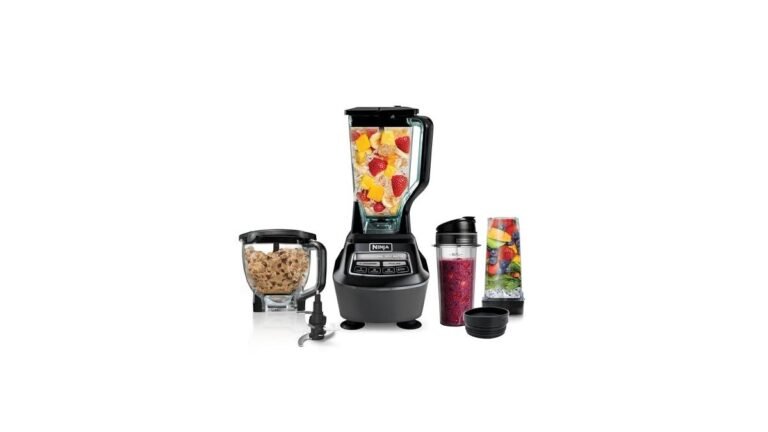
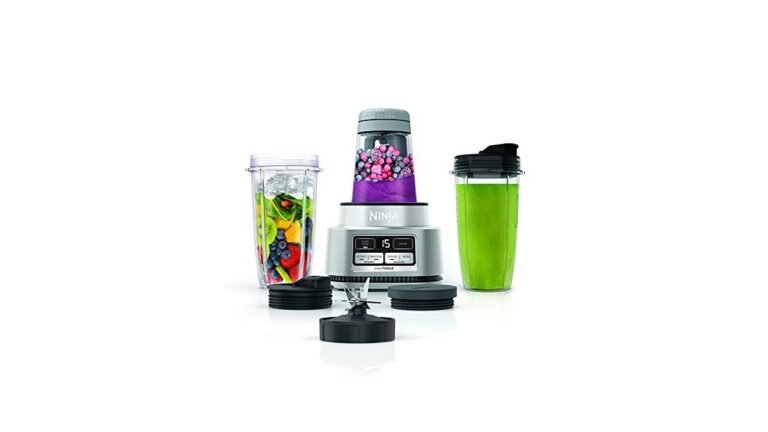
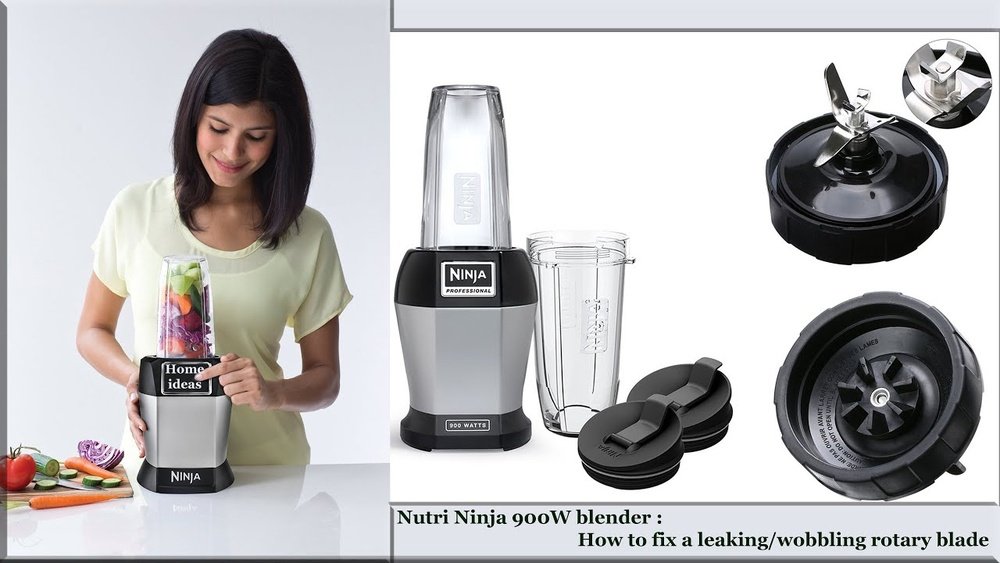
Before you start, it’s important to know which Ninja Blender model you have. Ninja Blenders come in several types, including Nutri Ninja, Ninja Professional, and Ninja Mega Kitchen System. Each model has unique parts, but the basic disassembly steps are similar. Still, check your model number and consult the manual if possible.
Most Ninja Blenders have these main parts:
- Motor base
- Pitcher or cup
- Lid
- Blade assembly
- Gasket/seal
- Handle (sometimes removable)
- Control panel
If your blender has extra attachments (like food processor bowls or dough hooks), those will add steps.
Typical Ninja Blender Models
Here’s a quick comparison of three common models:
| Model Name | Pitcher Size | Number of Parts | Special Features |
|---|---|---|---|
| Ninja Professional BL610 | 72 oz | 5 | Single-speed, large pitcher |
| Ninja Mega Kitchen System BL770 | 72 oz + 64 oz bowl | 7 | Food processor, dough blade |
| Nutri Ninja Pro BL455 | 24 oz cup | 4 | Personal blending, travel lid |
Knowing your model helps you avoid mistakes and find the right parts.
Safety First: Preparing To Disassemble
Before touching any part of your Ninja Blender, safety is critical. Many beginners forget these key steps:
- Unplug the blender: Always disconnect the blender from power. Never try to take it apart while it’s plugged in. The blades can spin unexpectedly.
- Remove food and liquids: Empty the pitcher or cup completely. Clean off any sticky residue.
- Work on a stable surface: Place the blender on a countertop or table, not on a slippery or uneven area.
- Wear gloves if needed: The blades are very sharp. If you’re worried about cuts, use kitchen gloves.
- Read the manual: If you have your manual, check for any warnings or tips specific to your model.
These steps help prevent accidents, injuries, or electrical damage.
Credit: www.reddit.com
Step-by-step Disassembly Process
Disassembling your Ninja Blender doesn’t require special tools. Most parts twist or lift off. Follow these steps for a typical Ninja Professional or Mega Kitchen System. If you have a Nutri Ninja, the process is similar but simpler.
1. Remove The Pitcher Or Cup
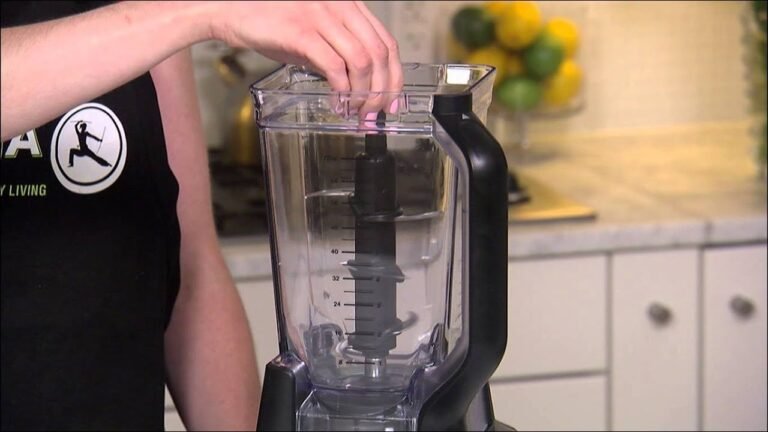
Hold the motor base steady. With your other hand, twist the pitcher or cup counterclockwise. Most models unlock with a gentle turn. Lift the pitcher or cup away from the base.
Tip: If it feels stuck, don’t force it. Check if the handle is locked or if there’s food residue around the base.
2. Take Off The Lid
Press the release button or flip the latch (depending on your model). Lift the lid straight up. Some lids have a safety lock—make sure it’s open before trying to remove.
3. Remove The Blade Assembly
For most Ninja blenders, the blades are inside the pitcher and can be lifted out once the lid is off. Grip the top of the blade assembly firmly and lift it straight up.
Warning: The blades are very sharp. Hold the plastic part, not the metal blades.
4. Remove The Gasket/seal
The gasket is a rubber ring under the blade assembly or around the edge of the pitcher. Use your fingers or a small tool (like a butter knife) to gently lift it out.
If your model doesn’t have a visible gasket, don’t worry—some newer Ninja Blenders use fixed seals.
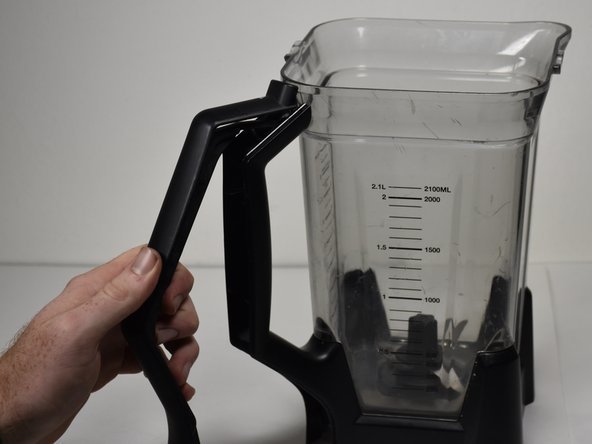
5. Detach The Handle (if Removable)
Some models, like the Mega Kitchen System, have a removable handle. Look for screws or clips. Use a small screwdriver if needed. Carefully remove the handle.
6. Separate Other Attachments
If your blender has a food processor bowl, dough hook, or other extras, take them off by twisting or pressing release buttons.
7. Clean And Inspect Each Part
Once everything is apart, inspect each piece for cracks, wear, or stuck food. Clean with warm, soapy water (not the motor base).
Disassembly Summary Table
Here’s a summary for quick reference:
| Step | Action | Tool Needed | Tips |
|---|---|---|---|
| 1 | Remove pitcher/cup | None | Twist counterclockwise |
| 2 | Take off lid | None | Press release button |
| 3 | Remove blade assembly | None | Lift by plastic part |
| 4 | Remove gasket/seal | Optional: butter knife | Lift gently |
| 5 | Detach handle | Screwdriver | Check for screws/clips |
| 6 | Separate attachments | None | Twist/press release |
| 7 | Clean/inspect | None | Check for damage |
Deep Cleaning After Disassembly
After you have taken apart your Ninja Blender, deep cleaning is much easier. This helps keep your blender safe and working well.
Cleaning The Pitcher Or Cup
Wash with warm, soapy water. Use a sponge or brush to reach inside. Avoid using abrasive cleaners.
Tip: If you notice cloudy spots or smells, soak the pitcher in a mix of water and vinegar for 15–30 minutes.
Cleaning The Blade Assembly
Use a soft brush to clean between the blades. Rinse thoroughly. Do not leave blades wet—dry them to prevent rust.
Cleaning The Gasket/seal
Wash the gasket separately. If it’s sticky or stained, soak it in warm water with a bit of baking soda.
Cleaning The Lid And Handle
Some lids have small parts or seals. Use a brush to reach these areas. Check for trapped food.
Cleaning The Motor Base
Never submerge the motor base in water. Wipe with a damp cloth only. If you see stuck food, use a toothpick or small brush.
Cleaning Data Table
| Part | Best Cleaning Method | Extra Tips |
|---|---|---|
| Pitcher/Cup | Warm soapy water | Soak for tough stains |
| Blade Assembly | Brush and rinse | Dry immediately |
| Gasket/Seal | Soak in water/baking soda | Check for cracks |
| Lid | Wash and brush | Check small parts |
| Motor Base | Damp cloth | Never submerge |
Common Problems And Solutions
Disassembling your Ninja Blender can reveal common issues. Here are some problems and fixes:
Pitcher Stuck On Base
If the pitcher won’t come off, check for dried food around the base. Try twisting gently, not forcing.
Solution: Use warm water to soften stuck food, then try again.
Blade Assembly Won’t Lift
If the blade assembly feels stuck, check for food or debris under the blades.
Solution: Tap the pitcher gently on a towel, then try lifting again.
Gasket Is Hard To Remove
Sometimes the gasket sticks due to old food or age.
Solution: Slide a butter knife under the edge, but do not cut the gasket. If it’s damaged, replace it.
Handle Won’t Detach
If your model’s handle is removable but won’t come off, check for hidden screws or clips.
Solution: Look closely under the handle and use a small screwdriver.
Motor Base Has Stuck Food
Food sometimes falls into the base. Never use water inside.
Solution: Use a brush, toothpick, or compressed air to clean.
Reassembling Your Ninja Blender
After cleaning, you’ll need to put your blender back together. Reassembly is just the reverse of disassembly, but there are a few important tips:
- Check all parts are dry: Wet parts can cause mold or damage.
- Fit the gasket/seal properly: Make sure the gasket sits flat and smooth.
- Insert the blade assembly: Align the blade with the bottom of the pitcher, press down gently.
- Attach the lid: Snap or twist the lid until it locks.
- Lock the pitcher/cup onto the base: Place it on the motor base, twist clockwise until you hear a click.
- Plug in and test: Run the blender empty for a few seconds to check everything is assembled correctly.
Non-obvious tip: If you notice leaks after reassembly, check the gasket. Even small folds can cause leaks.
Maintenance Tips For Longer Blender Life
Proper disassembly and cleaning help your Ninja Blender last longer. Here are extra tips:
- Clean the blade assembly regularly: Don’t let food dry on blades. Clean after every use.
- Replace the gasket if it’s worn: Gaskets cost little but prevent leaks.
- Avoid harsh chemicals: Use gentle dish soap, not bleach or strong cleaners.
- Store disassembled if not used often: If you don’t use your blender daily, store with parts separated to prevent smells.
- Check for loose parts: Before blending, make sure everything is tight.
According to a study by Consumer Reports, regular cleaning can extend the life of kitchen appliances by up to 30%.
Troubleshooting When Disassembly Is Difficult
Sometimes, disassembly is not as easy as expected. Here’s how to handle tricky situations:
Blade Won’t Move
If the blade is stuck, try soaking the pitcher in warm water for 15 minutes. This loosens stuck food.
Lid Is Jammed
If the lid won’t open, check for safety locks. Press any release buttons and try again.
Parts Are Damaged
If you notice cracks or broken plastic, do not use the blender until you replace the part.
Motor Base Is Dirty Inside
If food fell inside the base, unplug it and use compressed air to clean.
Pro tip: Always keep spare gaskets and blades. Many parts are available on the official Ninja website.
Understanding When To Replace Parts
Even with good care, some parts need replacing over time. Here’s how to know:
- Blade assembly: If the blades are dull or rusted, replace.
- Gasket/seal: If you see cracks, tears, or the blender leaks, buy a new gasket.
- Pitcher/cup: If it’s cracked or cloudy, consider replacing.
- Lid: If it doesn’t lock or is broken, replace.
Replacement parts are usually easy to order online. Using official parts keeps your blender safe.
Non-obvious Insights For Beginners
Many first-time users miss these points:
- Gasket placement matters: If the gasket isn’t flat, leaks will happen—even if all other parts are tight.
- Blade assembly can be cleaned separately: Some people wash the blade only while inside the pitcher, but removing it lets you clean better.
- Motor base needs gentle cleaning: Never use water or harsh chemicals. Only use a damp cloth.
- Storing the blender disassembled prevents smells: If you leave the blender assembled, moisture can cause odors.
By focusing on these, you avoid common headaches and keep your blender in good shape.

Credit: www.ifixit.com
Ninja Blender Vs Other Brands: Disassembly Comparison
How does Ninja compare to other brands like Vitamix or Nutribullet when it comes to disassembly? Here’s a brief overview:
| Brand | Disassembly Difficulty | Blade Removal | Common Issues |
|---|---|---|---|
| Ninja | Easy–Moderate | Lift out (most models) | Blade sharpness, gasket placement |
| Vitamix | Moderate | Requires special tool | Blade removal tool needed |
| Nutribullet | Easy | Twist off | Seal leaks, blade wear |
Ninja Blenders are generally easier to take apart than Vitamix, but slightly more complex than Nutribullet.
Practical Examples: Real-life Disassembly Situations
Let’s look at two examples to make the process clearer.
Example 1: Cleaning After Blending Peanut Butter
Peanut butter can stick to all parts. After blending, unplug the blender. Remove the pitcher, lid, and blade. Soak the pitcher and blade in warm, soapy water for 20 minutes. Clean the gasket separately to remove oils. Dry all parts thoroughly before reassembling.
Example 2: Replacing A Damaged Gasket
If your blender leaks, check the gasket. Remove the blade assembly and lift out the old gasket. Clean the area, insert a new gasket, and reassemble. Test with water before using.
Expert Advice: Avoiding Common Mistakes
Many people make mistakes when disassembling their Ninja Blender. Here are top mistakes to avoid:
- Forcing parts: If something doesn’t move easily, check for locks or stuck food.
- Cleaning motor base with water: Never submerge or wash the base.
- Ignoring the gasket: Always check and clean the gasket.
- Not drying parts: Wet parts can cause mold or rust.
- Using metal tools on plastic parts: This can cause scratches or damage.
Following these tips keeps your blender safe and working for years.
Where To Find Help And Replacement Parts
If you have trouble, visit the official Ninja website or contact customer support. Most replacement parts are available online. For more repair tips and guides, check Ninja Kitchen Support.

Credit: www.youtube.com
Frequently Asked Questions
How Often Should I Disassemble My Ninja Blender For Cleaning?
For best results, disassemble and clean after every use. If you blend sticky or oily foods (like peanut butter), clean right away. Deep cleaning once a week helps prevent smells and buildup.
Can I Put Ninja Blender Parts In The Dishwasher?
Most pitchers, cups, lids, and blade assemblies are dishwasher safe. Always check your manual first. The motor base should never go in the dishwasher.
What Should I Do If My Blender Leaks After Reassembly?
Check the gasket placement. Make sure it’s flat and free of folds. If the gasket is damaged, replace it. Test with water before blending food.
Are Ninja Blender Blades Replaceable?
Yes, most blade assemblies can be replaced. Order official parts for safety. If blades are dull or rusted, replace immediately.
Is It Safe To Use Tools When Disassembling?
Use plastic or wooden tools for stuck parts. Avoid metal tools on plastic pieces—they can scratch or damage. Always unplug the blender before disassembly.
Disassembling your Ninja Blender is not just about cleaning—it’s about keeping your blender safe, working well, and lasting longer. By following these clear steps and practical tips, you’ll avoid common mistakes and handle your blender with confidence. Remember, safety comes first, and regular maintenance makes a big difference.
Whether you’re a beginner or have used kitchen blenders for years, these guidelines will help you get the most from your Ninja Blender.