How To Disassemble Ninja Blender Blade: Step-by-Step Guide
When your Ninja Blender starts losing its sharpness or gets a bit too noisy, you might think it’s time to buy a new one. But often, the real fix is much simpler: clean or replace the blender blade. Learning how to disassemble the Ninja Blender blade yourself can save you money, extend your blender’s life, and keep your smoothies tasting fresh. If you’ve ever wondered how to take apart the blade assembly safely, this guide will walk you through each step with clear instructions and practical tips.
Many people fear opening their Ninja Blender, thinking they’ll break something or void the warranty. But with the right approach and a little patience, most users can do it at home. In this article, you’ll learn the tools needed, step-by-step instructions, safety tips, and how to troubleshoot common problems.
We’ll also answer some frequently asked questions at the end. Whether you want to clean stubborn food debris, replace a dull blade, or just understand your blender better, you’ll find everything you need here.
Understanding Your Ninja Blender Blade Assembly
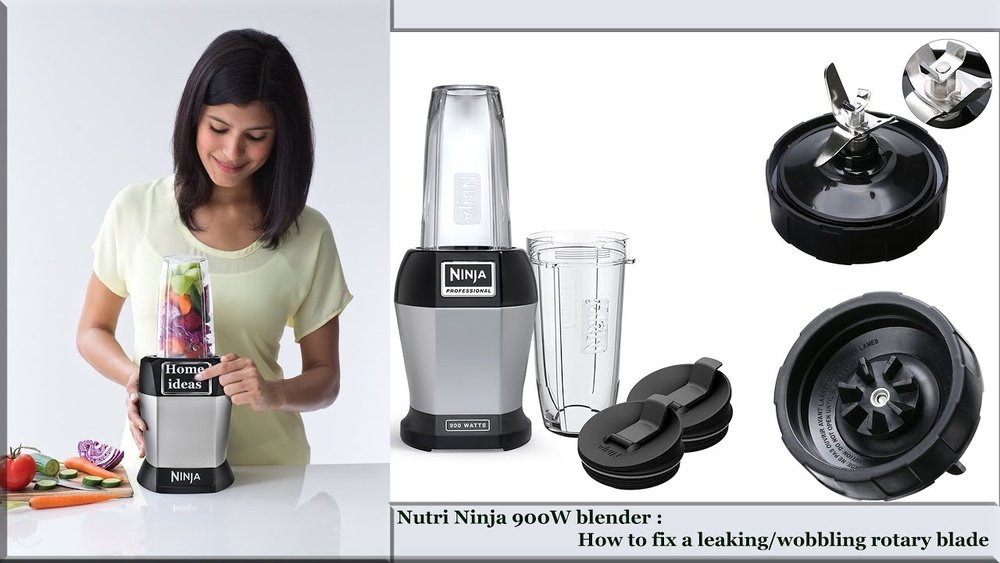
Before you start, it’s important to know what you’re working with. Ninja Blender blades are not a single piece—they are part of a blade assembly that sits inside the pitcher or cup. The design varies between models, but the main parts are usually:
- Blade system: The sharp, multi-level blades that do the chopping and blending.
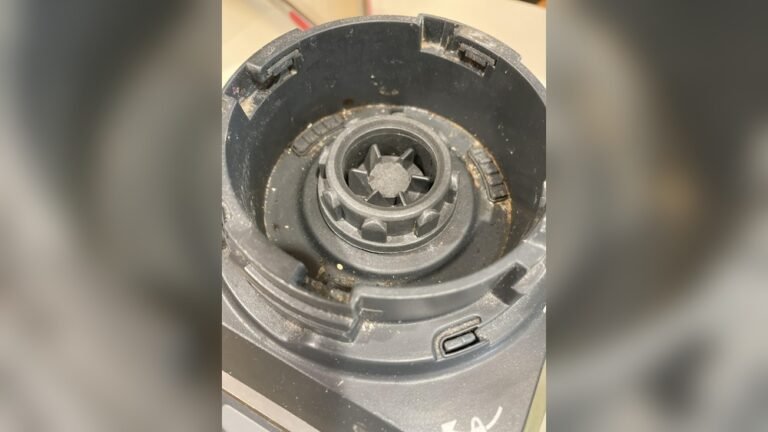
- Plastic or metal spindle: The piece that connects the blades to the motor.
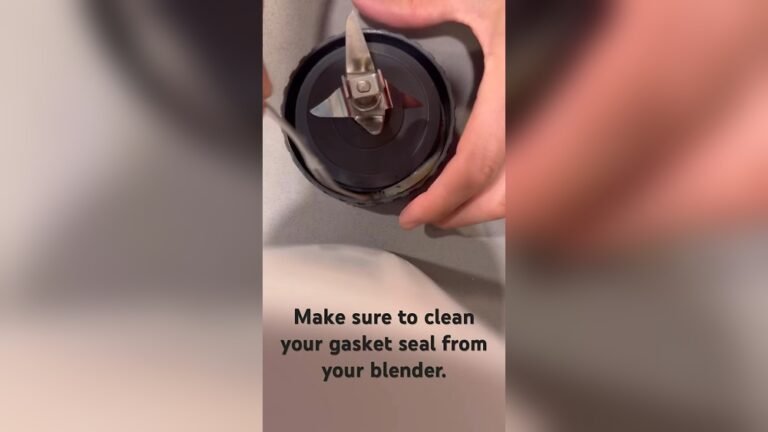
- Sealing ring or gasket: A rubber or silicone ring to prevent leaks.
- Base coupling: Where the assembly locks into the pitcher or cup.
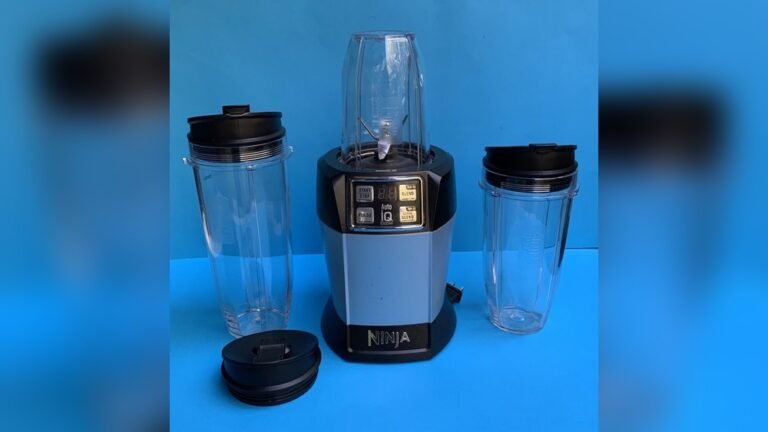
Some blenders have removable blade assemblies (like the Nutri Ninja cups), while others have fixed blades in the pitcher. Always check your model number and read the manual before attempting disassembly.
Common Ninja Blender Models And Blade Types
Here’s a quick comparison to help you identify your blender:
| Model | Blade Assembly Type | Disassembly Method |
|---|---|---|
| Ninja Professional (BL610, BL660) | Removable stacked blade | Lift out from pitcher |
| Ninja Nutri (BL450, BL480) | Screw-in blade for cups | Unscrew from cup base |
| Ninja Foodi Power Blender | Stacked blade assembly | Lift out, twist to remove |
| Ninja Mega Kitchen System | Removable blade tower | Lift out from pitcher |
| Ninja Auto-iQ | Removable or fixed | Varies by model |
Tip: If your blender’s blade does not lift out easily or is fixed, check the manual. Forcing it can damage the pitcher or void your warranty.
Why Disassemble The Ninja Blender Blade?
You might ask, “Why not just wash it as it is?” There are good reasons to take apart the blade:
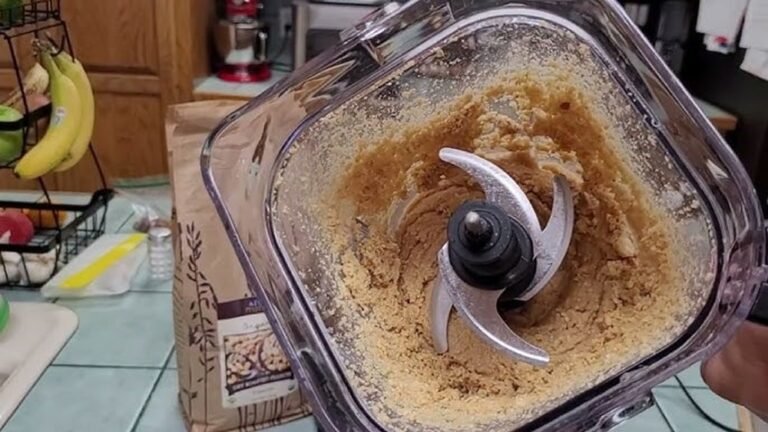
- Deep cleaning: Food and smoothie residue can get trapped under the blade, causing odors and bacteria buildup.
- Blade replacement: Over time, blades get dull or bent, making your blender less effective.
- Leak troubleshooting: If you see leaks from the bottom, the gasket or blade assembly may need cleaning or replacement.
- Noise reduction: A stuck or dirty blade assembly can make grinding or squealing noises.
- Longer lifespan: Proper maintenance keeps your blender running for years, not months.
A surprising insight: Many “broken” blenders only need a blade cleaning or gasket adjustment, not a replacement.
Safety Precautions Before You Begin
Blender blades are extremely sharp, and the assembly can have spring-loaded parts. Safety is key:
- Unplug the blender before doing anything.
- Wear cut-resistant gloves if possible.
- Work on a clean, dry surface to avoid slipping.
- Handle blades by the base, not the edges.
- Keep children and pets away during the process.
Never try to force parts apart. If something is stuck, double-check your model or look for hidden screws or tabs.
Tools And Supplies You’ll Need
You don’t need fancy tools, but having the right items makes the job easier:
- Rubber gloves or cut-resistant gloves
- Screwdriver (Phillips or flathead, depending on your model)
- Small brush (like a toothbrush) for cleaning
- Dish soap and warm water
- Soft cloth or towel
- Replacement gasket or blade assembly (if needed)
- Needle-nose pliers (for stuck gaskets or washers)
Having everything ready saves time and reduces the risk of accidents.
Step-by-step Guide: How To Disassemble Ninja Blender Blade
The following steps cover most Ninja models with removable blades. If you have a fixed-blade pitcher, check the special instructions further below.
1. Power Down And Prepare The Blender
- Make sure the blender is unplugged.
- Remove the pitcher or cup from the base.
- Pour out any remaining liquid or food.
- Place the pitcher/cup upside down on your work surface.
2. Remove The Blade Assembly
For removable blade models:
- Hold the pitcher/cup steady with one hand.
- With the other hand, grip the blade assembly by the plastic or metal center (not the blades).
- Lift the blade assembly straight up and out.
- If it feels stuck, gently wiggle it back and forth; do not force.
For Nutri Ninja cups:
- Hold the cup upside down.
- Unscrew the black or gray blade base from the cup.
- The blade assembly will come off with the base.
3. Detach The Blade From The Base (if Possible)
Some blade assemblies allow you to separate the blade from the base for deeper cleaning or replacement.
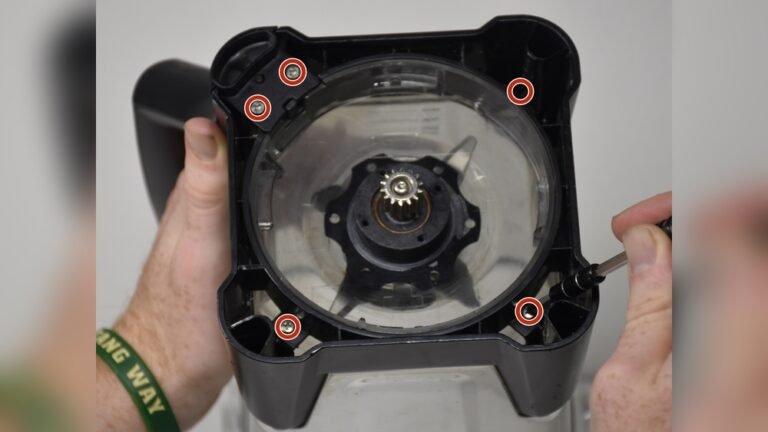
- Look for small screws or a twist-lock mechanism under the blade base.
- Use a screwdriver or twist counterclockwise to loosen.
- Gently pull the blade out, being careful of sharp edges.
4. Remove The Sealing Gasket
- Find the rubber or silicone gasket (usually a ring around the blade base).
- Use a small tool or your fingernail to lift it out.
- Set the gasket aside—do not stretch or damage it.
5. Clean All Parts
- Wash each part with warm, soapy water.
- Use a brush to scrub under the blade edges.
- Check for food debris, rust, or mold.
- Rinse and dry all parts thoroughly before reassembly.
6. Inspect For Damage
Look for:
- Cracks in the plastic or metal
- Bent or dull blades
- Torn or misshapen gaskets
- Signs of rust or corrosion
If you find any damage, order replacement parts before reassembling.
7. Reassemble The Blade Assembly
- Place the clean, dry gasket back in its groove.
- Insert the blade into the base, aligning any notches or tabs.
- Secure with screws or by twisting clockwise.
- Make sure the blade spins freely and the gasket sits flat.
8. Test For Proper Assembly
- Fill the pitcher or cup with water (about halfway).
- Attach the blade assembly and screw/twist to secure.
- Hold the pitcher/cup upside down and check for leaks.
- If it’s dry, mount it on the blender base and do a short test run with water.
If you see leaks, check the gasket or try reseating the blade assembly.
Special Instructions For Fixed-blade Ninja Blenders
Some Ninja pitchers have blades permanently attached. Disassembly is trickier, and sometimes not recommended. But you can still do a deep clean:
- Unplug and remove the pitcher.
- Fill with warm, soapy water up to the blade.
- Use a long brush or bottle cleaner to scrub under the blades.
- If the base unscrews, use a screwdriver to remove the screws (only if the manual allows).
- Clean and dry thoroughly. Do not submerge the motor base or electronic parts.
If you’re unsure, contact Ninja support or visit the official Ninja support page for guidance.

Credit: magazine.joovy.com
How To Replace A Ninja Blender Blade
Sometimes cleaning isn’t enough; you need a new blade. Here’s how to swap it out:
- Purchase the correct replacement blade for your model.
- Disassemble the blade assembly as described above.
- Remove the old blade and gasket.
- Insert the new blade into the base, fit the gasket, and secure.
- Reassemble and test for leaks.
Important: Only use official Ninja replacement parts. Off-brand blades may not fit or can cause leaks and injury.
Troubleshooting Common Problems
Even after following the steps, you might run into issues. Here are common problems and solutions:
Blade Feels Stuck
- Soak the blade base in warm, soapy water for 20 minutes.
- Try using needle-nose pliers to grip and twist (gently).
- If still stuck, check for hidden screws or tabs.
Leaking After Reassembly
- Reseat or replace the gasket.
- Make sure the blade base is screwed on tightly.
- Check for cracks in the pitcher or blade assembly.
Blade Spins Slowly Or Not At All
- Check for food debris or rust under the blade.
- Make sure the blade is not bent or damaged.
- Clean thoroughly and test again.
Loud Noise Or Vibration
- Inspect for missing or damaged gasket.
- Check if the blade is installed off-center.
- Re-seat all parts and test.
Pro tip: Sometimes, replacing the gasket solves leaks and noise issues more often than replacing the blade itself.
Credit: www.ebay.com
Cleaning And Maintenance Tips
Keeping your Ninja Blender blade in good shape isn’t just about taking it apart. Here’s how to get the most from your appliance:
- Clean after every use: Rinse the blade assembly and pitcher immediately.
- Deep clean weekly: Disassemble and wash all removable parts.
- Avoid dishwasher heat: High heat can warp gaskets and plastic.
- Inspect gaskets regularly: Replace if stretched, cracked, or sticky.
- Keep blades dry: Dry thoroughly to prevent rust.
A less-known tip: Lubricate the blade spindle with a tiny drop of food-safe oil if it feels stiff—just wipe excess away before reassembling.
Comparing Ninja Blender Blade Maintenance To Other Brands
How does Ninja stack up against common competitors for blade maintenance?
| Brand | Blade Removal Ease | Replacement Cost | Cleaning Difficulty |
|---|---|---|---|
| Ninja | Easy (most models) | Medium ($20-$30) | Low to Moderate |
| Vitamix | Hard (fixed blades) | High ($50+) | High |
| Oster | Easy (twist-off) | Low ($10-$20) | Low |
| NutriBullet | Easy (cup blade base) | Medium ($20-$30) | Low |
Ninja is one of the more user-friendly brands for DIY blade cleaning and replacement, especially for the Nutri Ninja and Professional series.
When To Call A Professional
Not every problem can be solved at home. Call a professional or contact Ninja support if:
- The blade is permanently fixed and cannot be removed without damaging the pitcher.
- The pitcher or base has visible cracks.
- You hear grinding noises from the motor base.
- Water or food gets into the electrical parts.
Remember, trying to force open a sealed part can void your warranty or cause injury.
Sustainability: Replacing Vs. Repairing
Replacing just the blade or gasket is much better for the environment than buying a new blender. Most Ninja replacement parts are recyclable, and the company offers guidance on disposing of broken parts. Before tossing your old blender, see if a simple blade fix can give it new life.
Did you know? According to the EPA, small kitchen appliances are a growing part of electronic waste. Simple repairs can keep your blender out of the landfill and save you money.

Credit: www.youtube.com
Real-world Example: A User’s Experience
Samantha, a smoothie lover from Florida, noticed her Ninja started leaking after two years. Instead of buying a new one, she followed an online guide to disassemble the blade and found a cracked gasket. For $8, she bought a new gasket, cleaned out old food, and her Ninja worked like new.
She says, “I was nervous at first, but it was easier than I thought. Now I clean the blade every month, and it’s lasted twice as long. ”
Many users have similar stories—disassembly and cleaning can turn a “broken” blender into a reliable kitchen tool again.
Helpful Resources
If you need visual help, Ninja’s official YouTube channel has video guides for most models. You can also find model-specific manuals and troubleshooting at the Ninja Kitchen Support site.
Frequently Asked Questions
How Often Should I Disassemble And Clean My Ninja Blender Blade?
It’s best to disassemble and deep clean your blade assembly every 1–2 weeks if you use your blender daily. For occasional use, once a month is enough. Always clean the blade immediately after blending sticky foods or protein shakes.
Can I Put The Blade Assembly In The Dishwasher?
Most Ninja blade assemblies are top-rack dishwasher safe, but high heat can damage the gasket over time. Hand washing with warm, soapy water extends the life of the blade and gasket. Check your manual for dishwasher guidelines.
What Should I Do If The Blade Is Rusted?
If you see rust on the blade, remove it immediately. Soak in vinegar or lemon juice, then scrub with a brush. If rust remains or the blade is pitted, replace it—rust can affect food safety and blade strength.
Is It Safe To Sharpen Ninja Blender Blades At Home?
Sharpening at home is not recommended. Ninja blades are designed for blending, not cutting like knives. Home sharpening can ruin the angle and balance, leading to leaks or breakage. Replace with an official part instead.
Where Can I Find Replacement Parts For My Ninja Blender?
Official replacement parts are available on the Ninja Kitchen website and major retailers like Amazon or Walmart. Always match the part number to your blender model. For more info, see the Ninja Kitchen Support site.
Disassembling your Ninja Blender blade might seem tricky at first, but with the right steps, it’s a simple job that can save you time and money. Regular maintenance keeps your smoothies smooth, your soups hot, and your blender running for years.
The next time your Ninja slows down or starts leaking, try a blade disassembly and deep clean—you might be surprised at how easy it is to bring your blender back to life.