How To Put Top On Ninja Blender: Secure Your Lid Correctly
You can secure the lid by aligning the locking tabs on the cover with the grooves on the jar rim and pressing the handle down until it clicks. Properly securing the lid on ninja blender models is necessary because the safety interlock switch won’t engage the motor unless the lid is fully locked into place.
This process varies slightly depending on whether you’re using a single-serve cup or a large-capacity pitcher. Your specific model’s manual will show if your lid features a locking handle or a simple twist-to-lock mechanism.
Who needs to secure a Ninja blender lid
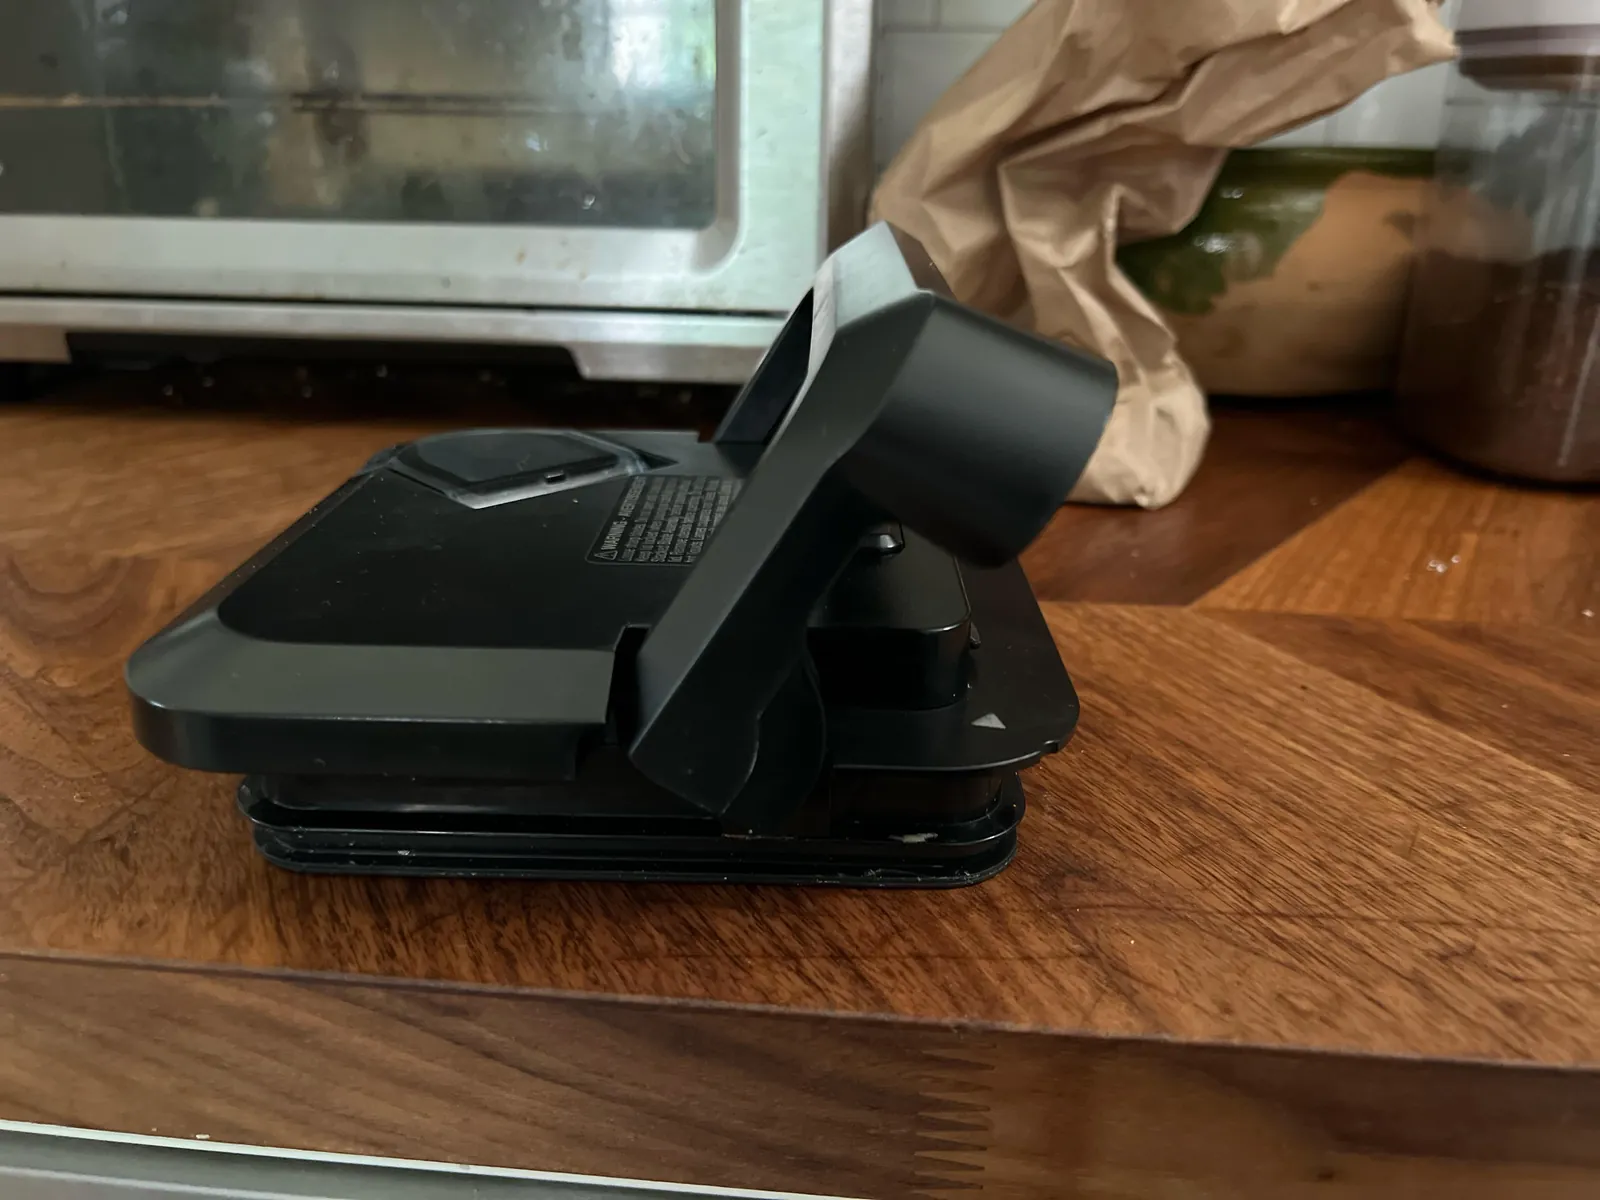
This page serves owners of Ninja kitchen systems who struggle to get the machine to power on despite the jar being in position. If your blender jar is placed on the base but the power light stays off, the lid is likely not seated, which prevents the safety mechanism from triggering.
We assume you’re using a standard Ninja pitcher or a Nutri Ninja cup with a matching lid assembly. Readers who have lost their original lid or are using a third-party replacement part may face different alignment requirements. If your lid is cracked or the plastic locking tabs are broken, no amount of force will engage the safety switch. In those cases, you must replace the lid assembly through the official Ninja Kitchen website to ensure safe operation.
This guide isn’t for users of older, non-locking blender models or professional-grade units that use different safety protocols. If you’re uncertain about your model version, look at the bottom of the motor base for the model number and check the official support documentation for your specific series.
Factors affecting lid engagement
The primary factor is the alignment of the locking tabs. If the tabs on the lid don’t line up perfectly with the slots on the jar, the handle won’t depress, and the motor will remain disabled. You should verify that no food residue is stuck in the rim, as even small debris can prevent a tight seal.
The handle position acts as the second major factor. On most Ninja pitchers, the handle must be folded down toward the jar until it snaps into a locked position. If you feel high resistance, don’t force it, as you could snap the plastic tabs. Instead, lift the lid and try rotating it 90 degrees to ensure the tabs are seated in the correct channels.
The third factor is the model-specific safety sensor. Some models have a sensor in the base, while others rely on the lid handle depressing a switch on the jar itself. If you’re using a single-serve cup, the blade assembly must be screwed on tightly before you invert the cup onto the base.
People often make the mistake of overfilling the jar. If ingredients prevent the lid from sitting flush against the top of the jar, the locking mechanism can’t engage. This error costs time and can lead to leaks during operation. Always keep ingredients below the “Max Liquid” line to ensure the lid fits correctly.
Steps for securing your lid
- Fill your pitcher with ingredients, ensuring the level stays below the “Max Liquid” line marked on the side of the container.
- Place the lid onto the pitcher, ensuring the pouring spout is positioned away from the handle.
- Align the arrows or tabs on the lid with the corresponding notches on the top rim of the pitcher.
- Press the lid down firmly until it sits flush against the rim of the jar.
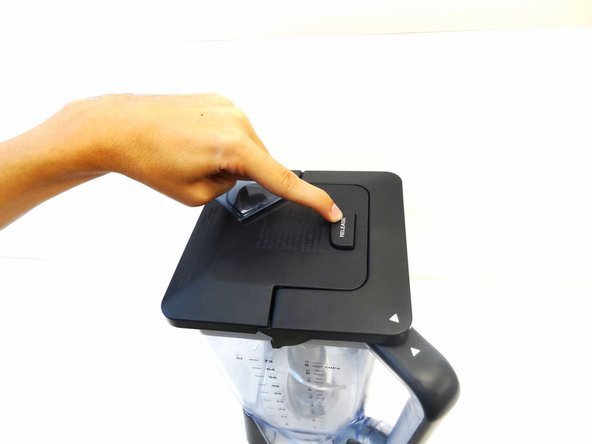
- Grasp the locking handle and fold it down toward the side of the pitcher.
- Continue pushing the handle until you hear a clear, audible click, indicating the safety switch is engaged.
- Check that the handle is pulled fully against the side of the jar; a partially engaged handle will keep the motor locked.
- Place the assembled pitcher onto the motor base, lining up the tabs on the jar with the slots on the base.
- Press down on the jar until it settles into the base and the power light appears.
The critical judgement call is the amount of force applied to the handle. If you feel a “hard stop” before the click, the lid is likely misaligned. If you force it, you risk damaging the plastic tabs that secure the lid to the pitcher. If the motor doesn’t start after the click, verify the pitcher itself is fully seated on the motor base by turning it slightly clockwise until it locks.
Lid assembly variations
| Situation | Action to take | What it takes | What to watch for |
|---|---|---|---|
| Standard pitcher | Fold handle down | Firm pressure | Audible click |
| Single-serve cup | Screw blade tight | Hand strength | Leaking seals |
| Food processor bowl | Twist lid clockwise | Moderate effort | Locking notch |
| High-capacity jar | Align front tabs | Careful placement | Flush seal |
| Multi-serve system | Lock handle fully | 2-3 seconds | Power light |
The standard pitcher requires a firm downward snap. If you don’t hear the click, the safety interlock remains open, preventing the motor from engaging. Users often mistake a loose fit for a mechanical failure, but simply re-seating the lid usually solves the issue.
For single-serve cups, ensure the blade base is flush against the gasket. If you see liquid pooling at the base, you have cross-threaded the seal. This mistake ruins the internal motor housing over time. Always stop if you feel resistance before the threads are fully seated.
When using the food processor bowl, the locking notch must align perfectly with the handle. If the lid resists, don’t force it. Check for debris in the rim, as even a small crumb prevents the magnetic sensor from triggering.
High-capacity jars require visual confirmation of the tabs. If the seal isn’t flush, the lid may leak during high-speed blending.
Finally, the multi-serve system relies on a timed lock. If the power light doesn’t turn solid green after three seconds, the handle isn’t fully depressed. Re-align the base to ensure the sensors connect.
Details that matter
Maintaining the seal
Experienced users check the rubber gasket inside the lid before every use. If the gasket is dirty or displaced, the lid will feel “loose” even when locked. Beginners often ignore the gasket until a leak occurs, which can spray liquid into the safety switch area. If the gasket looks dry or cracked, clean it with warm soapy water and ensure it sits perfectly in the groove.
The motor safety check
The blender won’t turn on if the lid isn’t fully locked. This is a built-in safety feature designed to prevent the high-speed blades from spinning while the jar is open. If you have locked the lid and the pitcher is on the base but the unit remains dead, check that the pitcher is fully rotated into the base. Don’t attempt to bypass this switch.
Common lid issues
| What you notice | What it means | What to do first | How to stop it |
|---|---|---|---|
| Handle won’t click | Misaligned tabs | Rotate lid 90 degrees | Check notch alignment |
| Motor won’t start | Safety switch open | Re-seat the pitcher | Ensure firm click |
| Liquid leaking | Worn gasket | Inspect seal | Hand wash only |
| Lid feels loose | Debris in rim | Clean jar rim | Wipe after use |
| Handle is stuck | Plastic damage | Check for cracks | Replace lid part |
If the handle fails to click, check for small food particles trapped in the locking tabs. Even a crumb the size of a grain of salt prevents the safety sensor from engaging. If the motor hums but the blades remain still, the drive coupling is likely stripped. This happens when you overload the jar with frozen ingredients.
When liquid leaks from the base, check the gasket for a permanent indentation. If the rubber feels hard or brittle rather than supple, it has lost its seal. You must replace it immediately to prevent moisture from reaching the motor housing.
If the lid vibrates during high-speed blending, the rim of the jar may be slightly warped from dishwasher heat. High-temperature cycles accelerate plastic fatigue. If you see white stress marks near the locking tabs, the structural integrity is compromised. In this case, stop using the lid to avoid a potential blowout under pressure.
If you’re unsure if the gasket is the culprit, perform a water-only test. Run the blender for 30 seconds with just water and a drop of soap. If water appears on the base, the gasket is failing. If the base remains dry, the issue is likely an overfilled jar causing internal pressure.
Rules for safe operation
The primary rule is that you must never remove the lid while the motor is running. Ninja blenders use high-torque motors that can reach dangerous speeds; the safety interlock is the only thing preventing the blades from engaging when the jar is open. According to the official safety guidelines published by Ninja Kitchen, you must wait for the blades to stop spinning completely before you unlock the handle.
You should never attempt to open the motor housing or modify the safety sensors. If the blender fails to power on despite the lid being locked and the pitcher seated correctly, the internal switch may be faulty. This is technician-only work; attempting to bypass the sensor can lead to injury or void your warranty. If you suspect a mechanical failure in the base, contact the official customer support team for your region to request a repair or replacement.
Financial and time costs
The cost of this operation is primarily your time, which should be no more than a few seconds per use. If you struggle to align the lid, you waste time and increase the risk of damaging the locking tabs. A replacement lid for a standard Ninja pitcher is relatively inexpensive compared to buying a new blender, depending on the model series. You can check the current price for your specific part on the official Ninja Kitchen website.
The effort required is minimal but requires focus. If you rush the process, you risk breaking the plastic components, which leads to a direct financial cost. Maintaining the lid by avoiding the dishwasher and cleaning the gasket by hand extends the life of the plastic parts.
If you find yourself replacing lids frequently, you’re likely applying too much force during the locking process. Use this decision rule: if the lid requires more than two fingers of pressure to seat, stop immediately. Realign the gasket rather than forcing it down. Forcing a misaligned lid costs you the price of a full replacement part, whereas a quick reset costs nothing but a few seconds of patience.
Keeping the lid functional
To keep your blender operating correctly, you must hand wash the lid and gaskets. High heat in a dishwasher can warp the plastic tabs, making it difficult to achieve the “click” required for the motor to start. If the lid becomes hard to lock, inspect the rim for built-up food residue and scrub it with a soft brush.
The sign that your lid needs attention is a change in the resistance of the handle. If it feels unusually loose or requires excessive force to snap shut, check the tabs for white stress marks or cracks. If you see cracks, stop using the lid immediately to prevent it from coming loose during a high-speed blend.
A common mistake is applying cooking oil to the gasket to make it slide easier. This degrades the rubber, causing it to swell and eventually fail. If the gasket feels tacky or leaves a black residue on your fingers, replace it immediately. You can find these parts by searching for your model number on the manufacturer’s official support page. If your model is quite old, check the secondary market for “new old stock” to ensure the plastic hasn’t become brittle.
When this is the wrong approach
If you’re using a blender model that doesn’t have a locking handle, don’t force the lid. Some older or simpler models use a “push-down” or “twist-to-lock” lid that doesn’t require a handle to move. If you try to force a handle that doesn’t exist, you’ll break the lid. Check your user manual to confirm which locking style your specific model uses.
If the lid is physically broken, stop using the machine. Using a blender with a damaged lid or a missing gasket can cause the contents to spray out, creating a mess or causing injury. Never try to glue a broken plastic tab back onto the lid. The pressure generated during blending will cause the repair to fail, and you’ll need to purchase a new lid assembly.
A common mistake is assuming that a lid must click audibly to be secure. On high-speed models, the seal often relies on a soft rubber gasket rather than a mechanical latch.
If you see liquid leaking from the base of the lid while the motor runs, don’t tighten it further. Instead, turn the machine off and inspect the gasket for cracks. If the rubber is brittle or flattened, the liquid-tight seal is compromised. Replacing the gasket is inexpensive, while ignoring the leak can ruin the motor housing.
Frequently asked questions
Is it safe to run the blender if the lid isn’t clicked?
No, the motor won’t engage because the safety switch requires the lid to be locked. The blender is designed to stay off until the lid is secure, so if the motor doesn’t turn on, you haven’t successfully locked the lid into the correct position.
How do I know if the lid is locked properly?
The lid is locked when you hear a distinct, audible click from the handle mechanism. You should also be able to lift the entire blender by the pitcher handle without the lid moving, which confirms the locking tabs have fully engaged the rim of the jar.
Can I put the lid in the dishwasher?
Most Ninja lids are dishwasher safe, but hand washing is better for long-term durability. High-temperature cycles can warp the plastic tabs or damage the rubber gasket, which makes the lid harder to lock and more likely to leak during operation. Check your manual for the specific heat rating.
Why is my Ninja blender lid hard to close?
The lid is hard to close usually because of food debris or misaligned tabs. Check the rim of the pitcher for dried food and ensure the arrow on the lid aligns with the notch on the pitcher before you attempt to fold the handle down.
What happens if the gasket falls out?
The lid won’t form a proper seal, and liquid will likely leak out during blending. If the gasket falls out, clean it with warm water and press it back into the groove around the underside of the lid until it sits flush all the way around.
Does the blender work without the lid?
No, the blender won’t work without the lid because the safety interlock switch will remain open. This is a safety feature that prevents the blades from spinning unless the jar is fully enclosed and locked, protecting you from accidental contact with the blades.
How often should I replace the lid?
You should replace the lid only when you see visible cracks or the locking tabs no longer hold the lid down. There’s no set time interval for replacement, as it depends entirely on how often you use the blender and how gently you handle the locking mechanism.
Conclusion
Start by placing the lid on the jar and aligning the tabs with the slots on the rim. Press down firmly and fold the handle until you hear a clear click. If the motor fails to start, check that the pitcher is fully seated in the base. If you can’t get the lid to lock after cleaning the rim, contact the official support team for a replacement.