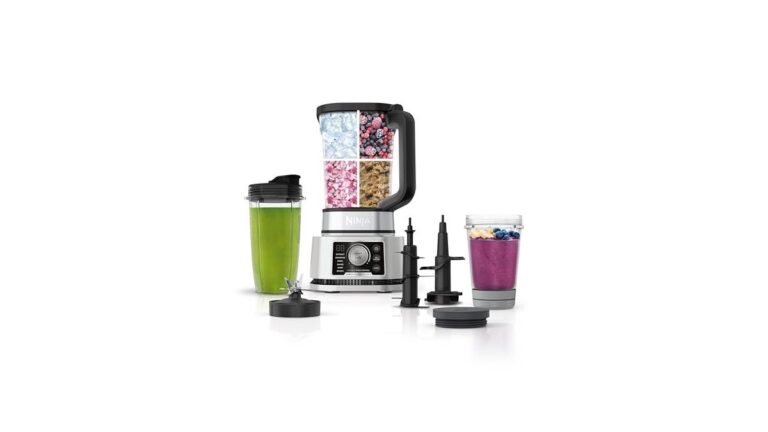
How To Put A Ninja Blender Together: Step-by-Step Guide
You can assemble your device by aligning the pitcher onto the motor base and twisting it clockwise until it clicks into place. Putting a ninja blender together is a straightforward process, but the exact steps change depending on whether you’re using a single-serve cup or a large-capacity pitcher.
Your specific model dictates the locking mechanism. Some units require you to align the handle with the front, while others use a pressure-activated sensor that only starts when the lid is fully locked.
Who needs to assemble a Ninja blender
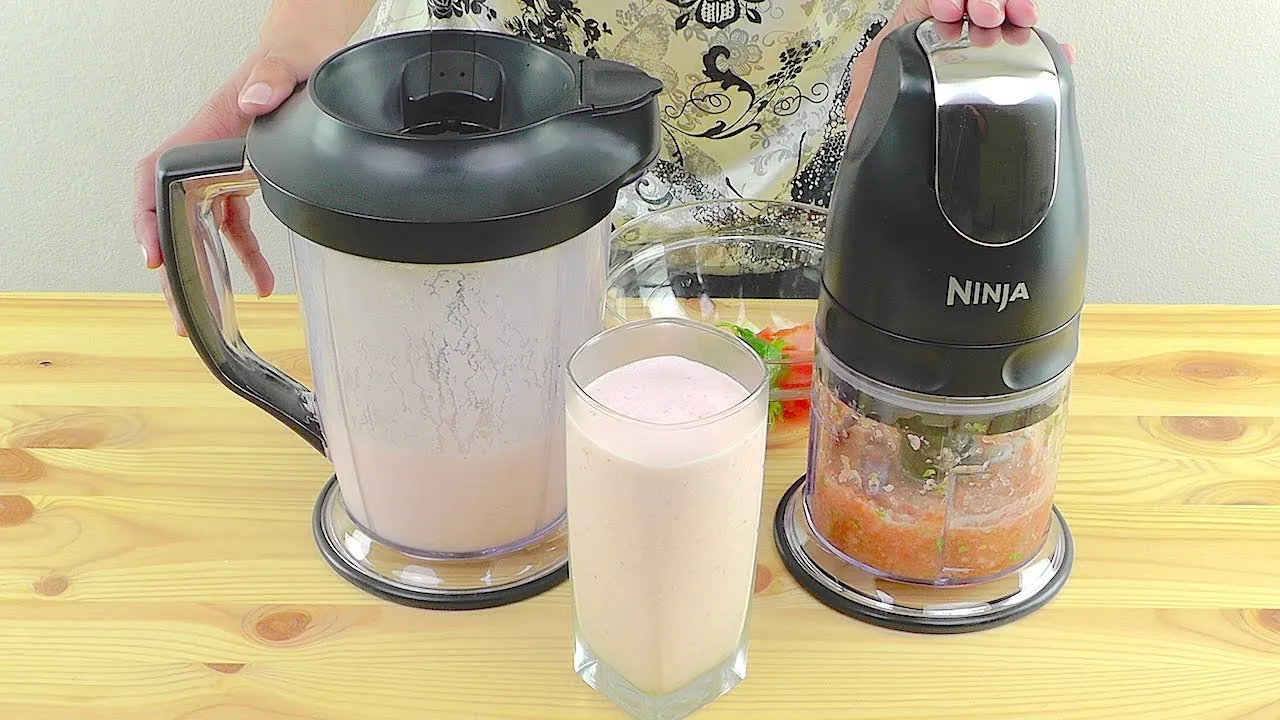
This guide is for owners of Ninja Professional, Nutri-Ninja, or Ninja Foodi blender systems who need to prepare their machine for its first use or after a deep cleaning. You likely have the motor base, the pitcher or cup, the blade assembly, and the lid sitting on your counter. You need to know the correct order of operations to ensure the safety interlock engages so the motor can start.
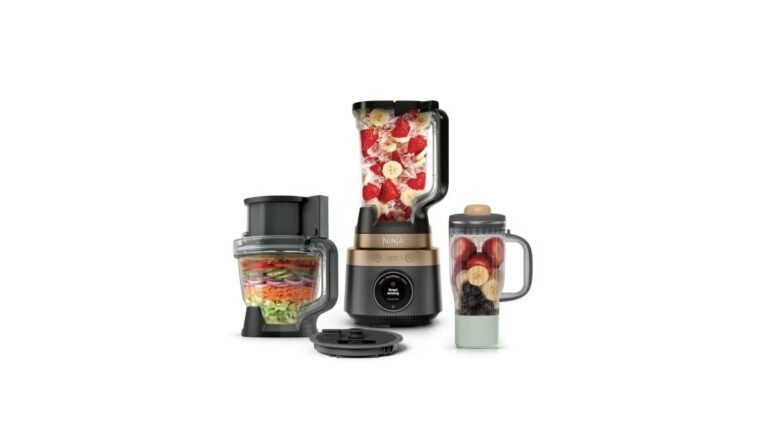
This page serves users who have the standard pitcher or single-serve cup systems provided by SharkNinja. If you’re using a specialized attachment like a food processor bowl or a dough blade, consult the specific manual for your model number, as these often have different locking tabs and safety requirements.
The assumption here is that you have all the original parts and the base is plugged into a standard 120-volt outlet. If you’re missing a rubber gasket or a locking tab is broken, don’t attempt to force the parts together, as this can damage the motor coupling. This guide doesn’t cover troubleshooting electrical faults or motor failures; those require contacting the manufacturer directly.
Factors that change the assembly
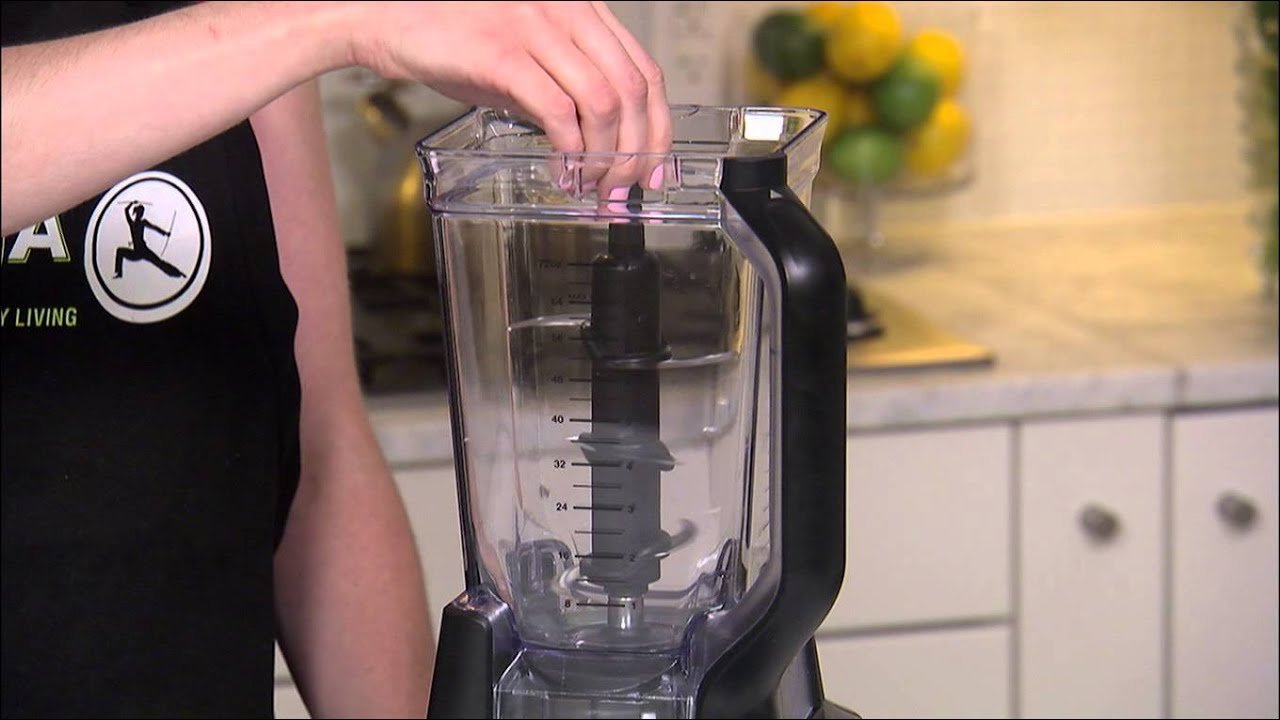
The most important factor is the type of blade assembly your model uses. Some Ninja blenders feature a stacked blade tower that isn’t permanently fixed to the base of the pitcher. If you have this style, you must place the blade tower onto the center gear before adding any ingredients. If you forget this step, you’ll be unable to add the lid, and the ingredients won’t blend.
The second factor is the lid-locking mechanism. Most modern Ninja blenders use a two-step lock. You must first push the lid down and then move the handle lever into the locked position. If the lever doesn’t move smoothly, it means the lid isn’t sitting flush against the pitcher rim. Never force the handle down, as this can snap the plastic tabs.
The third factor is the model’s footprint. If you have a single-serve system, the blade is attached to the lid, not the pitcher. In this case, you must flip the cup upside down onto the motor base after screwing the blade lid on tight. If you try to place the cup upright on the base, the blades won’t engage with the motor.
Assembling your blender
- Place the motor base on a flat, dry, and stable surface.
- If your model uses a stacked blade tower, lower the tower onto the center gear inside the empty pitcher.
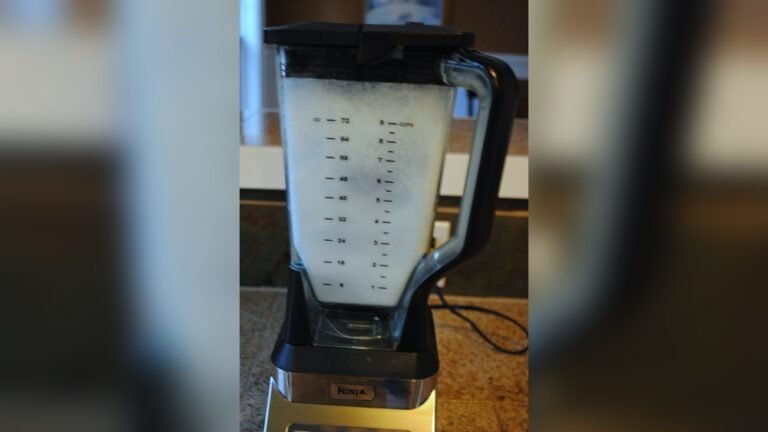
- Add your ingredients into the pitcher, making sure not to fill past the “Max Liquid” line.
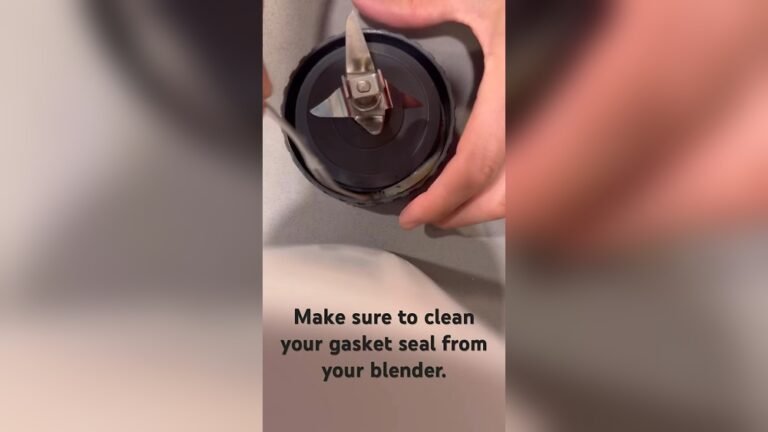
- Place the lid on top of the pitcher, ensuring the rubber seal is clean and free of debris.
- Push the lid handle down until it clicks into the locked position on the pitcher rim.
- Align the pitcher onto the motor base with the handle facing the front or side, depending on your model’s alignment arrows.
- Rotate the pitcher clockwise until you feel it drop into the base and hear a distinct click.
- Plug the unit into the wall outlet and select your desired program.
The judgement call that separates a professional result from a poor one is the final check of the locking handle. If the blender doesn’t respond when you press a button, the lid handle is likely not fully depressed.
Don’t attempt to bypass the safety switch with a tool or object, as this is dangerous and will void your warranty. If you can’t get the unit to start, unplug the machine and check the base for food debris that might be preventing a flush connection.
Variations at a glance
| Situation | Action | Effort | Watch for |
|---|---|---|---|
| Single-serve cup | Screw blade lid on | Low | Leaking seals |
| Large pitcher | Insert blade tower | Medium | Blade alignment |
| Food processor | Attach bowl first | High | Locking tabs |
| Dough mixing | Use dough blade | Medium | Motor heat |
| Smoothies | Use extraction blades | Low | Overfilling cup |
When using single-serve cups, always inspect the rubber gasket for debris before tightening. A tiny crumb can compromise the seal, leading to liquid leaking directly into the motor base. If you see moisture near the base, stop immediately to prevent shorting the electronics.
For large pitchers, ensure the blade tower clicks firmly into the center spindle. If the tower wobbles, the blades will strike the plastic walls during high-speed cycles. This creates deep gouges that harbor bacteria over time.
Food processor attachments require the bowl to lock into the base before the lid engages. If the safety tab doesn’t click, the unit remains dead. Don’t force the lid if the bowl feels loose.
Dough mixing pushes the motor to its limit. If the machine begins to smell like ozone or hot plastic, stop for ten minutes. Running a heavy load for more than three minutes will trigger the thermal cutoff.
Finally, keep smoothie ingredients below the maximum fill line. Overfilling prevents the vortex needed for proper blending. If the contents stop moving, you have created an air pocket that will stall the motor.
Getting the best performance
Preparing the components
Always inspect the rubber gasket on your lid before every use. Experienced users know that a dry or cracked gasket is the primary cause of leaks during high-speed blending. If you see liquid pooling on the motor base, stop immediately and check the seal. Beginners often ignore small drops, but this liquid can seep into the motor housing and cause permanent damage.
Maintaining the connection
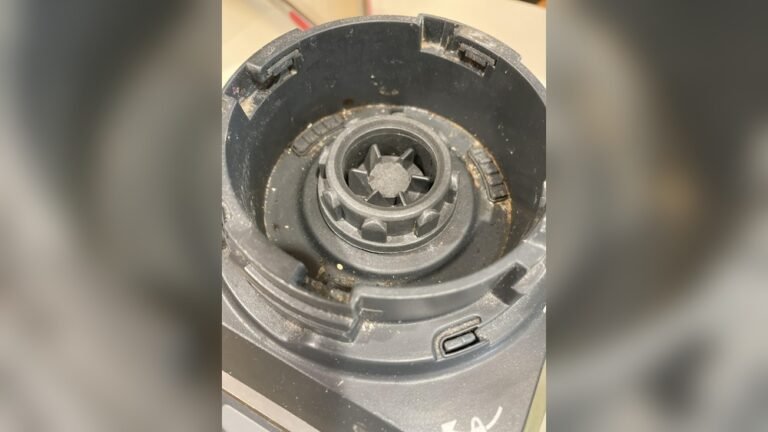
Ensure the motor base coupling is clean and free of hardened food residue. If the pitcher doesn’t sit level on the base, the drive gear will struggle to spin, which creates a loud grinding noise. You should wipe the area with a damp cloth after each use. Never submerge the motor base in water, as this is an electrical device and you’ll risk a short circuit.
Solving common problems
| What you notice | What it usually means | What to do first | How to stop it |
|---|---|---|---|
| Blinking lights | Lid not locked | Re-seat the lid | Check handle click |
| Grinding noise | Gear misalignment | Remove and reset | Clean base gear |
| Leaking liquid | Damaged gasket | Check seal ring | Hand wash lids |
| Motor stops | Overload protection | Remove ingredients | Don’t overfill |
| Stuck blades | Food jammed | Stir ingredients | Chop food smaller |
Most users mistake a grinding noise for a broken motor. In reality, this almost always stems from debris trapped in the base gear. If you hear a high-pitched whine, stop immediately. Running the unit for more than ten seconds while grinding will strip the plastic teeth, which is a permanent hardware failure.
If your motor stops, you have likely exceeded the volume capacity. The internal thermal sensor triggers a shutdown to prevent a fire. Don’t try to restart it by toggling the power switch repeatedly. Wait exactly five minutes for the sensor to reset. If it doesn’t restart after that time, the internal fuse may have blown.
Leaking is rarely a sign of a cracked jar. It’s almost always a worn silicone gasket. If you see liquid pooling at the base, inspect the ring for tiny hairline fractures. You can tell if the gasket is the culprit by running a finger along the seal; if it feels loose or brittle, replace it before the next use. Always hand wash the seal to maintain its elasticity.
Rules for safe operation
The Consumer Product Safety Commission highlights that blender blades are extremely sharp and must be handled with caution during cleaning and assembly. Always hold the blade tower by the plastic spindle, never by the metal edges. If your model has a stacked blade tower, ensure it’s fully seated on the center shaft before adding any food.
According to the user manuals provided by SharkNinja, you should never fill the container past the “Max Liquid” line. Overfilling causes pressure to build up inside the pitcher, which can force liquid out through the lid seal. For hot liquids, never exceed the capacity recommended in your specific model’s manual, as steam expansion creates extra pressure.
If you’re using a model with a specialized dough blade, limit your processing time to 60 seconds to prevent the motor from overheating. Always keep the appliance plugged into a grounded outlet and never attempt to open the motor housing yourself, as the internal capacitors can hold a lethal charge even when the unit is unplugged.
Understanding the cost
The primary cost of operating this device is the time spent on proper cleaning and maintenance. While the blender itself is a one-time purchase, you must account for the time required to hand-wash the blade assemblies. Most manufacturers recommend hand-washing the blades to keep them sharp; running them through a dishwasher’s high-heat cycle can dull the edges and degrade the plastic components over time.
Expect to spend roughly ten minutes per cleaning session if you want to avoid the cumulative damage caused by automated cycles. If you notice the blades becoming dull or the pitcher developing small cracks, you’ll need to purchase replacement parts. Prices vary significantly based on the model; you can find the current cost for your specific jar or blade assembly on the official SharkNinja website.
It’s cheaper to replace a single worn-out gasket than to buy an entire new pitcher, so check the seal condition based on your frequency of use and the guidelines in your owner’s manual. If the gasket feels brittle or shows visible gaps, replace it immediately. You can distinguish a failing seal by checking for minor leaks at the base during operation. If you see liquid pooling on the motor housing, unplug the unit and inspect the gasket for damage.
Ignoring a loose seal will eventually lead to liquid entering the motor base, which is a total loss of the appliance. A new gasket is inexpensive compared to the cost of a motor replacement, which often exceeds the price of a new unit.
Use this simple decision rule: if the pitcher leaks during operation, replace the gasket. If the motor emits a burning smell or sounds unusually high-pitched, the internal bearings are likely compromised by moisture. In that case, don’t attempt a repair. Discontinue use to prevent a potential electrical short. By investing in these small, periodic inspections, you effectively double the functional lifespan of the machine compared to users who ignore these early warning signs.
Keeping it right afterwards
After blending, rinse the pitcher and blade assembly with warm water and a drop of dish soap immediately. If food dries on the blades, it becomes difficult to remove and may cause the seal to fail during the next use. To clean the blades safely, use a long-handled brush instead of reaching into the pitcher with your fingers.
Store the pitcher with the lid slightly ajar to allow air circulation. This prevents a musty smell from developing inside the container. If you notice the pitcher starting to smell, fill it halfway with warm water and a tablespoon of baking soda, then pulse for 10 seconds.
Rinse thoroughly and air dry completely before storing. If the motor base develops a sticky residue, wipe it down with a soft, damp cloth and dry it immediately. Never use abrasive sponges on the clear plastic pitcher, as these will create small scratches that make it harder to clean in the future.
When this is the wrong approach
If you’re trying to process extremely hard ingredients like raw coffee beans or large frozen blocks of ice without any liquid, this blender might not be the right tool for the job. Attempting to force the motor to break down frozen solids without enough liquid can trigger the thermal overload sensor, causing the unit to shut down to prevent motor burnout.
The decision rule is simple: if your ingredients are dry and smaller than a marble, use a dedicated spice grinder. If your ingredients are larger than two inches, you must thaw or chop them manually before blending. Ignoring this rule risks stripping the drive socket, a repair that often costs more than the appliance itself.
For processing very small portions of herbs, a high-torque food chopper is a better choice. Using a large pitcher for small tasks causes ingredients to get stuck under the blades, wasting your time and forcing you to stop and scrape the sides repeatedly.
If you find yourself constantly struggling to get an even texture, you’re likely working with too little volume. A blender requires the vortex created by at least two cups of liquid to pull ingredients into the blades. If you have less than one cup of total volume, the blades will merely spin in the air, leaving your food untouched. Switch to an appliance designed for the specific volume and density of the food you’re preparing to avoid these mechanical failures.
Frequently asked questions
Can I put the blender pitcher in the dishwasher?
Most Ninja pitcher components are top-rack dishwasher safe, but you should check your specific model’s manual on the official website to confirm. High heat can warp plastic over time, so hand-washing with mild soap is the best way to extend the life of your pitcher and blades.
Why won’t my blender turn on?
The blender won’t start if the lid handle isn’t fully locked into the “down” position. Check that the pitcher is twisted clockwise until you hear a click, as the safety interlock must be fully engaged for the motor to receive power from the base.
How long can I run the motor continuously?
You should limit continuous blending cycles to 60 seconds to prevent the motor from overheating. If you’re preparing thick mixtures, pulse the machine in short bursts rather than running it for a full minute to keep the motor cool and protect the internal components.
Is it safe to blend hot liquids?
It’s safe to blend hot liquids only if you don’t exceed the “Max Liquid” line marked on your specific pitcher. Always remove the center portion of the lid to allow steam to escape, as pressure buildup from hot contents can force the lid open during operation.
What happens if I overfill the container?
Overfilling the container causes the ingredients to leak through the lid seal and potentially into the motor base. Always keep your liquid level below the “Max Liquid” mark to ensure the seal remains airtight and the motor can operate without excessive strain or risk of electrical damage.
Does it matter which way the pitcher faces?
The pitcher must be oriented so the handle fits into the locking groove on the motor base. If the pitcher isn’t aligned correctly, the safety tabs won’t engage, and the blender will remain powered off as a protection against accidental activation.
Conclusion
Start by ensuring your motor base is on a solid surface and plugged into the wall. You’ll know the assembly is correct when the pitcher clicks firmly into the base and the lid handle locks into place without resistance. If the unit doesn’t start, stop immediately and check for food debris under the pitcher; if the problem persists, contact the manufacturer’s customer support line for assistance.