How To Make Peanut Butter In A Ninja Blender: Easy Steps
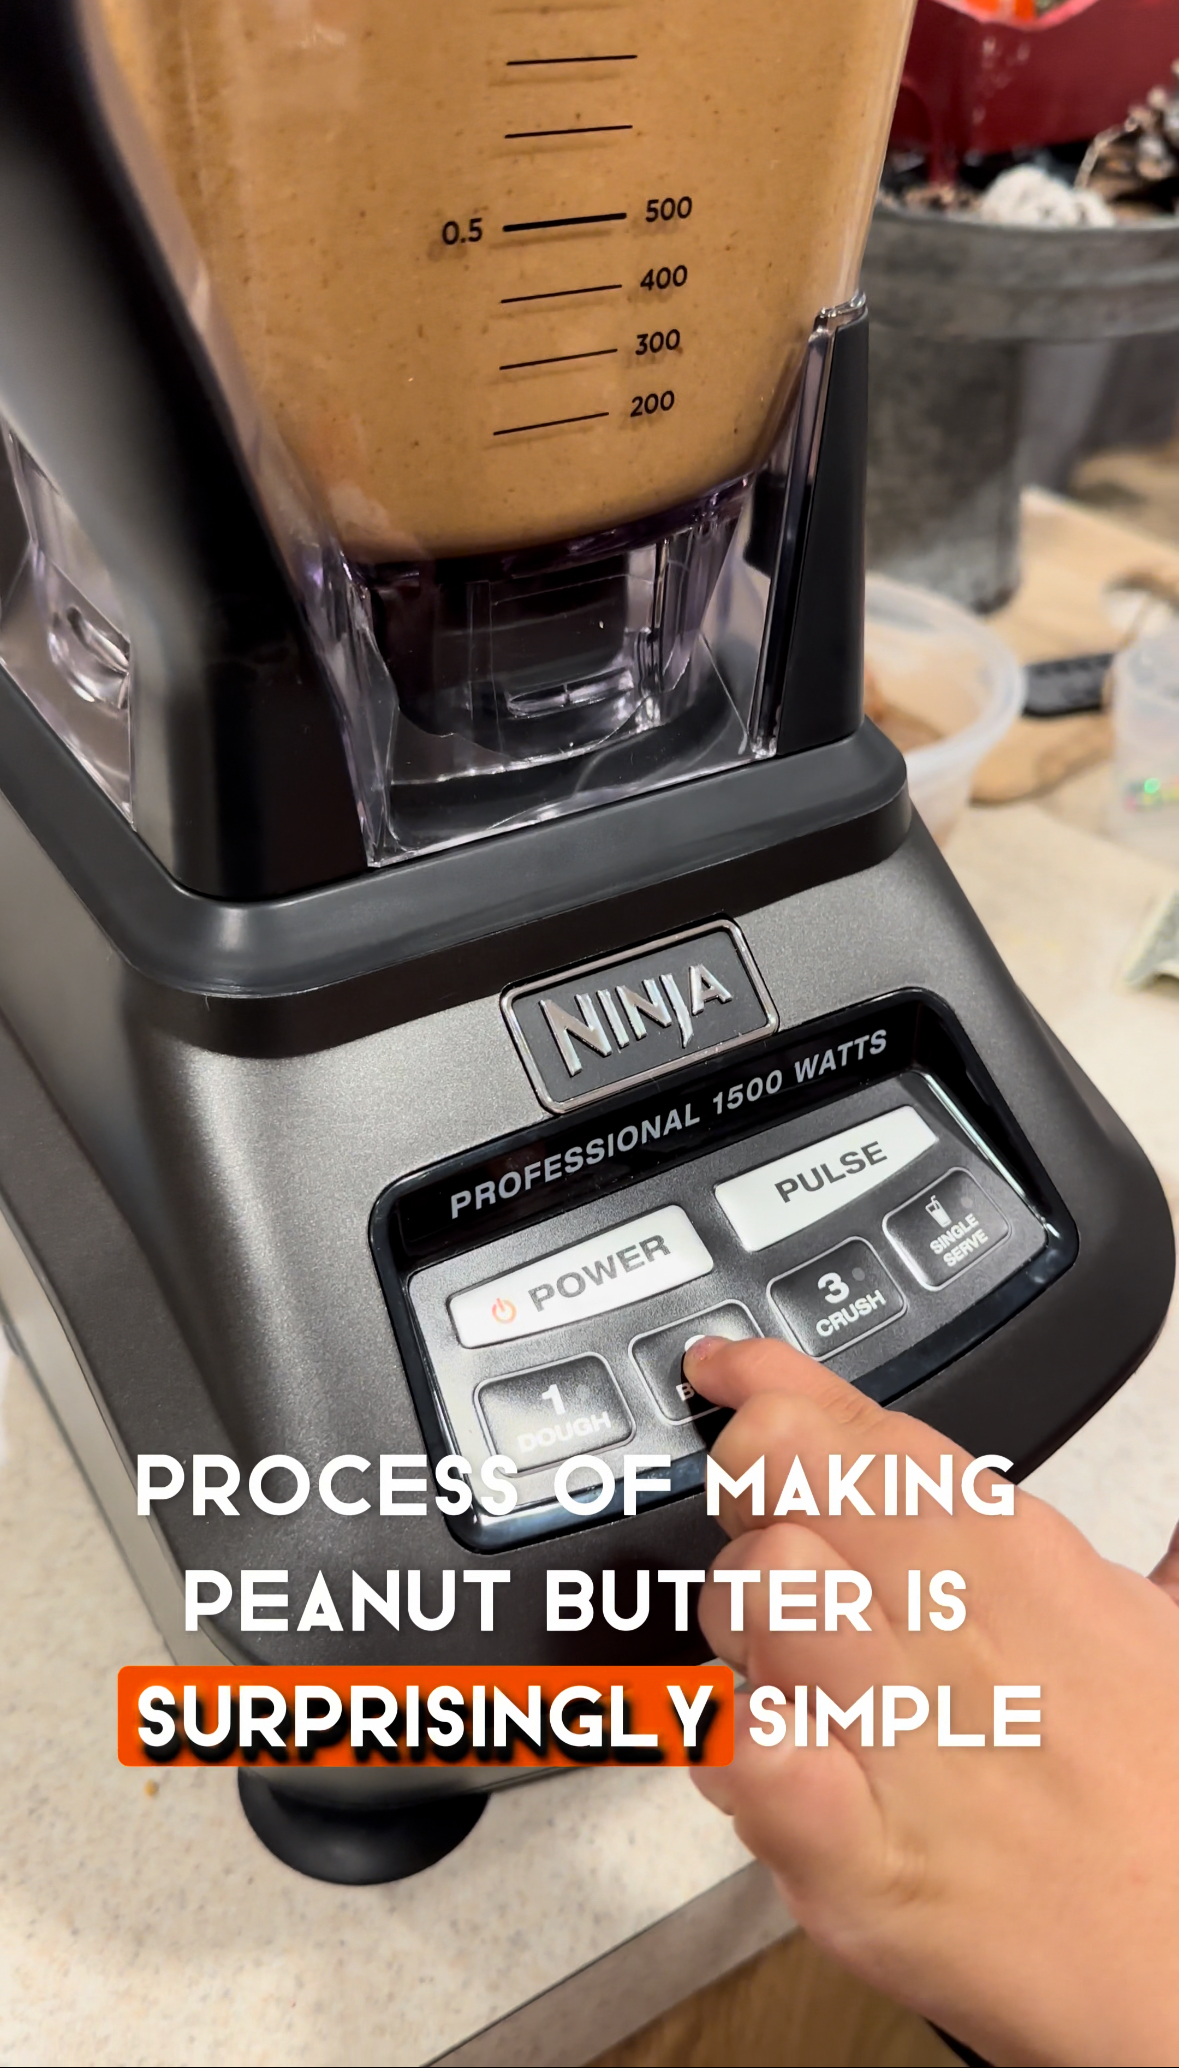
Making peanut butter at home can feel intimidating at first. But with a Ninja Blender, it’s surprisingly easy, fast, and rewarding. Store-bought peanut butter often contains extra sugar, oils, or preservatives. Homemade peanut butter lets you control every ingredient and customize flavor and texture. You’ll save money, avoid additives, and enjoy a fresher, more natural spread.
This guide will show you step-by-step how to make peanut butter in a Ninja Blender. You’ll find clear instructions, helpful tips, and answers to common questions. By the end, you’ll know how to create creamy or chunky peanut butter, adjust salt and sweetness, and fix common issues.
Whether you’re making peanut butter for snacks, baking, or sandwiches, you’ll get professional results every time.
Why Use A Ninja Blender For Peanut Butter?
Many people think you need a special food processor to make peanut butter. But the Ninja Blender is powerful enough to blend nuts into a smooth, creamy spread. It offers several advantages:
- Strong motor: Ninja blenders have high wattage (often 1000+ watts), which can handle tough nuts.
- Sharp blades: The unique blade design chops and grinds peanuts evenly.
- Large capacity: You can make big batches, perfect for families or meal prepping.
- Easy cleaning: The blender parts are simple to wash, and some are dishwasher-safe.
- Versatile: You can use it for nut butters, smoothies, soups, and more.
Here’s a comparison of Ninja Blender features versus basic food processors:
| Feature | Ninja Blender | Basic Food Processor |
|---|---|---|
| Motor Power | 1000–1500 watts | 500–1000 watts |
| Blade Design | Multi-level, sharp | Single level, flat |
| Capacity | 48–72 oz | 32–48 oz |
| Cleaning | Dishwasher-safe parts | Often hand-wash only |
| Versatility | Wide range (nut butters, smoothies, etc.) | Mostly chopping/mixing |
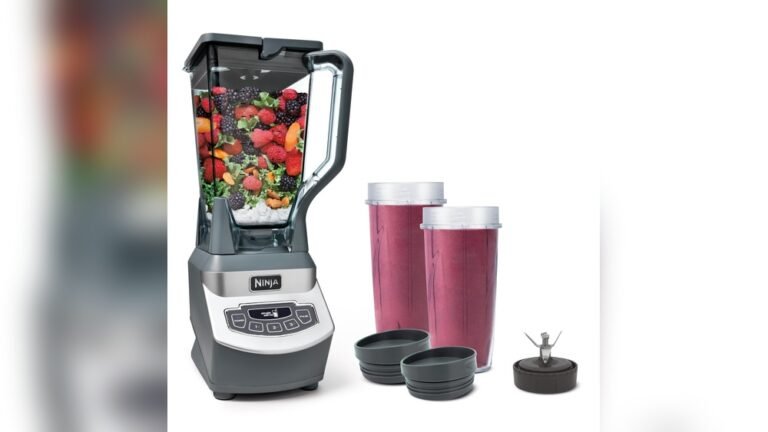
If you already own a Ninja Blender, you don’t need extra equipment. For best results, use models like the Ninja Professional or Ninja Foodi series.
Ingredients And Equipment Needed
Before you start, gather everything you need. Making peanut butter requires only a few ingredients, but quality matters.
Basic Ingredients
- Peanuts: Use roasted, unsalted peanuts. Raw peanuts need extra roasting for flavor. For chunky peanut butter, reserve some peanuts to add later.
- Salt (optional): Improves taste. Start with 1/4 teaspoon for every 2 cups of peanuts.
- Oil (optional): Helps create a smoother texture. Use a neutral oil (like peanut, canola, or sunflower). Start with 1–2 teaspoons per batch.
- Sweetener (optional): Honey, maple syrup, or sugar can add sweetness. Use 1–2 teaspoons if desired.
Equipment
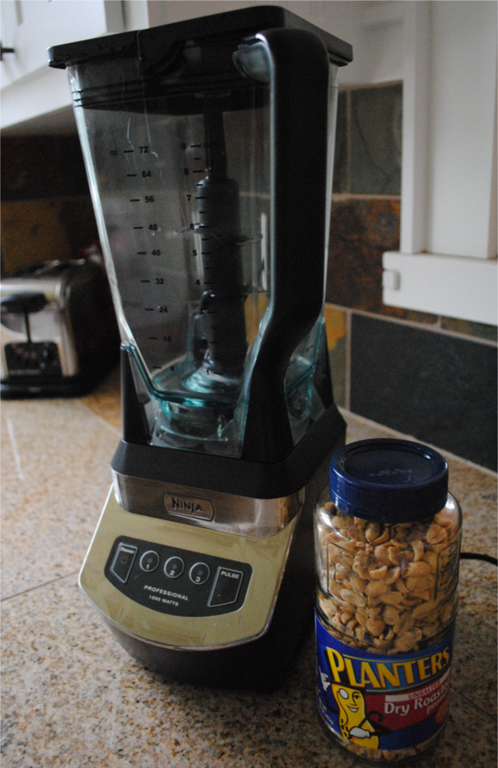
- Ninja Blender: Any model with at least 1000 watts is best.
- Spatula: For scraping sides and transferring peanut butter.
- Airtight container: For storing finished peanut butter.
- Measuring cups/spoons: To measure peanuts, salt, oil, and sweetener.
Here’s a quick comparison of different peanut types for peanut butter:
| Peanut Type | Flavor | Texture | Best For |
|---|---|---|---|
| Roasted, unsalted | Rich, nutty | Creamy or chunky | Homemade spreads |
| Raw | Mild, earthy | Dry, less creamy | Roasting required |
| Roasted, salted | Salty, strong | Creamy | Quick batches |
Step-by-step Guide: Making Peanut Butter In A Ninja Blender
Follow these steps to make peanut butter easily. Beginners often miss small details, so pay attention to each step.
1. Prepare Peanuts
If using raw peanuts, roast them first for better flavor. Spread peanuts on a baking sheet and bake at 350°F (175°C) for 10–15 minutes. Stir halfway to avoid burning. Let them cool before blending.
If using roasted peanuts, check if they are salted. You may want to reduce or skip extra salt.
2. Load The Blender
Add 2–3 cups of peanuts to the Ninja Blender. Do not overfill; the blender works best with moderate batches.
Tip: For chunky peanut butter, hold back 1/4 cup of peanuts to add later.
3. Start Blending
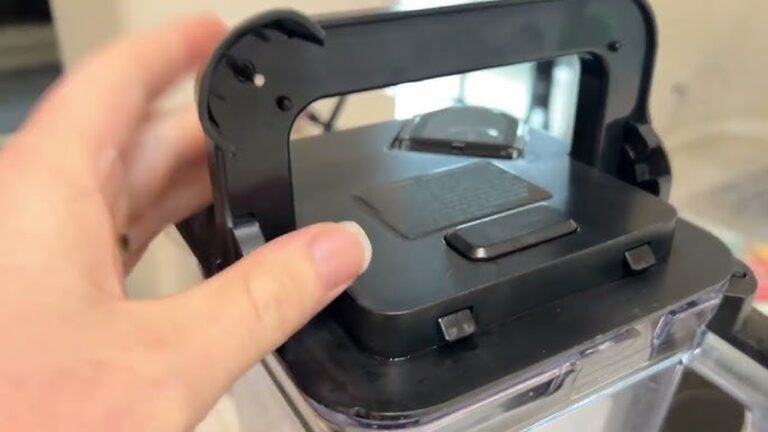
Secure the lid. Use the “pulse” setting for 30 seconds to break peanuts into small pieces. Then switch to a continuous blending mode.
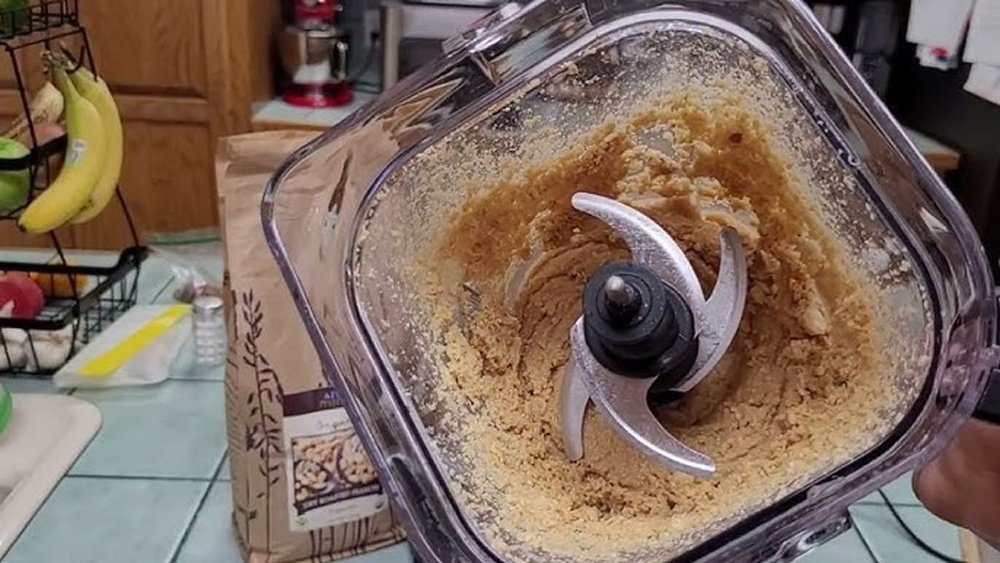
The mixture will look dry and crumbly at first. Stop and scrape down the sides every 30–60 seconds. This helps the blades reach all the peanuts.
4. Add Optional Ingredients
When the peanuts start forming a thick paste (about 2–3 minutes), add salt, oil, and sweetener if desired. Blend for another 1–2 minutes.
Tip: Add oil slowly. Too much oil makes the peanut butter runny.
5. Adjust Texture
Keep blending until the peanut butter reaches your preferred consistency. For creamy peanut butter, blend longer (5–6 minutes total). For chunky style, add reserved peanuts and pulse a few times.
If the blender struggles, pause and let the motor cool for a minute. This prevents overheating.
6. Taste And Final Adjustments
Taste your peanut butter. Add more salt or sweetener if needed. If it’s too thick, add a bit more oil and blend again.
Beginners often miss this step—small changes here create a big difference.
7. Transfer And Store
Use a spatula to scrape peanut butter into a clean, airtight container. Store in the refrigerator for freshness. Homemade peanut butter lasts 2–3 weeks.
For longer shelf life, freeze in small batches.
Troubleshooting Common Problems
Even with a powerful Ninja Blender, you may face some issues. Here’s how to solve them:
Blender Overheating
If the blender gets hot or shuts off, pause blending. Let it cool for 5–10 minutes. Blending nuts is tough on motors, so don’t rush.
Dry Or Crumbly Peanut Butter
Not enough oil or peanuts. Add 1–2 teaspoons of oil and blend again. Use a spatula to scrape sides so all peanuts are blended.
Peanut Butter Too Runny
Too much oil or liquid sweetener. Add more peanuts and blend. Or refrigerate; cold peanut butter thickens naturally.
Blender Not Blending
Too many peanuts at once can jam the blades. Remove some peanuts and blend in smaller batches. Always scrape sides often.
Uneven Texture
Blending time is key. Longer blending makes creamier peanut butter. For chunky style, pulse extra peanuts after blending.
Credit: testkitchentuesday.com
Customizing Your Peanut Butter
Homemade peanut butter is easy to personalize. Try these ideas for unique flavors and textures.
Flavor Add-ins
- Honey or maple syrup: Sweeten naturally.
- Cinnamon or nutmeg: Add warmth and spice.
- Dark chocolate chips: Blend for a dessert-style spread.
- Cocoa powder: For chocolate peanut butter.
- Vanilla extract: Enhances aroma.
Add flavorings during the blending process. Start small; a little goes a long way.
Texture Variations
- Chunky: Add peanuts at the end and pulse lightly.
- Extra creamy: Blend longer and add more oil.
- Crunchy mix-ins: Add pretzel pieces, granola, or seeds after blending.
Dietary Adjustments
- Sugar-free: Skip sweeteners or use stevia.
- Oil-free: Use only peanuts; blending longer will release natural oils.
- Salt-free: Use unsalted peanuts and omit added salt.
Storage And Shelf Life Tips
Homemade peanut butter doesn’t have preservatives, so storage is important.
- Refrigerate: Keeps peanut butter fresh for up to 3 weeks.
- Freeze: Store in small containers for 3–6 months. Thaw in the fridge before use.
- Room temperature: Only for short periods (1–2 days), and if the room is cool.
Always use a clean spoon to avoid contamination. If peanut butter develops mold or an off smell, discard it.
Here’s a quick overview of homemade vs store-bought peanut butter shelf life:
| Type | Storage | Shelf Life |
|---|---|---|
| Homemade | Refrigerator | 2–3 weeks |
| Homemade | Freezer | 3–6 months |
| Store-bought | Pantry | 6–12 months |
| Store-bought | Refrigerator | 12–18 months |
Credit: www.amazon.com
Nutrition Facts And Health Benefits
Peanut butter is more than a tasty spread. It’s also packed with nutrients.
- Protein: 7–8 grams per 2-tablespoon serving.
- Healthy fats: Mainly monounsaturated and polyunsaturated.
- Vitamins: Vitamin E, B vitamins, magnesium, potassium.
- Fiber: 2 grams per serving.
Homemade peanut butter is often healthier than store-bought. You control sugar and oil levels, reducing calories and unwanted additives.
Tip: Some store brands add hydrogenated oils, which are linked to heart disease. Homemade versions skip these, making your spread safer.
According to the USDA, peanuts are cholesterol-free and low in saturated fat. They support heart health and provide lasting energy. Peanut butter is also a good option for vegetarian and vegan diets.
Practical Tips For Beginners
Many first-timers make simple mistakes. Here are two insights that beginners often miss:
- Don’t rush blending: Give the blender time to break down the peanuts. It might seem slow, but patience creates a smoother result.
- Blender capacity matters: If you fill the blender too much, the blades can’t do their job. Work in batches if needed.
Other useful tips:
- Use fresh peanuts for best flavor.
- Warm peanuts before blending for a smoother texture.
- Taste as you go to adjust salt and sweetness.
- Store in glass containers to avoid plastic taste.
- Always clean the blender right after use; dried peanut butter is hard to remove.
Creative Uses For Homemade Peanut Butter
Once you’ve made peanut butter, you can use it in many ways:
- Spread on toast or bagels
- Mix into oatmeal
- Add to smoothies for protein
- Bake cookies or brownies
- Create peanut sauce for noodles
- Dip apples, celery, or bananas
You can also use it for homemade energy bars, salad dressings, or as a base for satay sauce.
Comparing Homemade And Store-bought Peanut Butter
Why bother making peanut butter at home? Here’s a comparison to help you decide:
| Factor | Homemade Peanut Butter | Store-Bought Peanut Butter |
|---|---|---|
| Ingredients | Simple, customizable | Often contains additives |
| Flavor | Fresh, natural | Consistent, but less fresh |
| Texture | Adjustable | Fixed (creamy or chunky) |
| Cost | Lower over time | Higher for premium brands |
| Nutrition | No added sugar/oil | May contain sugar/oil |
| Shelf Life | Shorter (2–3 weeks) | Longer (6–18 months) |
Homemade peanut butter tastes fresher and lets you avoid unwanted ingredients. It’s ideal for people with allergies, specific diets, or those seeking a healthier lifestyle.

Credit: www.youtube.com
Frequently Asked Questions
Can I Use Other Nuts Instead Of Peanuts?
Yes, you can use almonds, cashews, walnuts, or hazelnuts. The steps are the same, but blending time may differ. Some nuts (like almonds) need more oil for a creamy texture.
How Long Does Homemade Peanut Butter Last?
Homemade peanut butter lasts 2–3 weeks in the refrigerator. For longer storage, freeze it. Always check for mold or an off smell before using.
Is Ninja Blender Safe For Making Nut Butters?
Yes. Ninja Blenders are strong enough for nut butters. If the motor overheats, let it cool before blending again. Follow your blender’s manual for safety tips.
Can I Make Peanut Butter Without Oil?
Absolutely. Peanuts have natural oils. Blending longer will release these oils and create a creamy spread. Oil is optional for a smoother texture.
Why Does My Peanut Butter Separate After A Few Days?
Natural peanut butter separates because it contains no stabilizers. Just stir before use. Store upside-down to make stirring easier.
Final Thoughts
Making peanut butter in a Ninja Blender is simple, fast, and healthy. You’ll enjoy better taste, control over ingredients, and the chance to customize every batch. Don’t be afraid to experiment with flavors and textures. The process saves money and supports a healthier lifestyle.
With a little practice, you’ll make peanut butter that rivals any store brand. Share your homemade peanut butter with friends and family—they’ll taste the difference. If you want more detailed recipes or nutrition info, visit the Peanut Institute.