
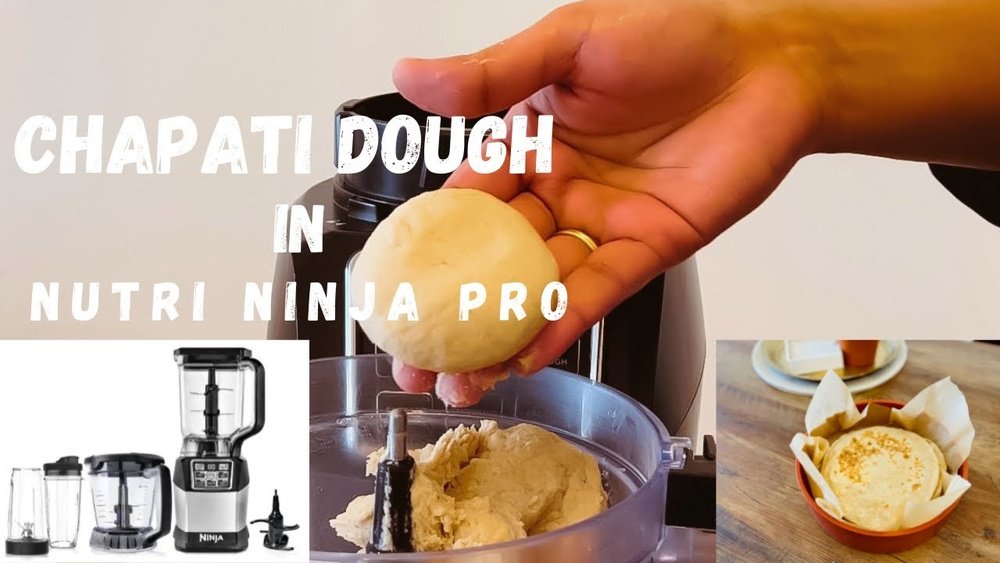
How To Make Dough In Ninja Blender: Quick and Easy Guide
Making dough at home can feel difficult if you don’t have the right tools. Many people struggle with mixing, kneading, and getting the right texture. If you own a Ninja Blender, you might not realize it can do more than make smoothies. This popular appliance can help you make dough quickly, saving time and effort. Whether you want to bake bread, cookies, or pizza, using a Ninja Blender can make the process much easier. In this article, you’ll learn step-by-step how to make dough in a Ninja Blender, which models work best, tips for success, and common mistakes to avoid. You’ll also see helpful comparisons and practical advice for getting great results every time.
Why Use A Ninja Blender For Dough?
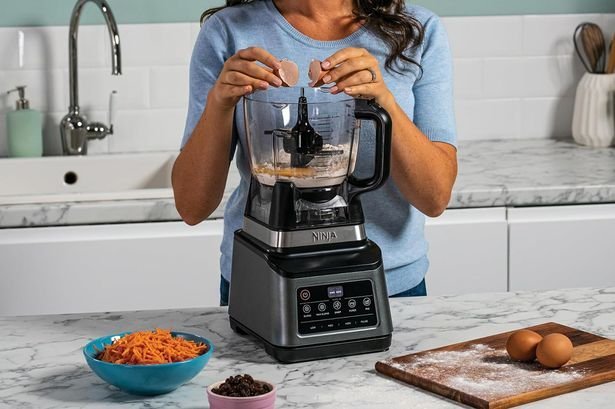
Many people think blenders are only for liquids. But Ninja Blenders, especially those with dough blades or food processor attachments, are designed to handle thick mixtures. Their strong motors and special blades can mix dough evenly and quickly.
Some reasons to use a Ninja Blender for dough:
- Speed: Mixing and kneading take only a few minutes.
- Consistency: The dough comes out smooth and even.
- Ease: Less physical effort compared to hand kneading.
- Versatility: Suitable for bread, pizza, cookies, and more.
According to Ninja Kitchen’s official site, their blenders can handle heavy mixing tasks, making them a good choice for dough preparation. Many home bakers and cooks now prefer this method because it saves time and reduces mess.
Choosing The Right Ninja Blender Model
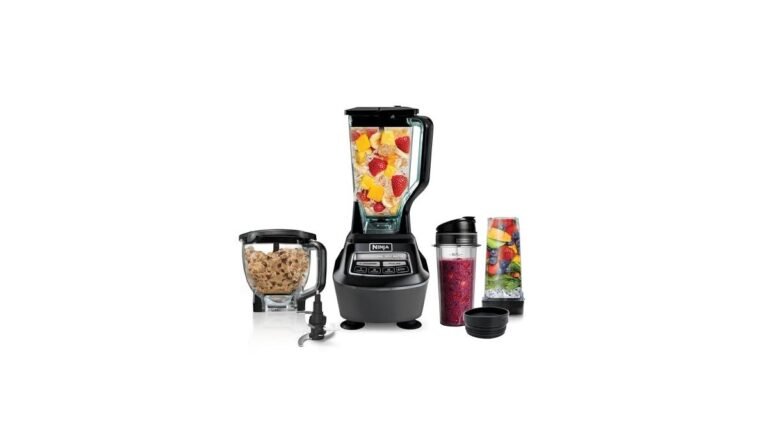
Not every Ninja Blender is perfect for making dough. Some models are made for smoothies and liquids only. To get good results, you need a model with strong power and a dough blade or food processor bowl. Here’s a quick comparison of popular models:
| Model | Power (Watts) | Dough Blade | Food Processor Bowl | Best for Dough? |
|---|---|---|---|---|
| Ninja Professional Plus Kitchen System | 1400 | Yes | Yes | Excellent |
| Ninja Foodi Power Pitcher | 1400 | Yes | No | Good |
| Ninja BL610 Blender | 1000 | No | No | Poor |
| Ninja Mega Kitchen System | 1500 | Yes | Yes | Excellent |
Key insight: Blenders with at least 1400 watts and a dough blade are best. If your Ninja Blender doesn’t have a dough blade, you can try using the standard blade, but the result may not be as good. For pizza and bread dough, choose models with a food processor bowl.
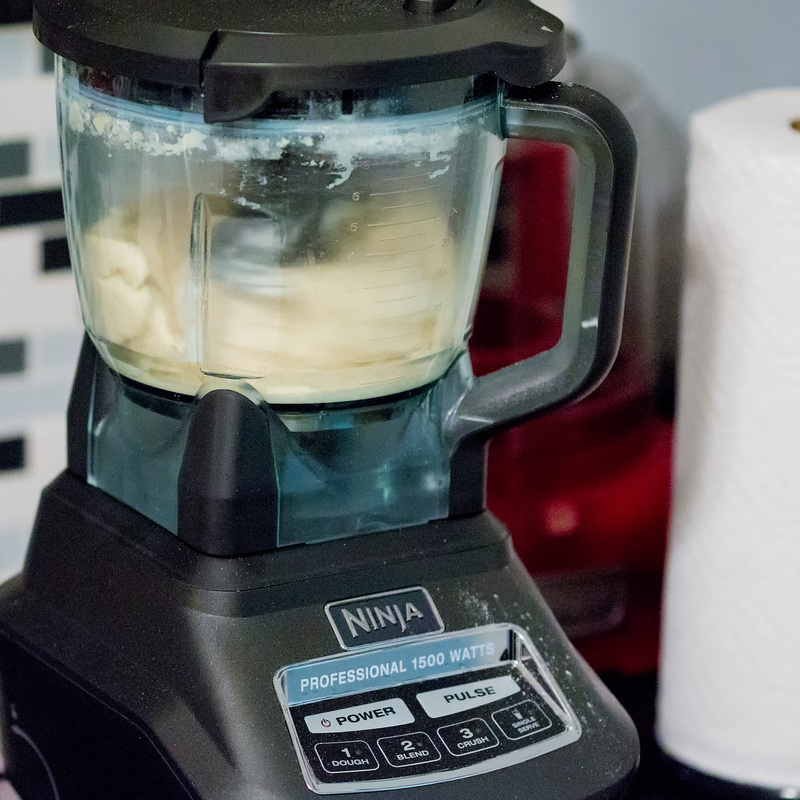
Credit: www.uofmtiger.com
Ingredients For Basic Dough In Ninja Blender
You can make many types of dough, but let’s start with a basic bread dough. This dough works for bread, pizza, and rolls.
Ingredients (for about 2 medium pizzas or a loaf of bread):
- 3 cups all-purpose flour (360g)
- 1 cup warm water (about 110°F/43°C)
- 2 ¼ teaspoons active dry yeast (1 standard packet)
- 2 tablespoons olive oil (or vegetable oil)
- 1 teaspoon salt
- 1 teaspoon sugar
This recipe gives you a soft, elastic dough that works for many baking projects. You can adjust the flour type or add herbs for extra flavor.
Step-by-step Guide: Making Dough In Ninja Blender
Making dough with your Ninja Blender is simple if you follow the right steps. Here’s how to do it:
1. Prepare Your Ingredients
Measure all ingredients carefully. Using a kitchen scale can help, especially for flour. Place the yeast and sugar in the warm water and let it sit for 5-10 minutes until bubbly. This step helps activate the yeast.
2. Attach The Correct Blade
Use the dough blade if your Ninja Blender has one. If not, use the regular blade, but be careful not to overmix. Attach the food processor bowl if available.
3. Add Ingredients In The Right Order
Pour the flour and salt into the blender bowl. Add the activated yeast mixture and oil. Don’t add all the water at once; save some to adjust the texture later.
4. Pulse And Mix
Close the lid securely. Start with the pulse function for 10-20 seconds to mix the ingredients gently. Then blend on low speed for 30-60 seconds. Add more water if the dough is dry.
5. Check Dough Consistency
Stop and open the lid. The dough should be soft, elastic, and slightly sticky. If it’s too dry, add a tablespoon of water. If it’s too wet, add a tablespoon of flour.
6. Knead In The Blender
Pulse for another 20-30 seconds. The dough should form a ball and pull away from the sides of the bowl. Don’t knead for more than 2 minutes—overmixing can make the dough tough.
7. Rest And Rise
Remove the dough and place it in a lightly oiled bowl. Cover with plastic wrap or a towel. Let it rise in a warm place for 1-2 hours until it doubles in size.
Practical tip: If your kitchen is cold, place the bowl in a microwave (turned off) or oven with the light on.

Credit: ninjakitchen.com.au
Common Mistakes And How To Avoid Them
Even with a Ninja Blender, mistakes can happen. Here are some common problems:
- Overmixing: Too much mixing makes dough tough. Always use short bursts.
- Wrong Blade: Using the wrong blade can damage your blender or make poor dough.
- Water Temperature: If water is too hot, it kills the yeast. Too cold, yeast won’t activate.
- Adding Too Much Flour: Dough should be a little sticky. Don’t add too much flour.
- Skipping Rest Time: Dough needs time to rise. Don’t skip this step.
Non-obvious insight: The pulse function is safer than blending because it lets you control the texture. Many beginners forget this and blend too long.
Dough Types You Can Make In A Ninja Blender
Ninja Blenders are not just for bread dough. You can make many kinds of dough:
- Pizza dough: Same as basic bread dough, but you can add garlic powder or herbs.
- Cookie dough: Use the dough blade and pulse gently. Add chocolate chips, nuts, or raisins.
- Pie crust: Mix flour, cold butter, salt, and a bit of water. Pulse until crumbs form.
- Pasta dough: Mix flour and eggs only. Pulse until combined, then knead by hand.
Here’s a quick comparison of dough types and recommended blender settings:
| Dough Type | Blade | Speed/Function | Special Tips |
|---|---|---|---|
| Bread/Pizza | Dough Blade | Pulse & Low | Check stickiness |
| Cookie | Dough Blade | Pulse Only | Don’t overmix |
| Pie Crust | Standard Blade | Pulse Only | Use cold butter |
| Pasta | Dough Blade | Pulse & Knead | Finish kneading by hand |
Experience-based tip: For pie crust, use cold ingredients and don’t blend too long. For pasta, pulse just until the dough comes together.
Practical Tips For Better Dough Results
Making dough is part science, part art. Here are some practical tips to help you succeed:
- Room Temperature Ingredients: Cold ingredients slow yeast. Use room temperature for most doughs.
- Don’t Overfill the Blender: Too much flour can clog the blades. Stay under the maximum fill line.
- Scrape Sides Regularly: Stop and scrape the sides for even mixing.
- Use the Right Oil: Olive oil adds flavor. Vegetable oil is lighter.
- Watch for Texture Changes: Dough should be smooth and elastic, not dry or crumbly.
Non-obvious insight: Letting the dough rest after blending makes it easier to shape. Many new bakers skip this, but it improves texture and taste.
Cleaning Your Ninja Blender After Making Dough
Dough can stick to blades and bowls, making cleaning difficult. Here’s how to clean your Ninja Blender:
- Remove Dough Immediately: Don’t let dough dry in the bowl.
- Disassemble Parts: Remove blade and bowl from the base.
- Soak in Warm Water: Fill the bowl with warm, soapy water and soak for 10-15 minutes.
- Use a Brush: Scrub blades gently to remove stuck dough.
- Rinse and Dry: Rinse all parts and dry before reassembling.
Common mistake: Waiting too long to clean can make dough stick harder, so clean right away.

Credit: www.youtube.com
Making Dough For Pizza: A Practical Example
Let’s use the Ninja Blender to make pizza dough. Here’s a step-by-step example:
Ingredients:
- 3 cups all-purpose flour
- 1 cup warm water
- 2 ¼ tsp active dry yeast
- 2 tbsp olive oil
- 1 tsp salt
- 1 tsp sugar
- 1 tsp dried oregano (optional)
Steps:
- Mix warm water, yeast, and sugar. Let it sit 5-10 minutes.
- Add flour, salt, and oregano to blender bowl.
- Pour yeast mixture and oil into bowl.
- Attach dough blade and pulse 10-20 seconds.
- Blend on low 30 seconds. Add more water if needed.
- Check texture. Dough should be elastic and soft.
- Remove dough, place in oiled bowl, and let rise 1-2 hours.
- Shape and bake as desired.
Estimated time: 15 minutes for mixing, 1-2 hours for rising, 15 minutes for baking.
Serving size: Makes 2 medium pizzas.
Ninja Blender Dough Vs. Hand Kneading: Comparison
Is making dough in a Ninja Blender really better than hand kneading? Let’s compare:
| Method | Time (Mixing/Kneading) | Effort | Consistency | Mess | Best For |
|---|---|---|---|---|---|
| Ninja Blender | 5-10 minutes | Low | Even | Less | Quick bread, pizza, cookies |
| Hand Kneading | 15-20 minutes | High | Can vary | More | Traditional bread, artisan dough |
Straight-to-the-point advice: For most home bakers, Ninja Blender saves time and gives reliable results. For special artisan breads, hand kneading is still preferred.
Troubleshooting: Fixing Common Dough Problems
Sometimes things go wrong. Here’s how to fix common dough issues:
- Dough too dry: Add water a tablespoon at a time, pulse to combine.
- Dough too wet: Add flour gradually, pulse to combine.
- Not rising: Check yeast freshness and water temperature.
- Sticky dough: Sprinkle flour on hands and surface when shaping.
Expert tip: Use instant yeast for faster results. If your dough doesn’t rise, try a warmer spot.
Safety Tips When Using Ninja Blender For Dough
Safety matters when using powerful appliances. Keep these tips in mind:
- Never open the lid while blending.
- Don’t overload the bowl or jar.
- Keep fingers away from blades.
- Unplug before cleaning or changing blades.
Calm expert reminder: The blender can get hot after heavy use. Let it cool before cleaning.
Storing Dough And Freshness Tips
After making dough, you may want to store it for later use. Here’s how:
- Short-term: Place dough in a lightly oiled bowl, cover, and refrigerate for up to 24 hours.
- Long-term: Freeze dough in airtight bags for up to 3 months.
- Thawing: Let frozen dough thaw at room temperature for 2-3 hours before shaping.
Practical advisor tip: Always label bags with date and type of dough. This avoids confusion.
Real-life Success: Ninja Blender Dough Stories
Many home cooks report success using Ninja Blenders for dough. For example, one user made pizza dough in under 10 minutes and said it was “the best homemade pizza crust ever. ” Another user baked cookies and noticed the dough was smoother than hand-mixed batches.
According to Ninja Kitchen Recipes, thousands of people use their blenders for dough, proving its versatility.
Non-obvious insight: Even professional chefs use blenders for dough when speed matters. This method is not just for beginners.
Frequently Asked Questions
Can I Make Gluten-free Dough In A Ninja Blender?
Yes, you can. Use gluten-free flour and adjust water as needed. Gluten-free doughs are often stickier. Pulse gently and avoid overmixing.
Do I Need To Buy A Special Blade For Dough?
For best results, use the dough blade. Some Ninja models include it, others don’t. You can try with the standard blade, but the texture may be less ideal.
How Long Should I Knead Dough In The Ninja Blender?
Usually, 1-2 minutes is enough. Use the pulse function and check the dough often. Overmixing can make the dough tough.
Can I Double The Recipe In My Ninja Blender?
It depends on your model. Don’t go above the maximum fill line. Overfilling can damage the motor and affect mixing.
Is Making Dough In A Ninja Blender Noisy?
Yes, it can be. Dough is heavier than liquids, so the blender works harder. Use lower speeds and pulse for less noise.
Making dough in a Ninja Blender is a smart way to save time and effort. With the right model and blade, you can mix and knead dough for bread, pizza, cookies, and more. Follow the steps, avoid common mistakes, and use practical tips for the best results.
Clean your blender right away to keep it working well. Whether you’re a beginner or experienced baker, using a Ninja Blender can make homemade dough easy and fun. Try it yourself and enjoy fresh, delicious baked goods from your own kitchen.

One Comment