How To Make Chocolate Ice Cream In A Ninja Blender: Easy Recipe
Chocolate ice cream is more than just a treat—it’s a memory maker. Whether you’re celebrating, relaxing, or just craving something sweet, making your own chocolate ice cream can turn a simple day into something special. Many people think you need expensive equipment or complex recipes, but you can make creamy, delicious chocolate ice cream with a Ninja blender and a few basic ingredients. This guide will show you how to create ice cream that rivals store-bought, with clear steps, helpful tips, and practical advice for beginners and experienced home cooks alike.
Why Use A Ninja Blender For Ice Cream?
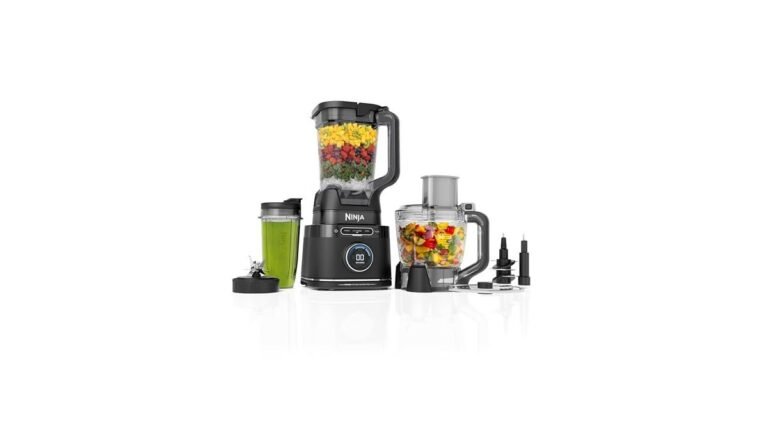
The Ninja blender is popular for its strong motor, sharp blades, and versatility. Unlike traditional ice cream machines, it blends ingredients quickly and evenly. You can make ice cream, smoothies, or frozen desserts in minutes, and clean-up is simple. The Ninja blender is also affordable compared to high-end machines, making it ideal for home kitchens.
Key Advantages Of Ninja Blender
- Speed: Blends ingredients in less than 5 minutes.
- Consistency: Creates smooth, creamy texture without chunks.
- Easy Clean-Up: Most parts are dishwasher-safe.
- Versatility: Also useful for soups, sauces, and smoothies.
If you’re new to using a Ninja blender, start with simple recipes like chocolate ice cream before trying more advanced desserts.
Ingredients For Homemade Chocolate Ice Cream
Before you start, gather your ingredients. The quality of your ingredients affects the final taste and texture. Here’s a classic recipe for chocolate ice cream made in a Ninja blender.
Basic Ingredients
- Heavy cream: 2 cups
- Whole milk: 1 cup
- Cocoa powder: ½ cup (unsweetened)
- Sugar: ¾ cup (granulated)
- Vanilla extract: 1 teaspoon
- Salt: ¼ teaspoon
- Chocolate chips or chunks (optional): ½ cup
Ingredient Tips
- For richer flavor, use Dutch-process cocoa instead of regular cocoa.
- If you want less sugar, reduce it by ¼ cup, but note the ice cream may be less creamy.
- Milk alternatives (like almond or oat milk) can be used, but they change the texture.
- Add-ins like chocolate chips or nuts should be mixed in at the end for best results.
Nutritional Comparison: Homemade Vs Store-bought
Here’s how homemade chocolate ice cream compares to typical store-bought options:
| Type | Calories (per ½ cup) | Sugar (g) | Fat (g) | Preservatives |
|---|---|---|---|---|
| Homemade (Ninja Blender) | 210 | 17 | 14 | No |
| Store-Bought | 240 | 21 | 16 | Yes |
Homemade ice cream lets you control ingredients, avoid preservatives, and adjust sweetness or fat to your taste.

Credit: www.sharkninja.com
Step-by-step Instructions: Making Chocolate Ice Cream In A Ninja Blender
Making chocolate ice cream is simple, but following the right steps ensures a creamy, smooth result. Here’s how to do it.
Step 1: Prepare Your Ingredients
Measure each ingredient accurately. Cold ingredients blend better and help keep the ice cream texture smooth. For best results, chill your heavy cream and milk in the refrigerator for at least an hour before starting.
Step 2: Add Ingredients To The Blender
Pour the heavy cream, milk, cocoa powder, sugar, vanilla extract, and salt into the Ninja blender. If you’re using chocolate chips or chunks, save them for later.
Step 3: Blend Until Smooth
Start blending on low speed for 20 seconds. Then increase to high speed for 1 minute. Stop and scrape down the sides if needed. You want a thick, creamy mixture without lumps.
Step 4: Taste And Adjust
Taste your mixture. If you want a richer chocolate flavor, add 1–2 tablespoons more cocoa powder or a splash of vanilla extract. Blend again for 20 seconds.
Step 5: Freeze The Mixture
Pour the blended mixture into a freezer-safe container. Cover tightly. Freeze for at least 4–6 hours, or overnight for best results. To avoid ice crystals, stir the mixture every hour for the first 3 hours.
Step 6: Add Mix-ins
After 2 hours in the freezer, stir in chocolate chips, nuts, or marshmallows if desired. Mixing at this stage keeps them evenly distributed and prevents sinking.
Step 7: Serve
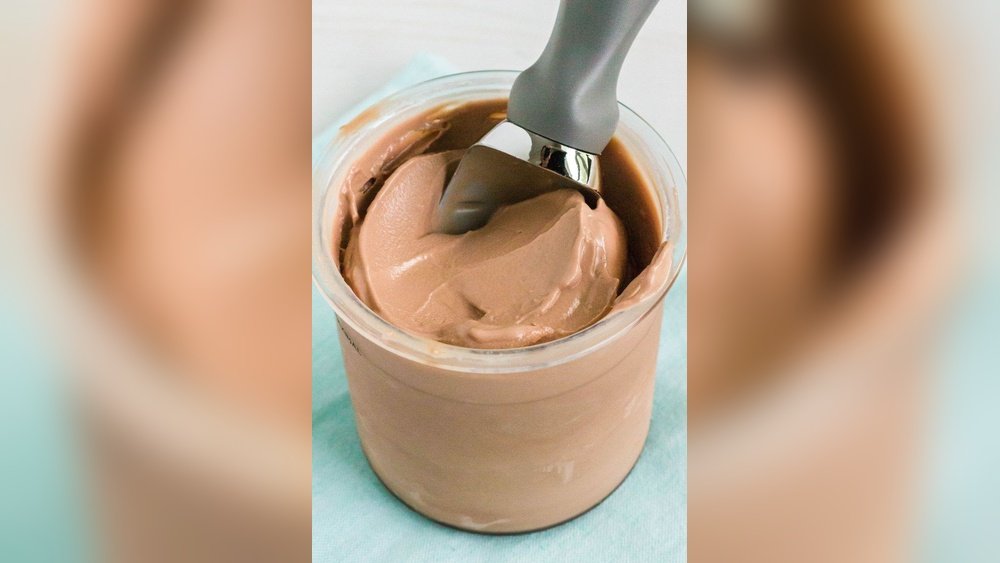
When the ice cream is firm, scoop and serve. Let it sit at room temperature for 5 minutes if it’s too hard to scoop.
Step 8: Storage
Store leftover ice cream in an airtight container. Homemade ice cream is best eaten within 2 weeks for optimal flavor and texture.
Common Mistakes And How To Avoid Them
Even with a good recipe, mistakes happen. Here’s what to watch for:
Mistake 1: Over-blending
Blending too long can warm up the mixture and cause ice crystals. Blend just until smooth.
Mistake 2: Using Warm Ingredients
Warm cream or milk leads to a grainy texture. Always use chilled ingredients.
Mistake 3: Wrong Sugar Type
Powdered sugar dissolves faster than granulated, but granulated gives a creamier texture. Avoid brown sugar—it adds unwanted flavor.
Mistake 4: Skipping The Hourly Stir
If you forget to stir during freezing, your ice cream may develop ice crystals. It’s worth the effort for smooth texture.
Mistake 5: Adding Mix-ins Too Early
Mix-ins blend best after the ice cream starts to set. If added too soon, they sink to the bottom.

Credit: itdoesnttastelikechicken.com
Advanced Tips For Better Chocolate Ice Cream
Once you master the basics, you can improve your ice cream with these tips:
Tip 1: Use Real Chocolate
Melt 3 oz of dark chocolate and blend it with the other ingredients for richer flavor. This adds depth and improves mouthfeel.
Tip 2: Try Different Flavors
Add a pinch of cinnamon, espresso powder, or orange zest to create unique variations. These flavors pair well with chocolate.
Tip 3: Adjust Fat Content
If you prefer lighter ice cream, use half-and-half instead of heavy cream. For extra richness, add 2 tablespoons of melted butter.
Tip 4: Alcohol For Softness
A tablespoon of vodka or coffee liqueur prevents ice cream from freezing too hard. The alcohol won’t affect taste but improves scoopability.
Tip 5: Dairy Alternatives
For vegan ice cream, use coconut cream and almond milk. Add 1 tablespoon of cornstarch to help thicken.
Troubleshooting: Fixing Texture And Taste Issues
Homemade ice cream sometimes turns out too hard, too soft, or grainy. Here’s how to fix common problems:
Problem: Ice Cream Too Hard
- Solution: Let it sit at room temperature for 10–15 minutes before scooping. Next time, add 1 tablespoon alcohol to the mix.
Problem: Ice Crystals
- Solution: Stir every hour during freezing. If crystals form, let ice cream thaw slightly, then re-blend and re-freeze.
Problem: Bland Flavor
- Solution: Increase cocoa powder or add melted chocolate. A pinch of salt can also enhance flavor.
Problem: Grainy Texture
- Solution: Blend longer, but avoid over-blending. Use only chilled ingredients and avoid substitutions like skim milk.
Problem: Not Creamy Enough
- Solution: Use more heavy cream. Avoid low-fat substitutes unless you prefer lighter texture.

Credit: laraclevenger.com
Ninja Blender Models: Which Is Best For Ice Cream?
Not all Ninja blenders are equal. Some models are better for ice cream because of their power and jar shape. Here’s a comparison of popular Ninja blenders:
| Model | Motor Power | Jar Size | Ice Cream Performance | Price Range |
|---|---|---|---|---|
| Ninja Professional (BL610) | 1000W | 72 oz | Excellent | $90–$110 |
| Ninja Foodi Power Pitcher | 1400W | 72 oz | Outstanding | $130–$160 |
| Ninja Compact (BL480) | 1000W | 24 oz | Good for small batches | $60–$80 |
| Ninja Nutri Pro | 900W | 24 oz | OK for single servings | $50–$70 |
For best results with ice cream, choose a model with at least 1000W motor power and a wide jar for easy mixing.
Serving Ideas: Making Chocolate Ice Cream Special
Chocolate ice cream is great on its own, but you can make it even better with creative serving ideas.
Classic Pairings
- Whipped cream and chocolate syrup
- Fresh berries like strawberries or raspberries
- Chopped nuts for crunch
Fun Presentation
- Serve in waffle cones or edible bowls.
- Top with mini marshmallows or crushed cookies.
- Make ice cream sandwiches using chocolate chip cookies.
Example: Ice Cream Sundae
Scoop chocolate ice cream into a bowl. Add whipped cream, chocolate sauce, a cherry, and sprinkles. This classic sundae is perfect for parties or family gatherings.
Cleaning Your Ninja Blender After Making Ice Cream
Cleaning up is easy, but a few tips help keep your blender fresh and odor-free:
- Rinse the jar immediately after use to prevent sticky residue.
- Add warm water and a drop of dish soap, then blend for 30 seconds.
- Rinse and dry all parts, including blades and lid.
- For tough stains, use a mixture of baking soda and water.
Most Ninja blender jars and blades are dishwasher-safe. Always check your model’s manual for instructions.
Health Benefits And Drawbacks Of Homemade Chocolate Ice Cream
Eating chocolate ice cream is enjoyable, but it’s important to understand the health aspects.
Benefits
- Control over ingredients: Avoid artificial flavors and preservatives.
- Portion management: Make smaller batches to limit overeating.
- Customization: Adjust sugar or fat for dietary needs.
Drawbacks
- High in calories: Cream and sugar add up quickly.
- Fat content: Heavy cream increases saturated fat.
- Allergens: Contains dairy, which may not suit all diets.
For balanced eating, enjoy ice cream in moderation and experiment with healthier substitutions.
Comparing Ninja Blender Ice Cream To Traditional Methods
How does Ninja blender ice cream compare to traditional ice cream makers? Here’s a side-by-side look:
| Method | Preparation Time | Texture | Ease of Use | Cost |
|---|---|---|---|---|
| Ninja Blender | 10 minutes (plus freezing) | Creamy, slightly denser | Very easy | Low |
| Traditional Ice Cream Maker | 20–30 minutes (plus freezing) | Very creamy, lighter | Moderate | Medium–High |
The Ninja blender is ideal for quick, small-batch ice cream without fuss. Traditional makers may produce lighter texture but require more time and cost.
Real-world Example: Making Chocolate Ice Cream For A Family Gathering
Imagine you’re hosting a family dinner and want to serve homemade chocolate ice cream. With the Ninja blender, you can prepare ice cream in advance and add mix-ins like marshmallows or nuts for variety. Kids can help stir or choose toppings.
The dessert becomes a shared experience, not just a meal.
A beginner might miss how important ingredient quality is. Using fresh cream and good cocoa powder makes a big difference. Another insight: ice cream doesn’t need to be perfect—slightly different textures or flavors can actually make it more interesting.
Frequently Asked Questions
How Long Does Homemade Chocolate Ice Cream Last?
Homemade chocolate ice cream keeps well for up to 2 weeks in the freezer. After that, texture may change and flavors fade. Use airtight containers and avoid repeated thawing and refreezing.
Can I Make Chocolate Ice Cream Without Dairy?
Yes, you can use coconut cream and almond milk as substitutes. Add 1 tablespoon cornstarch to help thicken. The taste will be slightly different, but still delicious.
What If My Ninja Blender Isn’t Strong Enough?
If your blender struggles, blend in shorter bursts and scrape down the sides. Avoid overfilling and start with smaller batches. Some older models may not handle thick mixtures, so consider upgrading if ice cream is a regular treat.
Is It Safe To Add Raw Eggs For Extra Richness?
Raw eggs are sometimes used in traditional recipes for richness, but they can carry risks. If you want extra creaminess, use pasteurized eggs or try melted chocolate, extra cream, or a tablespoon of alcohol instead.
Where Can I Find More Recipes For Ninja Blender Desserts?
There are many resources online and in cookbooks. One trusted source is Ninja Kitchen Recipes, which offers a variety of blender-friendly desserts, including ice cream and smoothies.
Chocolate ice cream made in a Ninja blender is simple, fast, and customizable. Whether you stick to the classic recipe or experiment with mix-ins and flavors, you’ll create a dessert that’s both delicious and memorable. With the right ingredients, careful steps, and a few expert tips, your homemade ice cream will impress family and friends.
Enjoy the process—and your sweet reward!