How To Make A Chocolate Milkshake In A Ninja Blender: Easy Recipe
A chocolate milkshake is more than just a sweet treat—it’s a classic comfort drink that brings back childhood memories and delivers pure satisfaction in every sip. If you have a Ninja blender, you can make a chocolate milkshake at home that tastes better than most diners or fast food spots. With the right ingredients and a few helpful techniques, you’ll get a thick, creamy, and rich milkshake every time. Whether you want a basic recipe or plan to add your own twist, this guide will show you everything you need to know. You’ll learn not only how to mix the perfect milkshake, but also how to adjust for taste, texture, and nutrition.
Why Use A Ninja Blender For Chocolate Milkshakes?
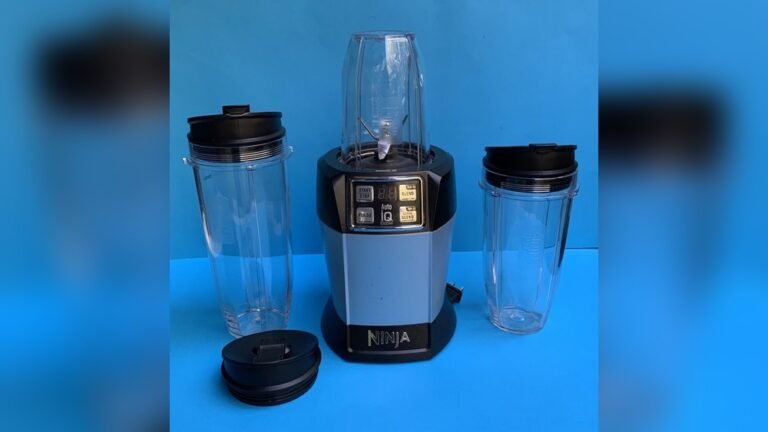
Many people ask why a Ninja blender is ideal for milkshakes. The answer is simple: Ninja blenders are known for their strong motors and sharp blades. These features help crush ice, blend frozen ingredients, and mix thick shakes without struggle. Unlike traditional blenders, Ninja machines can handle harder ingredients, which means you can use both ice and frozen ice cream without worrying about damage or poor mixing. This power also lets you blend quickly, so your milkshake stays cold and smooth.
Key Benefits Of Ninja Blenders
- Consistent texture: No chunks or uneven blending.
- Fast processing: Less time, colder shake.
- Easy cleaning: Most Ninja jars are dishwasher-safe.
- Versatile: Works for other recipes like smoothies, soups, and sauces.
A Ninja blender also gives you more control over thickness and ingredients, making it perfect for custom milkshakes.
Ingredients: What You Really Need
Choosing the right ingredients makes a huge difference in your milkshake’s taste and texture. You don’t need many items, but quality matters. Here’s a classic chocolate milkshake recipe for a single serving. You can double or triple the recipe for more servings.
Classic Chocolate Milkshake Ingredients
- Chocolate ice cream – 2 cups (about 3–4 scoops)
- Whole milk – ½ cup (or more for thinner shakes)
- Chocolate syrup – 2 tablespoons
- Vanilla extract – ½ teaspoon
- Ice cubes – 3–4 (optional, for extra thickness)
- Whipped cream – For topping (optional)
- Chocolate chips or shavings – For garnish (optional)
Ingredient Tips
- Ice cream: Full-fat, creamy chocolate ice cream gives the best results. Avoid low-fat types unless you want a lighter shake.
- Milk: Whole milk adds richness. You can use skim or almond milk for fewer calories, but the shake will be less creamy.
- Chocolate syrup: Choose a quality brand, or make your own with cocoa powder and sugar.
- Vanilla extract: This adds depth and balances chocolate flavor.
- Ice cubes: Only use if you want thicker, colder shakes. Too many will dilute flavor.
Step-by-step Guide: Making A Chocolate Milkshake In A Ninja Blender
Follow these steps for a classic chocolate milkshake. Adjust based on your preferences.
1. Prepare Your Blender
Make sure your Ninja blender is clean and dry. Attach the pitcher or cup correctly. For single servings, the smaller cup is easier.
2. Add Ice Cream
Place the chocolate ice cream into the blender first. This helps protect the blades and ensures a smooth start.
3. Pour In Milk
Add the whole milk. If you prefer a thicker shake, start with less milk. You can always add more later.
4. Add Chocolate Syrup And Vanilla
Pour in the chocolate syrup and vanilla extract. These enhance flavor and sweetness.
5. Add Ice Cubes (optional)
For a colder, thicker shake, add ice cubes. Start with 2–3. If you want your shake thin, skip this step.
6. Blend
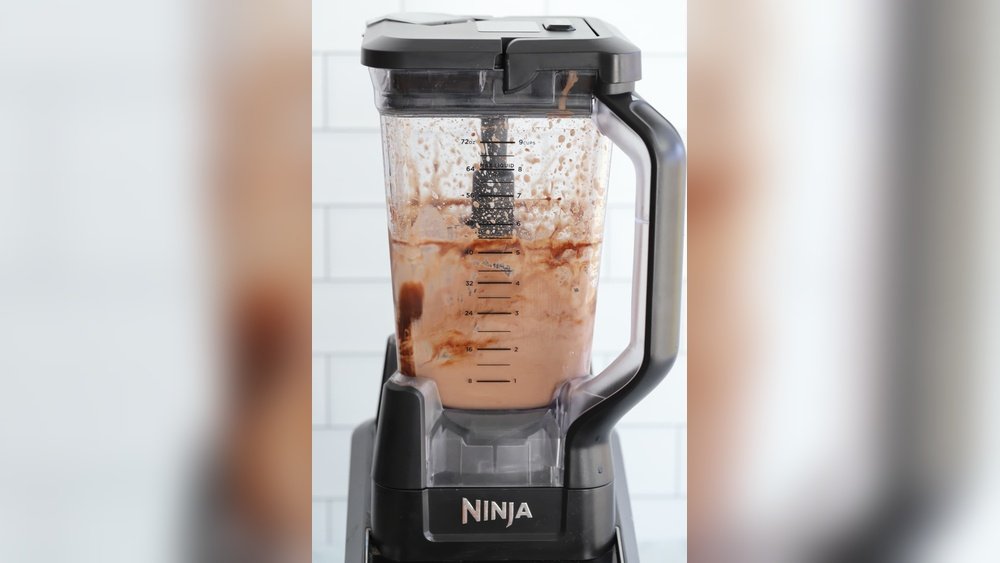
Secure the lid tightly. Use the “Milkshake” or “Smoothie” setting if your Ninja blender has one. If not, start on low, then increase to high for 30–45 seconds. Stop and check the texture. If the shake is too thick, add more milk and blend again.
7. Taste And Adjust
Sample your milkshake. If you want more chocolate flavor, add a bit more syrup. For extra sweetness, try a teaspoon of sugar.
8. Serve
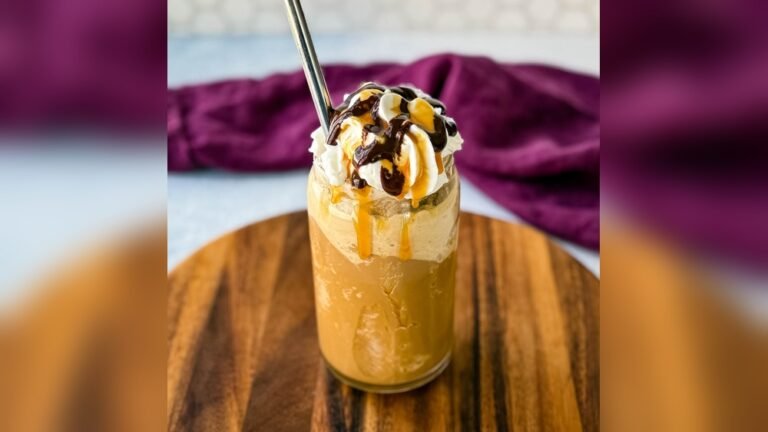
Pour the milkshake into a tall glass. Top with whipped cream and chocolate chips or shavings if desired.
9. Clean The Blender
Rinse the jar immediately, or use the Ninja’s self-cleaning function if available.
Customizing Your Chocolate Milkshake
A classic milkshake is delicious, but you can make it your own. Here are ways to adjust and add flavors, textures, and nutrition.
Healthier Variations
- Use skim or almond milk for fewer calories.
- Swap chocolate ice cream for frozen yogurt.
- Add protein powder for extra nutrition.
- Reduce chocolate syrup to lower sugar.
Flavor Additions
- Peanut butter: Add 1 tablespoon for a nutty twist.
- Banana: Blend in half a ripe banana for creaminess.
- Espresso: Add a shot for a mocha flavor.
- Mint extract: ¼ teaspoon for a cool finish.
Texture Changes
- Cookie pieces: Blend in 2–3 crushed chocolate cookies.
- Brownie chunks: Add small pieces for a richer shake.
- Marshmallows: Blend or use as topping for extra sweetness.
Vegan Options
- Vegan chocolate ice cream
- Oat, soy, or almond milk
- Dairy-free chocolate syrup
Allergy-friendly Adjustments
- Nut-free chocolate syrup
- Gluten-free cookies or brownies
- Lactose-free milk
Some ingredients may change the blending time. Start with less, taste, and adjust.
Comparing Ninja Blender Models For Milkshakes
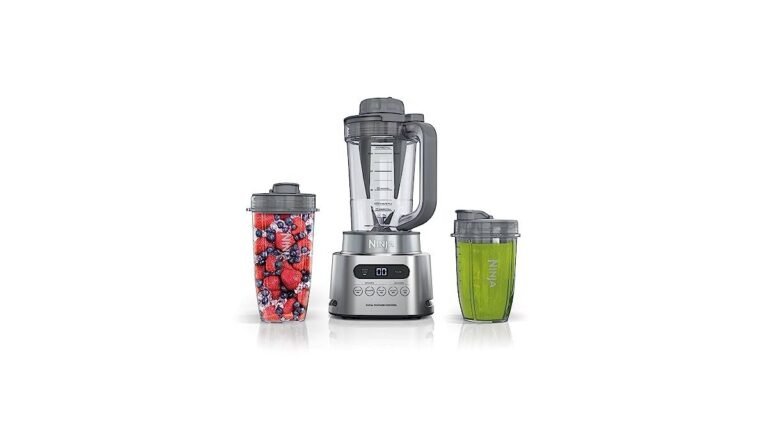
Not all Ninja blenders are the same. Here’s a comparison of three popular models for milkshakes:
| Model | Motor Power | Jar Size | Best Features | Milkshake Score |
|---|---|---|---|---|
| Ninja Professional BL610 | 1000 Watts | 72 oz | Large capacity, strong blades | 9/10 |
| Ninja Nutri Pro BL456 | 900 Watts | 24 oz | Compact, single serve | 8/10 |
| Ninja Foodi Power Pitcher | 1400 Watts | 72 oz | Powerful, versatile presets | 10/10 |
If you make milkshakes often, choose a model with a strong motor and large jar. For single servings, smaller cups work well.
Texture, Thickness, And Serving Tips
Milkshake texture is personal. Some people like thin, drinkable shakes, while others want thick, spoon-worthy shakes. Here’s how to control thickness:
Thickness Guide
- For thin shakes: Use more milk, less ice cream, skip ice cubes.
- For thick shakes: Use less milk, more ice cream, add ice cubes or frozen ingredients.
| Texture | Milk Amount | Ice Cream Amount | Other Additions |
|---|---|---|---|
| Thin | 3/4 cup | 1.5 cups | No ice cubes |
| Medium | 1/2 cup | 2 cups | 2 ice cubes |
| Thick | 1/4 cup | 2.5 cups | 3–4 ice cubes |
Serving Tips
- Chill your glass before pouring for extra coldness.
- Add toppings right before serving for fresh look.
- Use a wide straw for thick shakes.
Credit: www.infinibandta.org
Common Mistakes And How To Avoid Them
Even simple recipes can go wrong. Here are frequent mistakes and ways to fix them:
- Using too much milk: Makes the shake watery. Start with less, add more if needed.
- Blending too long: Causes the shake to warm and melt. Blend only until smooth.
- Adding ice cream last: This can block blades. Always add ice cream first.
- Not tasting before serving: You may need more chocolate or sweetness.
- Skipping the lid check: Always secure the lid to avoid spills.
Non-obvious Insights
- Blend in short bursts: This keeps the shake cold and gives better texture.
- Let ice cream soften slightly: It blends easier and reduces blender stress.
Many beginners forget these tips, but they make a big difference in results.
Nutrition Facts: Classic Vs. Healthy Chocolate Milkshake
Here’s a comparison of nutrition for a classic and healthy chocolate milkshake (single serving):
| Type | Calories | Fat (g) | Sugar (g) | Protein (g) |
|---|---|---|---|---|
| Classic | 420 | 18 | 42 | 8 |
| Healthy | 280 | 6 | 24 | 14 |
To make your milkshake healthier, use low-fat milk, frozen yogurt, and less syrup. Add protein powder if needed.
The Science Behind A Good Milkshake
Milkshake texture is not only about ingredients but also about blending technique. When you blend ice cream, milk, and syrup, you create a mixture of fat, sugar, and air. The right balance gives a creamy, thick drink. If you use too much milk, the shake becomes thin. If you use too little milk, the blender may struggle, and the shake turns chunky.
Temperature Matters
Colder ingredients make a thicker shake. If your ice cream is too soft, your shake will be runny. Keep ice cream frozen until ready to blend.
Air And Emulsification
Blending introduces air, which helps the shake feel light and creamy. Blending in bursts lets air mix better without melting the ice cream.
Making Chocolate Milkshakes For A Crowd
If you want to make milkshakes for several people, use a large Ninja blender jar and multiply the recipe. Here’s how to adjust:
- For 4 servings: Use 8 cups ice cream, 2 cups milk, 8 tablespoons syrup.
- Blend in two batches if your jar is smaller than 72 oz.
Serving milkshakes quickly is important. The longer they sit, the more they melt.
Advanced Tips For Perfect Milkshakes Every Time
A few expert tricks can help your milkshake stand out:
- Add a pinch of salt: This boosts chocolate flavor without making the shake salty.
- Blend dry ingredients first: If you add cookies or brownies, blend them before adding ice cream.
- Use chilled milk: Cold milk keeps the shake thick.
- Try homemade chocolate syrup: Mix 2 tablespoons cocoa powder, 1 tablespoon sugar, and 2 tablespoons water.
Some people also like to add a spoon of malt powder for a classic diner taste.
Cleaning Your Ninja Blender After Making Milkshakes
Milkshakes can leave residue in your blender. For easy cleaning:
- Rinse the jar right away.
- Fill with warm water and a drop of dish soap.
- Blend for 20 seconds.
- Rinse and dry.
Most Ninja blender jars are dishwasher-safe, but hand-washing keeps blades sharp longer.

Credit: idreamoficecream.com
Troubleshooting: Fixing Common Chocolate Milkshake Problems
If your milkshake isn’t perfect, here’s how to fix the most common issues:
- Too thin: Add more ice cream or a few ice cubes, blend again.
- Too thick: Add a splash of milk, blend briefly.
- Not chocolatey enough: Add more syrup or a tablespoon of cocoa powder.
- Blender won’t blend: Use smaller ice cream scoops and start on low speed.
These fixes work for most Ninja blender models.
Storage And Make-ahead Options
Milkshakes are best served fresh, but you can store leftovers:
- Short-term: Store in the fridge for up to 1 hour. Shake before serving.
- Long-term: Freeze in an airtight container. Thaw in the fridge, then blend briefly to restore texture.
Milkshakes lose thickness and flavor over time. If you plan to serve later, freeze in portions and blend again before drinking.

Credit: www.infinibandta.org
Where To Find More Chocolate Milkshake Ideas
If you want new recipes or advanced tips, check out the official Ninja Kitchen site: Ninja Kitchen. They offer guides, recipes, and blender care tips.
Frequently Asked Questions
How Do I Make A Chocolate Milkshake Thicker In A Ninja Blender?
Use less milk and more ice cream. Add ice cubes or frozen ingredients. Blend in short bursts to keep the shake cold and thick.
Can I Use Cocoa Powder Instead Of Chocolate Syrup?
Yes. Mix 1 tablespoon cocoa powder with 1 tablespoon sugar and 2 tablespoons milk. Add this to your blender for a strong chocolate flavor.
What Is The Best Ninja Blender Setting For Milkshakes?
Use the Milkshake or Smoothie preset. If your model doesn’t have these, start on low speed and switch to high for 30–45 seconds.
How Do I Make A Dairy-free Chocolate Milkshake?
Use dairy-free chocolate ice cream and plant-based milk (like almond or oat). Make sure your chocolate syrup is also dairy-free.
Can I Add Protein Powder To My Chocolate Milkshake?
Yes. Add 1 scoop protein powder before blending. Adjust milk quantity if the shake becomes too thick.
Making a chocolate milkshake in a Ninja blender is easy, fun, and lets you control every detail. With the right ingredients and a few tricks, you’ll create milkshakes that rival any restaurant—rich, creamy, and bursting with chocolate flavor. Whether you want a classic treat or a healthy version, your Ninja blender is the perfect tool.
Try different recipes, adjust for taste, and enjoy your delicious chocolate milkshake at home anytime.