How To Sharpen Ninja Blender Blades for Effortless Blending
If you own a Ninja blender, you know how useful it is for making smoothies, soups, and sauces. But after months of blending ice, nuts, and tough veggies, you might notice your blender isn’t working as well. The blades don’t cut as smoothly, and blending takes longer. Many people believe they need to buy a new blender or replacement blades, but you don’t always have to. Sharpening the Ninja blender blades can bring your blender back to life. It’s a task you can do at home with basic tools and the right knowledge. This guide will show you how to sharpen Ninja blender blades safely and effectively. You’ll learn step-by-step instructions, what tools to use, common mistakes to avoid, and tips for keeping your blades sharp for longer.
Why Sharpen Ninja Blender Blades?
Blender blades are made from stainless steel, which is strong but not immune to wear. Over time, blades become dull from regular use, especially if you blend hard ingredients like ice, frozen fruit, or nuts. Dull blades can cause several problems:
- Blending takes longer
- Ingredients aren’t cut as finely
- The motor has to work harder, which can cause overheating
- You might notice uneven textures in smoothies or soups
Sharpening your Ninja blender blades restores their performance. It’s a cost-effective way to improve your blender without buying new parts. Many users are surprised at how much better their blender works after sharpening.
Real Data: Blade Lifespan
According to manufacturer data, blender blades can last 2–3 years with normal use, but heavy use can dull blades in as little as 6 months. Sharpening extends their lifespan, saving $20–$50 per replacement.
How Ninja Blender Blades Work
Before sharpening, it’s helpful to understand how Ninja blender blades are designed. Ninja blenders use a unique stacking blade system. Most models have:
- Multiple blades attached to a central column
- Some blades angled upward, others downward
- Blades are made of stainless steel and have serrated edges
This design creates a powerful vortex, pulling food down and chopping it from all sides. Unlike traditional flat blades, Ninja blades are more complex, so sharpening needs extra care.

Credit: riseandblend.com
Signs Your Ninja Blender Blades Need Sharpening
Not sure if your blades are dull? Here are clear signs:
- Longer blending times – It takes more time to get smooth results.
- Chunky or uneven blends – You see unblended pieces in your drinks.
- Motor struggles – The blender seems to strain or make louder noises.
- Visible nicks or dull edges – Inspect blades for wear or smoothness.
- Need to pulse more often – You have to use the pulse function repeatedly.
If you notice two or more of these signs, it’s time to sharpen your blades.
Safety Precautions Before Sharpening
Sharpening blender blades is not dangerous if you follow some basic safety steps. Here’s what to do:
- Unplug the blender before removing parts.
- Wear cut-resistant gloves to protect your hands.
- Work in a well-lit area.
- Keep children and pets away.
- Use the right tools for the job.
Never attempt to sharpen blades while they are attached to the blender. Always remove them first.
Tools You Need For Sharpening Ninja Blender Blades
You don’t need expensive gear. Most sharpening can be done with simple tools:
- Small file or sharpening stone – For manual sharpening.
- Dremel rotary tool (optional) – For faster sharpening, but requires experience.
- Cut-resistant gloves – Essential for safety.
- Soft cloth – For cleaning blades.
- Dish soap and water – For cleaning before and after sharpening.
- Screwdriver (if needed) – To remove blade assembly.
For most users, a small file or sharpening stone is enough. A Dremel tool can save time but needs careful handling.
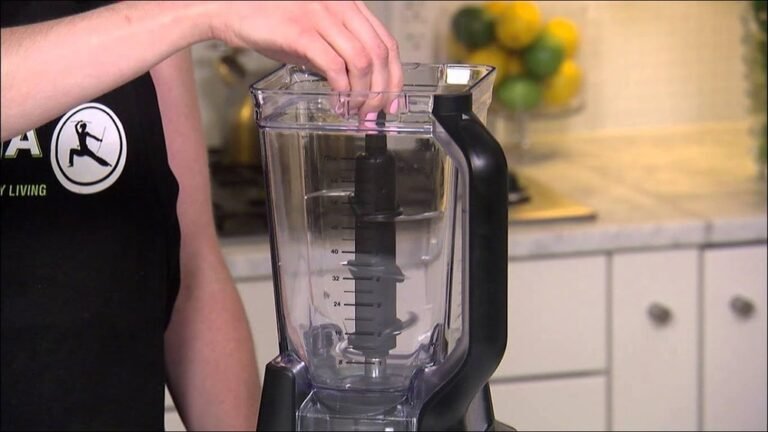
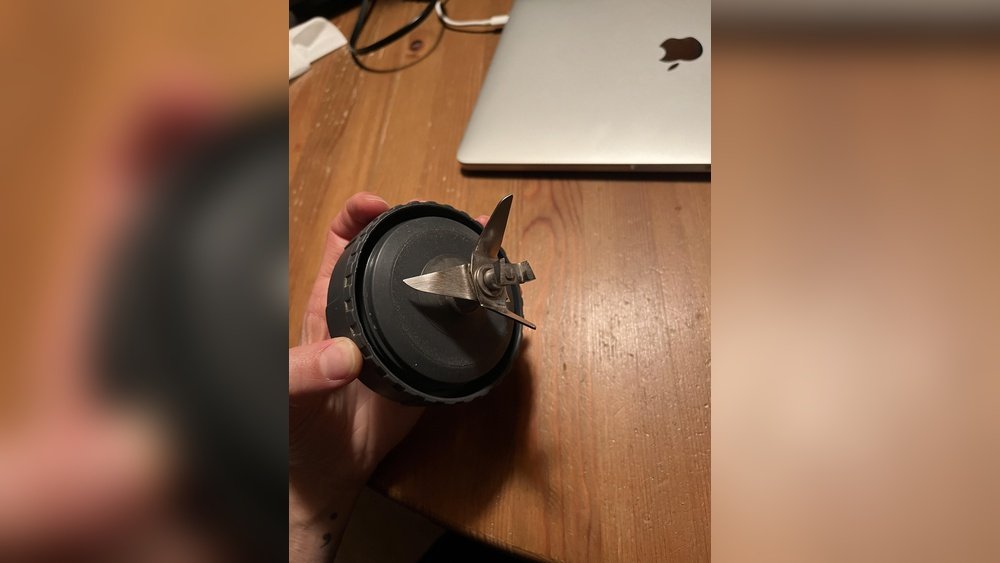
How To Remove Ninja Blender Blades
To sharpen blades, you must remove them from the blender jug. Here’s how:
- Unplug the blender.
- Remove the jug from the base.
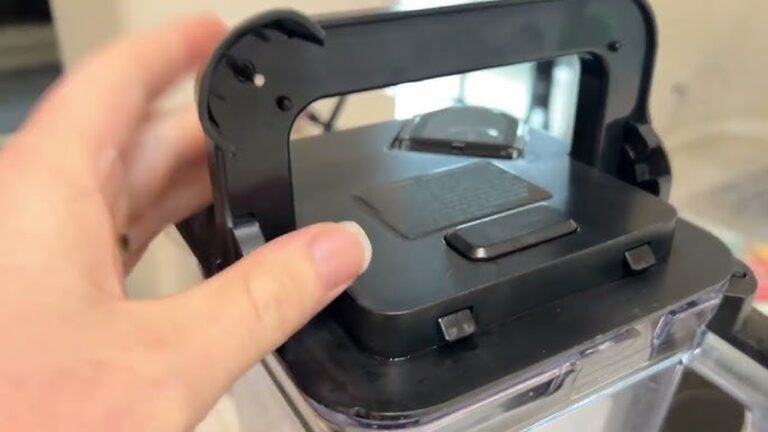
- Take out the blade assembly – Most Ninja blenders have a central column that lifts out.
- If the blade is stuck, check for a locking mechanism or use a screwdriver.
- Clean blades with soap and water. Dry thoroughly.
Never try to sharpen blades while they’re still in the jug. Removing them is safer and lets you sharpen all edges evenly.
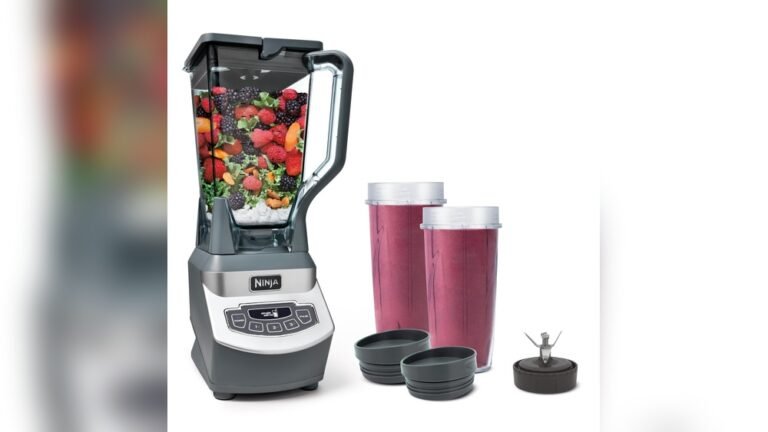
Example: Ninja Professional Blender
On the Ninja Professional Blender, the blade assembly lifts out easily. Some models have a locking ring underneath. If so, turn it counterclockwise to remove.
Step-by-step: How To Sharpen Ninja Blender Blades
Sharpening Ninja blender blades is not complicated, but patience and precision matter. Here’s a step-by-step guide:
Step 1: Inspect The Blades
Look for signs of wear, nicks, or dullness. Use a flashlight if needed. Identify which edges need sharpening.
Step 2: Prepare Your Workspace
Wear cut-resistant gloves. Place the blade assembly on a stable surface, like a cutting board or towel.
Step 3: Clean The Blades
Wash blades in warm soapy water. Remove any stuck food or debris. Dry completely.
Step 4: Choose Your Sharpening Tool
A small file is best for manual sharpening. If you have a sharpening stone, wet it slightly.
Step 5: Sharpen Each Blade Edge
- Hold the blade firmly.
- Run the file or stone along the cutting edge at a 20–30 degree angle.
- Use gentle, even strokes. Sharpen only the angled side.
- Repeat 3–5 times per edge, depending on dullness.
- For serrated edges, use a round file.
Step 6: Check Your Progress
After sharpening, inspect the edge. It should look shiny and sharp. Run your finger gently (from the back side) to check for sharpness.
Step 7: Clean Again
Wipe blades with a soft cloth. Wash in warm water to remove any metal filings.
Step 8: Reassemble
Place the blades back into the jug. Make sure the assembly is locked in place.
Step 9: Test Your Blender
Blend a small amount of water or soft fruit. Check for improved performance.
Sharpening Ninja Blender Blades With A Dremel Tool
Some users prefer using a Dremel rotary tool for faster sharpening. This method is faster, but only recommended for experienced users.
- Attach a grinding stone bit to the Dremel.
- Set to low speed.
- Hold the blade securely and gently grind the edge at a 20–30 degree angle.
- Move evenly across the edge.
- Avoid overheating the blade.
Always wear safety goggles if using a Dremel tool.
Comparing Sharpening Methods
There are three main ways to sharpen Ninja blender blades: manual file, sharpening stone, and rotary tool. Here’s a comparison:
| Method | Skill Needed | Time Required | Risk | Cost |
|---|---|---|---|---|
| Manual File | Beginner | 10–20 mins | Low | $5–$10 |
| Sharpening Stone | Beginner | 15–30 mins | Low | $10–$20 |
| Dremel Tool | Advanced | 5–10 mins | Medium | $30–$50 |
Manual file and sharpening stone methods are safest for most users.
Common Mistakes To Avoid
Many people make errors when sharpening blender blades. Avoid these mistakes:
- Sharpening the wrong side – Only sharpen the angled cutting edge.
- Using too much force – Gentle strokes are better.
- Over-sharpening – Too much sharpening can weaken the blade.
- Skipping cleaning – Metal filings can contaminate food.
- Not wearing gloves – Cuts are common when handling sharp blades.
One non-obvious mistake is using a magnetic sharpening tool. This can magnetize the blade, causing food particles to stick.
How Often Should You Sharpen Ninja Blender Blades?
Frequency depends on use:
- Light use (1–2 times per week): Sharpen every 12–18 months.
- Moderate use (3–5 times per week): Sharpen every 6–9 months.
- Heavy use (daily): Sharpen every 3–6 months.
If you blend ice often, blades will dull faster. Always check blade sharpness before blending tough ingredients.
Signs You Need To Replace Blender Blades Instead
Sharpening works well for mild to moderate dullness. But sometimes, blades need replacing. Here are signs:
- Large cracks or chips in the blade.
- Blade is bent or warped.
- Severe rust that doesn’t clean off.
- Blade assembly doesn’t lock securely.
If you see these signs, sharpening won’t help. Replacement blades cost $20–$50. Some models require full assembly replacement.

Credit: www.youtube.com
How To Keep Ninja Blender Blades Sharp Longer
Sharpening is only part of the solution. You can keep blades sharp longer by following these tips:
1. Avoid Overloading
Don’t fill the jug beyond the max fill line. Too much pressure makes blades dull faster.
2. Cut Ingredients Smaller
Pre-cutting hard ingredients (like carrots or apples) reduces stress on blades.
3. Use The Pulse Function
Pulse tough foods instead of continuous blending. This reduces heat and blade wear.
4. Clean Immediately After Use
Rinse blades after blending sticky foods. Avoid letting food dry on the blades.
5. Don’t Blend Hard Objects
Never blend bones, seeds, or frozen blocks that are too big. These can damage blades.
Real Example: Ninja Blender Blade Sharpening
A user on a popular kitchen forum described sharpening their Ninja blender after two years of heavy use. They used a small file and spent 20 minutes sharpening all edges. The result was a 50% improvement in blending speed and smoother smoothies. They avoided buying a new blade assembly, saving $30.
Comparing Ninja Blender Blade Lifespan: Sharpened Vs. Unsharpened
Sharpening can extend the blade’s useful life. Here’s a comparison:
| Blade Type | Average Lifespan | Performance | Cost Over 3 Years |
|---|---|---|---|
| Unsharpened (replaced) | 1–2 years | Consistent | $40–$100 |
| Sharpened (maintained) | 3–5 years | Improved | $10–$30 |
Sharpening saves money and keeps performance high.
Blade Sharpening Vs. Buying Replacement Blades
Some people wonder if it’s better to sharpen or replace blades. Here’s a summary:
- Sharpening is cheaper, faster, and sustainable.
- Replacement is needed for severe damage.
- Sharpening is best for regular maintenance.
- Replacing is needed if blades are broken, bent, or heavily rusted.
If you’re unsure, sharpen first. If performance doesn’t improve, consider replacement.
Professional Sharpening Services
Some kitchen stores and hardware shops offer professional blade sharpening. Typical costs are $10–$15 per blade assembly. Services use specialized machines for perfect angles. If you’re not comfortable sharpening at home, this is a safe option.
Professional sharpening often takes 24–48 hours. If you use your blender daily, plan ahead.
Sharpening Other Blender Brands
While this guide focuses on Ninja blenders, the same principles apply to other brands. Most blender blades are stainless steel and can be sharpened with files or stones. However, Ninja’s stacked blade system is unique, so always check your model before sharpening.
Environmental Benefits Of Sharpening
Sharpening blender blades is not only good for your wallet. It’s also better for the environment. Every year, millions of blender blades are thrown away, adding to landfill waste. By sharpening and maintaining blades, you reduce waste and save resources.
Sharpening Ninja Blender Blades: Frequently Missed Insights
Many beginners miss these points:
- Serrated blade edges need special attention. Use a round file for serrations, not a flat file.
- Blade balance matters. Sharpen evenly to avoid imbalance, which can cause vibration.
- Lubricate the assembly after sharpening. A drop of food-safe oil can reduce friction.
Data: Blender Blade Replacement Vs. Sharpening Costs
Here’s a comparison of typical costs:
| Action | Cost | Time | Impact |
|---|---|---|---|
| Sharpening at home | $5–$15 | 15–30 mins | Improves performance |
| Professional sharpening | $10–$20 | 24–48 hrs | Restores blade |
| Replacement blade | $20–$50 | 1–7 days shipping | New blade |
Sharpening is the most cost-effective option.
Where To Find Sharpening Tools
You can buy sharpening files and stones at hardware stores, kitchen supply shops, or online. Look for diamond-coated files for better results. Avoid cheap files that wear out quickly. For Dremel tools, buy official attachments for safe sharpening.
How To Store Blender Blades Safely
If you remove blades often, store them safely:
- Wrap blades in a towel or cloth.
- Keep in a drawer away from children.
- Avoid stacking with other metal objects.
Safe storage prevents accidents and keeps blades from dulling.
Cleaning After Sharpening: Why It Matters
Metal filings from sharpening are tiny and can contaminate food. Always wash blades thoroughly after sharpening. Use a toothbrush to scrub hard-to-reach areas. Dry completely before reassembling.
Troubleshooting: If Blades Still Don’t Blend Well
If you’ve sharpened your blades and blending performance is still poor, check:
- Blade assembly – Is it locked tightly?
- Motor – Is it running at full speed?
- Jug – Is it cracked or warped?
- Ingredients – Are they too hard or frozen?
Sometimes, the problem is not the blades but the motor or jug. Inspect all parts before blaming the blades.
Ninja Blender Blade Sharpening: Step-by-step Recap
For quick reference, here’s a summary:
- Unplug blender.
- Remove jug and blade assembly.
- Clean blades.
- Wear gloves.
- Use a file/stone at 20–30 degree angle.
- Sharpen each edge.
- Clean again.
- Reassemble.
- Test performance.
Repeat every 6–12 months for best results.
Expert Tips For Sharpening Ninja Blender Blades
- Use gentle strokes – Avoid aggressive sharpening.
- Sharpen evenly – Balance matters.
- Clean after each use – Prevent buildup.
- Store blades safely – Avoid dulling.
For more information on blade sharpening, you can read Wikipedia’s guide to sharpening.
Frequently Asked Questions
How Do I Know If My Ninja Blender Blades Are Sharp Enough?
Sharp blades should cut through fruit and ice easily, with no chunks left behind. If blending takes longer or ingredients aren’t fully blended, blades are likely dull.
Can I Sharpen Ninja Blender Blades Without Removing Them?
No. Always remove the blade assembly before sharpening. Sharpening inside the jug is unsafe and less effective.
What’s The Best Tool For Sharpening Ninja Blender Blades?
A small diamond-coated file or sharpening stone works best. For serrated edges, use a round file.
How Long Does Sharpening Take?
Manual sharpening takes about 15–30 minutes. Using a Dremel tool takes 5–10 minutes but needs skill.
Should I Replace Or Sharpen My Blades?
Sharpen if blades are dull or slightly worn. Replace if blades are cracked, bent, or heavily rusted.
Keeping your Ninja blender blades sharp is one of the simplest ways to improve kitchen performance. With the right tools and a little time, you can sharpen your blades and enjoy smoother blends, faster results, and longer blade lifespan. This guide gives you everything you need to sharpen Ninja blender blades safely and effectively.
Remember, regular maintenance saves money and keeps your blender running like new.

Credit: www.youtube.com