How To Make A Milkshake In A Ninja Blender: Easy Steps & Tips
There’s something special about a milkshake. It’s cold, creamy, and brings back memories of summer or old diners. But making a milkshake at home isn’t always easy—especially if you want that thick, smooth texture and strong flavor. Many people use regular blenders, but the Ninja Blender stands out for its power and consistency. If you’ve ever wondered how to make a milkshake in a Ninja Blender, you’re in the right place. This guide will walk you through every step, offer expert tips, and help you avoid common mistakes. Whether you’re craving chocolate, vanilla, or a fruity blend, you’ll soon master the art of homemade milkshakes.
Why Choose A Ninja Blender For Milkshakes?
The Ninja Blender is popular for a reason. It’s powerful, reliable, and can handle tough ingredients like ice or frozen fruit. Unlike many standard blenders, Ninja models are designed with multiple blades and strong motors. This makes them ideal for making milkshakes that are thick, smooth, and free from lumps.
Key Benefits
- Consistent texture: Ninja blenders break down ice cream and mix-ins evenly.
- Speed: They blend milkshakes in seconds, saving time.
- Versatility: You can use them for other recipes, from smoothies to soups.
- Easy cleaning: Most parts are dishwasher safe.
If you’re serious about milkshakes, a Ninja Blender is a smart investment. It’s the difference between a watery shake and something you’d get in a diner.
Essential Ingredients For A Classic Milkshake
Milkshake recipes are simple, but using the right ingredients makes all the difference. Here’s what you’ll need for a basic milkshake:
Core Ingredients
- Ice cream (2 cups): Vanilla is traditional, but you can use any flavor.
- Milk (½ to 1 cup): Whole milk gives the best texture, but you can use low-fat or plant-based options.
- Flavoring (optional): Chocolate syrup, strawberries, peanut butter, or cookies.
Choosing Quality Ingredients
- Ice cream: Pick brands with high butterfat and low air content. Premium ice creams give richer shakes.
- Milk: Whole milk is best, but oat milk or almond milk work for dairy-free options.
- Add-ins: Use fresh fruit, real chocolate, or natural syrups.
A little tip: Let the ice cream sit out for 5 minutes before blending. Softer ice cream blends better and gives a smoother shake.
The Step-by-step Process: Making A Milkshake In A Ninja Blender
Let’s break down each stage so you get perfect results every time.
Step 1: Gather Equipment And Ingredients
Make sure you have:
- Ninja Blender (any model)
- Measuring cups and spoons
- Ice cream scoop
- Glasses for serving
Put all your ingredients on the counter. This saves time and helps you avoid mistakes.
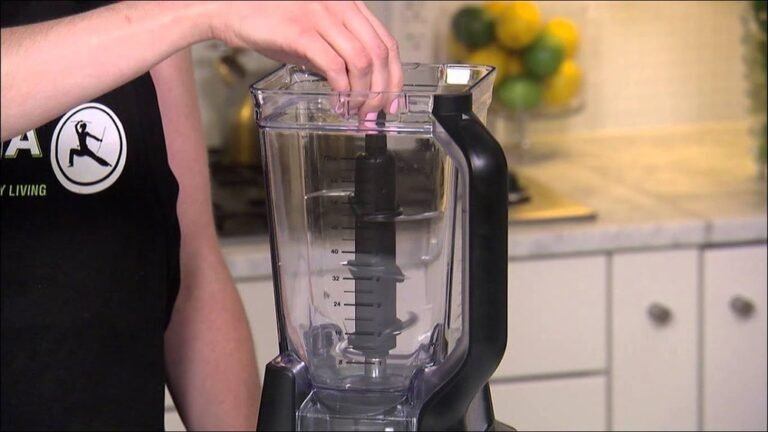
Step 2: Add Ice Cream
Use an ice cream scoop to add about 2 cups to the blender jar. For thick shakes, use slightly more ice cream. If you want a lighter shake, reduce the amount by half a cup.
Step 3: Pour In Milk
Start with ½ cup of milk. You can add more later if needed. If you want a richer shake, use whole milk. For a lighter option, try 2% or skim milk.
Step 4: Add Flavorings And Mix-ins
This is where you can get creative:
- Chocolate syrup: 2 tablespoons for a classic chocolate shake
- Fresh fruit: ½ cup strawberries or bananas
- Cookies: 2–3 crushed Oreos for a cookies & cream shake
Add flavorings before blending so they mix evenly.
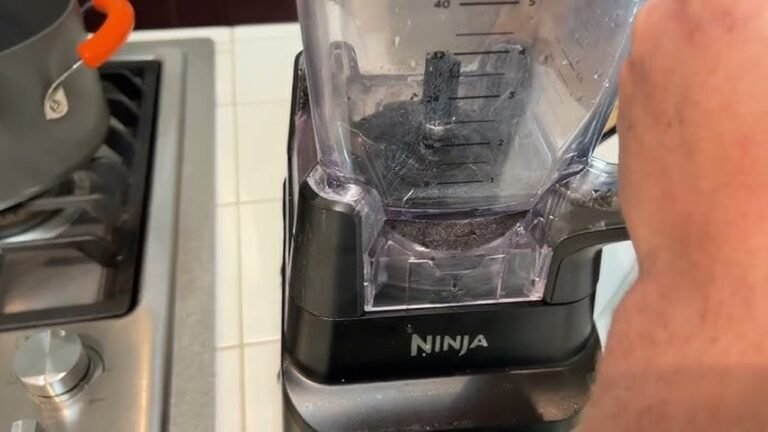
Step 5: Blend
Secure the blender lid. Start with the lowest setting, then move to medium or high. Blend for 15–30 seconds. Stop and check the texture. If it’s too thick, add a splash more milk and blend again.
Step 6: Check Consistency
A classic milkshake should be thick but drinkable through a straw. If it’s too thin, add more ice cream and blend again. If it’s too thick, add a little milk.
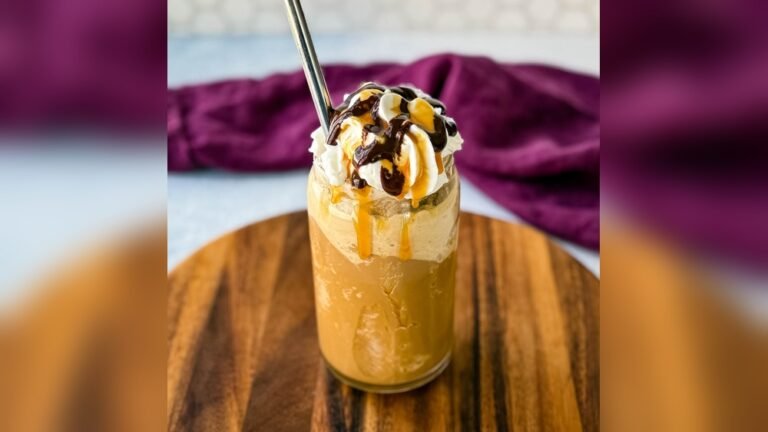
Step 7: Serve And Enjoy
Pour into chilled glasses. Top with whipped cream, sprinkles, or a cherry if you like. Serve immediately for best flavor and texture.
Tips For Perfect Milkshake Texture
Getting the right texture is key. Here are some expert tips:
- Use cold ingredients: Warm milk or melted ice cream can make the shake runny.
- Don’t over-blend: Too much blending adds air and thins the shake.
- Add mix-ins last: If you want chunks (like chocolate chips), pulse briefly at the end.
Table: Milkshake Texture Comparison
Here’s how Ninja Blender milkshakes compare to regular blenders.
| Blender Type | Texture | Blending Time | Consistency |
|---|---|---|---|
| Ninja Blender | Smooth, thick | 15–30 sec | Even, lump-free |
| Standard Blender | Sometimes grainy | 30–60 sec | Can be watery |
Most Ninja Blender users notice their shakes are thicker and creamier. This is thanks to the powerful motor and blade design.
Popular Milkshake Variations
Milkshakes are flexible. You can use different flavors, ingredients, and toppings. Here are some classic and creative ideas.
1. Chocolate Milkshake
- 2 cups chocolate ice cream
- ½ cup whole milk
- 2 tbsp chocolate syrup
Blend until smooth. Top with whipped cream and chocolate shavings.
2. Strawberry Milkshake
- 2 cups vanilla ice cream
- ½ cup milk
- ½ cup fresh strawberries
Add all ingredients and blend. For extra flavor, add a tablespoon of strawberry jam.
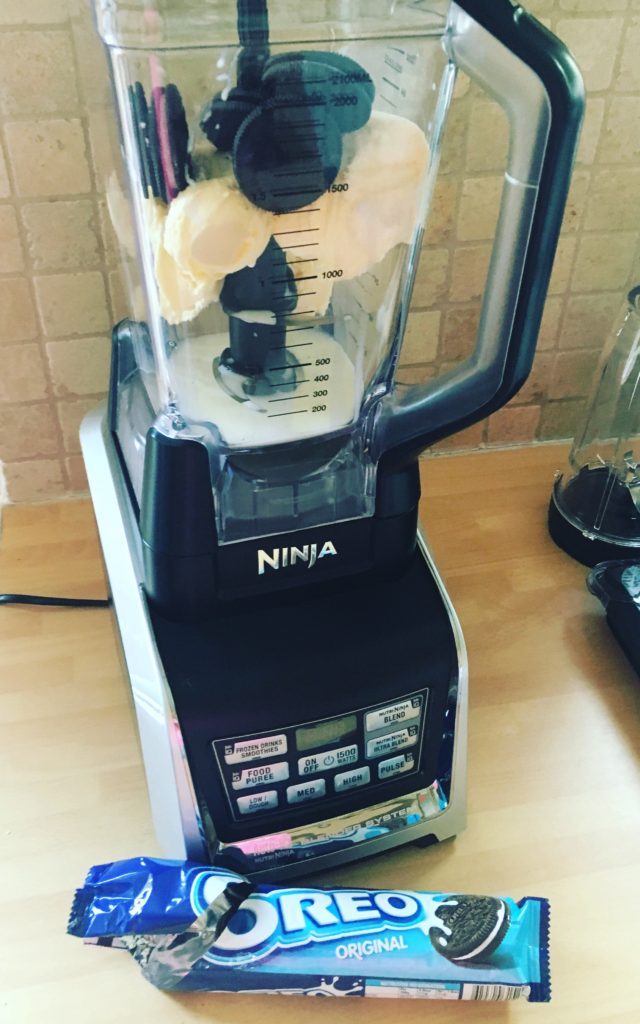
3. Cookies & Cream Milkshake
- 2 cups vanilla ice cream
- ½ cup milk
- 3 crushed Oreo cookies
Blend until cookies are mixed in. For extra crunch, pulse in more cookies at the end.
4. Peanut Butter Banana Milkshake
- 2 cups vanilla ice cream
- ½ cup milk
- 1 banana
- 2 tbsp peanut butter
Blend. Top with banana slices or crushed peanuts.
5. Mint Chocolate Chip Shake
- 2 cups mint chocolate chip ice cream
- ½ cup milk
Blend and serve with mini chocolate chips.
6. Dairy-free Milkshake
- 2 cups dairy-free ice cream (coconut or almond base)
- ½ cup plant-based milk
- Add desired flavorings
Blend as usual. Dairy-free shakes often need less milk.
Table: Ingredient Substitutes
Here’s a quick look at common substitutes for milkshake ingredients.
| Traditional Ingredient | Substitute | Flavor/Texture Change |
|---|---|---|
| Whole milk | Oat milk | Slightly sweeter, lighter |
| Vanilla ice cream | Soy ice cream | Less rich, but creamy |
| Chocolate syrup | Cocoa powder + sugar | Deeper chocolate, less sweet |
| Fresh strawberries | Frozen strawberries | Colder, thicker shake |
Using substitutes lets you adapt recipes for allergies or dietary needs.
Troubleshooting Common Milkshake Problems
Even with a Ninja Blender, milkshakes can go wrong. Here’s how to fix issues.
Too Thin
- Add more ice cream and blend.
- Use less milk next time.
Too Thick
- Add a splash of milk.
- Blend again for a few seconds.
Not Sweet Enough
- Add extra syrup or sugar.
- Use riper fruit for fruit shakes.
Lumpy Shake
- Blend longer on high speed.
- Check if ice cream is too frozen—let it soften before blending.
Over-blended
- Stop blending as soon as ingredients combine.
- If shake is foamy, let it sit for 1–2 minutes.
Table: Milkshake Troubleshooting
| Problem | Solution | Prevention |
|---|---|---|
| Too thin | Add more ice cream | Start with less milk |
| Too thick | Add milk | Measure ice cream accurately |
| Lumpy | Blend longer | Let ice cream soften |
| Foamy | Let sit, stir gently | Don’t over-blend |
Many beginners add too much milk at the start. Always start with less and add more if needed.
Cleaning Your Ninja Blender After Making Milkshakes
Milkshakes can leave sticky residue. Cleaning the blender properly is important for hygiene and flavor.
Quick Cleaning Steps
- Fill blender jar halfway with warm water.
- Add a few drops of dish soap.
- Secure lid and blend for 20 seconds.
- Rinse thoroughly with clean water.
- Dry all parts before storing.
Deep Cleaning Tips
- Remove blades and wash separately.
- Check crevices for dried ice cream.
- Use a soft brush for stubborn spots.
Ninja blenders are usually dishwasher safe. Always check your model’s manual to confirm.
Non-obvious Insights For Better Milkshakes
Most guides stop at basic steps. Here are some advanced tips even many experts miss.
1. Pre-chill Your Glasses
Putting serving glasses in the freezer for 10 minutes keeps shakes colder longer. This prevents melting and gives a more “professional” feel.
2. Add Salt For Flavor Balance
A tiny pinch of salt (less than ⅛ teaspoon) can enhance chocolate or caramel flavors. It doesn’t make the shake salty but balances sweetness.
3. Use Heavy Cream
Adding a tablespoon of heavy cream makes shakes richer and thicker. This is a trick used in upscale restaurants.
4. Layer Mix-ins
For shakes with chunks, layer mix-ins in the blender jar. Blend most ingredients smooth, then pulse mix-ins last for texture.
5. Ice Cream Quality Matters More Than Milk
If you have to choose, spend more on high-quality ice cream. Cheap ice creams have more air and less flavor.

Credit: www.youtube.com
Healthier Milkshake Options
Milkshakes are a treat, but you can make them healthier.
Lower Sugar
- Use unsweetened plant-based milks.
- Add less syrup and more fruit.
Higher Protein
- Add Greek yogurt (½ cup).
- Use protein powder (vanilla or chocolate).
More Fiber
- Blend in oats (2 tablespoons).
- Use whole fruits instead of juice.
Making healthy shakes can be just as tasty. Try blending spinach or avocado for a creamy texture with extra nutrients.
Serving And Presentation Tips
Presentation can make your milkshake feel special. Here are ways to upgrade your shake:
- Whipped cream: A classic topping.
- Sprinkles: Add color and fun.
- Fruit slices: Place on the rim for decoration.
- Chocolate drizzle: Pour on top for a gourmet look.
- Paper straws: Eco-friendly and stylish.
For parties, serve shakes in mason jars or tall glasses. You can even rim the glass with chocolate or crushed cookies.

Credit: mummyvswork.co.uk
Ninja Blender Models: Which Is Best For Milkshakes?
Not all Ninja Blenders are the same. Some are better for milkshakes due to motor strength and jar size.
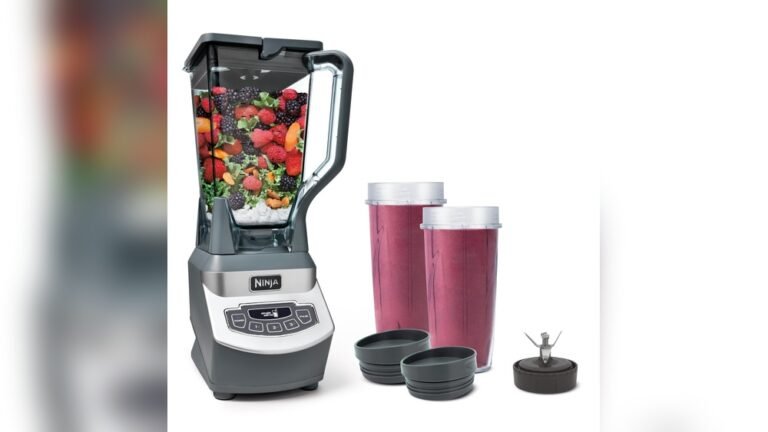
Popular Models
- Ninja Professional 1000: Powerful motor, large jar, great for multiple servings.
- Ninja Nutri Auto-iQ: Compact, good for single shakes, easy to clean.
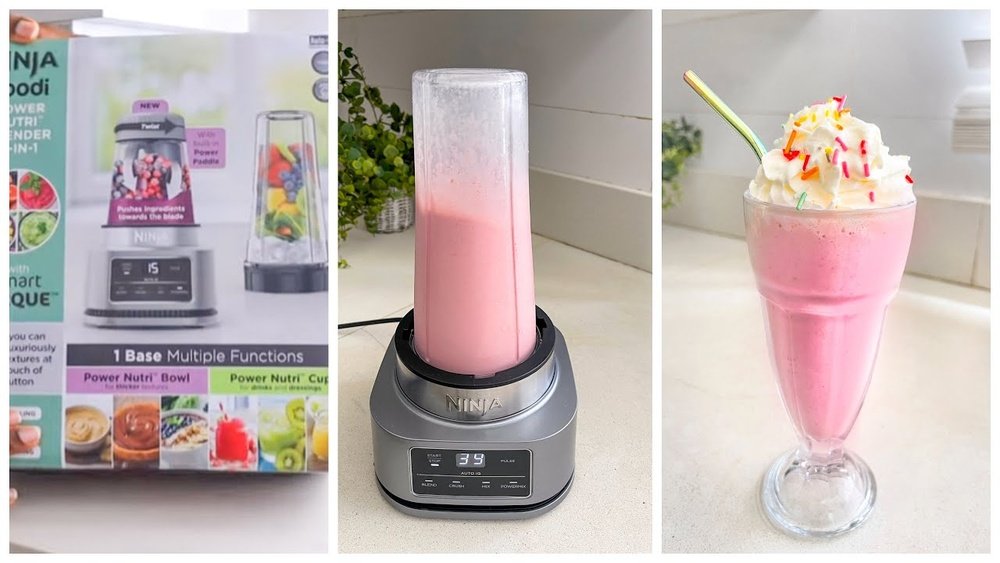
- Ninja Foodi Power Pitcher: Blends ice cream quickly, has preset functions for shakes.
If you make shakes often, choose a model with at least 900 watts. This ensures smooth blending and prevents overheating.
Table: Ninja Blender Model Comparison
| Model | Motor Power (watts) | Jar Size | Best For |
|---|---|---|---|
| Ninja Professional 1000 | 1000 | 72 oz | Families, parties |
| Ninja Nutri Auto-iQ | 900 | 24 oz | Single servings |
| Ninja Foodi Power Pitcher | 1400 | 64 oz | Quick blending, thick shakes |
If you’re unsure, check user reviews or visit the official Ninja site for more details.
How To Store Leftover Milkshake
Sometimes you make too much shake. Here’s how to store it without losing quality.
- Refrigerate: Pour into a sealed container. Drink within 24 hours. Shake or stir before drinking.
- Freeze: For longer storage, freeze in an airtight container. Thaw for 10 minutes before serving.
- Avoid melting: Don’t leave shakes at room temperature—ice cream melts and separates.
Frozen shakes can become icy. To restore the creamy texture, blend again with a splash of milk.
Credit: mummyvswork.co.uk
Common Mistakes And How To Avoid Them
Many beginners make the same errors. Here’s what to watch out for:
- Using too much milk: Makes shakes watery.
- Over-blending: Adds air, thins texture.
- Skipping mix-ins: Results in plain shakes.
- Not chilling glassware: Causes shakes to melt fast.
- Ignoring ingredient quality: Cheap ice cream gives bland flavor.
Always measure ingredients, use cold products, and blend just enough.
Ninja Blender Safety Tips
Safety is important. Ninja Blenders have sharp blades and strong motors.
- Secure lid: Always check the lid before blending.
- Don’t overfill: Leave space at the top to prevent spills.
- Unplug before cleaning: This prevents accidents.
- Handle blades carefully: Wash blades with a brush, not your hands.
If you’re blending thick shakes, pulse in short bursts rather than running continuously.
Environmental Impact Of Milkshakes
Milkshakes can be eco-friendly. Here’s how to reduce waste:
- Use reusable glassware and straws.
- Choose local, organic ingredients.
- Buy ice cream in bulk to reduce packaging.
- Clean blender with minimal water.
The Ninja Blender uses less energy than larger machines, making it a smart choice for home use.
Where To Find More Milkshake Recipes
For more creative recipes, explore food blogs and official Ninja Blender sites. One helpful resource is Allrecipes, which offers dozens of milkshake ideas with detailed instructions.
Frequently Asked Questions
What’s The Best Ice Cream For Milkshakes?
The best ice cream is premium vanilla with high butterfat and low air. Brands like Häagen-Dazs or Ben & Jerry’s give richer flavor and thicker shakes. Avoid ice creams with “frozen dessert” labels—they use more fillers.
Can I Make Milkshakes Without Dairy?
Yes. Use dairy-free ice cream and plant-based milk like oat, almond, or soy. Coconut milk adds creaminess. Dairy-free shakes blend the same way, but sometimes need less milk.
How Do I Make A Milkshake Thicker?
Use more ice cream and less milk. Add a tablespoon of heavy cream or blend in frozen fruit. If the shake is still thin, blend in a few ice cubes.
Is It Safe To Blend Hot Ingredients In A Ninja Blender?
No. Ninja Blenders are designed for cold or room-temperature ingredients. Hot items can damage the jar or cause pressure buildup. Always let items cool before blending.
What’s The Easiest Way To Clean My Ninja Blender After Making A Milkshake?
Fill the jar halfway with warm water and a few drops of dish soap. Blend for 20 seconds, then rinse. For deep cleaning, wash blades and parts separately. Most Ninja jars are dishwasher safe.
Milkshakes are simple, but the right method makes them special. With a Ninja Blender, you get the power and control needed for perfect shakes every time. Enjoy experimenting with flavors, textures, and toppings—and don’t forget to share with friends and family.