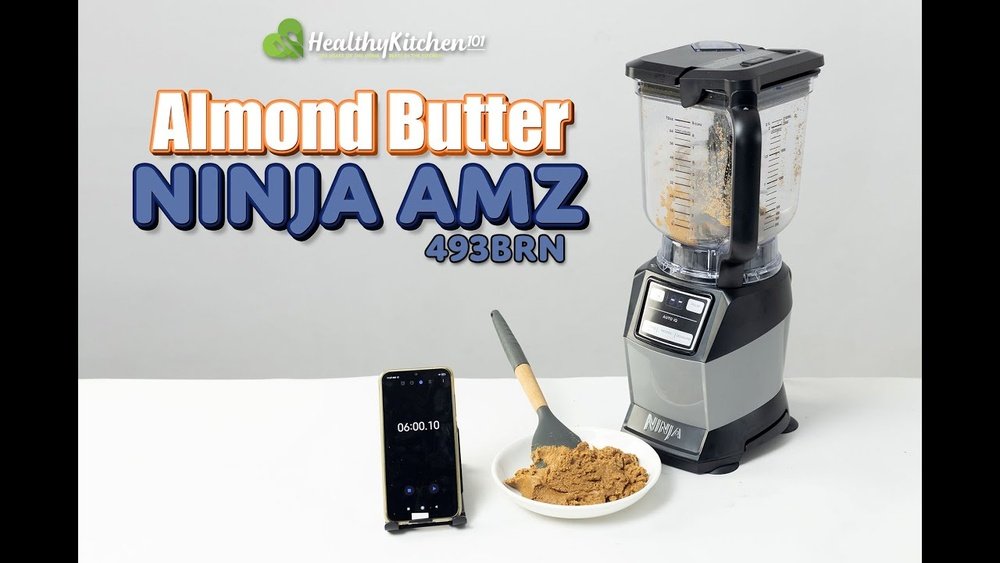
How To Make Almond Butter In A Ninja Blender: Easy Guide
Making almond butter at home can seem intimidating, but with a Ninja blender and some simple tips, you can create a creamy, delicious spread that rivals any store-bought version. Many people switch to homemade almond butter to control ingredients, save money, and enjoy a fresher taste. But, if you’ve ever tried and ended up with a dry, crumbly paste or a burnt-out motor, you know it’s not just about tossing almonds into a machine and hitting “blend.” This guide breaks down every step, from choosing the right almonds to storage tricks, so you get smooth, spreadable almond butter every time.
Why Make Almond Butter At Home?
Buying almond butter can be expensive—sometimes more than $10 for a small jar. When you make it yourself, you can save nearly half that cost per batch, and the flavor is much fresher. You also control the ingredients: no hidden sugars, oils, or preservatives. Homemade almond butter allows you to customize taste and texture, making it as smooth or chunky as you like. Many people with food allergies or dietary restrictions also prefer homemade, since they can avoid cross-contamination and unwanted additives.
Some beginners worry that almond butter is tricky to make, but with the right method and a powerful blender like the Ninja, the process is straightforward. The secret is understanding the role of roasting, patience during blending, and a few simple troubleshooting tricks.
Choosing The Right Almonds
The base of any good almond butter is, of course, the almonds. For best results, use raw, unsalted almonds. These allow you to control the salt level and roast for maximum flavor. Pre-roasted almonds can work, but sometimes they’re over-roasted or contain added oils, changing the final taste and texture.
When selecting almonds:
- Whole, raw almonds give the most natural flavor.
- Organic is a good choice if you want to avoid pesticides.
- Avoid almonds with visible damage or off smells, as they may be rancid.
Blanched Vs. Unblanched Almonds
Blanched almonds have their skins removed, resulting in a paler, slightly milder butter. Unblanched almonds, with skins on, create a nuttier, richer flavor and a darker color. Most people prefer unblanched for nutrition and convenience, but if you want a more delicate taste, try blanching.
Prepping Almonds: Roasting For Maximum Flavor
Roasting transforms raw almonds from bland to bold, bringing out natural oils and sweetness. Skipping this step is a common mistake for beginners, leading to a chalky or bitter butter.
How To Roast Almonds For Almond Butter
- Preheat oven to 350°F (175°C).
- Spread almonds in a single layer on a baking sheet.
- Roast for 10-13 minutes, stirring halfway through. Watch closely to avoid burning.
- Cool for 5-10 minutes before blending. Warm almonds blend smoother and faster.
Roasting times can vary by oven. Almonds are ready when they smell nutty and are lightly browned.
Tip: Roasting Even Store-bought Roasted Almonds
Even if your almonds are pre-roasted, a quick re-roast (5 minutes) freshens flavor and warms the nuts, making blending easier.
Equipment: Why Use A Ninja Blender?
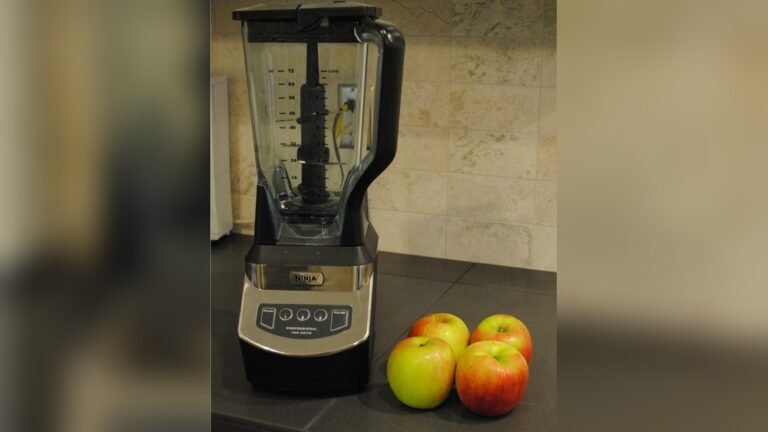
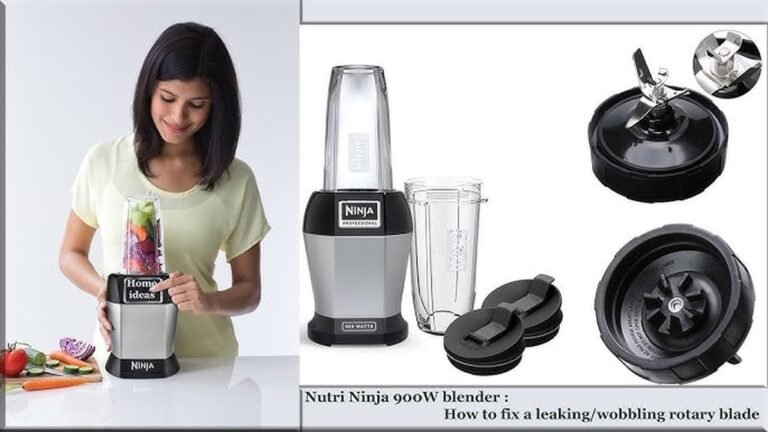
Not all blenders are created equal. The Ninja blender stands out for its powerful motor (900W–1500W, depending on model), sturdy blades, and large blending container. These features make it possible to process hard nuts without overheating or stalling.
Comparing Ninja To Food Processors
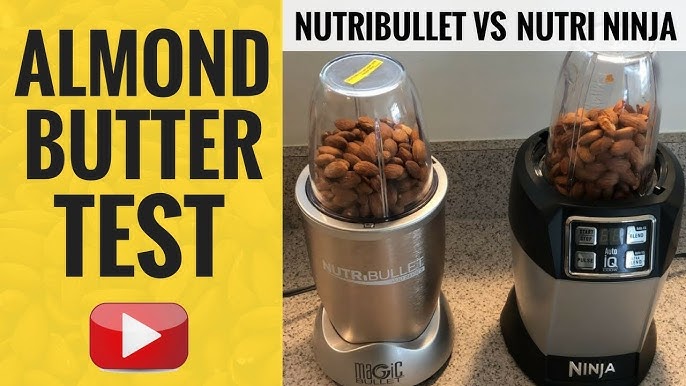
Some recipes call for a food processor, but the Ninja blender’s vertical blade system and strong motor actually break down nuts faster, with less stopping and scraping. However, it’s important not to overload the blender, as too many almonds can slow the blades and strain the motor.
Here’s a look at how Ninja blenders compare to typical food processors for almond butter:
| Feature | Ninja Blender | Food Processor |
|---|---|---|
| Motor Power | 900–1500W | 500–1000W |
| Blade Design | Stacked vertical | Flat horizontal |
| Batch Size | Small–medium | Medium–large |
| Ease of Cleaning | Moderate | Easy |
| Texture Control | High | Moderate |
If you already have a Ninja blender, you don’t need to buy a food processor just for nut butters.
Credit: lowcarbafrica.com
Ingredients For Homemade Almond Butter
Here’s what you’ll need for a classic almond butter batch:
- 3 cups (about 450g) raw, unsalted almonds
- 1/4–1/2 teaspoon salt (optional, adjust to taste)
- 1–2 tablespoons neutral oil (optional, like avocado or sunflower, for extra creaminess)
- Sweetener (optional: 1–2 teaspoons honey, maple syrup, or agave)
- Flavor add-ins (optional: Cinnamon, vanilla extract, cocoa powder)
You can adjust the amounts for larger or smaller batches, but 3 cups is ideal for a Ninja blender—enough to blend well without overloading.
Ingredient Table
| Ingredient | Amount | Purpose |
|---|---|---|
| Raw almonds | 3 cups (450g) | Main ingredient |
| Salt | 1/4–1/2 tsp | Flavor boost |
| Neutral oil | 1–2 tbsp | Smoother texture |
| Sweetener | 1–2 tsp | Balance flavor |
| Flavor add-ins | To taste | Customize taste |
Non-obvious tip: For a lighter flavor, try half almonds and half cashews. This mix makes for a naturally sweet, ultra-creamy butter.
Step-by-step: How To Make Almond Butter In A Ninja Blender
Step 1: Roast The Almonds
Roast as described above. Warm almonds blend more easily and release oils faster.
Step 2: Add Almonds To Blender
Pour roasted almonds into the Ninja blender pitcher. Secure the lid tightly. Don’t overfill—the blender works best with the pitcher half-full.
Step 3: Blend In Stages
Start at a low speed, then increase to high. Pulse for 30 seconds at a time to avoid overheating. After each pulse, scrape down the sides with a spatula.
Texture Timeline:
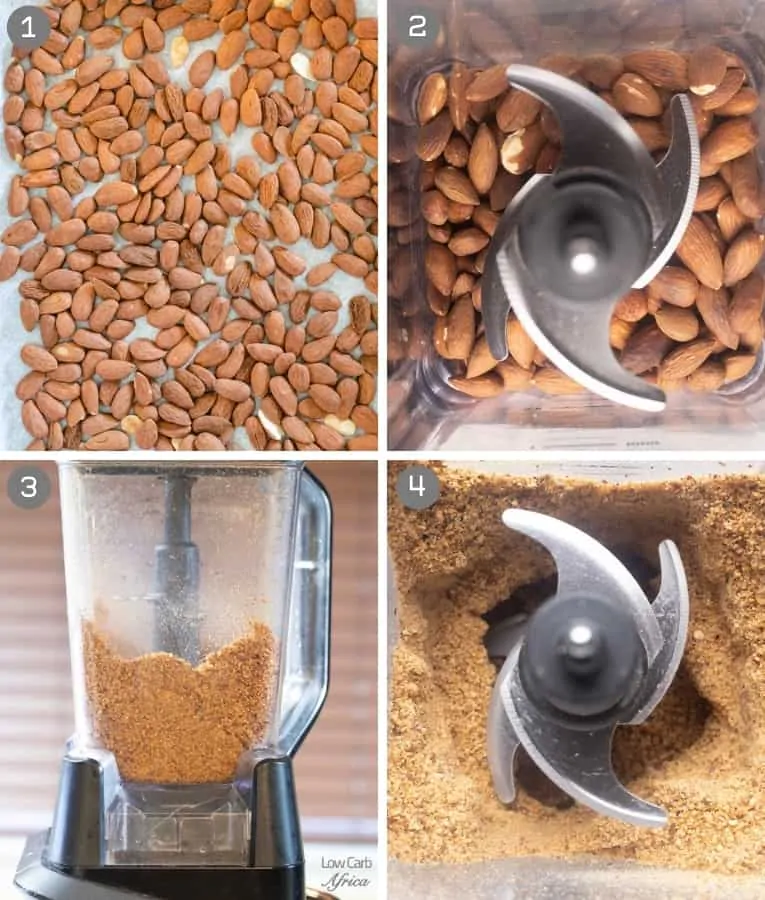
- First 1–2 minutes: Almonds become coarse crumbs.
- Next 2–3 minutes: Mixture looks like damp sand, then starts to clump.
- After 5–8 minutes: Almonds release oils, and the mixture forms a ball.
- Final 2–4 minutes: Ball breaks down, and butter becomes creamy and spreadable.
Be patient. The process usually takes 8–12 minutes, but can vary by blender model.
Step 4: Add Salt, Oil, And Optional Ingredients
Once the almond butter is mostly smooth, add salt and any optional oil or flavorings. Blend again for 1–2 minutes, until fully incorporated.
If the butter seems too thick, add oil 1 teaspoon at a time. Too much oil can make the butter runny, so add slowly.
Step 5: Test Consistency
Spoon out a small amount and let it cool. If it spreads easily and tastes rich, it’s done. If it’s still grainy, blend longer.
Pro tip: Homemade almond butter thickens as it cools. If it’s pourable when warm, it will set up to a perfect spreadable texture.
Step 6: Store Properly
Transfer the almond butter to a clean glass jar. Let it cool completely before sealing. Store in the refrigerator for up to 4 weeks, or at room temperature for 1–2 weeks if you use it quickly.

Credit: www.asaucykitchen.com
Customizing Your Almond Butter
One of the joys of homemade almond butter is personalization. The Ninja blender makes it easy to blend in different flavors and textures.
Sweet And Savory Variations
- Honey-Cinnamon: Add 1–2 teaspoons honey and 1/2 teaspoon ground cinnamon.
- Chocolate: Blend in 1 tablespoon cocoa powder and a pinch of salt.
- Vanilla: Add 1/2 teaspoon pure vanilla extract.
- Spicy: Try a pinch of cayenne pepper for heat.
Chunky Almond Butter
If you prefer some crunch, set aside 1/4 cup of roasted almonds. Chop them finely and stir them into the finished butter.
Mixed Nut Butters
Blend almonds with cashews, pecans, or hazelnuts for a unique taste. Always roast all nuts before blending.
Common Mistakes When Customizing
- Too much liquid sweetener can make the butter seize or become grainy.
- Don’t add water-based ingredients (like fruit) directly—they cause spoilage.
- Strong flavors (like almond extract) can overpower. Start small.
Troubleshooting And Pro Tips
Making almond butter is simple, but a few challenges can pop up—especially if you’re new to blending nuts.
Problem: Butter Won’t Get Creamy
- Reason: Not blending long enough. Keep going—heat and friction release the oils.
- Reason: Almonds are too old or dry. Try adding 1–2 teaspoons oil.
- Reason: Too many nuts in the pitcher. Work in smaller batches.
Problem: Blender Overheating
- Pause every 1–2 minutes to let the motor cool.
- If the base feels hot, wait 10 minutes before continuing.
- Avoid adding cold ingredients, which make the motor work harder.
Problem: Almond Butter Too Runny
- Used too much oil or sweetener. Next time, add in smaller amounts.
- If the butter is pourable but not separated, let it cool—it thickens as it sits.
Problem: Butter Separates In Jar
- This is natural—just stir before using.
- For longer shelf life, always use a clean spoon and store in the fridge.
Extra Insight: Roasting Level Affects Creaminess
Lightly roasted almonds make a creamier, sweeter butter. Darker roasts create a stronger flavor but sometimes a thicker texture. Adjust roasting time to your preference.
Nutrition And Health Benefits
Almond butter is packed with nutrients. One tablespoon (16g) contains:
- 98 calories
- 3.4g protein
- 8.9g fat (mostly heart-healthy unsaturated fats)
- 2.8g carbohydrates
- 1.6g fiber
- Vitamin E, magnesium, and calcium
Compared to peanut butter, almond butter has more fiber, vitamin E, and magnesium, but slightly more calories. It’s an excellent source of plant-based protein and healthy fats, making it a popular choice for athletes and anyone following a heart-healthy diet.
Almond Butter Vs. Peanut Butter
Here’s a quick nutrition comparison:
| Nutrient (per 2 tbsp) | Almond Butter | Peanut Butter |
|---|---|---|
| Calories | 196 | 188 |
| Protein | 6.8g | 7.2g |
| Fat | 17g | 16g |
| Fiber | 3.2g | 2.6g |
| Vitamin E | 7.7mg | 2.9mg |
| Magnesium | 89mg | 49mg |
Almond butter is especially good for people looking to boost vitamin E or magnesium intake.
Creative Uses For Homemade Almond Butter
Almond butter isn’t just for spreading on toast. Its creamy texture and nutty flavor make it a versatile kitchen staple.
- Smoothies: Add 1–2 tablespoons for creaminess and nutrition.
- Baking: Use in cookies, muffins, or brownies for a rich, nutty flavor.
- Sauces: Mix with soy sauce, ginger, and garlic for a quick Asian-style dipping sauce.
- Oatmeal: Stir into hot oats for extra protein.
- Energy balls: Blend with dates and oats for no-bake snacks.
- Drizzle: Warm slightly and pour over pancakes or waffles.
Non-obvious Tip: Savory Almond Butter
Stir in a splash of tamari and a pinch of garlic powder for a savory almond butter, perfect for sandwiches or dipping vegetables.
Storage And Shelf Life
Homemade almond butter doesn’t contain preservatives, so proper storage is key.
- Room temperature: 1–2 weeks (in a cool, dry place, tightly sealed)
- Refrigerator: Up to 4 weeks (the flavor and texture stay fresh)
- Freezer: Up to 6 months (store in small containers for easy thawing)
Always use a clean spoon to avoid contamination. If the almond butter smells off or develops mold, discard it.
How To Fix Hardened Almond Butter
If your almond butter hardens in the fridge, let it sit at room temperature for 10–15 minutes. Stirring in a teaspoon of oil can also help restore creaminess.
Cleaning Your Ninja Blender After Nut Butters
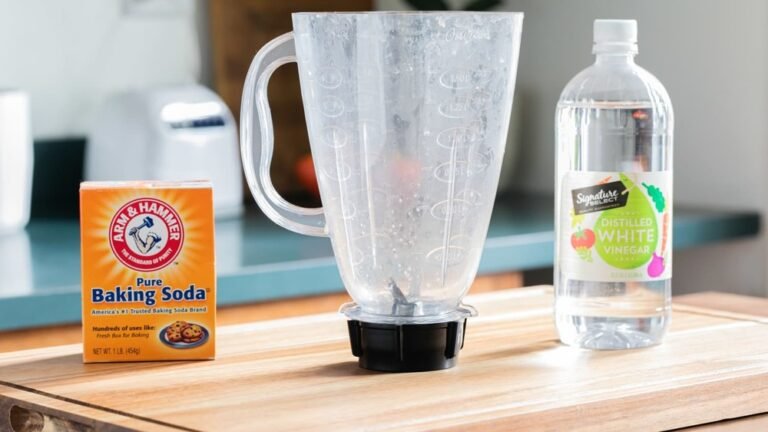
Almond butter is thick and sticky. Here’s how to clean your Ninja blender easily:
- Scrape out as much butter as possible with a spatula.
- Add warm water and a drop of dish soap to the pitcher.
- Blend on high for 30 seconds.
- Rinse thoroughly and air dry.
For stubborn residue, soak the pitcher in warm soapy water for 10 minutes before washing.
Credit: www.youtube.com
Cost Comparison: Homemade Vs. Store-bought Almond Butter
Making almond butter at home is not only healthier but can also be cheaper.
- Store-bought almond butter: $8–$12 for 16 oz (454g)
- Homemade almond butter: About $5–$7 for the same amount (using bulk almonds)
If you buy almonds in bulk or on sale, the savings increase. Plus, you skip the cost of packaging and enjoy a fresher taste.
Sustainability And Environmental Impact
Homemade almond butter reduces packaging waste. One glass jar can be reused dozens of times, instead of buying new plastic containers each time. By roasting and blending at home, you also cut down on the energy and resources used in commercial processing.
However, it’s important to know that almond farming uses a lot of water (about 1.1 gallons per almond, according to some estimates). If sustainability is a big concern, look for California-grown, organic almonds or try mixing with other nuts, like peanuts or sunflower seeds, which use less water.
For more on almond farming and sustainability, check out the Wikipedia Almond page.
Frequently Asked Questions
How Long Does Homemade Almond Butter Last?
Homemade almond butter lasts up to 4 weeks in the refrigerator. Always use a clean spoon to avoid introducing bacteria. If it smells sour or shows mold, discard it.
Do I Need To Add Oil To Almond Butter?
You don’t have to add oil—roasted almonds usually release enough natural oil if blended long enough. If your blender is struggling, a small amount of neutral oil (like sunflower or avocado) can help achieve a creamier texture.
Can I Make Almond Butter With Raw (unroasted) Almonds?
You can, but the flavor will be milder and less sweet. Roasting brings out natural oils and a richer taste. If using raw almonds, blend longer for smoothness.
Is Almond Butter Healthier Than Peanut Butter?
Both are healthy, but almond butter has more vitamin E, magnesium, and fiber. Peanut butter has a bit more protein. Choose almond butter if you want more micronutrients and healthy fats; peanut butter for protein and affordability.
Why Did My Almond Butter Turn Out Dry Or Crumbly?
Usually, it’s because the almonds weren’t roasted enough, or you stopped blending too soon. Blend longer, add 1–2 teaspoons of oil, and make sure the almonds are warm before starting.
Making almond butter in a Ninja blender is a simple, satisfying project with delicious rewards. With a little care and patience, you’ll have a creamy spread that’s fresh, customizable, and far tastier than anything from the store. Whether you’re looking to boost your nutrition, save money, or just enjoy a new kitchen skill, homemade almond butter is a smart, healthy choice.