How To Make A Vanilla Milkshake With A Ninja Blender Easily
Making a vanilla milkshake at home can be pure joy. The creamy texture, sweet vanilla aroma, and cold refreshment make it a classic treat for kids and adults alike. But there’s a big difference between a watery shake and a thick, indulgent one. Many people wonder: Can you make a real ice-cream shop–style milkshake with a Ninja blender? The answer is yes—and with the right steps, your Ninja blender might even outperform your local diner.
This guide will show you everything you need to know about making a vanilla milkshake with a Ninja blender. You’ll discover the best ingredients, tips for the perfect texture, common mistakes, and how to customize your shake. You’ll also see how the Ninja compares to other blenders, and learn how to fix common problems like too-thin or too-thick shakes. If you want a milkshake that’s thick, creamy, and bursting with vanilla flavor, keep reading. By the end, you’ll be a home milkshake pro.
Why Make Vanilla Milkshake With A Ninja Blender?
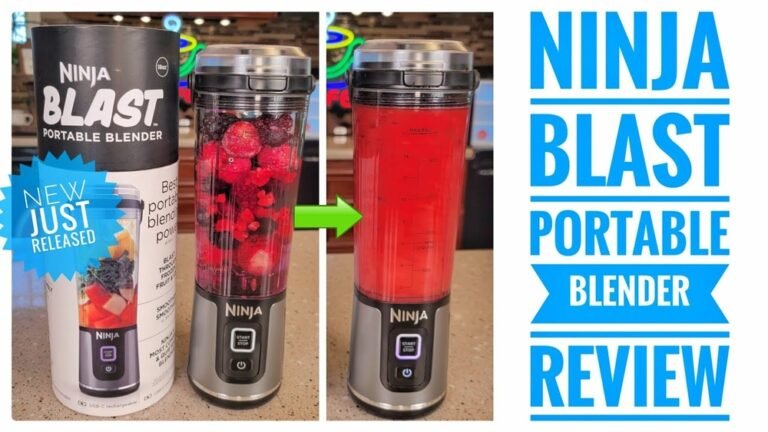
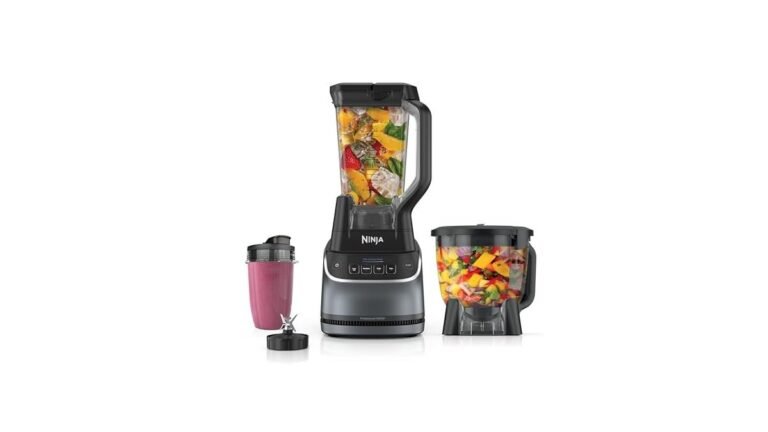
The Ninja blender is a favorite in many kitchens for good reasons. It’s powerful, versatile, and easy to use. But does it really make a difference for milkshakes? Let’s look at why a Ninja blender is a great choice for this classic drink.
Power And Speed
A Ninja blender can crush ice and blend frozen ingredients in seconds. This is important for milkshakes, because you want a smooth texture without ice chunks or unblended ice cream. Many cheaper blenders struggle here, leaving you with a grainy or separated shake.
Consistency And Creaminess
Ninja’s sharp blades and strong motor create a thick, creamy shake—the kind you get at a restaurant. You can blend everything evenly, so every sip tastes the same. The Ninja is especially good at handling thick mixtures and doesn’t overheat or stall easily.
Versatility
You can use a Ninja for more than just milkshakes. Try smoothies, frozen cocktails, sauces, or even nut butters. Investing in a good blender means you’ll use it for many recipes, not just milkshakes.
Easy To Clean
Most Ninja parts are dishwasher-safe. The pitcher design makes it easy to scrape out every bit of your milkshake and clean up quickly.
Ingredients For The Perfect Vanilla Milkshake
The right ingredients make all the difference between an average milkshake and a fantastic one. Here’s what you need for a classic vanilla milkshake using a Ninja blender.
Basic Ingredients
- Vanilla ice cream: 2 generous cups (about 4 scoops)
- Whole milk: ½ cup
- Pure vanilla extract: 1 teaspoon
- Optional toppings: Whipped cream, maraschino cherry, sprinkles
Why These Ingredients?
- Vanilla ice cream is the main base. Choose a good-quality brand for best results. Premium ice creams with real vanilla beans give the richest flavor.
- Whole milk gives the shake creaminess and body. Skim or low-fat milk makes the shake thinner and less rich.
- Vanilla extract boosts the vanilla flavor. Avoid “imitation” vanilla if possible.
- Toppings add fun and make your shake look and taste even better.
Ingredient Data Table
Here’s a quick look at the basic ingredients, their amounts, and why they matter:
| Ingredient | Amount | Purpose |
|---|---|---|
| Vanilla Ice Cream | 2 cups (4 scoops) | Main base, creaminess, flavor |
| Whole Milk | ½ cup | Blending, smooth texture |
| Vanilla Extract | 1 tsp | Flavor boost |
| Whipped Cream | To taste | Topping |
| Maraschino Cherry | 1 | Topping |
Can You Use Non-dairy Or Low-fat Ingredients?
Yes, but the texture and taste will be different. Almond, soy, or oat milk can be used, and vegan ice creams work well too. Just expect a less creamy shake. Coconut milk ice cream is a popular vegan choice for its rich texture.

Credit: idreamoficecream.com
Step-by-step Guide: Making A Vanilla Milkshake With A Ninja Blender
Now let’s get into the process. Making a vanilla milkshake with a Ninja blender takes just a few minutes if you follow these steps.
1. Gather Your Ingredients
Have all your ingredients measured and ready. This helps you work quickly, so your ice cream stays cold and doesn’t melt.
2. Prepare The Blender
- Make sure the Ninja blender is clean and the pitcher is dry.
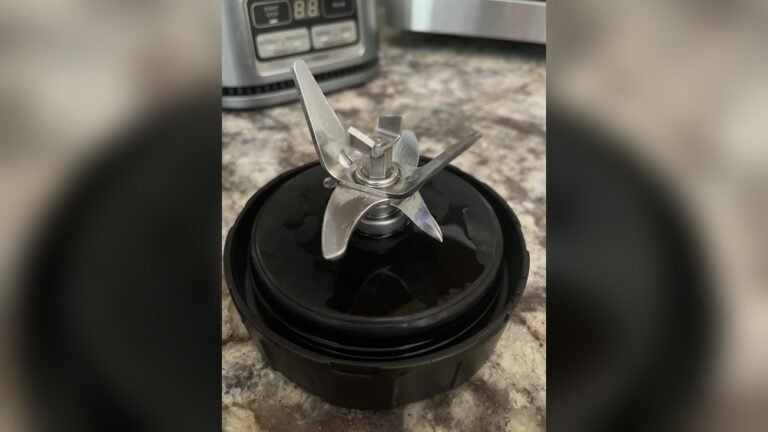
- Attach the blade assembly securely.
3. Add Ingredients In The Right Order
For best results, add the ingredients in this order:
- Milk (first, at the bottom)
- Vanilla extract
- Ice cream (on top)
Why this order? The milk helps the blades move easily at the start. If you put ice cream first, the blender may struggle.
4. Blend In Short Bursts
- Start with the “Low” or “Pulse” setting for 5–10 seconds. This breaks up the ice cream gently.
- Move to a higher speed and blend for 10–20 seconds, until smooth.
Do not over-blend, or your shake can get too thin from the heat.
5. Check The Texture
- If the shake is too thick, add a splash more milk and blend again.
- If it’s too thin, add a scoop of ice cream and blend again.
Aim for a thick, spoonable shake that still pours slowly.
6. Serve Immediately
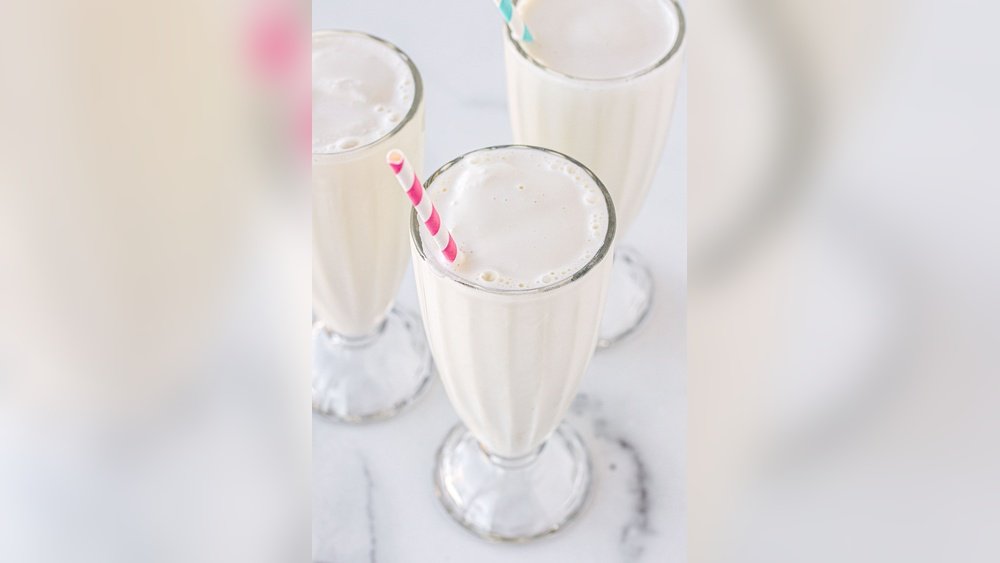
Pour the milkshake into a tall glass. Top with whipped cream and a cherry. Add a straw and enjoy right away for the best texture.
Step-by-step Process Table
See how each step fits together in this overview:
| Step | Action | Details |
|---|---|---|
| 1 | Gather Ingredients | Measure ice cream, milk, extract |
| 2 | Prepare Blender | Clean, assemble blade |
| 3 | Add Ingredients | Milk first, then extract, ice cream last |
| 4 | Blend | Start low, finish high, avoid over-blending |
| 5 | Check Texture | Adjust with milk or ice cream |
| 6 | Serve | Pour, add toppings, serve immediately |
Tips For The Best Vanilla Milkshake
Making a great milkshake is part science, part art. Here are some expert tips to get the perfect texture and flavor every time.
Use Very Cold Ice Cream
Slightly harder ice cream gives a thicker shake. If the ice cream is too soft, the shake will be runny.
Chill The Glass
Put your serving glass in the freezer for 10 minutes before making the shake. This keeps it cold longer and adds a frosty touch.
Choose The Right Milk-to-ice Cream Ratio
A common mistake is using too much milk. For a thick shake, use less milk; for a thinner, more sippable shake, add more. Start with the recipe above, then adjust to your taste.
Try Real Vanilla Beans
For a gourmet touch, scrape the seeds from half a real vanilla bean into the blender instead of extract. This gives a deeper flavor and beautiful black specks in your shake.
Don’t Overfill The Blender
If you’re making shakes for several people, blend in batches. Overfilling can cause uneven mixing or leaks.
Add Mix-ins At The Right Time
If you want to add chocolate chips, cookie pieces, or fruit, pulse them in at the end for just a few seconds. This keeps them chunky and prevents turning your shake into mush.
Common Mistakes And How To Fix Them
Even with a good blender, things can go wrong. Here’s how to fix the most common problems people face when making a vanilla milkshake with a Ninja blender.
Shake Is Too Thin
- Possible cause: Too much milk, or ice cream melted before blending.
- Fix: Add more ice cream and blend briefly.
Shake Is Too Thick Or Won’t Blend
- Possible cause: Not enough milk, or ice cream too hard.
- Fix: Let ice cream sit for 2 minutes, or add a splash more milk and pulse again.
Ice Cream Isn’t Fully Blended
- Possible cause: Blender overfilled, or ingredients loaded in wrong order.
- Fix: Blend in smaller batches, add milk first, or scrape down the sides with a spatula and blend again.
Tastes Bland
- Possible cause: Low-quality ice cream, not enough vanilla extract.
- Fix: Use a premium ice cream, add extra vanilla or a pinch of salt to boost flavor.
Too Much Foam Or Bubbles
- Possible cause: Over-blending, or using low-fat milk.
- Fix: Blend just until mixed, and use whole milk for a smoother texture.
Variations: How To Customize Your Vanilla Milkshake
The classic vanilla milkshake is delicious on its own, but it’s also a great base for creative twists. Here are some easy ways to customize your shake.
Chocolate Vanilla Swirl
Add 2 tablespoons of chocolate syrup to the blender for a marble effect, or drizzle it inside the glass before pouring in the shake.
Fruit Flavors
Blend in a handful of fresh or frozen berries, banana slices, or mango for a fruit-flavored shake. Reduce milk slightly to account for the water in fruit.
Cookie Or Candy Add-ins
Pulse in crushed cookies (like Oreos or chocolate chip cookies), peanut butter cups, or toffee bits for a chunky treat.
Malted Milkshake
Add 2 tablespoons of malted milk powder for a classic diner flavor.
Vegan Or Dairy-free
Use coconut, almond, or oat milk, and choose a non-dairy vanilla ice cream. The texture will be slightly lighter, but the Ninja blender handles non-dairy options well.
Protein Boost
Add a scoop of vanilla protein powder for a post-workout treat. Blend longer to avoid clumps.
Table: Popular Vanilla Milkshake Add-ins
Here’s how some popular add-ins affect your shake:
| Add-In | Amount | Effect |
|---|---|---|
| Chocolate Syrup | 2 tbsp | Chocolate swirl, sweeter taste |
| Berries (Strawberries, Blueberries) | ½ cup | Fruity flavor, color change |
| Crushed Cookies | ¼ cup | Chunky texture, dessert-like |
| Malted Milk Powder | 2 tbsp | Classic malt flavor |
| Protein Powder | 1 scoop | Higher protein, thicker shake |
:max_bytes(150000):strip_icc()/AR-238627-Vanilla-Milkshakes-without-Ice-Cream-DDMFS-4x3-68c7af8ca6714848a5e4c904996152e3.jpg)
Credit: www.allrecipes.com
How Does The Ninja Compare To Other Blenders For Milkshakes?
You may wonder if the Ninja blender is really better for milkshakes, or if a regular blender would do the job. Here’s a quick comparison of the Ninja vs. other popular blender types.
Ninja Blender Vs. Standard Blender
- Power: Ninja has a stronger motor (usually 1000+ watts) compared to standard blenders (300–600 watts). This means smoother shakes, even with very hard ice cream.
- Blade Design: Ninja uses stacked, multi-level blades, which blend more evenly.
- Capacity: Ninja pitchers are large, making it easy to make shakes for a group.
- Cleaning: Ninja is usually easier to take apart and clean, thanks to removable blades.
Ninja Vs. High-end Blenders (vitamix, Blendtec)
- Price: Ninja is more affordable, often half the price or less.
- Performance: High-end blenders are even more powerful and can handle hot soups and nut butters, but for milkshakes, Ninja performs just as well for most people.
- Noise: Ninja is a bit louder than some premium blenders.
Table: Blender Comparison For Milkshakes
Here’s a side-by-side look at how the Ninja stacks up:
| Feature | Ninja Blender | Standard Blender | High-End Blender |
|---|---|---|---|
| Motor Power | 1000–1500W | 300–600W | 1400–1800W |
| Blade Design | Stacked, multi-level | Flat, bottom-only | Heavy-duty, multi-level |
| Milkshake Texture | Very smooth, thick | Sometimes grainy | Very smooth, thick |
| Price Range | $$ | $ | $$$ |
| Cleaning | Easy | Varies | Easy |
Making Milkshakes For A Crowd
If you want to make vanilla milkshakes for a party or family, the Ninja blender makes it easy. Here’s how to scale up the recipe and serve a group.
Multiply Ingredients
- For 4 servings: Use 8 scoops of ice cream, 2 cups of milk, 2 teaspoons vanilla extract.
- For 6 servings: Use 12 scoops of ice cream, 3 cups of milk, 3 teaspoons vanilla extract.
Blend In Batches
Don’t fill the blender more than two-thirds full. If you need more, make two batches and combine them in a large pitcher.
Pre-scoop Ice Cream
To save time, scoop the ice cream onto a baking sheet and freeze until ready to blend. This keeps the ice cream hard and the process fast.
Set Up A Toppings Bar
Let guests add their own whipped cream, cherries, sprinkles, or syrups. This makes your gathering more fun and interactive.
Cleaning And Caring For Your Ninja Blender
A clean blender means better-tasting milkshakes and a longer-lasting machine. Here’s how to care for your Ninja after making milkshakes.
Rinse Immediately
Milk and ice cream can dry and stick to the pitcher and blades. Rinse the blender with warm water right after use.
Use Dishwasher-safe Parts
Most Ninja pitchers, lids, and blades are dishwasher-safe (top rack). Check your manual to be sure.
Deep Clean Once A Week
- Add a drop of dish soap and warm water to the pitcher.
- Run the blender on high for 30 seconds.
- Rinse thoroughly.
Dry Thoroughly
Let all parts air-dry completely before reassembling. This prevents mold or odors.
Check Seals And Blades
Every few weeks, check the rubber seals and blade assembly for wear or cracks. Replace if needed to prevent leaks.
Store Properly
Store the blender with the lid off to avoid trapped moisture and smells.
The Science Behind A Great Milkshake
Why does blending ice cream and milk result in such a satisfying treat? There’s real science behind the creamy texture and sweet flavor.
Emulsification
When you blend ice cream and milk, fat droplets and air mix together. This creates a smooth, creamy consistency that’s thicker than milk but more drinkable than ice cream.
Temperature
The cold temperature helps the shake hold its shape and keeps it from melting too fast. That’s why using very cold ingredients is important.
Vanilla’s Effect
Vanilla is not just flavor—it enhances sweetness and rounds out the dairy taste. Real vanilla contains compounds that make the shake taste richer and more complex.
Air Incorporation
Blending adds air to the shake. Too much air makes it foamy and light, while too little can make it dense. The Ninja blender helps incorporate just the right amount if you blend in short bursts.
Nutritional Info: Vanilla Milkshake
A classic vanilla milkshake is a treat, not a health food. But it helps to know what’s in your glass.
- Calories (per 12 oz shake): 350–450 (depends on ice cream brand and milk)
- Fat: 15–25g
- Sugar: 35–50g
- Protein: 7–10g
If you use low-fat or non-dairy ingredients, calories and fat will be lower. Adding protein powder increases protein but also calories.
For a more detailed breakdown, check the nutrition labels on your ice cream and milk.
Non-obvious Insights For The Best Vanilla Milkshake
Many people miss these small but powerful tricks for an even better shake:
- Add a pinch of salt: Just 1/8 teaspoon can make the vanilla flavor pop and balance the sweetness. Many restaurants use this trick.
- Use ice cream with egg yolks (French vanilla): This style is richer and gives a silkier texture than regular vanilla.
- Let the shake rest for 1 minute: After blending, let it sit in the glass. This allows bubbles to settle and the flavor to develop.
- Blend mix-ins separately: If you want big chunks (cookie pieces, candy), blend them for just 2–3 seconds at the end, not with the base.
Credit: www.youtube.com
Frequently Asked Questions
How Do I Make My Vanilla Milkshake Thicker?
For a thicker shake, use more ice cream and less milk. Make sure the ice cream is hard and cold when blending. You can also freeze the serving glass before pouring in the shake. If you want it even thicker, add a few ice cubes or use a little heavy cream instead of some milk.
Can I Use Frozen Yogurt Instead Of Ice Cream?
Yes, you can use frozen yogurt for a lighter version. The shake will have a tangier taste and be lower in fat. Use the same amount as you would ice cream. You may need to add a bit more vanilla extract to boost the flavor.
Is The Ninja Blender Safe For Crushing Ice Or Frozen Fruit In Milkshakes?
The Ninja blender is designed for tough jobs like crushing ice and blending frozen fruit. It’s safe and effective, but always add a bit of liquid first to help the blades move. Don’t overload with hard, frozen ingredients, and use pulse mode to avoid overworking the motor.
How Do I Clean The Ninja Blender After Making A Milkshake?
Rinse the blender pitcher and blades with warm water right away. For a deeper clean, fill halfway with warm water and a drop of dish soap, then blend for 30 seconds. Rinse thoroughly and let all parts dry before reassembling. Most Ninja pitchers are dishwasher-safe (top rack). For official cleaning guidelines, see the Ninja Kitchen Support site.
Can I Make A Vanilla Milkshake Without Ice Cream?
You can make a vanilla milkshake without ice cream by blending milk, ice, a little heavy cream, sugar, and vanilla extract. The texture will be lighter and less creamy, but you’ll still get a refreshing, cold treat. For extra thickness, add frozen banana or use non-dairy ice cream alternatives.
Making a vanilla milkshake with a Ninja blender is simple, fast, and rewarding. With a few quality ingredients and the right steps, you’ll enjoy a classic treat any time you want, and you’ll have the confidence to experiment with new flavors and mix-ins.
Whether you’re making a single shake for yourself or serving a crowd, the Ninja blender helps you get smooth, creamy results every time. Enjoy your milkshake adventure!