How To Make Coffee Ice Cream In A Ninja Blender: Easy Recipe
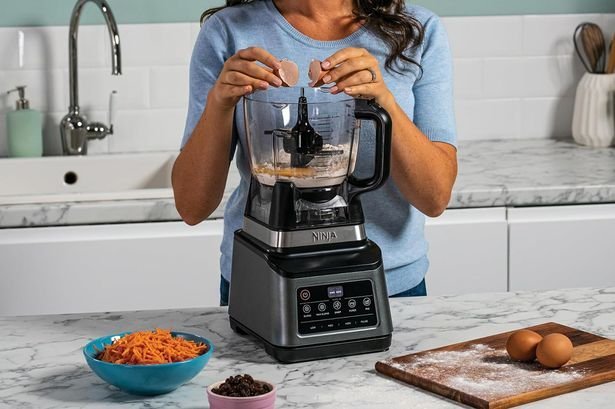
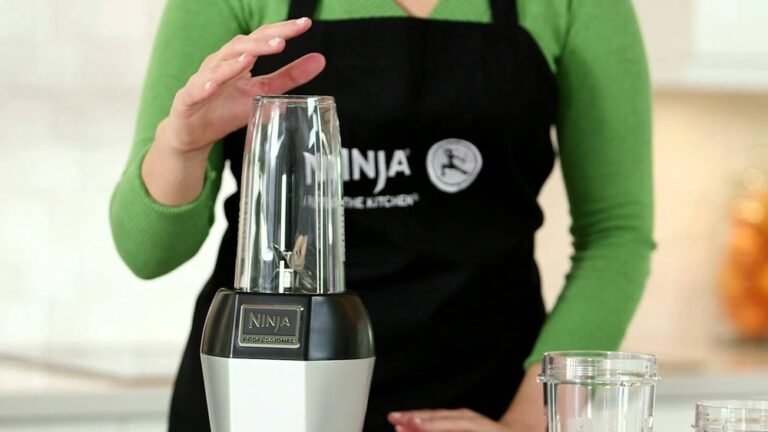
Making coffee ice cream at home is easier than you might think, especially if you have a Ninja Blender. This machine is powerful and versatile, letting you create creamy, flavorful ice cream without needing a traditional ice cream maker. If you love coffee and ice cream, why not combine them? You’ll enjoy the taste, save money, and have full control over the ingredients.
This guide shows you how to make coffee ice cream in a Ninja Blender step-by-step. You’ll learn about the best ingredients, key techniques, and tips for smooth, rich ice cream every time. Whether you’re new to homemade ice cream or just looking for a reliable recipe, you’ll find everything you need here.
Plus, you’ll discover practical advice, common mistakes to avoid, and answers to the most frequent questions.
Let’s dive in and start creating your own coffee ice cream masterpiece.
Why Make Coffee Ice Cream In A Ninja Blender?
Many people believe making ice cream requires special machines or complex steps. But with a Ninja Blender, you can prepare delicious ice cream using simple methods and everyday ingredients.
Convenience And Speed
A Ninja Blender is known for its powerful blades and high-speed blending. This makes it possible to mix frozen ingredients quickly and evenly. Compared to old-fashioned ice cream makers, Ninja Blenders save time. Instead of waiting hours, you can blend your ice cream base in minutes.
Control Over Ingredients
When you make ice cream at home, you choose what goes inside. Many store-bought ice creams contain additives, preservatives, or too much sugar. Using a Ninja Blender, you can:
- Adjust sweetness
- Choose your preferred coffee flavor
- Avoid artificial colors and flavors
- Add mix-ins (like chocolate chips or nuts) easily
Cost Savings
Buying specialty ice cream, especially coffee flavors, can be expensive. Homemade ice cream is often cheaper per serving, especially if you use ingredients you already have. Plus, you can make just the amount you need, reducing waste.
A Fun Experience
Making ice cream is a creative process. You can experiment with flavors, textures, and toppings. Kids and adults both enjoy the activity, making it a great family project.
Essential Ingredients For Coffee Ice Cream
To get creamy, flavorful coffee ice cream, you need the right ingredients. Here’s what you’ll need for a classic recipe, plus options for customization.
Basic Ingredients
- Heavy cream – This creates a rich, smooth texture. Use at least 36% fat for best results.
- Whole milk – Balances the cream and helps with consistency.
- Sugar – Adds sweetness and softens the ice cream.
- Instant coffee or brewed coffee – Provides the coffee flavor. Instant coffee is easier for blending, but strong brewed coffee works too.
- Vanilla extract – Enhances the coffee taste and adds depth.
Optional Ingredients
- Egg yolks – For a custard-style ice cream, making it even creamier.
- Salt – A pinch balances sweetness and deepens flavor.
- Mix-ins – Chocolate chips, chopped nuts, caramel swirls, or cookie pieces.
Ingredient Quantities
Here’s a classic coffee ice cream recipe for about 4–6 servings:
- Heavy cream: 2 cups (480 ml)
- Whole milk: 1 cup (240 ml)
- Sugar: ¾ cup (150 g)
- Instant coffee: 3 tablespoons (or ½ cup strong brewed coffee)
- Vanilla extract: 1½ teaspoons
- Salt: 1/8 teaspoon (optional)
If you use egg yolks, add 3 for extra richness. Make sure to cook the base if you include eggs (instructions below).
Choosing The Best Coffee For Your Ice Cream
The flavor of your ice cream depends mostly on the coffee you use. Here’s how to select the best option:
Instant Coffee Vs Brewed Coffee
Instant coffee dissolves easily and gives a consistent taste. You can adjust the strength by adding more or less powder. Brewed coffee adds more complexity but can water down the mixture if not concentrated.
Coffee Strength And Roast
- Dark roast gives a deep, bold flavor.
- Medium roast is balanced and less bitter.
- For strong coffee taste, use espresso or concentrated cold brew.
Quality Matters
Use fresh coffee for the best aroma and taste. Cheap coffee can make your ice cream taste dull or bitter.
Table: Coffee Types Comparison
| Coffee Type | Flavor Profile | Effect On Ice Cream |
|---|---|---|
| Instant Coffee | Smooth, mild | Easy to blend, consistent |
| Brewed Coffee | Complex, aromatic | Needs concentration, may add wateriness |
| Espresso | Strong, bold | Intense flavor, ideal for coffee lovers |
| Cold Brew | Low acidity, rich | Smooth, less bitter, can use as base |
Step-by-step: Making Coffee Ice Cream In A Ninja Blender
Follow these instructions for creamy, homemade coffee ice cream. You’ll see both a custard-style (with eggs) and a no-egg version.
No-egg Method (fastest, Easiest)
- Chill Your Ingredients
- Place heavy cream, milk, and coffee in the refrigerator at least 2 hours before starting.
- Cold ingredients blend better and freeze faster.
- Mix Ingredients
- Add heavy cream, milk, sugar, instant coffee, vanilla extract, and salt into the Ninja Blender pitcher.
- Blend
- Blend on high for 1–2 minutes, until smooth and fully combined.
- Taste and adjust coffee or sugar if needed.
- Freeze
- Pour the mixture into a freezer-safe container.
- Cover tightly and freeze for 4–6 hours, stirring every 45–60 minutes for the first 2–3 hours. This helps prevent ice crystals.
- Serve
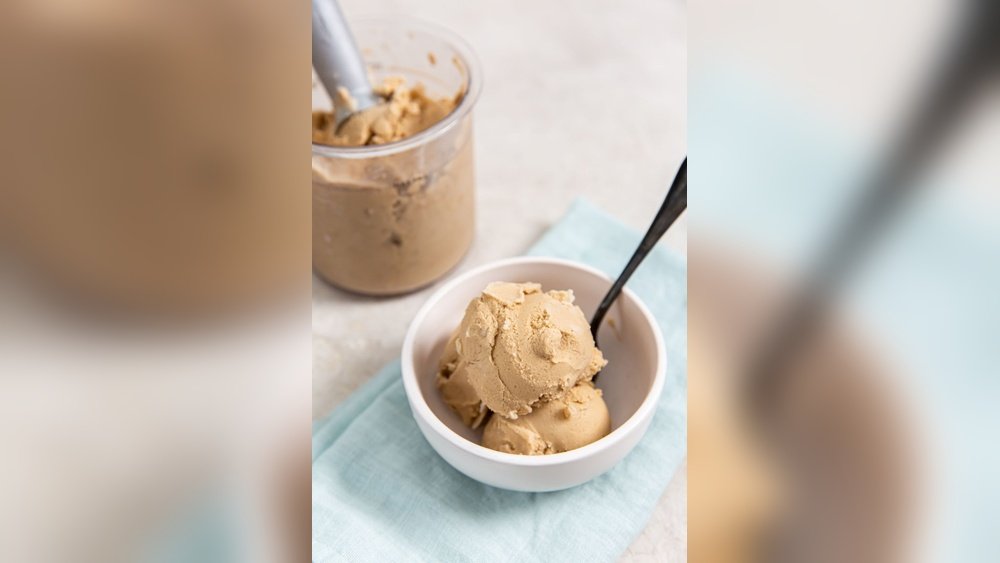
- Scoop and enjoy. If too hard, let it sit at room temperature for 5–10 minutes before scooping.
Custard Method (extra Creamy)
This method involves cooking the base before blending.
- Prepare Custard Base
- In a saucepan, combine milk and heavy cream.
- Heat gently until warm (do not boil).
- In a separate bowl, whisk egg yolks and sugar until pale.
- Combine And Cook
- Slowly pour warm milk into egg yolks, whisking constantly.
- Return mixture to saucepan. Add instant coffee.
- Cook over low heat, stirring, until thickened (about 170°F / 77°C).
- Cool And Blend
- Remove from heat. Stir in vanilla extract and salt.
- Chill the mixture completely (use an ice bath or refrigerate for 2 hours).
- Blend in Ninja Blender for 1 minute.
- Freeze And Stir
- Pour into a freezer container, cover, and freeze.
- Stir every hour for the first 3 hours.
- Serve
- Enjoy creamy, rich ice cream.
Practical Tips For Best Results
- Use a metal pan for freezing; it chills faster than glass or plastic.
- If adding mix-ins, fold them in after the first hour of freezing.
- For soft-serve texture, serve after 3 hours of freezing.
- Avoid over-blending; too much air makes ice cream icy.

Credit: laraclevenger.com
Ninja Blender Features That Make Ice Cream Easy
The Ninja Blender stands out for several reasons when making ice cream.
Powerful Motor
With motors ranging from 1000 to 1500 watts, Ninja Blenders can handle thick mixtures and frozen ingredients. This helps create smooth, lump-free ice cream.
Blade Design
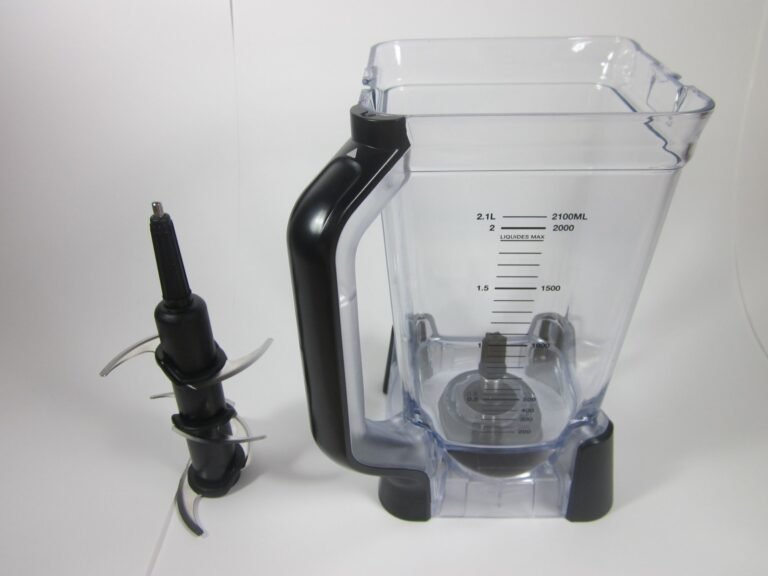
Ninja’s multi-level blades cut through ice and frozen fruit, mixing ingredients evenly. You don’t need to stop and scrape the sides as often.
Multiple Settings
Most Ninja models have settings like “Ice Cream,” “Frozen Dessert,” or “Blend. ” These optimize speed and blending time for creamy results.
Table: Ninja Blender Model Comparison
| Model | Motor Power | Ice Cream Setting | Container Size |
|---|---|---|---|
| Ninja Professional | 1100 watts | No (use Blend) | 72 oz |
| Ninja Foodi Power Pitcher | 1400 watts | Yes | 72 oz |
| Ninja Creami | 1500 watts | Yes | 16 oz (personal) |
Cleaning And Maintenance
Ninja Blenders are easy to clean. Most parts are dishwasher safe. Just rinse the blades, pitcher, and lid after use.
Customizing Your Coffee Ice Cream
You can personalize your ice cream in many ways. Here are some ideas and practical advice.
Flavor Variations
- Mocha Ice Cream – Add ¼ cup cocoa powder or melted chocolate for chocolate-coffee flavor.
- Caramel Coffee – Swirl in homemade caramel sauce after blending.
- Nutty Coffee – Mix in chopped almonds, hazelnuts, or pecans.
- Spiced Coffee – Sprinkle cinnamon or nutmeg into the blend.
Sugar Alternatives
If you want a lower-sugar option, try:
- Stevia or monk fruit sweetener
- Honey or maple syrup (adjust quantities for sweetness)
Dairy-free Options
Replace dairy with:
- Coconut milk and coconut cream
- Almond milk (add extra fat for creaminess)
- Oat milk (choose barista versions for thicker texture)
Dairy-free ice cream may freeze harder; let it thaw before scooping.
Table: Ingredient Substitutes
| Original Ingredient | Substitute | Effect On Texture |
|---|---|---|
| Heavy Cream | Coconut Cream | Rich, slightly coconut flavor |
| Whole Milk | Oat Milk | Light, less creamy |
| Sugar | Honey | Smoother, mild honey taste |
| Instant Coffee | Espresso | Stronger coffee flavor |
Alcohol For Texture
Adding a tablespoon of vodka or coffee liqueur keeps ice cream soft and scoopable. Alcohol lowers freezing point, preventing icy texture. Don’t add too much, or flavor will change.
Common Mistakes And How To Avoid Them
Even experienced home cooks make mistakes with ice cream. Here’s what to watch for:
- Over-Blending: Too much blending introduces air, making ice cream icy. Blend until just combined.
- Using Warm Ingredients: Warm mixtures take longer to freeze and may separate. Always chill before blending.
- Not Stirring During Freezing: Stirring prevents large ice crystals and keeps ice cream creamy.
- Weak Coffee Flavor: Use concentrated coffee or extra instant powder for strong taste. Diluted coffee makes bland ice cream.
- Adding Mix-Ins Too Soon: Mix-ins should go in after partial freezing, or they’ll sink to the bottom.
Serving And Storage Tips
Once your ice cream is ready, presentation matters. Here’s how to serve and store it for best results.
Serving Suggestions
- Scoop into bowls or cones.
- Top with chocolate syrup, whipped cream, or espresso powder.
- Add a few coffee beans for decoration.
- Pair with brownies or cookies for dessert.
Storage Advice
- Keep ice cream in an airtight container to prevent freezer burn.
- For best texture, eat within 2 weeks.
- If ice cream becomes hard, let it thaw 10 minutes before scooping.
Portion Size And Calories
Typical homemade coffee ice cream (with full-fat cream and sugar) has about 250–300 calories per ½ cup. You can reduce calories by using milk substitutes or sugar alternatives.

Credit: georgeats.com
Health And Nutrition Information
Coffee ice cream can be enjoyed as a treat, but it’s good to know what’s inside.
Main Nutrients
- Fat: Mostly from heavy cream; gives creamy texture.
- Sugar: Adds sweetness but increases calories.
- Caffeine: Amount depends on coffee used. Instant coffee has less caffeine than espresso.
How Much Caffeine?
A serving of coffee ice cream made with instant coffee typically has 10–30 mg caffeine per ½ cup. Using espresso can raise this to 40–60 mg. For comparison, a cup of regular coffee has about 95 mg caffeine.
Dietary Adjustments
If you need to reduce fat or sugar, use lighter dairy, sugar substitutes, or add fruit for sweetness.
Two Non-obvious Tips For Better Coffee Ice Cream
- Use Coffee Extract: Adding a few drops of coffee extract boosts flavor without increasing bitterness or water content. This is different from vanilla extract and is available in specialty stores.
- Pre-Freeze Blender Pitcher: Place your Ninja Blender pitcher in the freezer for 30 minutes before blending. This keeps the mixture colder, resulting in smoother ice cream and faster freezing.

Credit: www.mommyhatescooking.com
Real-world Example: Making Coffee Ice Cream For A Party
Imagine you’re hosting a party for 10 people. You want to serve coffee ice cream but don’t have an ice cream maker. With a Ninja Blender, you can double the recipe and prepare two batches in under an hour.
- Use the “Frozen Dessert” setting for best results.
- Prepare mix-ins ahead (like chocolate chips).
- Freeze in large metal pans for faster chilling.
- Scoop and serve with toppings. Guests will love the homemade touch, and you’ll save money compared to buying premium ice cream.
Frequently Asked Questions
Can I Make Coffee Ice Cream Without Dairy?
Yes, you can use coconut cream, almond milk, or oat milk. Coconut cream gives the richest texture. For best results, add a tablespoon of cornstarch to thicken the mixture. Keep in mind, dairy-free versions may freeze harder, so let them thaw before serving.
How Strong Should The Coffee Flavor Be?
This depends on your taste. For mild coffee ice cream, use 2 tablespoons instant coffee. For strong flavor, use 3–4 tablespoons or espresso. Always taste your mixture before freezing and adjust as needed.
Can I Use Decaf Coffee?
Absolutely. Decaf instant coffee or brewed decaf works well. The ice cream will taste the same, but with less caffeine. This is ideal for children or anyone sensitive to caffeine.
What’s The Best Way To Add Mix-ins?
Wait until the ice cream is partially frozen (about 1–2 hours in the freezer) before adding mix-ins like chocolate chips, nuts, or caramel. Stir gently to distribute evenly, then continue freezing.
Is Homemade Coffee Ice Cream Healthier Than Store-bought?
Usually, yes. You control the ingredients, avoid unnecessary additives, and can adjust sugar or fat levels. Homemade ice cream is fresher, and you can make it suit your dietary needs. For more on nutrition, check out EatRight.org.
Making coffee ice cream in a Ninja Blender is simple, fun, and delicious. You can customize flavors, control nutrition, and impress your friends and family. With the steps and tips in this guide, you’ll enjoy coffee ice cream just the way you like it—whenever you want.