
Best Uses For Immersion Blender: Soups, Sauces and More
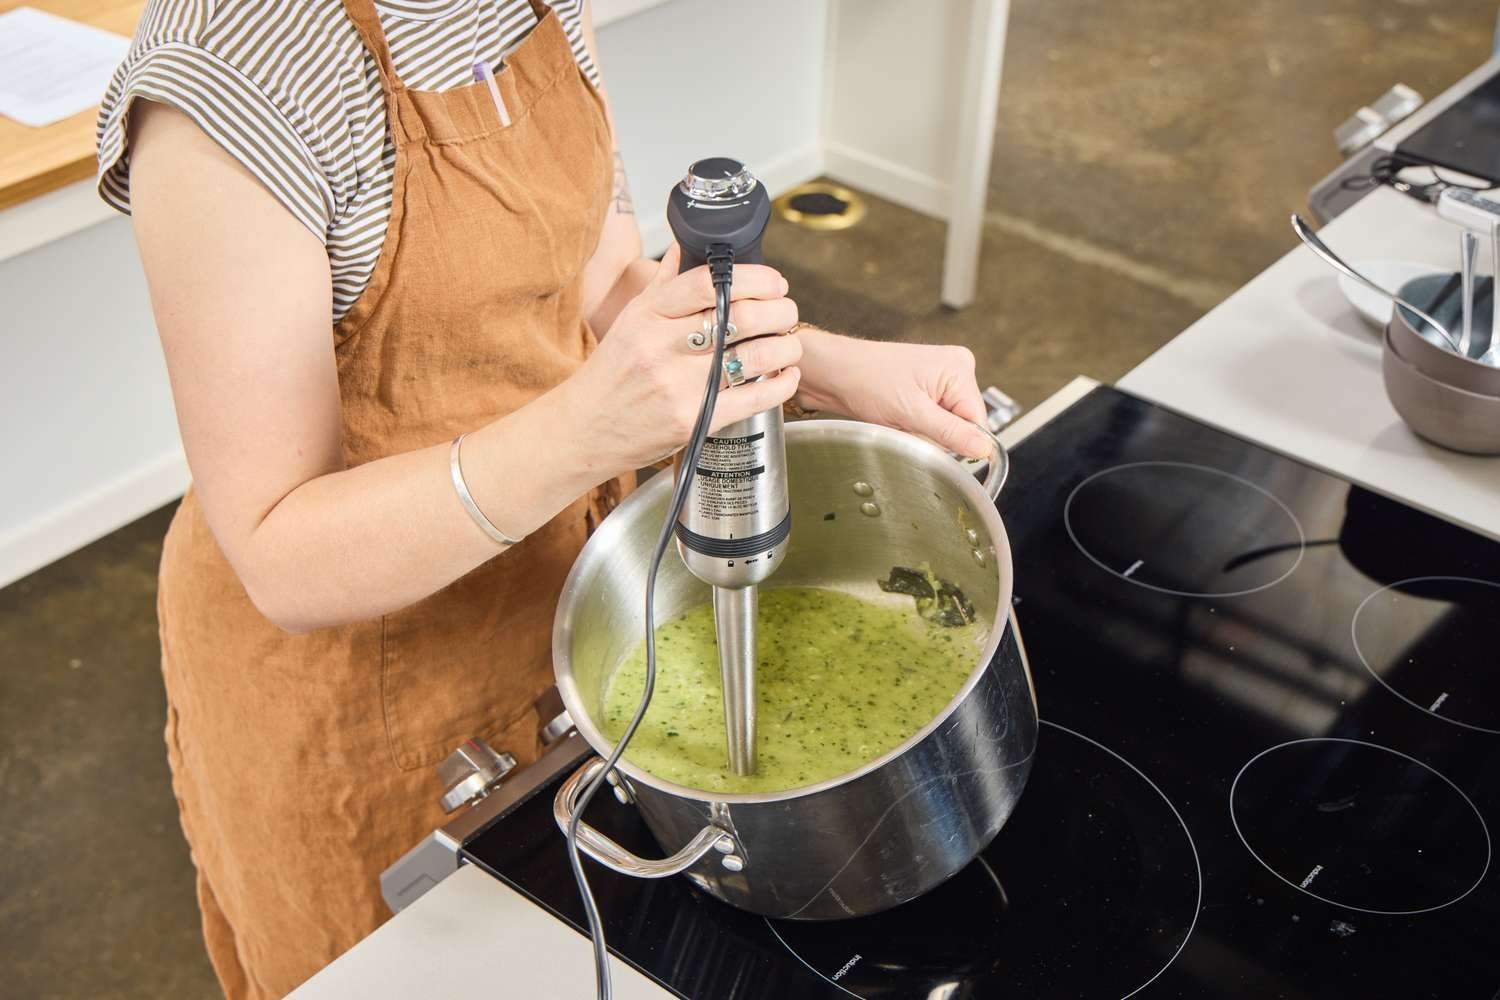
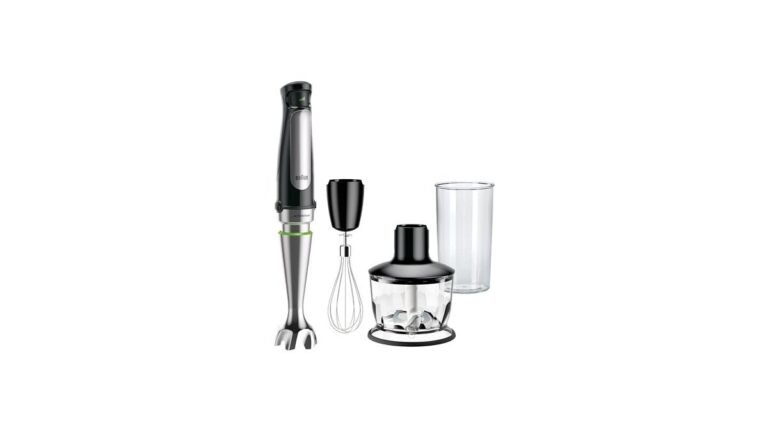
The best uses for an immersion blender are pureeing hot soups directly in the pot, making smooth sauces like mayonnaise or hollandaise, and blending small batches of baby food or smoothies. It works by spinning a sharp blade inside a bell-shaped guard at the end of a stick motor you hold in your hand. You get the most value when working with liquids or soft foods in tall, narrow containers.
What an immersion blender actually does
An immersion blender is a handheld electric tool with a motor on top and a spinning blade at the bottom. You lower the blade directly into your food instead of pouring food into a separate machine. It’s built for jobs where moving hot or heavy liquids from a pot to a countertop jar is risky or messy. The main job is turning chunky mixtures into smooth ones right where they already sit.
It fits kitchens where counter space is tight. If you cook soups, sauces, or batters often, it saves you the trouble of washing a large glass pitcher. It isn’t meant for crushing ice cubes or kneading thick bread dough. The motor is too small and the blades are too short for those heavy tasks.
The biggest false idea people bring to this tool is that it works exactly like a standard countertop blender. It doesn’t. A countertop blender relies on a wide jar and high speed to pull food down into a vortex. An immersion blender needs you to move it through the food yourself. The blade only reaches what touches the metal guard around it.
Inside the bell-shaped guard at the bottom, the blade spins fast enough to pull liquid in through the side holes. That liquid hits the blade, gets chopped, and pushes out the bottom. This flow only happens if the guard stays under the surface. Lift it up while it’s running, and the spinning blade throws food across the room. Keep it submerged, and you’ll get a smooth result without any mess.
How to use an immersion blender step by step
Follow these steps whenever you blend a soup, sauce, or drink. They assume you’re using a standard 200-to-300-watt model, which is typical for home kitchens. If your model is over 500 watts, start on the lowest setting and check the texture sooner.
- Pick the right container. Use a tall, narrow pot or a deep beaker. The container must be deep enough to cover the blender’s metal guard by at least one inch. Wide, shallow pans cause splattering because the blade pulls air into the liquid.
- Check the temperature. If you’re blending hot soup, turn off the stove burner first. Boiling liquid can splash and burn you when the blade hits it. Let the bubbling stop completely before you insert the tool.
- Insert the blender unplugged. Lower the blade end all the way to the bottom of the pot before you plug it in or press the power button. Tilting it slightly helps release trapped air bubbles from inside the guard.
- Start on low speed. Press the power button on the lowest setting. Let the motor run for about five seconds while holding it still against the bottom. This creates a steady flow of liquid through the blades without throwing chunks upward.
- Move slowly up and down. Once the bottom is smooth, tilt the stick slightly and lift it half an inch. Move it in slow circles around the pot. Spend about ten seconds in each spot. Don’t rush or lift it near the surface.
- Increase speed if needed. Switch to high speed only after the large chunks are gone. Run it on high for another fifteen to twenty seconds to finish the texture. High speed on raw chunks causes the motor to stall.
- Turn off before lifting. Release the power button completely while the blade is still under the liquid. Wait two seconds for the spinning to stop. Only then lift the tool out of the pot.
- Wipe the guard immediately. Rinse the metal bell under warm water right away. Dried puree hardens inside the small side holes and blocks the flow next time. Never submerge the top motor part in water.
The single judgement call that separates a smooth result from a lumpy one is how fast you move the stick. If you drag it quickly through the pot, the blade misses chunks. If you hold it still too long in one spot, you create a whirlpool that just spins the same liquid.
Move it steadily—about one inch per second—so fresh food constantly enters the guard. For very thick mixtures like hummus, pause every thirty seconds so the motor doesn’t overheat. If the tool feels too hot to hold comfortably, unplug it and wait five minutes.
Immersion blender settings for common foods
Different foods need different speeds, depths, and times. Using the wrong setting leaves chunks or burns out the motor. These times assume a standard 250-watt home model. If yours is weaker, add about 50% more time; if it’s stronger, check the texture earlier.
| Situation | What to use | How long | What to watch for |
|---|---|---|---|
| Hot vegetable soup (cooked soft) | Low speed, then medium | 45–60 seconds total | Keep the guard fully submerged to prevent hot splashes. |
| Mayonnaise or salad dressing | High speed, tall narrow jar | 20–30 seconds | Start with the blade touching the bottom egg yolk layer. |
| Fruit smoothie (no hard ice) | Medium to high speed | 30–45 seconds | Cut fruit into 1-inch pieces first so the motor doesn’t stall. |
| Baby food puree | Low speed | 20–30 seconds | Add a tablespoon of cooking water if it’s too thick to flow. |
| Tomato sauce (removing seeds/skins) | Medium speed | 30–40 seconds | Don’t over-blend or the sauce turns pale from trapped air. |
| Pancake or crepe batter | Low speed | 10–15 seconds | Stop as soon as flour lumps disappear to keep it tender. |
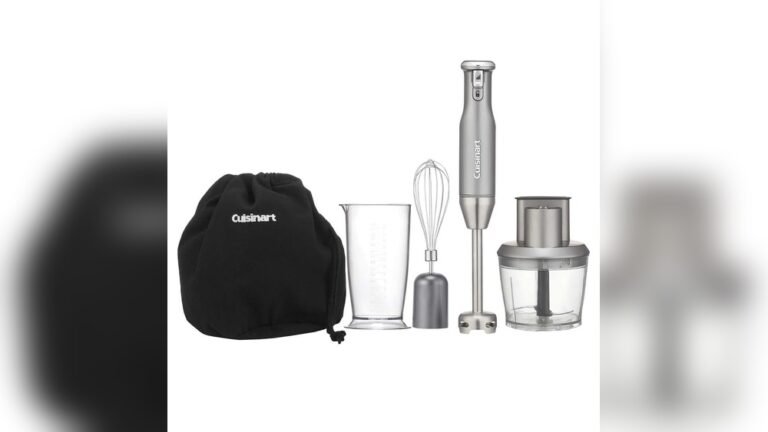
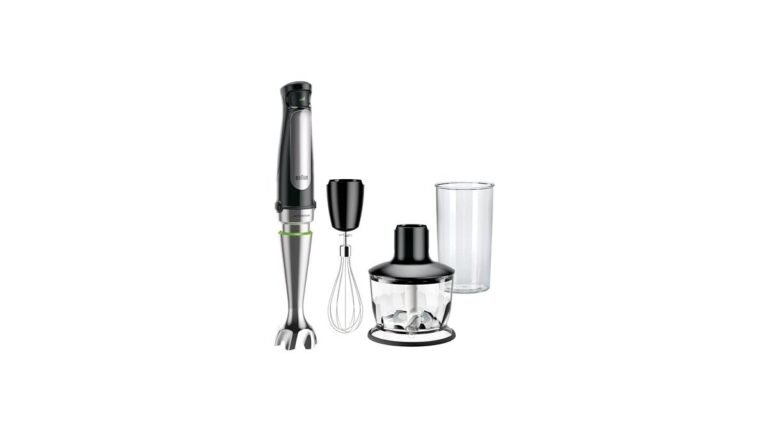
| Whipped cream (with whisk attachment) | High speed | 60–90 seconds | Chill the bowl and cream first; warm cream won’t thicken. |
You don’t need high speed for everything. Soft cooked vegetables break down easily on low. Save the high setting for emulsions like mayo, where oil and water need force to bind together. Always match the container shape to the task. Emulsions fail in wide bowls because the oil spreads out faster than the blade can catch it.
If you’re working with a smaller amount than usual—say, one cup instead of four—the time drops by about half, but the splatter risk goes up. Use a container that barely fits the guard. When the liquid level falls below the side holes of the bell, air mixes in and ruins the texture. Check your specific model’s manual for its minimum liquid depth, as that number varies by brand and blade size.
Details that make blending smoother
Getting a perfect texture comes down to preparation and movement, not just pressing a button. People who get consistently smooth results handle the food before the motor ever turns on.
Preparing the food first
Cut cooked vegetables into roughly equal pieces before you start blending. If you leave a whole potato next to tiny peas, the blade destroys the peas while the potato stays chunky. Uniform sizes mean uniform textures.
For sauces requiring oil, like vinaigrettes, put the heavier ingredients in the jar first. Pour the oil on top. When you lower the blender to the bottom and start it, the blade catches the heavy base first. It slowly pulls the oil down through the spinning liquid. If you dump everything in randomly, the oil floats away from the blade and the sauce splits.
Leave tough skins on onions or tomatoes if you plan to strain the soup later. The blender chops them fine enough to pass through a mesh sieve, saving you the peeling work. But remove hard stems from herbs like rosemary. The blade can’t pulverize woody stems, and leaving them in gives you sharp little splinters in your sauce.
Controlling the blade movement
Hold the stick at a slight angle rather than perfectly straight up and down. A tilted guard lets liquid flow through the side holes much faster. You’ll finish the job in fewer passes.
Don’t pump the blender up and down rapidly. That motion traps air under the bell. Air makes hot soup foam up and overflow the pot. Instead, sweep slowly along the bottom, then gradually raise the stick as the lower layers turn smooth.
Listen to the motor. A steady hum means the food is flowing correctly. A high-pitched whine means the blade is spinning in empty liquid or hitting a pocket of air. A struggling, slow sound means the mixture is too thick. Add a splash of water or broth immediately if you hear that slow grinding. Ignoring it burns out the motor windings, which costs more to replace than buying a new tool.
If you’re blending something with whole spices or nuts, pulse the trigger briefly instead of holding it down. Short bursts crack hard items without pushing them away from the blade. Continuous running just pushes heavy nuts to the edges of the pot where the blade can’t reach them.
Troubleshooting blending problems
When the result looks wrong, the cause is usually the container shape, the liquid level, or the speed. Match what you see to the fix below to save the batch.
| What you notice | What it usually means | What to do first |
|---|---|---|
| Liquid splashing out of the pot | The guard is too close to the surface. | Turn off the motor, push the stick deeper, restart on low. |
| Large chunks left after blending | The container is too wide for the volume. | Pour the mixture into a taller, narrower jar and blend again. |
| Motor stops or smells hot | The mixture is too thick for the wattage. | Unplug it, stir in 2 tablespoons of liquid, wait 5 minutes. |
| Sauce separates into oil and water | The oil was added too fast or too early. | Start over with one egg yolk, slowly blend the broken sauce into it. |
| Foam forming on top of soup | Air is being whipped into the liquid. | Tilt the pot slightly and keep the guard angled underwater. |
| Scratching noise against the pot | The blade is hitting the bottom surface. | Lift the stick a quarter inch so the guard rests flat on the base. |
A scratched nonstick pot is a permanent loss caused by resting the spinning metal guard directly on the coating. Transfer the food to a stainless steel or glass container before blending. Don’t try to “hover” perfectly above a delicate surface while the motor shakes your hand. Glass measuring jugs or stainless steel stockpots handle the metal bell safely.
If the motor smells like burning plastic, unplug it instantly. Don’t open the plastic housing to check the wires yourself. Take it to a small appliance repair shop if it won’t restart after cooling down for twenty minutes.
Safety limits for hot liquids
Blending hot food carries real risks if you ignore basic physics. The US Consumer Product Safety Commission warns that sealed containers heated in blenders can build steam pressure and burst. An immersion blender avoids this because the pot is open, but splashing remains a danger.
Never blend a liquid that’s actively boiling on the stove. Rolling boils push liquid upward unpredictably. When the spinning blade meets a rising bubble, it throws that boiling water outward. Turn off the heat and wait until the surface is completely still. The USDA recommends keeping hot foods above 140°F to prevent bacterial growth, so you don’t need to let the soup cool to room temperature. Just stop the boiling.
Fill your pot no more than halfway when using the blender. The swirling action raises the liquid level significantly. A pot filled to the brim will overflow the moment you turn the motor on, sending hot food onto your hands and the stove burners.
Keep the power cord draped over your shoulder or routed away from the hot stove burner. A melted cord exposes live wires. If your kitchen outlet lacks a ground fault circuit interrupter (GFCI), have one installed by a qualified electrician or use a portable GFCI adapter. Water and electricity near a sink require that protection.
Check the manufacturer’s maximum temperature rating printed on the metal shaft. Some cheaper models use plastic gears inside the bell that warp if submerged in liquids over 180°F for extended periods. If you can’t find that limit on the tool or in the manual, contact the brand’s support line before blending freshly boiled stock.
Cleaning and storing the tool
Proper care keeps the blade sharp and prevents old food flavors from mixing into your next meal. Wash the blending shaft immediately after you finish cooking.
Rinse the metal guard under warm running water while the food is still wet. If you let pureed starch or dairy dry inside the bell, it cements itself to the blade. Most detachable shafts are dishwasher safe on the top rack, but hand washing takes ten seconds and prevents dulling the edge against other utensils. Never put the motor body in water or the dishwasher. Wipe it with a damp cloth instead.
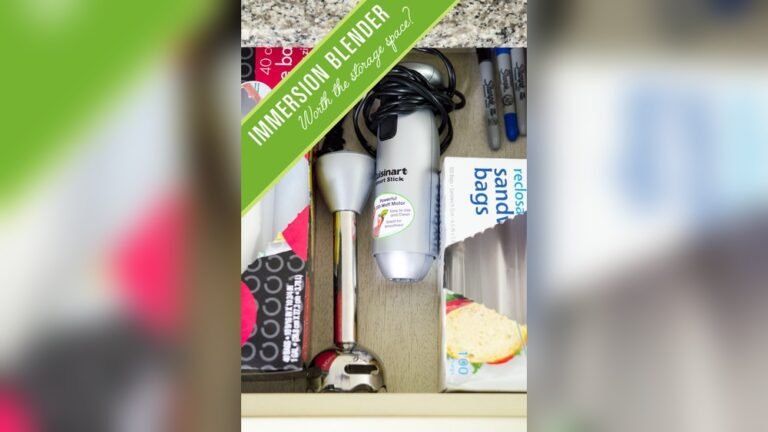
Dry the shaft completely before reattaching it to the motor. Trapped moisture between the plastic connection points breeds mold and rusts the metal drive socket. Store the blender standing upright in a drawer or hanging on a hook. Laying it flat in a crowded drawer bends the thin metal guard or chips the blade against heavier pots.
Inspect the rubber seal where the shaft meets the motor, as how often this is needed depends entirely on use and your owner’s manual is the authority. If it looks cracked or feels sticky, food particles are getting inside the gear mechanism. Replacement seals depend entirely on your specific brand and model number. Check the manufacturer’s parts page for the correct size, as a loose seal lets liquid drip directly into the electrical motor.
Don’t wrap the power cord tightly around the motor body for storage. Bending the copper wires inside at sharp angles eventually breaks them. Loop the cord loosely and secure it with a twist tie. If the blender runs intermittently or cuts out when you wiggle the cord, the internal wire is broken. That requires professional repair, not tape.
When a countertop blender or food processor is better
This tool handles liquids beautifully, but it fails at tasks that need heavy crushing or dry chopping. Knowing when to leave it in the drawer saves you frustration and protects the motor.
If you need to crush solid ice for frozen drinks, put the immersion blender away. The small blades bounce off ice cubes without breaking them, and the resistance strips the plastic gears. A standard countertop blender with a heavy glass jar and wider blades is built specifically for that impact.
For finely mincing raw vegetables without adding liquid—like making salsa or coleslaw—a food processor is the right choice. An immersion blender needs liquid to create the flow that pulls food into the blade. Without enough liquid, it just pushes dry chunks around the bowl in circles.
Kneading dough or mixing very stiff cookie batter will burn out the motor in seconds. Stand mixers have the torque and heavy anchors required for gluten development. The immersion blender’s thin shaft twists and snaps under that kind of physical resistance.
Finally, if you’re making a large batch of smoothie for five or more people, the narrow blending area takes far too long. You’d have to blend in multiple small batches anyway. Pouring everything into a large-capacity countertop blender finishes the job in one cycle. Stick to the immersion blender for single servings or tasks where the food is already in a heavy cooking pot.
Frequently asked questions
Can you use an immersion blender for mashed potatoes?
No, you shouldn’t use it for starchy foods like potatoes. The fast-spinning blade ruptures the cooked potato cells too aggressively, releasing gelatinized starch all at once. This turns the potatoes into a sticky, glue-like paste instead of fluffy mash. Use a standard potato masher or a ricer for potatoes. Save the immersion blender for fibrous vegetables like carrots, squash, or broccoli that benefit from being completely liquefied.
Why does my immersion blender scratch my nonstick pot?
The metal guard surrounding the blade is harder than the nonstick coating on your pan. Even gentle contact scrapes the coating off, ruining the pan and putting flakes into your food. Always transfer the mixture to a stainless steel pot, a glass bowl, or the plastic beaker that came with the blender. If you must blend in the cooking vessel, ensure it has an uncoated metal or enamel surface.
How long should you run an immersion blender continuously?
Most home models rated under 300 watts should run for no more than 60 seconds at a time. After a minute of continuous blending, release the trigger and let the motor rest for 30 seconds. This prevents the internal coils from overheating. Higher-end commercial models over 500 watts can often run for several minutes, but always check your specific user manual for the manufacturer’s stated duty cycle.
Is it safe to blend hot soup directly on the stove?
Yes, it’s safe as long as the burner is turned off and the liquid isn’t actively boiling. Blending over a live flame risks melting the power cord or splashing boiling liquid onto the gas ring. Keep the pot on the stove rather than carrying it to the counter where it might spill.
What happens if you use an immersion blender without liquid?
The motor will overheat rapidly, and the blade won’t chop anything effectively. The tool relies on liquid to carry food into the spinning blade and push it back out. Without liquid, dry ingredients just spin away from the center. Running it dry also creates intense friction heat that can warp the plastic components inside the bell guard. Always ensure there’s at least an inch of liquid covering the blade.
Can you make whipped cream with an immersion blender?
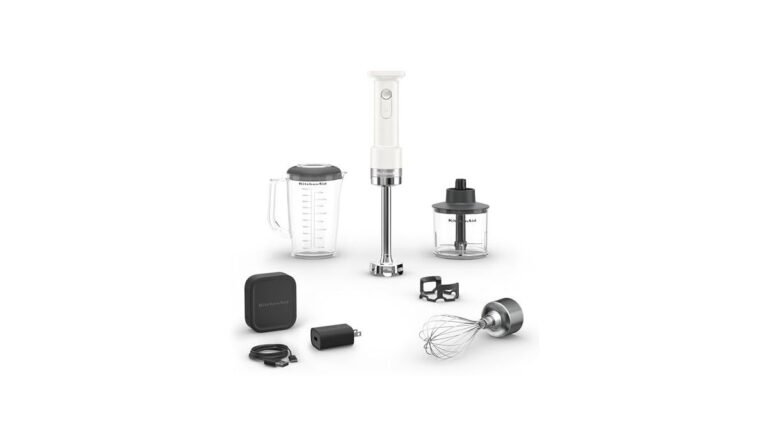
Yes, but only if your model includes a dedicated whisk attachment. The standard blending blade agitates the fat globules too violently, which turns the cream into butter within seconds. Snap on the wire whisk attachment, use a tall narrow container, and ensure the cream is very cold from the refrigerator. Run it on high speed for about 60 to 90 seconds, watching closely so it doesn’t over-whip into grainy clumps.
How deep should the immersion blender go into the liquid?
The metal guard needs to be completely submerged, plus at least one extra inch of liquid above the top holes. If the side holes break the surface while the motor is running, air gets sucked in and causes violent splattering. In a shallow pan where you can’t submerge the guard fully, tilt the pan slightly to pool the liquid deeper in one corner. Blend carefully in that deeper pool.
Conclusion
Every kitchen task has a tool that fits it naturally. The immersion blender earns its space by handling hot, messy, or small-batch jobs that make larger machines impractical. Keep the blade submerged, respect the motor’s limits, and choose the right container. Those three habits will give you smooth results without damaging your equipment or your pots.

One Comment