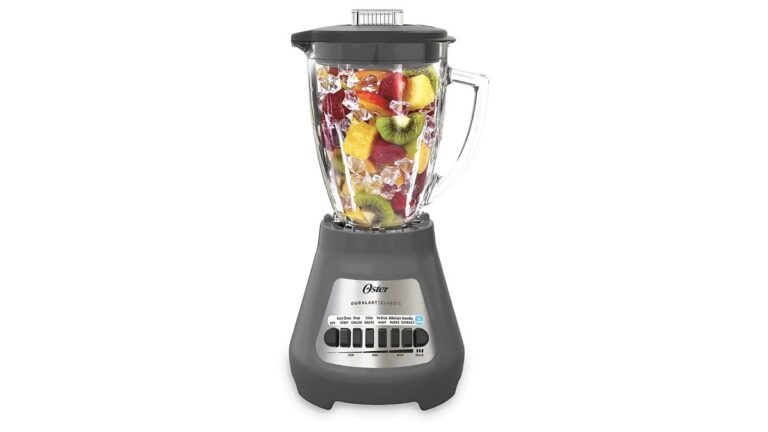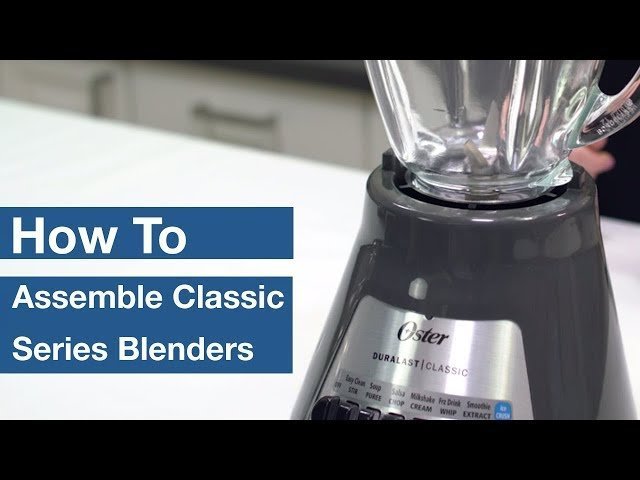
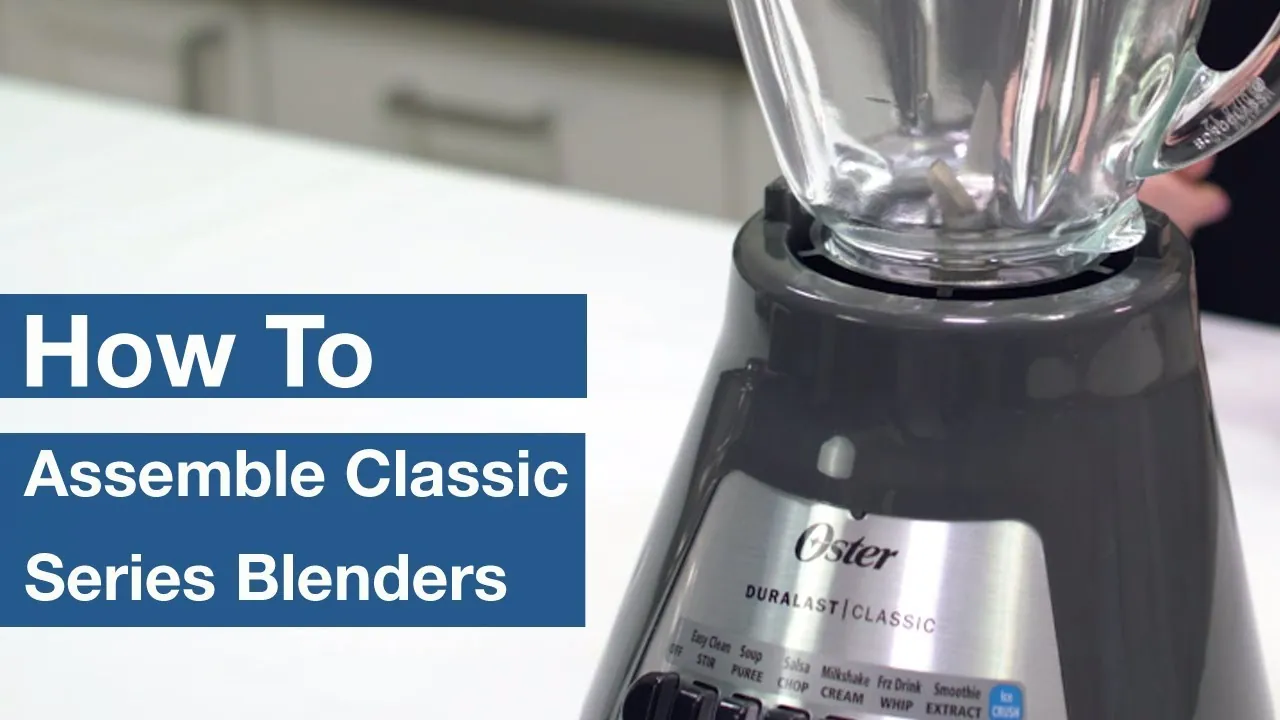
How To Assemble An Oster Duralast Classic Blender
Assembling an Oster Duralast Classic blender is a straightforward process that involves seating the blade assembly onto the jar, locking the jar onto the motor base, and securing the lid with its filler cap. Most owners finish the job in under five minutes, and the only tool you might need is a screwdriver for the base’s stabilizing feet. The steps below walk through every stage in order, from unboxing to your first blend, along with the mistakes that cause leaks, wobbles, and cracked jars.
Key Takeaways
- The blade assembly screws onto the bottom of the jar before the jar ever touches the motor base; reversing that order is the most common assembly error.
- The jar twists clockwise onto the base until it stops — a quarter-turn or less — and should sit flush with no rocking.
- The lid presses down and the filler cap twists in separately; a loose filler cap is the number-one cause of splatter during blending.
- Never run the blender with the jar empty or overfilled; keep contents between the minimum line and roughly three-quarters full.
- If the jar wobbles or the blade spins without engaging, stop and reseat the jar rather than forcing it — the coupler can strip.
- Wash the jar, lid, and blade assembly by hand or on the top rack only if your model’s manual allows it; the motor base is never submersible.
What Comes in the Box
Before you start, lay everything out and confirm you have all the parts. A complete Oster Duralast Classic setup typically includes the following:
- Motor base — the heavy unit with the control dial or buttons and a cord at the back.
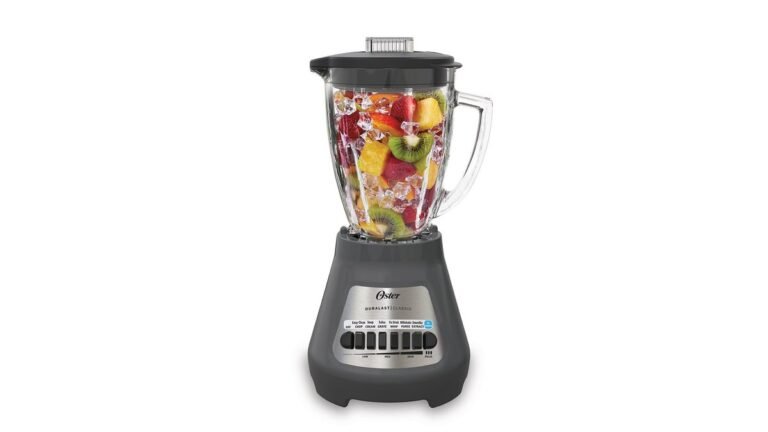
- Blender jar — glass on most Duralast Classic models, with measurement markings molded into the side.
- Blade assembly — a metal blade unit seated in a plastic or metal collar that screws onto the jar’s threaded bottom.
- Lid — a flexible or rigid cover that presses onto the jar’s rim.
- Filler cap — the small removable center piece of the lid, sometimes called a measuring cap or lid insert.
- Gasket or sealing ring — a rubber ring that sits inside the blade collar; on some models it’s pre-installed and on others it comes loose in the box.
- Owner’s manual — worth keeping, because blade and jar part numbers differ across Duralast Classic variants.
If the gasket is missing, the blender will leak no matter how tightly you screw the collar on. Check the box lining and the inside of the jar before you assume it was left out at the factory.
How To Assemble an Oster Duralast Classic Blender
This is the core sequence. Follow it in order and you won’t have to backtrack.
Step 1: Set Up the Motor Base
Place the base on a flat, dry, stable surface — a countertop, not a towel or a cutting board. The rubber feet need direct contact to damp vibration. Leave at least two inches of clearance behind and beside the base so the motor vents aren’t blocked, and make sure the cord reaches an outlet without stretching across a walkway or over a sink edge.
Step 2: Inspect the Blade Assembly
Hold the blade assembly by its collar, never by the blades. Check three things:
- The blades are intact, with no chips, bends, or wobble where they meet the center pin.
- The gasket is seated evenly in its groove inside the collar, with no twists or pinches.
- The threads on the collar are clean and free of dried food or grit.
Warning: Blender blades are sharp enough to cut through a sponge and into a finger. Hold the assembly by the outer collar only, and never reach into the jar while the blade assembly is attached.
Step 3: Attach the Blade Assembly to the Jar
Turn the jar upside down so its open mouth faces the ceiling and its threaded bottom faces you. Set the blade assembly onto the threaded opening and turn it counterclockwise as viewed from the bottom — which is clockwise if you flip the jar upright. It should thread smoothly and seat fully against the jar’s base.
Hand-tighten only. Over-tightening compresses the gasket unevenly and can crack a glass jar’s threads. A firm twist until it stops is enough.
Step 4: Flip and Seat the Jar on the Base
Turn the jar upright, holding the collar so it doesn’t loosen, and lower it onto the motor base. The jar’s bottom coupling must engage the drive stud — the small metal or plastic post at the center of the base. Set the jar down, then twist it clockwise until it seats. On most Duralast Classic models this is a short turn, well under a quarter rotation, and you’ll feel it stop positively.
Test for wobble by pressing gently on the jar’s rim. It shouldn’t rock side to side. If it does, lift it off and reseat it.
Step 5: Add the Lid and Filler Cap
Press the lid down onto the jar’s rim, working around the circumference so it seats evenly. Then insert the filler cap into the lid’s center opening and twist or press it until it locks. The filler cap is removable for adding ingredients mid-blend, but it must be in place before you start the motor.
Step 6: Test Before You Blend
With the jar empty and the lid on, pulse the motor for one second. You should hear the motor spin and see the blade assembly turn. If the blade doesn’t move, the jar isn’t fully seated — unplug the base, reseat the jar, and try again. Once the blade turns, you’re assembled and ready.
Assembly Sequence at a Glance
| Step | Action | What to Check | Typical Time |
|---|---|---|---|
| 1 | Place motor base on flat counter | Feet contact surface, vents clear | 30 seconds |
| 2 | Inspect blade assembly and gasket | No chips, gasket seated evenly | 1 minute |
| 3 | Screw blade assembly onto jar | Hand-tight, flush against jar base | 1 minute |
| 4 | Twist jar onto motor base | Engages drive stud, no wobble | 30 seconds |
| 5 | Press lid on, lock filler cap | Lid seated all around, cap locked | 30 seconds |
| 6 | Pulse test with empty jar | Blade spins freely | 15 seconds |
Total assembly time for a first-timer runs about three to five minutes. After the first few uses, most people reassemble the unit in under a minute because the threading and seating become muscle memory.
Common Assembly Mistakes To Avoid
Most problems people blame on the blender are actually assembly errors. These are the ones that come up again and again.
- Screwing the blade assembly on after placing the jar on the base. You can’t properly tighten the collar with the jar seated, and you risk cross-threading. Always attach the blade first.
- Forgetting the gasket. A missing or pinched gasket produces a steady drip from the collar that looks like a cracked jar but is not.
- Over-tightening the collar. This deforms the gasket and stresses glass threads. Firm hand-tight is correct; wrench-tight is not.
- Not seating the jar fully. A jar that’s a few degrees short of its stop won’t engage the drive stud, and the motor will spin with no blade movement.
- Leaving the filler cap loose. The cap is a separate seal from the lid. If it isn’t locked, liquid climbs out the center during high-speed blending.
- Blending with the lid off. Even on low speed, the vortex throws contents up and out. Always lid on, cap in.
- Filling past the top measurement line. Overfilling leaves no headspace for the vortex and forces liquid out under the lid.
Pro Tip: If you’re assembling the blender for the first time, do a dry run with an empty jar before you put any food in it. It takes fifteen seconds and confirms the jar, blade, and base are all engaging correctly.
How Tight Should the Jar and Blade Be?
This is the single most common question about assembly, and the answer is the same for both connections: hand-tight, not gorilla-tight.
For the blade collar, twist until you feel resistance and the collar meets the jar’s base with no visible gap. For the jar on the base, twist until it stops. Neither connection needs force, and neither benefits from it.
| Connection | Correct Feel | Too Loose | Too Tight |
|---|---|---|---|
| Blade collar to jar | Firm stop, no gap | Leaks at collar, blade wobbles | Cracked jar threads, deformed gasket |
| Jar to motor base | Short twist, positive stop | No blade movement, jar rocks | Strained coupling, hard to remove |
| Lid to jar | Even seat all around | Lid lifts during blending | Lid rim cracks over time |
| Filler cap to lid | Locked, flush | Splatter through center | Cap tabs snap |
If you can’t remove the jar after blending, don’t pry it. Unplug the unit, wait for it to cool, and twist with a firm, steady pressure rather than a jerk. Warm parts expand, and a jar that was easy to seat cold can bind after a long blend.
Filling and Capacity Guidelines
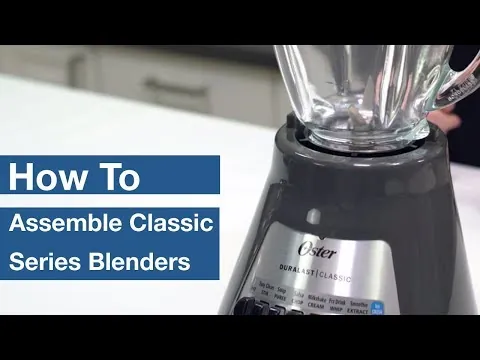
Assembly isn’t finished until the jar is loaded correctly. Capacity rules protect both the motor and your countertop.
- Minimum: Most Duralast Classic jars need at least one cup of liquid for the blade to create a vortex. Below that, ingredients sit under the blades and don’t circulate.
- Maximum: Stay at or below the top measurement line, and for hot liquids or foamy mixtures, stay below three-quarters full. Hot soup and whipped cream expand significantly.
- Order of loading: Liquids first, then soft ingredients, then hard items like ice and frozen fruit on top. This puts the heaviest load closest to the blades.
- Ice: Add ice last and in small amounts, pulsing rather than running continuously. A full jar of solid ice strains the motor and dulls blades.
Warning: Never blend hot liquids with the lid sealed tight and the filler cap locked. Steam builds pressure inside the jar. Remove the filler cap and drape a folded towel over the opening instead, and start on the lowest speed.
First Blend: A Simple Test Recipe
Once assembled, run a basic test to confirm everything works before you attempt anything ambitious.
- Add one cup of cold water and a handful of ice cubes to the jar.
- Lock the lid and filler cap.
- Start on the lowest speed, then move to medium.
- Blend for 20 to 30 seconds.
- Stop, unplug, and check for leaks at the collar and around the lid.
If the ice breaks down evenly and no liquid escapes, your assembly is correct. If you see drips at the collar, unplug the unit, remove the jar, and reseat the gasket. If you see drips around the lid rim, the lid isn’t fully pressed down.
Cleaning and Reassembly After Use
Cleaning is where assembly habits either hold up or fall apart. The fastest routine is also the safest one.
- Fill the jar one-third with warm water and add a drop of dish soap.
- Lock the lid and pulse for 10 to 15 seconds.
- Unplug the base, remove the jar, and unscrew the blade assembly.
- Rinse the jar, lid, filler cap, and blade assembly under running water.
- Wash the blade assembly carefully with a bottle brush, holding the collar, not the blades.
- Wipe the motor base with a damp cloth only. Never submerge it or run it under a tap.
- Dry everything fully before reassembling, especially the gasket groove, where water traps and odors form.
| Part | Dishwasher Safe? | Hand Wash? | Notes |
|---|---|---|---|
| Glass jar | Usually yes, top rack | Yes | Check your model’s manual |
| Lid and filler cap | Usually yes, top rack | Yes | Heat can warp some lids over time |
| Blade assembly | Some models, top rack | Preferred | Hand washing protects the gasket |
| Gasket | Usually yes, top rack | Yes | Remove and dry separately |
| Motor base | Never | Wipe only | Unplug before wiping |
Pro Tip: Reassemble the blender immediately after it dries rather than storing the parts separately. A unit that lives assembled is far less likely to be misassembled in a hurry, and you’ll never hunt for a missing gasket at 7 a.m.
Troubleshooting Assembly Problems
When something is wrong, the symptom usually points to a specific assembly fault. Work through this table before assuming the blender is broken.
| Symptom | Likely Cause | Fix |
|---|---|---|
| Motor runs, blade doesn’t spin | Jar not seated on drive stud | Unplug, lift jar, reseat with a firm clockwise twist |
| Liquid leaks at the jar’s bottom | Gasket missing, pinched, or worn | Remove collar, reseat or replace gasket |
| Liquid leaks around the lid | Lid not fully pressed down | Remove lid, reseat evenly around the rim |
| Contents spray from the lid center | Filler cap loose or missing | Lock or insert the filler cap |
| Jar rocks or vibrates hard | Jar not fully seated, or base on uneven surface | Reseat jar, move base to a flat counter |
| Burning smell during use | Motor overloaded or vents blocked | Stop, unplug, let cool, clear vents, reduce load |
| Jar won’t come off the base | Contents cooled and created a vacuum, or threads bound | Unplug, wait for parts to reach room temperature, twist firmly |
| Blade collar won’t unscrew | Over-tightened or food dried in threads | Soak the jar bottom in warm soapy water, then twist |
If a fix doesn’t work after two attempts, stop. Forcing a misaligned jar or collar is how couplers strip and glass jars crack. Replacement blade assemblies, gaskets, and jars are sold separately, and Oster’s own support pages list part numbers by model.
Replacement Parts and When To Buy Them
Some assembly problems are really wear problems. These are the parts that fail first and the signs it’s time to replace them.
- Gasket or sealing ring — replace when it’s stiff, cracked, flattened, or no longer sits snugly in its groove. This is the cheapest fix for a leaking blender and the most common one.
- Blade assembly — replace when blades are chipped, bent, dull enough to smear rather than chop, or when the center pin wobbles.
- Jar — replace when glass is cracked, chipped at the rim, or the threads are damaged. Never use a cracked jar, even for cold blending.
- Lid and filler cap — replace when the lid no longer seals, the cap tabs snap, or the lid has warped from dishwasher heat.
- Drive coupler — on models with a replaceable coupler at the base, replace when the jar spins freely without turning the blades.
Buy parts by your blender’s model number, which is printed on a label on the bottom of the motor base. Generic parts often fit loosely, and a poorly fitting gasket leaks just as badly as a missing one.
Frequently Asked Questions
Does the blade assembly go on before or after the jar is on the base?
Before. Screw the blade assembly onto the jar’s threaded bottom first, hand-tight, then flip the jar upright and twist it onto the motor base. If you try to attach the blade with the jar already seated, you can’t grip the collar properly and you risk cross-threading the plastic threads.
Why does my Oster Duralast Classic blender leak at the bottom?
Almost always a gasket problem. The rubber sealing ring inside the blade collar is either missing, pinched, twisted, or worn flat. Unscrew the collar, check that the gasket sits evenly in its groove with no folds, and hand-tighten the collar again. If it’s stiff or cracked, replace it.
How do I know if the jar is seated correctly?
Twist it clockwise until it stops, then press gently on the jar’s rim. A correctly seated jar sits flush with no rocking and doesn’t lift when you tug it lightly. If the blade doesn’t spin when you pulse the motor, the jar isn’t engaged with the drive stud.
Can I put the jar, lid, and blade assembly in the dishwasher?
The glass jar, lid, and filler cap are typically top-rack safe on most Duralast Classic models, and some blade assemblies are as well. Check your specific model’s manual, because heat can warp lids and degrade gaskets over time. Hand washing the blade assembly and gasket extends their life noticeably.
What should I do if the jar won’t come off the base?
Unplug the blender first. Let it sit until the jar and base reach room temperature, since warm parts bind as they cool. Then grip the jar firmly and twist counterclockwise with steady pressure rather than a sharp jerk. Never pry with a knife or screwdriver, which can crack the jar or damage the base.
How full should the jar be before blending?
Keep contents between the minimum line, usually about one cup of liquid, and the top measurement line. For hot liquids or anything that foams, stay below three-quarters full. Leave the filler cap off and cover the opening with a folded towel when blending hot ingredients.
Where People Get Stuck Most Often
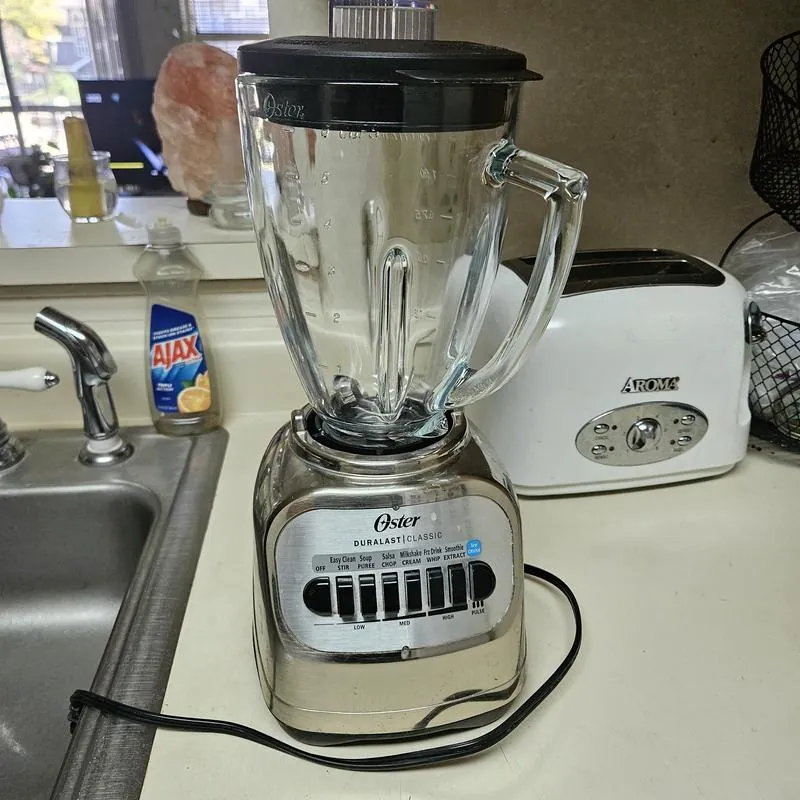
If you read only one more section, read this one. Three issues account for the overwhelming majority of assembly complaints.
The first is the gasket. It’s small, easy to lose in a sink, and easy to install with a twist in it. A twisted gasket creates a channel for liquid to escape. Pull it out, lay it flat, and reseat it with even pressure all the way around.
The second is seating the jar. People set the jar on the base and give it a gentle nudge, then wonder why nothing spins. The jar needs a deliberate twist until it stops. You should feel the stop, not guess at it.
The third is the filler cap. It’s a separate seal, and it’s the part most often left sitting on the counter. Lock it in before you press start, every single time.
Pro Tip: Keep the manual in a drawer near the blender. Model numbers matter when you order replacement gaskets and blades, and the label on the base can wear off after a few years of wiping.
Quick Assembly Checklist
Run through this before every blend, and assembly problems essentially disappear:
- Base on a flat, dry counter with vents clear
- Gasket seated evenly in the blade collar
- Blade assembly hand-tight on the jar, no gap
- Jar twisted clockwise onto the base until it stops
- No wobble when you press the jar’s rim
- Lid pressed down evenly all around
- Filler cap locked in place
- Contents between minimum and maximum lines
- Cord clear of water, heat, and walkways
Once these nine items are habits, the blender goes together in seconds and stays leak-free for years. Start by assembling your unit now and running the ice-and-water test, then keep the manual with your model number handy so replacing a gasket or blade later is a two-minute job rather than a research project.