How To Make Homemade Ice Cream With Ninja Blender: Easy Guide
Making ice cream at home can feel like magic. You scoop out a creamy, cold dessert that’s made from simple ingredients and blended in your kitchen. If you own a Ninja Blender, you can create homemade ice cream in less than 10 minutes of active work. It’s fast, fun, and easy—even for beginners.
This guide shows you how to make ice cream with a Ninja Blender, step by step. You’ll learn about the best ingredients, how to blend for the perfect texture, and mistakes to avoid. You’ll also see how homemade ice cream compares to store-bought, plus ideas for flavors and mix-ins.
Whether you want classic vanilla or something unique, you’ll find everything you need here.
Why Make Ice Cream With A Ninja Blender?
Many people think you need an ice cream machine to make good ice cream. But a Ninja Blender is powerful enough to blend frozen ingredients and create creamy results. Here’s why it works so well:
- High-speed blending: Ninja blades crush ice and frozen fruit smoothly.
- Easy cleanup: Most parts are dishwasher safe.
- No waiting for churning: You blend and freeze, skipping the long churning process.
You don’t need special skills to use a Ninja Blender. It’s perfect for families, students, or anyone who wants ice cream quickly. Plus, you control the ingredients—no artificial colors or hidden sugars.
What You Need: Basic Tools And Ingredients
Before you start, gather your tools and ingredients. You only need a few things to make ice cream with your Ninja Blender:
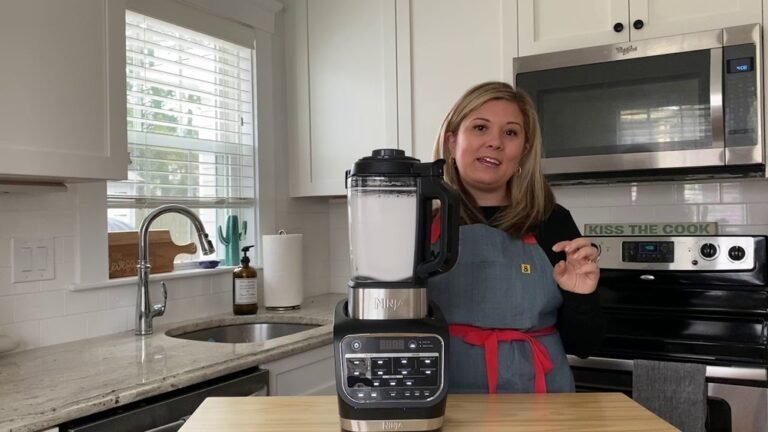
- Ninja Blender (any model with strong blades)
- Frozen ingredients (fruit or ice cubes)
- Creamy base (milk, cream, or alternatives)
- Sweetener (sugar, honey, or syrup)
- Flavorings (vanilla, cocoa, spices)
- Mix-ins (chocolate chips, nuts, berries—optional)
- Freezer-safe container (for storing finished ice cream)
- Spatula (for scraping and mixing)
You can make ice cream with just three main ingredients: frozen fruit, milk, and sweetener. But adding cream gives a richer texture. For vegan or dairy-free ice cream, use coconut milk or almond milk.
Ingredient Quantities For 4 Servings
A standard Ninja Blender can handle this quantity well:
- Frozen fruit or ice: 2 cups
- Milk or cream: 1 cup
- Sweetener: 3–4 tablespoons
- Flavoring: 1–2 teaspoons
These amounts are easy to double or halve, depending on your needs.

Credit: www.businessinsider.com
Step-by-step: How To Make Homemade Ice Cream With Ninja Blender
Let’s walk through the process, from prepping ingredients to freezing and serving.
Step 1: Choose And Prepare Your Base
Pick your base. Common choices are:
- Whole milk: Creamy, classic.
- Heavy cream: Rich, thick texture.
- Coconut milk: Dairy-free, mild flavor.
- Greek yogurt: Tangy, protein-rich.
For best results, keep your base cold before blending. If you want a lighter ice cream, use half milk and half cream.
Step 2: Select Frozen Ingredients
Frozen fruit is the easiest way to get a thick, creamy texture. Popular options:
- Bananas: Sweet, smooth, good for beginners.
- Strawberries: Tart, bright color.
- Mango: Tropical, rich.
- Pineapple: Fresh, tangy.
If you don’t want fruit flavors, use ice cubes for a neutral texture. You can also freeze your base in ice cube trays and blend.
Step 3: Add Sweetener And Flavor
Sugar, honey, maple syrup, or agave all work. Adjust to taste—some fruits are sweeter than others. For classic vanilla, add 1–2 teaspoons vanilla extract. For chocolate, use 2 tablespoons cocoa powder.
Step 4: Blend
Add all ingredients to the Ninja Blender. Start at a low speed, then increase to high. Blend for 30–60 seconds, until smooth. Scrape down the sides with a spatula if needed.
If your mixture is too thick, add a splash of milk. If it’s too runny, add more frozen fruit or ice.
Step 5: Add Mix-ins (optional)
Fold in chocolate chips, chopped nuts, or cookie pieces after blending. Stir gently with a spatula so they don’t break apart.
Step 6: Freeze
Pour the blended mixture into a freezer-safe container. Smooth the top with a spatula. Cover and freeze for 2–3 hours, until firm.
For a soft serve texture, freeze for just 1 hour. For scoopable ice cream, freeze longer.
Step 7: Serve
Let the ice cream sit at room temperature for 5–10 minutes before scooping. This softens it and makes serving easier.
Ice Cream Flavor Ideas For Ninja Blender
You can make almost any flavor with your Ninja Blender. Here are some favorites:
- Classic Vanilla: Frozen bananas, milk, vanilla extract, sugar.
- Chocolate Delight: Frozen bananas, cocoa powder, milk, chocolate chips.
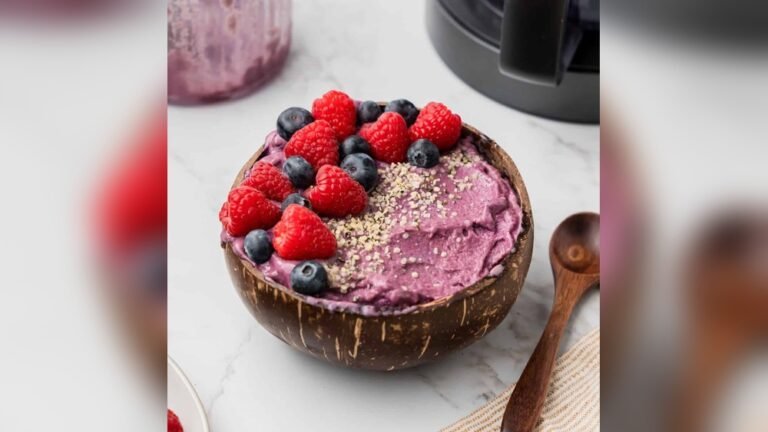
- Berry Blast: Mixed frozen berries, Greek yogurt, honey.
- Mango Tango: Frozen mango, coconut milk, lime juice.
- Peanut Butter Swirl: Frozen bananas, peanut butter, milk, honey.
- Strawberries & Cream: Frozen strawberries, heavy cream, vanilla.
- Mint Chocolate Chip: Frozen bananas, peppermint extract, chocolate chips.
- Coffee Crunch: Frozen coffee cubes, milk, sugar, crushed cookies.
- Tropical Pineapple: Frozen pineapple, coconut milk, agave syrup.
- Cookie Dough: Frozen bananas, milk, edible cookie dough chunks.
You can experiment with spices like cinnamon, nutmeg, or ginger. For a protein boost, add a scoop of protein powder.
Comparing Ninja Blender Ice Cream To Store-bought And Traditional Methods
How does homemade ice cream with a Ninja Blender compare to store-bought or churned ice cream? Here’s a clear comparison:
| Feature | Ninja Blender | Store-Bought | Traditional Churned |
|---|---|---|---|
| Prep Time | 10 min (plus freeze) | Ready-to-eat | 30–60 min (plus freeze) |
| Ingredients | Fully controlled | Often processed | Controlled, but more effort |
| Texture | Soft to firm | Creamy, consistent | Very creamy, dense |
| Flavor Options | Unlimited | Limited to brands | Unlimited |
| Cost | Low | Medium to high | Medium |
| Additives | None (if homemade) | Common | None (if homemade) |
Key Insights
- Ninja Blender ice cream is faster than traditional methods.
- You can skip artificial colors and preservatives.
- Texture is softer but improves with freezing.
Many beginners are surprised at how much cost they save. A pint of store ice cream can cost $4–$6, but homemade costs less than $2 per pint—even with premium ingredients.
Tips For Perfect Ice Cream Texture
Getting creamy ice cream in a blender takes practice. Here are tips that most beginners miss:
- Use very cold ingredients: The colder your base and fruit, the thicker your ice cream.
- Don’t overblend: Too much blending can melt your mixture and make it soupy.
- Freeze after blending: This firms up the ice cream and improves texture.
- Add a touch of fat: Cream, coconut oil, or nut butter make ice cream smoother.
- Blend in batches: If your blender struggles, blend smaller amounts.
A common mistake is adding too much liquid. You want a thick blend, not a milkshake. If you’re unsure, start with less liquid and add more slowly.
Common Mistakes And How To Avoid Them
Homemade ice cream can go wrong if you miss key steps. Here are mistakes to avoid:
- Using warm ingredients: Always chill your base and fruit first.
- Overfilling the blender: Too much in the pitcher can prevent even blending.
- Skipping the freeze step: Without freezing, your ice cream will be more like a smoothie.
- Not scraping the sides: Ingredients stick to the walls. Use a spatula to ensure everything blends.
- Adding too many mix-ins: This can make the texture gritty. Add mix-ins after blending.
If you see ice crystals, your mixture was too watery or not frozen long enough. For extra creaminess, add a spoon of cream cheese or mascarpone before blending.
Ninja Blender Models: Which Is Best For Ice Cream?
Ninja makes several blender models. Most can handle ice cream, but some are better for tough jobs.
| Model | Power (Watts) | Best For | Price Range |
|---|---|---|---|
| Ninja Professional | 1100 | Large batches, frozen fruit | $90–$120 |
| Ninja Foodi Power Nutri Duo | 1200 | Single servings, thick blends | $110–$140 |
| Ninja Compact | 700 | Small batches, soft fruit | $60–$80 |
A model with at least 1000 watts is ideal for ice cream. If you have a smaller Ninja, cut fruit into smaller pieces and blend in batches.

Credit: itdoesnttastelikechicken.com
Nutritional Benefits Of Homemade Ice Cream
Store-bought ice cream often contains additives, preservatives, and extra sugar. When you make it at home, you can use whole foods and healthy sweeteners.
- Lower sugar: Use honey or maple syrup for natural sweetness.
- More fiber: Frozen bananas and berries add fiber.
- High protein: Greek yogurt or protein powder boosts nutrition.
- No artificial colors: All color comes from real fruit.
People with dietary needs can make ice cream that fits their lifestyle. For example, diabetics can use stevia; vegans can use coconut milk. For more nutrition data, check out the Wikipedia entry for ice cream.
Recipe Examples: 3 Easy Ninja Blender Ice Creams
Here are three recipes to try, each serving 4 people.
1. Banana Vanilla Ice Cream
Ingredients:
- 2 cups frozen banana slices
- 1 cup whole milk
- 3 tablespoons sugar
- 1 teaspoon vanilla extract
Instructions:
- Add bananas, milk, sugar, and vanilla to the blender.
- Blend on high for 45 seconds.
- Pour into a container and freeze for 2 hours.
- Scoop and serve.
2. Strawberry Greek Yogurt Ice Cream
Ingredients:
- 2 cups frozen strawberries
- 1 cup Greek yogurt
- 3 tablespoons honey
- 1 teaspoon lemon juice
Instructions:
- Blend strawberries, yogurt, honey, and lemon juice.
- Scrape sides and blend again if needed.
- Freeze for 3 hours.
- Stir before scooping.
3. Chocolate Peanut Butter Ice Cream
Ingredients:
- 2 cups frozen banana slices
- 1/2 cup milk
- 2 tablespoons cocoa powder
- 2 tablespoons peanut butter
- 3 tablespoons maple syrup
Instructions:
- Blend bananas, milk, cocoa, peanut butter, and syrup.
- Fold in chocolate chips after blending (optional).
- Freeze for 2–3 hours.
- Enjoy with chopped peanuts on top.
Each recipe can be modified for dietary needs. Swap dairy for almond milk or add protein powder for fitness-friendly ice cream.
Making Ice Cream Without Dairy Or Sugar
Many people want ice cream without dairy or refined sugar. Here’s how to do it:
- Dairy-free base: Use coconut milk, almond milk, or oat milk.
- Sugar-free sweetener: Try stevia, monk fruit, or erythritol.
- Frozen fruit: Adds sweetness and texture.
For a vegan option, blend frozen mango and coconut milk with agave syrup. For keto, blend frozen avocado, cocoa powder, and erythritol.
How To Store Homemade Ice Cream
Homemade ice cream doesn’t last as long as store-bought because it has fewer preservatives. Here’s how to keep it fresh:
- Use airtight containers to prevent freezer burn.
- Place a sheet of plastic wrap directly on the ice cream before sealing to stop ice crystals.
- Store for up to 2 weeks for best quality.
- If ice cream gets too hard, let it sit at room temperature for 10 minutes before scooping.
Don’t refreeze melted ice cream—it can become icy and lose flavor.
Cleaning Your Ninja Blender After Ice Cream
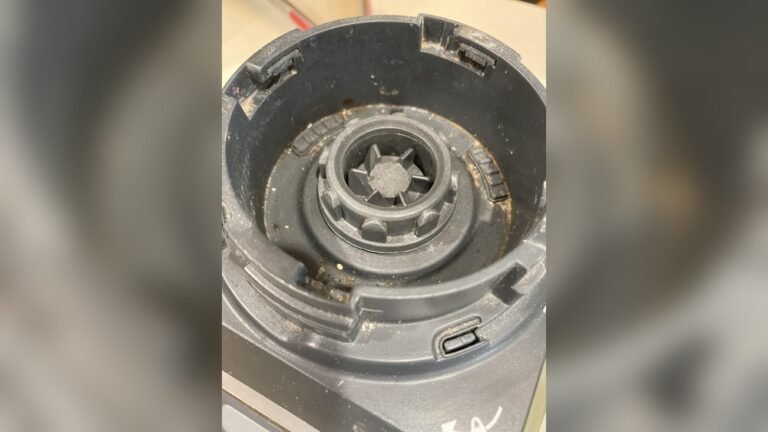
Ice cream leaves sticky residue, so cleaning is important:
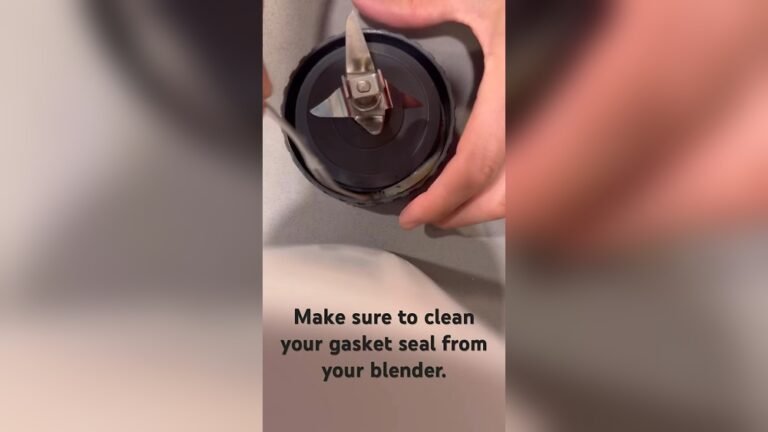
- Rinse pitcher and blades right after use.
- Fill halfway with warm water and a drop of dish soap.
- Blend for 30 seconds, then rinse again.
- Place parts in the dishwasher if safe (check manual).
Avoid soaking blades for long periods. Dry all parts before storing.
Creative Mix-ins And Toppings
Mix-ins make homemade ice cream fun and unique. Try these options:
- Chocolate chips
- Chopped nuts (walnuts, pecans, almonds)
- Fresh berries
- Crushed cookies
- Caramel swirls
- Mini marshmallows
- Coconut flakes
- Sprinkles
Add mix-ins after blending to keep their texture. For toppings, sprinkle them over each scoop.
Ice Cream For Special Diets: Vegan, Keto, And Paleo
Anyone can enjoy Ninja Blender ice cream, even with special diets:
- Vegan: Use plant-based milk and sweeteners.
- Keto: Choose avocado, heavy cream, and erythritol.
- Paleo: Use coconut milk, honey, and frozen fruit.
For nut allergies, skip nut butters and use sunflower seed butter.
Fun Facts About Ice Cream And Ninja Blenders
- The first recorded ice cream recipe dates back to the 17th century.
- Ninjas were known for stealth, but the Ninja Blender is famous for power!
- Americans eat an average of 23 pounds of ice cream per year.
- Homemade ice cream can be ready in under 10 minutes (plus freezing).
- The world’s largest ice cream scoop weighed over 3,000 pounds.

Credit: www.youtube.com
Frequently Asked Questions
How Long Does It Take To Make Ice Cream In A Ninja Blender?
It takes about 10 minutes to blend ingredients and prepare ice cream. You need to freeze it for 2–3 hours for a firm texture. If you want soft serve, freeze for just 1 hour.
Can I Make Ice Cream Without Dairy Using A Ninja Blender?
Yes! Use coconut milk, almond milk, or oat milk as your base. Blend with frozen fruit and sugar-free sweeteners for vegan or dairy-free ice cream.
Is Homemade Ice Cream Healthier Than Store-bought?
Often, yes. You control the sugar, fat, and ingredients. There are no preservatives or artificial colors unless you add them. Use Greek yogurt or protein powder for a nutritious boost.
What Should I Do If My Ice Cream Is Too Hard After Freezing?
Let it sit at room temperature for 5–10 minutes. This softens the ice cream and makes scooping easier. If still hard, add a splash of milk and re-blend.
Which Ninja Blender Model Is Best For Making Ice Cream?
The Ninja Professional (1100 watts or higher) is great for large batches and tough ingredients. Smaller models work too, but you may need to blend in batches or cut fruit smaller.
Making ice cream with a Ninja Blender is simple, fast, and creative. You can try dozens of flavors, use fresh ingredients, and enjoy a treat that fits your lifestyle. With this guide, you’re ready to blend, freeze, and share homemade ice cream that’s just as good—or better—than store-bought.
Enjoy every scoop!