How To Release Ninja Blender From Base: Simple Fixes
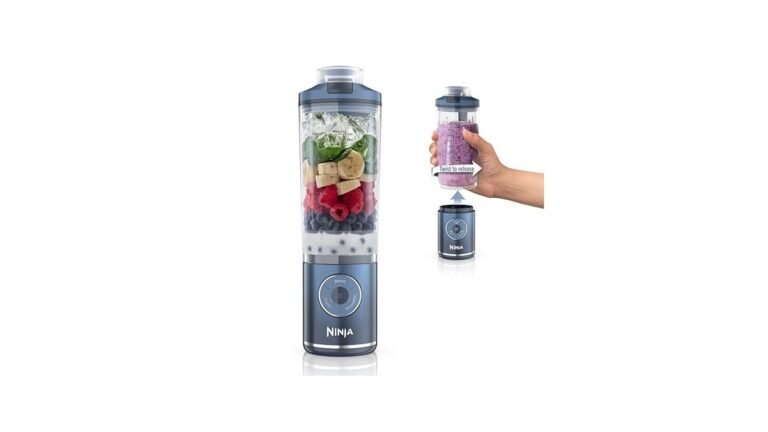
You can release a ninja blender from base by pressing the release button on the side of the handle or the base, depending on your specific model. Most newer units require you to press the button while lifting the pitcher straight up to disconnect the locking tabs.
This process changes slightly based on your model number and the age of the machine. Newer versions use a push-button release, while older models often require you to twist the pitcher counter-clockwise before lifting.
Why you need to release the blender base
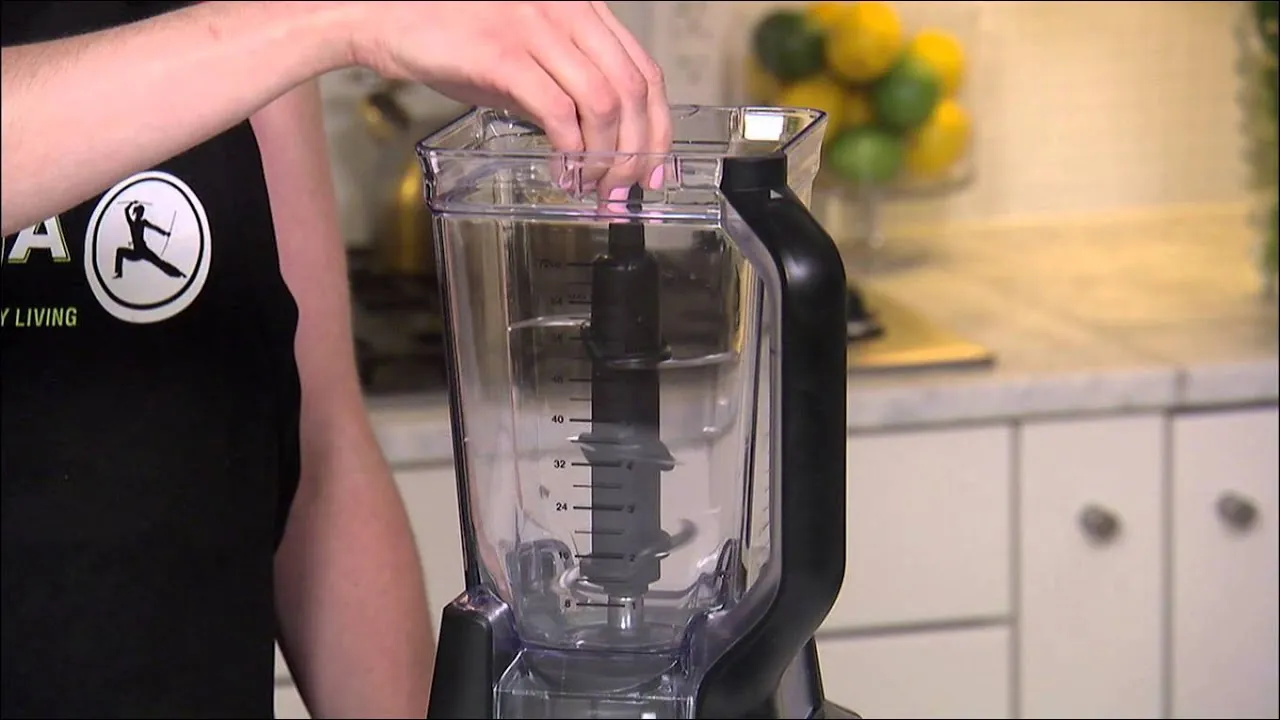
This guide serves users who own a Ninja kitchen system or blender who are struggling to detach the container from the motor unit. If your pitcher feels stuck, you’re likely dealing with a vacuum seal or a locked safety mechanism. This page assumes you’re using a standard Ninja pitcher or processing bowl that’s currently empty or contains finished food.
Some users try to force the container off by pulling sideways, but this often breaks the plastic locking tabs. If you’re a new user, you might not realize that the pitcher must be perfectly aligned with the base before the locking mechanism will disengage.
If your model uses a “smart” base, you may find that the unit stays locked until the motor has fully stopped spinning. This guide works best for those with standard Ninja Professional or Ninja Kitchen System units. If your unit is damaged or the plastic release button is broken, you shouldn’t force it. Instead, contact the manufacturer directly to avoid damaging the motor housing or the pitcher base.
Things that impact pitcher release
The primary factor that makes a pitcher hard to remove is a strong vacuum seal. This happens when you blend hot liquids or create a very thick mixture, such as dough or nut butter. The air pressure inside the container creates suction that holds the pitcher against the rubber gasket on the base.
Another factor is the alignment of the locking tabs. Ninja blenders use a safety interlock system that prevents the motor from starting unless the pitcher is clicked into the exact position. If you try to remove it while the pitcher is slightly rotated, the plastic tabs will remain engaged. Always ensure the pitcher is centered before you attempt to pull it upward.
The amount of residue left under the blade assembly also matters. If food has leaked into the base area, it can dry and act like a glue between the pitcher and the motor unit. This makes the unit feel stuck even after you press the release button.
Finally, user error regarding the button location is common. Many people pull on the handle without pressing the specific release button. If X is a push-button model, do A: press the button firmly while lifting. If Y is a twist-to-lock model, do B: rotate the pitcher about 30 degrees counter-clockwise before pulling up.
Steps for safely detaching the container
- Turn off the power and unplug the unit from the wall outlet. Never attempt to remove the pitcher while the blender is still plugged in or running.
- Wait for the blades to stop spinning completely. If you just finished blending, wait 10 seconds for the motor to settle.
- Locate the release button on the blender base or the pitcher handle. On most models, this is a large, textured button that clicks when pressed.
- Press the release button firmly and hold it down. You should hear a soft click as the locking mechanism disengages from the base.
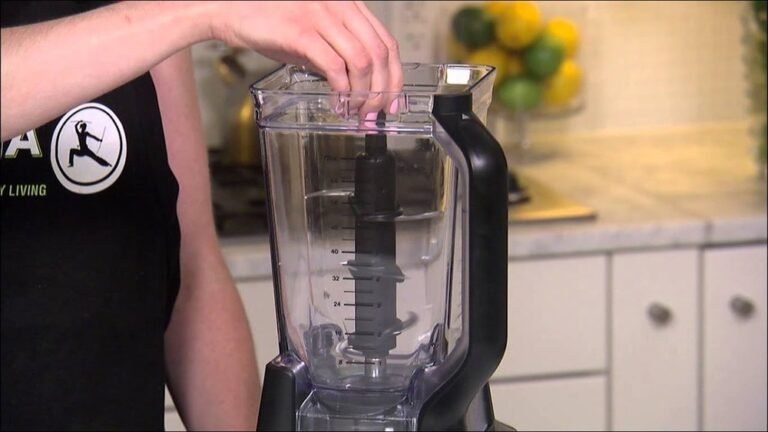
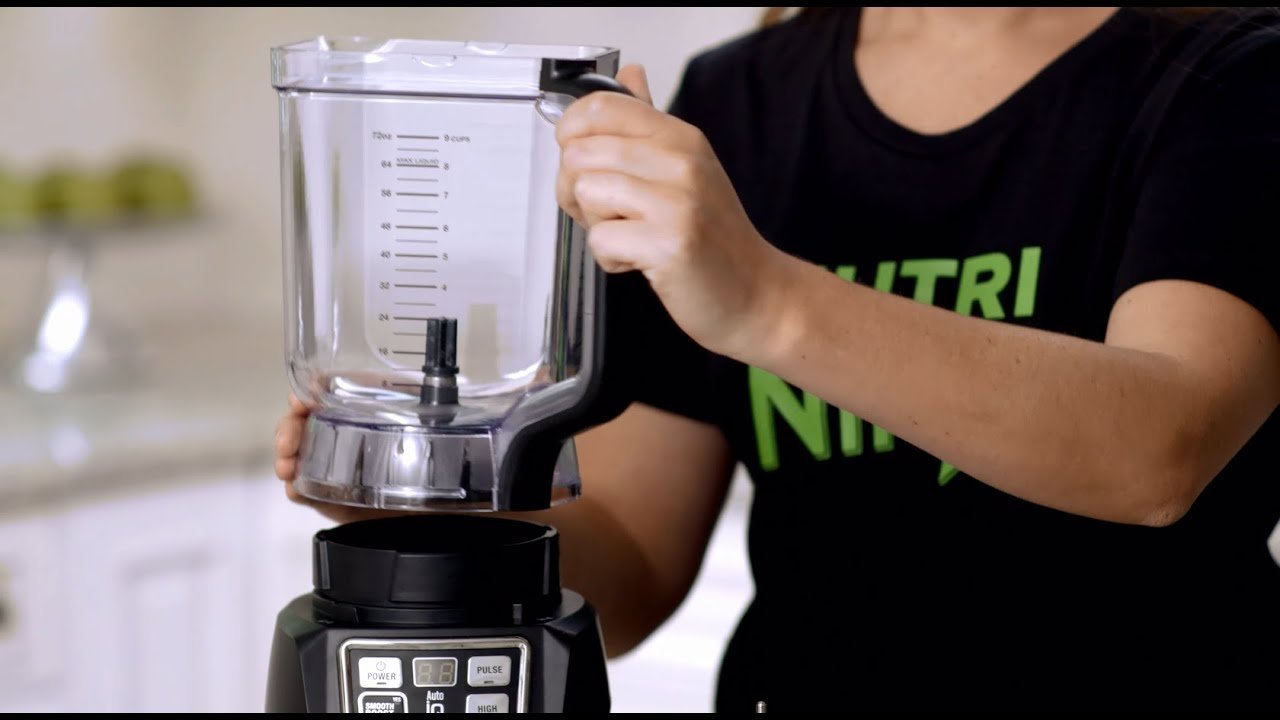
- Grasp the handle firmly and lift the pitcher straight up. Don’t tilt the pitcher or pull it at an angle, as this puts stress on the plastic tabs.
- If the pitcher doesn’t move, gently rock it side to side while holding the release button down. This helps break any vacuum seal caused by thick ingredients.
- Clean any spilled food from the base area with a damp cloth. This prevents the residue from hardening and making future removal difficult.
The judgement call here is the amount of force you apply. If the pitcher doesn’t lift after pressing the button, stop immediately. Applying extra force can snap the plastic tabs, which aren’t designed for side-to-side pressure. If the unit remains stuck, check the underside of the pitcher for any debris that might be obstructing the lock.
Quick reference for different models
| Model Type | How to Release | Effort Level | Watch For |
|---|---|---|---|
| Push-button | Press button and lift | Low | Broken release spring |
| Twist-lock | Rotate left then lift | Medium | Stuck food debris |
| Snap-in | Pull handle directly | High | Worn plastic tabs |
| Safety-lock | Wait for motor stop | Low | Vacuum suction seal |
If your push-button model fails to release, check the spring tension immediately. A weak spring often feels mushy under your thumb. If the button stays depressed, don’t force the unit upward. You risk snapping the internal plastic housing, which costs roughly half the price of a new machine to replace.
Twist-lock models rely on a clean track. If you feel resistance, stop turning. Forcing the rotation typically grinds food particles into the locking grooves. Use a soft brush to clear the perimeter before attempting to unlock again.
Snap-in units require a firm, vertical motion. Beginners often pull at an angle, which shears the plastic tabs. If you hear a grinding noise during removal, your tabs are likely already compromised. Replace the assembly before the unit fails to lock during operation.
Safety-lock models use an internal timer to prevent premature opening. If the unit remains locked after the motor stops, wait exactly thirty seconds. A persistent vacuum seal is the culprit. If it stays stuck, gently rock the lid to break the air pressure. Never use a metal tool to pry the seal, as this ruins the airtight gasket required for safe performance.
Use this decision rule: if the resistance feels gritty, clean the tracks. If the resistance feels springy or firm, check for mechanical obstructions or vacuum seals before applying more force.
Common mistakes and technical details
Why people break the locking tabs
The most common mistake is pulling the pitcher toward you instead of lifting it vertically. This movement puts extreme leverage on the small plastic tabs that hold the pitcher to the base.
Once these tabs are chipped or bent, the blender will no longer detect that the pitcher is attached. This results in a safety error where the motor refuses to start, even when the pitcher is in place. Always ensure your pull is strictly upward to keep the tabs aligned with their slots.
Managing the vacuum seal effect
Thick mixtures often create a vacuum that makes the pitcher feel like it’s bolted to the base. If you have blended heavy ingredients, the rubber gasket may have created an airtight seal. You can break this by gently pushing down on the pitcher first, then pressing the release button and lifting quickly.
If you continue to struggle, don’t use tools like screwdrivers to pry the unit apart. Using metal tools on the plastic base often causes deep scratches that harbor bacteria and eventually lead to structural failure of the housing.
Troubleshooting common release issues
| What you notice | What it means | What to do first | How to stop it |
|---|---|---|---|
| Button won’t click | Debris in button | Clean with brush | Wipe base after use |
| Pitcher feels stuck | Vacuum seal formed | Push down then up | Avoid overfilling |
| Motor won’t start | Tab is misaligned | Re-seat the pitcher | Check for clicks |
| Pitcher wobbles | Broken locking tab | Contact support | Avoid pulling sideways |
If the button feels mushy rather than tactile, a single grain of sugar or dried residue is likely lodged in the housing. Use a dry, soft-bristled toothbrush to dislodge the grit before applying any liquid cleaner. Never use compressed air, as this forces debris deeper into the internal circuitry.
When the pitcher resists removal, don’t force it. A vacuum seal often occurs if you blend hot liquids and allow them to cool inside the container. Simply add a small amount of warm water to the base to break the pressure. To prevent this, never fill the pitcher past the maximum line when processing heated ingredients.
If the motor hums but the blades remain stationary, the safety interlock isn’t fully engaged. Listen for a distinct mechanical click when locking the pitcher into the base. If you don’t hear it, the alignment tab is likely obstructed. Always clear the base of any stray crumbs before seating the vessel.
Finally, a wobbling pitcher usually signals a sheared locking tab. This happens when users pull the handle sideways to release the unit instead of lifting it straight up. If the pitcher rocks more than two millimeters, discontinue use immediately to prevent damage to the drive coupling.
Legal and safety rules
The Ninja blender is designed with an internal safety interlock system. This system is governed by standard electrical safety regulations for kitchen appliances. Never attempt to bypass these locks or open the motor housing.
A capacitor inside the motor base can hold a lethal electric charge even when the unit is unplugged. If the base needs repair, you must contact the manufacturer or an authorized service center.
Attempting a DIY repair is a common mistake that voids your warranty and risks a severe shock. If the motor fails to engage, check the alignment arrows on the pitcher and base first. If the arrows are perfectly flush and the unit still fails to start, the issue is likely a tripped thermal fuse.
Don’t attempt to use any lubricant or oil to loosen a stuck pitcher. Oils can seep into the motor housing, causing permanent electrical shorts or contaminating food contact surfaces. If the pitcher is seized, soak the base connection in warm, soapy water for ten minutes to dissolve dried residue.
If it remains stuck, the locking mechanism is likely damaged, and you should contact the manufacturer for repair rather than forcing it. Forcing the seal often cracks the plastic, creating a projectile hazard during high-speed blending cycles.
Understanding the real cost
The cost of a stuck pitcher is usually just time, but it can become expensive if you use force. Replacing a broken pitcher or motor base is far more costly than simply maintaining the unit, depending on your specific model. The time it takes to clean the unit is negligible, but skipping this step is what leads to the “stuck” feeling.
If you notice the release button becoming harder to press over time, it’s a sign that food residue is building up inside the mechanism. Compare your unit’s current release effort against its performance when it was new. If the effort increases significantly, stop using the blender and perform a deep clean of the base area.
Most users make the mistake of applying brute force to the handle when the release button sticks. This often snaps the internal plastic locking tabs. Once these tabs break, the safety interlock fails, rendering the entire motor base useless. You’re then forced to buy a replacement base rather than simply cleaning the residue.
Use this simple decision rule to prevent damage. If you feel resistance when pressing the button, stop immediately. Don’t pull the pitcher upward. Instead, use a cotton swab dipped in warm, soapy water to clear the debris around the button housing.
If the button remains stiff after cleaning, the issue is likely mechanical wear rather than buildup. In that case, check your warranty status before attempting any disassembly. Ignoring this resistance for even a week can turn a five-minute cleaning task into a permanent equipment failure.
Keeping your blender ready for use
To keep your blender base working, wipe the area around the locking tabs after every single use. Food particles, especially sugary or sticky ingredients, act like glue once they dry. If you notice the pitcher is hard to remove, don’t wait until the next use to address it. A quick wipe with a warm, damp cloth is enough to prevent the buildup of residue.
If you store your blender with the pitcher attached, the constant tension on the locking tabs can cause them to weaken over time. Store the pitcher and the base separately if you have the counter space to do so. This relieves the pressure on the springs and ensures the release mechanism remains responsive for years.
When this approach is the wrong choice
If the release button is physically broken or missing, you can’t use this method to safely remove the pitcher. Attempting to force the pitcher off a broken button usually results in a shattered base or a cracked pitcher. In this situation, the only safe choice is to contact the manufacturer for a replacement part or a professional repair.
If you see smoke or smell burning plastic during the removal attempt, stop immediately. This indicates an electrical fault rather than a mechanical jam, and you should unplug the unit and keep it unplugged. Don’t attempt to troubleshoot electrical burning smells yourself, as this poses a fire risk.
You must also avoid this approach if the pitcher is currently filled with liquid. The added weight and the risk of a high-velocity spill make manual force dangerous. If the unit is jammed while full, use a siphon to empty the contents before attempting any mechanical release.
A simple test determines if you’re facing a jam or a failure: if the button offers zero resistance when pressed, the internal spring has likely snapped. If the button feels rigid and refuses to depress, the locking mechanism is obstructed by debris. For a rigid button, try cleaning the seam with a soft-bristled brush before calling for service. If the button is loose, mechanical intervention will only worsen the internal damage.
Frequently asked questions
Can I use force to remove a stuck blender pitcher?
You should never use force, as it will likely break the plastic locking tabs. If the pitcher doesn’t release when you press the button, gently rock it to break the vacuum seal instead of pulling harder.
Why is my ninja blender pitcher stuck after blending?
A vacuum seal often forms when you blend thick ingredients, holding the pitcher tight against the base. Try pushing down firmly on the pitcher to release the air pressure before pressing the button to lift it.
How do I know if the locking tabs are broken?
The locking tabs are broken if the pitcher feels loose or wobbles even when fully seated. You can also inspect the base of the pitcher for missing or chipped plastic pieces that should be flush with the unit.
Is it safe to put the base in the dishwasher?
You must never put the motor base in the dishwasher, as water will ruin the electronics. Only the removable pitcher, lid, and blade assembly are dishwasher safe, provided you place them on the top rack.
What happens if I pull the pitcher at an angle?
Pulling at an angle puts uneven pressure on the locking tabs and will snap them off. Always lift the pitcher straight up to ensure the tabs slide out of their slots without any resistance.
Does the blender need to be plugged in to remove the pitcher?
The blender doesn’t need power to be removed, and you should always unplug it first for safety. Leaving it plugged in while you struggle with a stuck pitcher increases the risk of accidental activation.
Conclusion
Start by checking that the pitcher is completely empty and the power cord is disconnected from the wall. If the pitcher doesn’t lift after pressing the release button, try a gentle side-to-side wiggle to break any vacuum seal. If you hear a cracking sound or feel the plastic tabs snapping, stop immediately and contact the manufacturer for a replacement base.