How To Sharpen Vitamix Blender Blades: The Truth
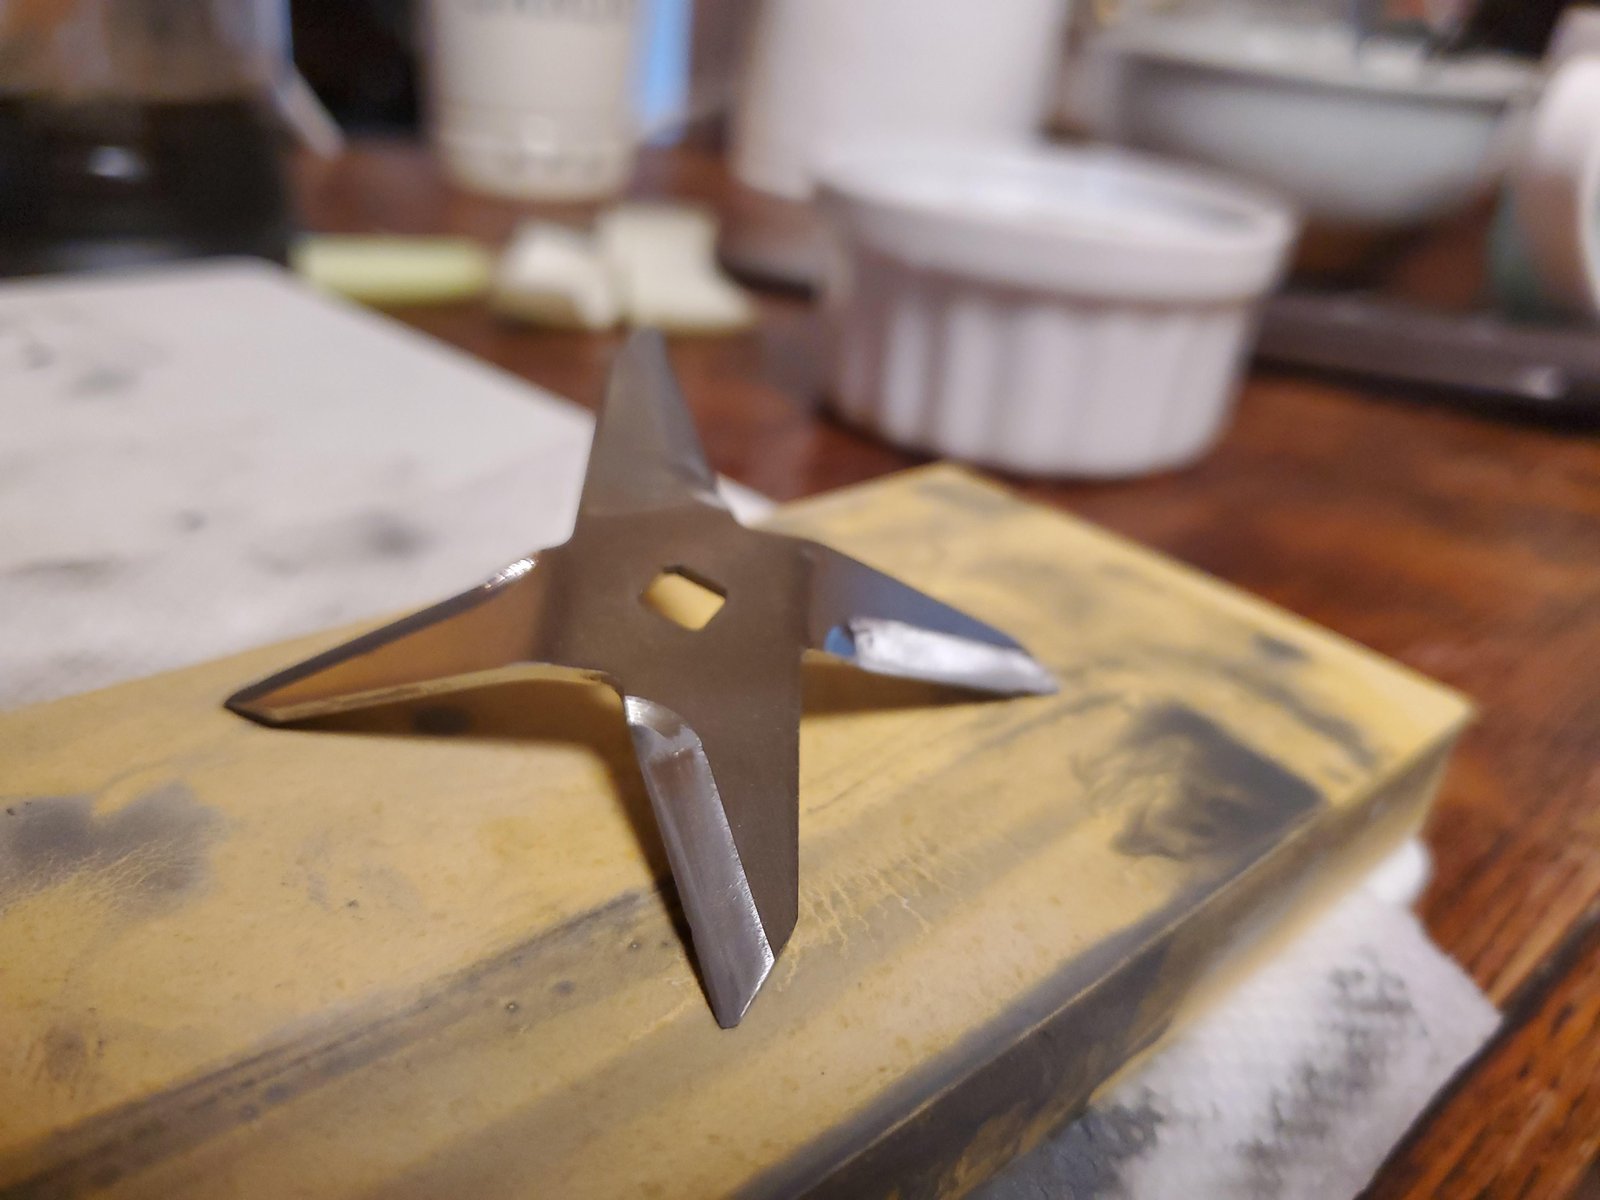
You can’t sharpen vitamix blender blades yourself. The steel is hardened and ground to a precise angle at the factory, and home tools can’t match that precision or safety. Trying to file, stone, or grind them on your own will dull them faster, crack the housing, void your warranty, or send shards into your food.
The only reliable fix is replacement. You’ll need to swap the blade assembly, which is inexpensive relative to the alternative, or buy a new base if the motor is also failing. This page shows you how to check if replacement is actually needed, what parts to order, and how to install them safely without damaging your machine or yourself.
Why you need to sharpen your vitamix blender blades
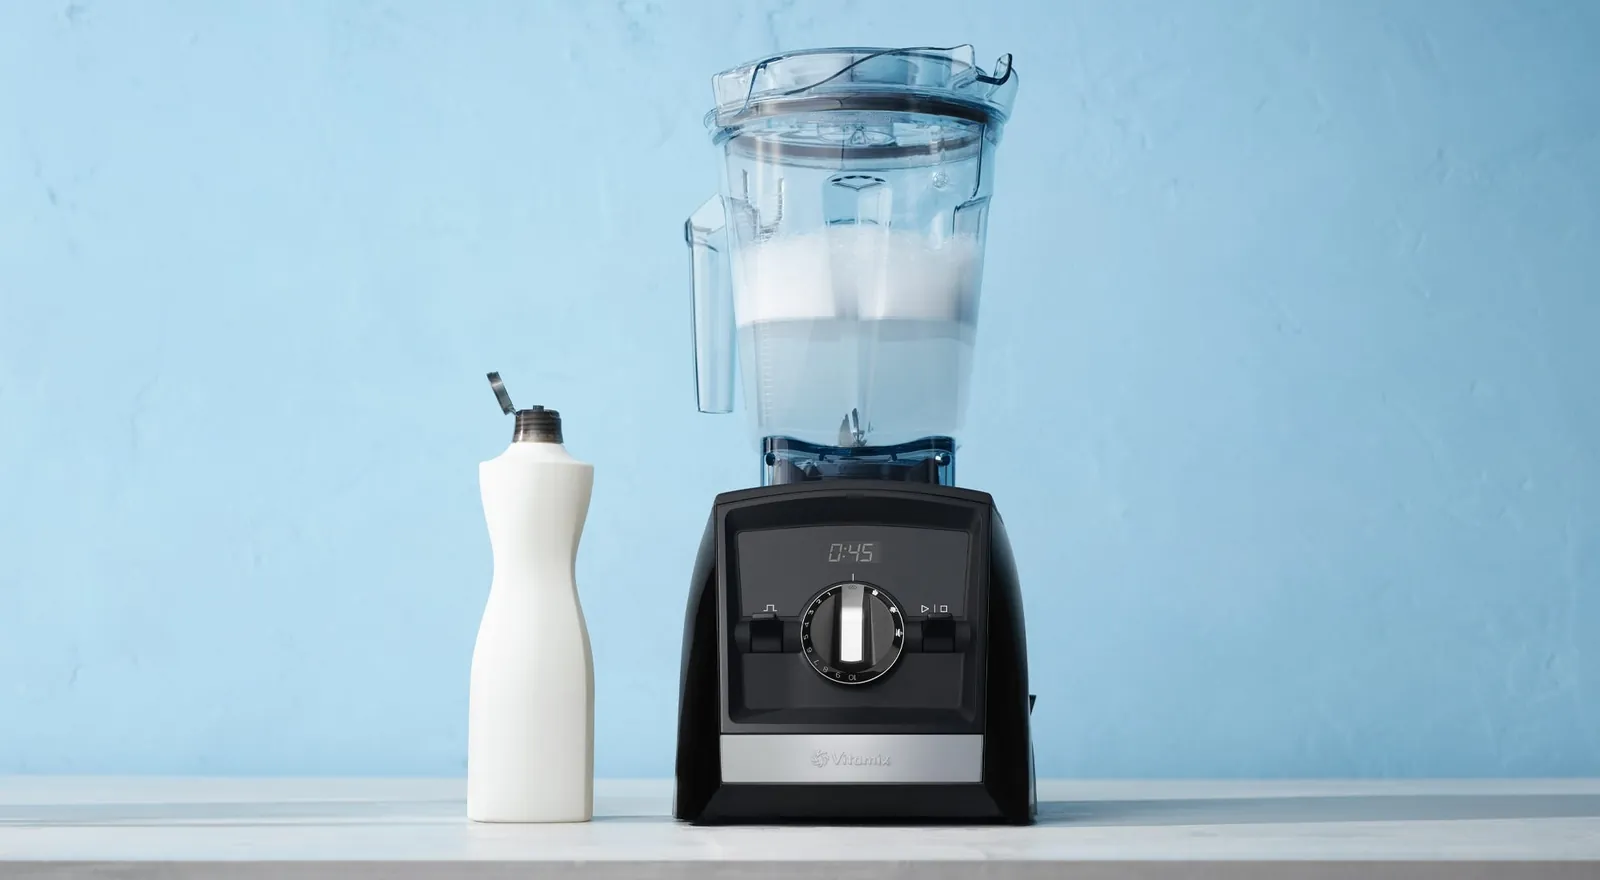
This page serves three kinds of readers. First, the home cook who hears a grinding noise or sees chunks in smoothies and wonders if a quick fix with a whetstone works. Second, the budget-conscious user who wants to avoid buying a whole new blender when one part fails. Third, the person who just bought a used vitamix and needs to know if the blades are safe to use.
We serve the first two groups best. We explain why sharpening isn’t an option, how to tell if your blades are truly damaged, and exactly how to replace them. If you’re looking for a DIY sharpening tutorial, read something else — it won’t work and might break your blender.
We assume you have a standard countertop vitamix model (5200, 6300, or similar) and basic hand tools like a screwdriver. We don’t assume you have mechanical experience. If you’re uncomfortable removing screws near electrical components, stop here and call a pro.
What decides the outcome
Three things change whether you replace blades or keep using your blender. The first is material loss. Hard items like ice, coffee beans, or frozen fruit wear down the cutting edges over time. Once the edge rolls or chips, it won’t cut again no matter how much you twist the jar.
The second is seal integrity. The blade assembly sits on a rubber gasket that prevents leaks. If that gasket cracks or warps, water gets into the motor shaft bearing. Corrosion follows, and the whole unit fails. Replacing blades usually means replacing the gasket too, so you get both right.
The third is motor load. Dull blades make the motor work harder. If your blender trips its thermal fuse often, the blades might be fine but the motor is stressed. Checking the electrical measurements helps here. That’s a job for a technician.
Most people get the first thing wrong. They think a sharp blade fixes everything. It doesn’t. if the gasket is leaking or the motor is overheating, sharpening (if it were possible) changes nothing. Focus on the seal and the sound first.
Step by step replacement
- unplug the blender and remove the jar. wipe the base dry so no moisture reaches the electrical contacts while you work.
- flip the base upside down on a soft towel. locate the four screws holding the blade assembly in place. they’re usually phillips head and sit under rubber feet.
- unscrew these bolts carefully. keep them in a small container so you don’t lose them. note their length; some are longer than others.
- lift out the old blade assembly. pull it straight up. if it sticks, wiggle it gently. don’t pry with metal tools against the plastic housing.
- clean the mounting surface. remove any old gasket residue with a plastic scraper and warm soapy water. dry it completely before moving on.
- place the new gasket onto the new blade assembly. ensure it sits flat and even. press it firmly into the groove around the blade stem.
- insert the new assembly into the base. align the tabs with the slots in the motor shaft. push down until it seats fully. don’t force it.
- replace the screws. tighten them in a cross pattern to ensure even pressure. stop when snug; overtightening can crack the plastic housing.
- plug in the blender and test with water only. run it on low for ten seconds, then high for thirty. listen for unusual noises or vibrations.
- check for leaks. look closely at the bottom where the blade meets the base. if any water drips out, turn it off immediately and reseat the gasket.
The key judgment call is torque. Tighten the screws enough to hold securely, but not so tight that the plastic deforms. If you hear a creaking sound from the base during testing, you’ve overtightened. Loosen them slightly and try again.
The variations at a glance
| Situation | What to do | Time/Cost | Watch for |
|---|---|---|---|
| Dull but intact blades | Replace assembly | 20 mins / $50 | Motor strain increases |
| Chipped or cracked edge | Replace assembly | 20 mins / $50 | Glass shards in food |
| Leaking base seal | Replace gasket + blades | 30 mins / $60 | Water in motor housing |
| Loose wobbly blades | Tighten or replace | 15 mins / $40 | Vibration damage |
| Burnt smell from base | Check motor, not blades | N/A / Pro repair | Electrical fire risk |
What separates a good result from a poor one
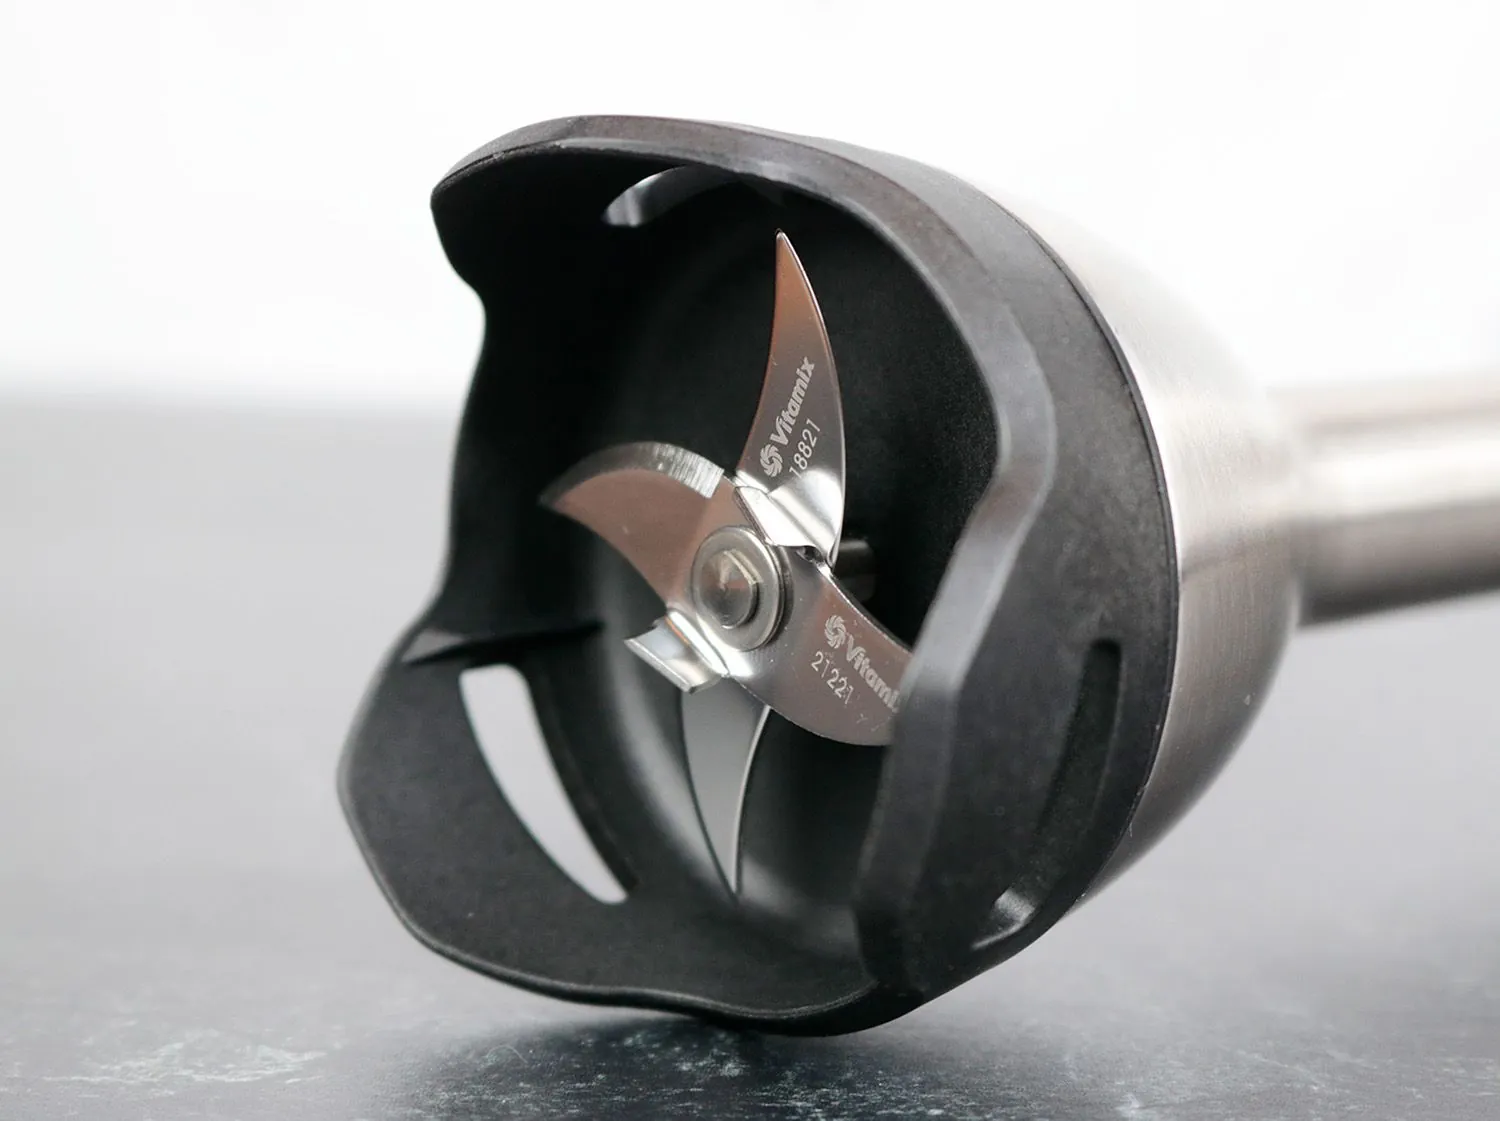
Preparation matters
Experienced users clear their workspace completely. They lay out towels, organize screws by size, and have the new parts ready before unplugging. Beginners often rush this step, losing screws or scratching the base. Take five minutes to set up properly. It saves hours of frustration later.
Handling the gasket
Pros treat the rubber gasket as critical. They inspect it for nicks before installing the new blades. If the gasket is even slightly torn, they discard it. Beginners often reuse old gaskets, thinking they’re “fine.” A micro-tear causes leaks within days. Always use the new gasket provided with the replacement kit.
Testing procedure
Good results include a thorough post-installation test. Pros run the blender with water for two full minutes, checking every minute for heat buildup or strange sounds. Beginners often just pulse it once and assume it’s fixed. A slow leak or misaligned blade shows up only after extended use. Patience here prevents future repairs.
What goes wrong, and what to do
| What you notice | What it usually means | What to do first | How to stop it happening again |
|---|---|---|---|
| Water under base | Failed gasket seal | Unplug and dry | Replace gasket immediately |
| Grinding noise | Worn blade bearings | Stop use, replace | Avoid hard ice cubes |
| Burning smell | Overloaded motor | Cool down 30 mins | Don’t overfill jar |
| Loose blades | Stripped screw threads | Replace assembly | Use correct torque |
| Vibration | Misaligned assembly | Re-seat carefully | Align tabs perfectly |
The rules that apply
Vitamix warranties cover defects but not wear and tear. According to vitamix’s official policy, blade assemblies are considered consumable parts. This means normal dulling isn’t covered. However, if the blades chip due to a manufacturing flaw, contact support.
For electrical safety, never submerge the base in water. The manual states to wipe it with a damp cloth only. Any liquid entering the motor housing voids the warranty instantly. Always unplug before cleaning or maintenance.
Local laws require appliances to meet UL or CE safety standards. Third-party replacement parts must carry similar certifications. Using non-certified blades can create electrical hazards. Stick to official vitamix parts or reputable certified alternatives.
The distinction between a defect and wear is often where disputes arise. You must determine if the damage existed at purchase or developed through use. Check the serial number on the base unit. Verify the date of manufacture against your receipt. If the gap exceeds six months, expect scrutiny. Keep the original box for at least ninety days. This packaging proves the item shipped correctly. Without it, proving a factory error becomes difficult.
Blade sharpness degrades based on frequency of use. Grinding ice daily accelerates dulling significantly. Soft foods cause minimal abrasion over time. If your blades fail within the first year, document every instance. Take photos of the chips under bright light. Send these images directly to the claims department. Don’t wait for a second failure to occur. Early reporting strengthens your case for replacement.
Electrical hazards from uncertified parts aren’t theoretical risks. They involve real fire potential and shock danger. Third-party sellers often omit certification marks from listings. Look for the UL logo on the product page. Ignore vague terms like “safety tested.” Specific certification bodies provide legal protection. Without them, you assume full liability for accidents.
Official parts include a traceability code. Enter this code on the manufacturer’s website. Confirm compatibility with your specific model number. Mismatched components can strain the motor. This leads to premature failure unrelated to quality. Always match the voltage rating exactly. International models may require transformers. Using the wrong power source destroys the unit immediately.
What it costs you
Replacing the blades isn’t a single flat fee. The price depends entirely on which machine you own and how you source the part. A genuine Vitamix blade assembly runs about $60. This is the baseline for safety and performance. Generic kits start at $40 but vary in quality. Cheap steel dulls faster. It strains the motor. You pay more in energy and early replacement.
Labor costs zero if you do it yourself. Most replacements take 20–30 minutes. You need a screwdriver and patience. If you struggle, add an hour. Don’t force parts. Strip a thread and you buy a new base. Professional repair shops charge $100+ for parts and labor. This is rarely worth it unless the unit is under warranty.
Hidden costs include potential motor damage from improper installation. An unbalanced blade wobbles. Vibration cracks the housing. Always follow steps precisely to avoid extra expenses. Check the seal before tightening. A leak ruins bearings. Inspect the gasket for nicks. Replace it if worn. This small step prevents water from entering the motor compartment.
Consider the cost of downtime. A broken blender stops your morning routine. Time has value. Calculate your hourly wage. Is paying $60 plus thirty minutes better than waiting weeks for a service appointment? Often yes. DIY gives you control over timing. You fix it when convenient. Not when the shop is free.
Compare total ownership cost. Cheap blades cost less upfront. They fail sooner. Genuine parts last longer. Factor in frequency of change. If you blend daily, invest in quality. If you use it weekly, generics may suffice. Track your usage. Let data guide the purchase. Never guess. Measure.
Keeping it right afterwards
Store the blender upright on a stable, flat surface. This keeps the blade assembly from resting against the counter or shelf material. Metal edges can nick the sharp points even when not in use. A protected edge stays sharp longer and blends more efficiently.
Never scrape the jar bottom with metal spoons or forks. The glass or plastic coating is softer than steel. One aggressive scrape creates a micro-fracture that spreads over time. Use silicone or wood tools instead. They glide without damaging the surface. If you must remove stuck food, soak the jar first. Softened residue lifts away easily. No force needed.
Clean the unit immediately after blending. Dried proteins bind to the blades like glue. That buildup accelerates wear on the motor seals. It also harbors bacteria that are hard to kill later. Rinse with warm water right away. Add a drop of soap if needed. Run the blender briefly on low speed to self-clean. This clears hidden pockets around the blade base.
Inspect the rubber gasket annually. Look for tiny cracks or discoloration. These signs mean the seal is failing. Water leaks into the motor base. That causes rust and electrical issues. Don’t wait for a leak to appear. Replace the gasket every two years. It costs little compared to a new motor. Keep a spare on hand. Change it during routine maintenance.
When this is the wrong approach
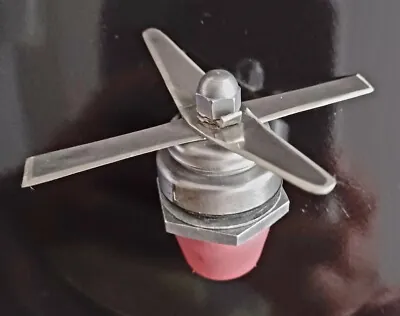
Stop immediately if you see exposed wiring. A frayed cord isn’t a minor wear-and-tear issue. It’s a direct path to electrocution. Don’t try to tape it back together. Don’t wrap it in electrical tape and hope for the best. That tape fails under heat and vibration.
The insulation inside the wire degrades over time. You can’t fix that with a quick patch. Call a certified appliance repair technician instead. They have the tools to test continuity safely. They can replace the entire power assembly. This ensures your blender won’t shock you next time you plug it in.
If the motor hums but the blades don’t spin, don’t force them. That sound means the gears are stripped. The plastic teeth inside the drive coupling have snapped. Forcing the blade by hand will only break more parts. It might also damage the motor shaft permanently.
Wait for the machine to cool down completely. Then check if any debris is jamming the base. If nothing is stuck, the gear case is broken. You need a new drive unit or a full replacement. Repairing internal gears is rarely cost-effective. The labor often exceeds the price of a new blender.
Finally, assess your toolkit before starting. If you lack a proper set of screwdrivers, stop. Using a butter knife or a coin to pry open the base is dangerous. These tools slip easily. They can puncture your skin or scratch the housing. Scratches weaken the structural integrity of the plastic.
A cracked housing can lead to leaks during operation. Leaks cause short circuits. Hire a professional if you don’t have the right drivers. A simple $50 service call saves you from a $200 injury bill. Safety isn’t about saving money on tools. It’s about preventing harm.
Frequently asked questions
Can I sharpen vitamix blades myself?
No. the steel is too hard and the angle too precise. Home tools can’t replicate factory grinding. Attempting it damages the blades and voids your warranty. Replacement is the only safe option.
How long do vitamix blades last?
Typically 5–10 years with regular use. Heavy daily use with hard ingredients shortens life. Watch for dulling signs like chunky smoothies or increased motor noise. Replace when performance drops noticeably.
Is it safe to use dulled blades?
Yes, but inefficiently. They won’t hurt you directly, but they strain the motor. Prolonged strain can burn out the motor prematurely. Replace them before significant wear occurs to protect your investment.
What happens if I mix oil with blades?
Oil doesn’t damage blades but can degrade the rubber gasket over time. It reduces seal effectiveness. Clean thoroughly after processing oily foods. Use mild soap and warm water to preserve the gasket life.
Does vibration mean broken blades?
Not always. Loose screws or an uneven surface cause vibration too. Check screw tightness first. If vibration persists after securing screws and leveling the base, the blade assembly may be warped. Replace it.
How do I know if I need new blades?
Listen for grinding noises or see incomplete blending. If smoothies have chunks despite proper technique, blades are likely dull. Also check for leaks around the base. These signs indicate replacement is needed.
What to do next
Locate the model number on the base of your blender. It sits near the power cord entry point. Write it down. Search for “Vitamix [model] blade assembly” in a major retailer’s search bar. Don’t buy generic parts from unknown marketplaces. The metal thickness and seal design vary by generation. A mismatched part will leak or break immediately.
Clear a workspace on your kitchen counter. Lay down a soft towel to catch small screws. Keep them from rolling into the drain. You need a Phillips head screwdriver. Most modern units use this type. If yours uses Torx, find that specific bit first. Using the wrong tool strips the heads. Stripped heads make removal nearly impossible without special equipment.
Remove the old blade assembly carefully. Note how the gasket sits in its groove. Clean the area with warm soapy water. Dry it completely. Moisture prevents a tight seal. Place the new gasket into the groove. Press it evenly around the circle. Ensure it isn’t twisted or pinched.
Align the new blade assembly with the mounting holes. Insert the screws. Tighten them snugly but don’t overtighten. Overtightening cracks the plastic housing. Plug the unit in. Run water only at low speed for ten seconds. Listen closely. Any grinding noise means misalignment. Unplug immediately if you hear sparks. Stop if resistance feels abnormal.