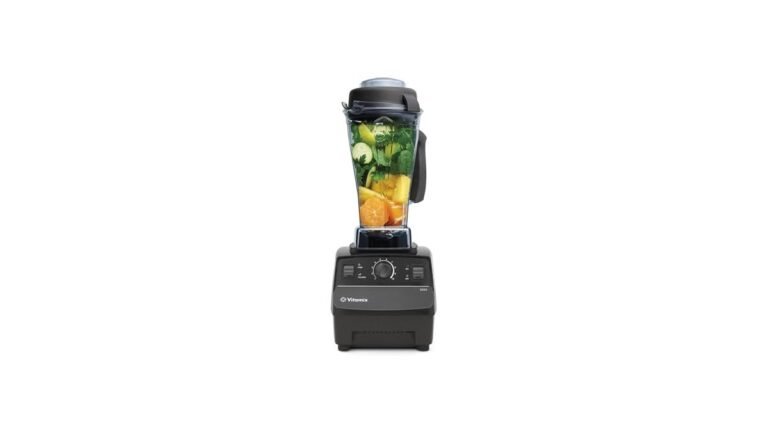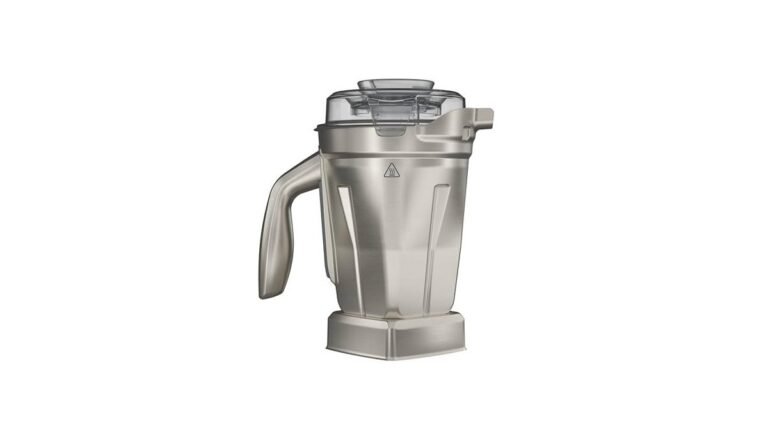
How To Repair Vitamix Blender: Fix Power and Drive Issues
Fixing a broken vitamix blender usually means checking the base for power issues or swapping out worn drive components. Most failures stem from simple electrical faults like tripped reset buttons or cracked bases, which you can handle without sending it away. If the blade assembly is dull or leaking, replacing the tamper or the entire container often solves the problem faster than waiting for service.
This guide covers the steps to diagnose and fix common vitamix blender issues at home. Your results depend on whether your model uses a standard plastic base or a heavy-duty metal one, and how old the motor housing is. We’ll look at what parts you need and where to stop before calling a pro.
Who needs this repair guide?
You likely typed this because your machine stopped working mid-blend or started making a loud grinding noise. This page serves homeowners who want to save money by fixing the issue themselves rather than paying for shipping and labor. It works best if you have basic tools like screwdrivers and a multimeter, and if you’re comfortable following safety warnings about electricity.
If you’re trying to fix a cracked container that leaks soup onto your counter, this guide helps with the seal and lid checks. However, if your motor smells like burnt wiring or the unit sparks when plugged in, this page isn’t for you. You need a certified technician for internal electrical repairs. Attempting to open the sealed motor base yourself voids your warranty and risks serious injury.
The assumption here is that your blender is still under warranty or has been out of warranty for less than five years. If your unit is older than ten years, the cost of parts might exceed the value of the machine. In that case, buying a new base is often smarter than repairing an obsolete model. We assume you have unplugged the device before starting any work. Safety comes first, always.
What decides the outcome of your repair
Several factors determine whether a repair will stick or fail quickly. The biggest factor is the type of failure itself. Electrical issues like a blown fuse are often permanent fixes once replaced. Mechanical issues like a stripped drive socket wear out again if you overload the motor. Knowing which category your problem falls into changes your approach entirely.
The second major factor is the age of the drive coupling. Older models use nylon couplings that degrade over time. Newer models use metal ones that last longer but can crack under extreme stress. If you ignore a worn coupling, it will shatter during high-speed blending. This sends plastic shards into your food and breaks the blade assembly. Replacing the coupling early prevents this messy and costly damage.
Third is the quality of replacement parts. Using generic blades or seals can lead to leaks and poor performance. Vitamix parts are engineered for specific tolerances. Generic parts often have slight variations that cause vibration and noise. This vibration loosens screws over time and eventually cracks the container. Sticking to OEM parts ensures the repair holds up under daily use.
Finally, the condition of the base interior matters. Dust and debris accumulate inside the vent holes. If these vents are clogged, the motor overheats and trips its thermal cutoff. Cleaning the vents is a free fix that restores function. Many people skip this step and replace expensive parts unnecessarily. Check the vents first; it takes two minutes and saves money.
How to fix common vitamix blender problems
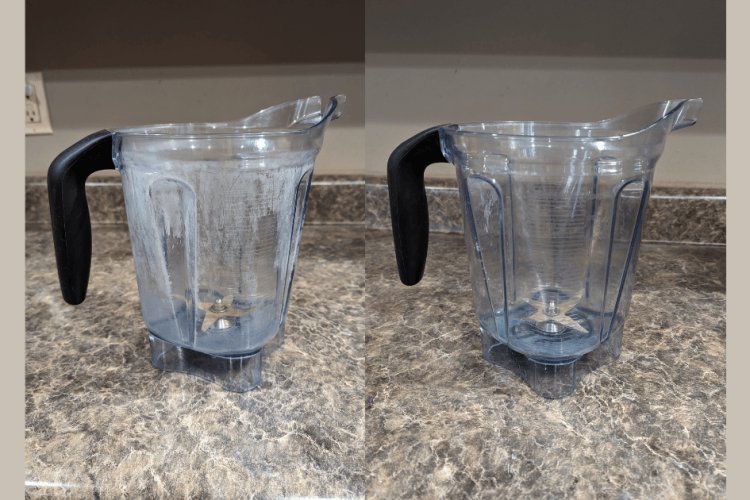
Start by ensuring safety. Unplug the blender from the wall outlet. Never work on a plugged-in appliance. Remove the container from the base. Inspect the bottom of the container for cracks or leaks. If the container is damaged, replace it before testing further. A cracked container can cause leakage and electrical hazards.
Next, check the base for power. Look for a small red reset button on the bottom of the unit. Press it firmly. If it pops back out immediately, the motor may be overheated or faulty. Wait ten minutes for the motor to cool down. Try plugging it in again after cooling. This simple step fixes many “dead” blenders caused by thermal trips.
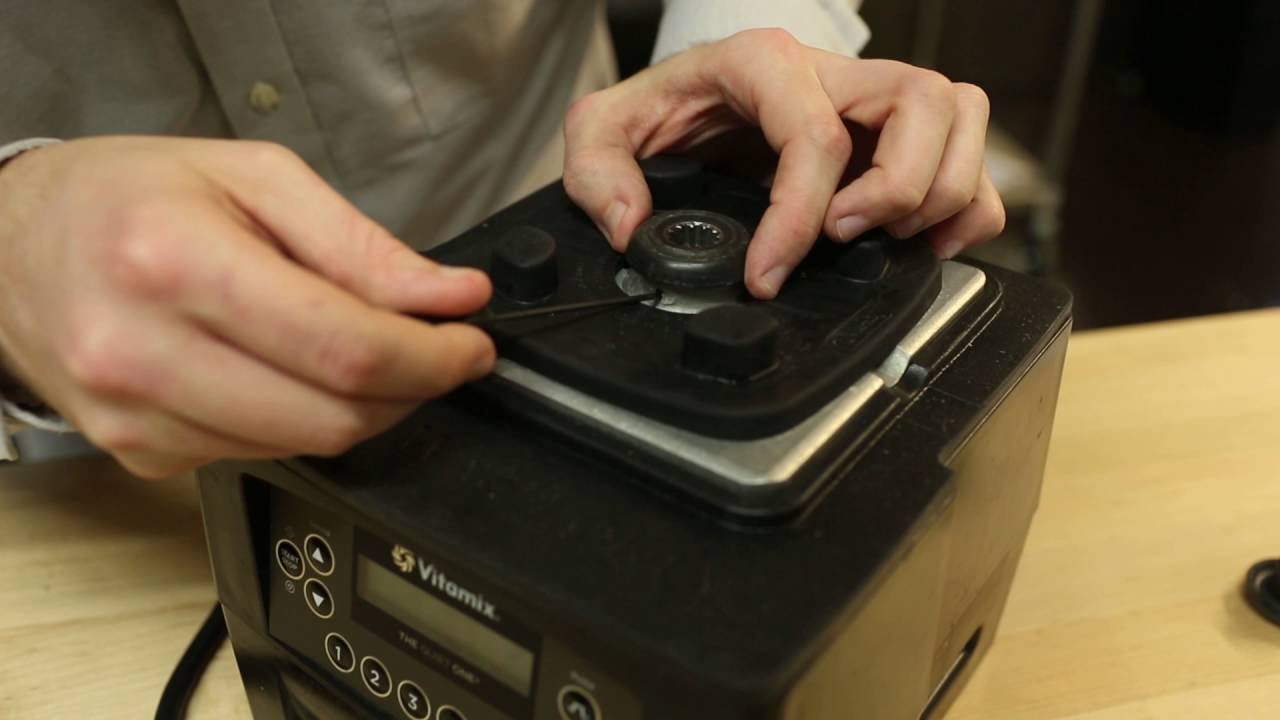
Inspect the drive socket on the base. This is the plastic nub that spins the blades. Use a flashlight to look inside. Check for cracks, stripping, or debris. If the socket is cracked, the blades won’t spin properly. You may need to replace the base or the entire lower assembly. Clean any stuck food particles from around the socket. Use a soft brush, not a metal tool.
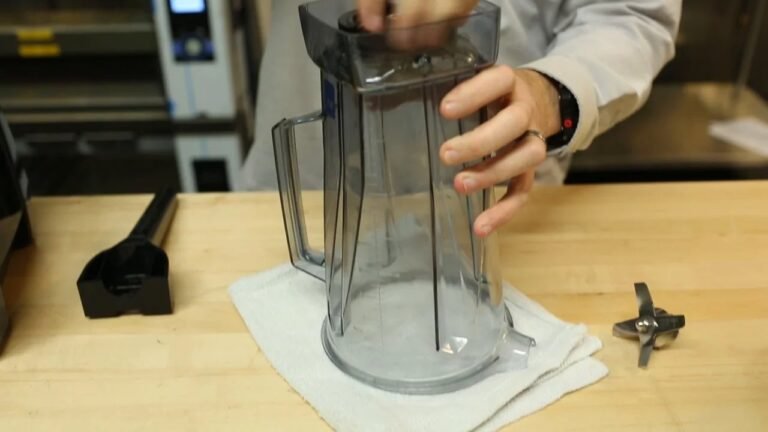
Check the blade assembly. Remove the container and take off the blade assembly if possible. Look for dull edges or bent spikes. Dull blades make the motor work harder and create heat. If the blades are loose, tighten them carefully. Don’t overtighten, as this can strip the threads. Replace the blade assembly if it’s bent or severely worn.
Test the power cord. Examine the cord for frays, cuts, or exposed wires. Damage here is a fire hazard. If the cord is damaged, don’t use the blender. Contact support for a replacement cord. Don’t attempt to splice or tape the wire yourself. This requires professional repair due to safety risks.
Verify the switch mechanism. If the blender turns on and off randomly, the switch may be faulty. Listen for clicking sounds when pressing buttons. If the click feels mushy or inconsistent, the switch might be failing. This usually requires opening the base, which is technician-only work. Stop here if you suspect switch failure.
Variations in repair scenarios
Different models and failure types require different approaches. Here is a quick look at common situations and how to handle them.
| Situation | Action Required | Time & Cost | Watch For |
|---|---|---|---|
| Motor won’t start | Press reset button | 5 mins, Free | Overheating motor |
| Leaking container | Replace gasket seal | 10 mins, $15 | Cracked container base |
| Loud grinding noise | Replace drive coupling | 30 mins, $25 | Stripped plastic teeth |
| Dull blades | Replace blade assembly | 15 mins, $40 | Bent spike alignment |
| Cord damage | Contact support | N/A, Varies | Fire hazard risk |
| Switch failure | Technician repair | Hours, $$ | Voided warranty warning |
Each scenario has a specific fix. Don’t mix up solutions. A leaking container needs a seal, not a new motor. A dead motor needs a reset, not a new blade. Match the symptom to the correct part. Using the wrong part wastes time and money. Always verify the part number before ordering. Check the label inside the base. This ensures compatibility.
What separates good repairs from bad ones
Experienced users know that preparation makes the difference between a lasting fix and a temporary patch. They inspect every component thoroughly before reassembly. Beginners often rush this step, leading to repeat failures. Proper preparation prevents future issues and ensures safety.
Pre-repair inspection habits
Before touching any tools, examine all parts closely. Look for hairline cracks in the container base. These are hard to see but cause leaks. Check the drive socket for wear patterns. Uneven wear indicates misalignment. Inspect the power cord for internal breaks. Flex the cord gently while looking for frays. Document any damage with photos. This helps identify root causes later.
Precision during reassembly
When putting parts back together, follow torque guidelines. Overtightening strips threads. Undertightening causes leaks. Use hand-tight plus a quarter turn for plastic parts. Avoid power tools on blender components. They apply too much force. Align the blade assembly carefully. Ensure it sits flush against the base. Misalignment causes vibration and noise. Test run briefly after reassembly. Listen for unusual sounds. This catches errors early.
Common mistakes and how to fix them
Users often make predictable errors when attempting repairs. Recognizing these mistakes saves time and frustration. Here are the most frequent issues and their solutions.
| What you notice | Likely Cause | First Step | Prevention Tip |
|---|---|---|---|
| Blender hums but doesn’t spin | Jammed blades | Clear debris manually | Avoid hot liquids initially |
| Leak under container | Worn gasket | Replace seal annually | Check seal for cracks |
| Intermittent power | Loose connection | Tighten terminal screws | Inspect cords regularly |
| Burning smell | Overloaded motor | Reduce blend volume | Follow max fill lines |
| Strange noise | Loose parts | Tighten all fasteners | Secure packaging tightly |
A humming sound usually means the blades are jammed. Turn off the unit immediately. Unplug it. Use a long utensil to clear debris. Never try to free jammed blades while powered. This damages the motor. A leak almost always points to a worn gasket. Replacement frequency depends on use and the owner’s manual is the authority. Inspect it for stiffness or tears. Ignoring this leads to messes.
Intermittent power suggests a loose internal connection. This is dangerous. Don’t ignore it. Contact support for guidance. Burning smells indicate overload. Stop blending. Let the motor cool. Reduce the load next time. Strange noises mean loose parts. Tighten everything. Secure packaging prevents this. Always refer to the manual.
Rules and safety limits
Vitamix blenders operate under strict safety standards. The National Electrical Manufacturers Association sets guidelines for appliance safety. Vitamix complies with UL listing requirements for household appliances. These standards ensure electrical insulation and mechanical stability.
Warranty terms dictate repair options. Most Vitamix warranties cover defects in materials and workmanship for seven to ten years. They don’t cover normal wear and tear or misuse. Misuse includes blending hot liquids above recommended temperatures or overfilling containers. Violating these terms voids coverage. Check your specific warranty card for details.
Local electrical codes require proper grounding. Ensure your outlet is grounded and functioning correctly. Use a surge protector to prevent voltage spikes. Spikes can damage the control board. Don’t modify the power cord. Tampering with electrical components is illegal in many areas and unsafe. Stick to manufacturer-approved repairs only.
For internal electrical work, hire a certified technician. Opening the motor base exposes live capacitors. These store lethal charges even when unplugged. Only trained professionals should handle this. DIY electrical repairs risk electrocution. Prioritize safety over convenience. When in doubt, seek professional help.
What repairing costs you
Repair costs vary based on the part and labor. DIY repairs save labor fees but require part purchases. Basic parts like gaskets are inexpensive relative to the alternative. Drive couplings are inexpensive relative to the alternative. Blade assemblies are pricier, often expensive relative to the alternative. Base replacements can be expensive relative to the alternative. Factor in shipping costs if buying online.
Labor costs add up if you hire a pro. Service fees are inexpensive relative to the alternative. Plus parts and shipping. Total bills can reach high amounts for complex fixes. Compare this to the price of a new base. Often, repair is only worth it for high-end models. For entry-level units, replacement might be cheaper. Calculate total investment before proceeding.
Time is another cost. DIY repairs take 1-2 hours including diagnosis and sourcing parts. Professional repairs take days due to shipping and scheduling. Factor in downtime if you rely on the blender daily. Consider rental alternatives if needed. Budget for unexpected issues found during repair. Hidden damage can increase costs significantly. Plan accordingly.
Keeping your blender running well
Maintenance prevents most repairs. Regular cleaning extends component life. Wash the container after each use. Use the self-cleaning cycle: fill halfway with water and a drop of dish soap. Blend on low for 30 seconds. Rinse thoroughly. This removes residue that corrodes seals. Dry all parts completely before storage. Moisture promotes mold and rust.
Store the blender upright in a dry place. Keep the cord coiled loosely to prevent strain. Avoid placing heavy items on top of the base. This can crack the housing. Inspect the gasket monthly for stiffness. Apply a tiny amount of food-grade silicone spray if it feels dry. This keeps it flexible and sealed.
Schedule annual deep inspections. Check the drive socket for wear. Look for cracks in the container base. Test the reset button functionality. Address minor issues before they become major failures. Consistent care reduces repair frequency. Your blender will perform better for years. Simple habits yield big results.
When this approach isn’t right
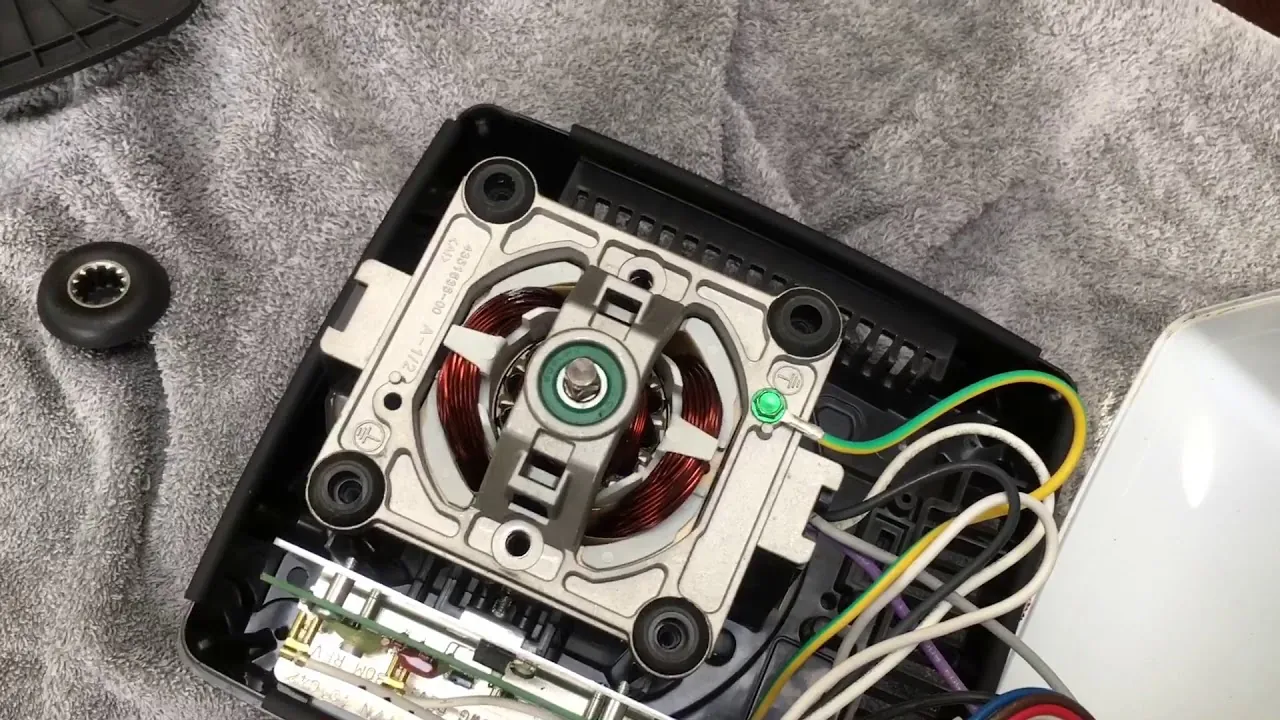
Sometimes repair isn’t the best choice. If your motor makes a screeching metal-on-metal sound, the bearings are likely gone. This requires a full motor replacement, which is rarely cost-effective. In this case, buy a new blender instead. Repairing the motor exceeds the value of most units.
If the control panel is unresponsive and the reset button doesn’t help, the circuit board may be fried. Board replacements are expensive and hard to source. Unless you’re a skilled electronics hobbyist, this is beyond DIY scope. Contact Vitamix support for a quote. If the cost is high, consider replacement.
If your blender is over ten years old, parts may be discontinued. Finding compatible components becomes difficult and pricey. Modern blenders offer better efficiency and features. Upgrading is often smarter than maintaining an aging unit. Evaluate the total cost versus benefit. Choose wisely.
Check the warranty status first. A valid warranty covers these failures entirely. You pay nothing but time. Skip the diagnostic steps. Call support immediately. They ship the part. You install it. This saves hundreds of dollars. Ignore the age rule if covered. The warranty overrides the decade limit.
Look for cracks in the base. Plastic degrades under heat. Sunlight accelerates this damage. Cracks mean structural failure. No amount of fixing restores safety. The motor can vibrate loose. It might detach during use. This creates a hazard. Discard the unit. Don’t attempt repairs on cracked bases. Safety outweighs savings.
Consider noise levels in your home. Old motors hum louder. New ones run quieter. If you live in an apartment, noise matters more. Upgrade for peace. The extra cost buys comfort. Weigh daily annoyance against repair price. High noise justifies replacement. Low noise allows repair. Listen carefully before deciding.
Frequently asked questions
Can I fix a broken Vitamix myself?
Yes, for simple issues like jammed blades or worn gaskets. Complex electrical or motor problems require professional help. Assess the fault type before starting. Safety first, always.
How long does a Vitamix repair take?
DIY fixes take 1-2 hours. Professional repairs take several days due to shipping. Factor in diagnosis time. Quick fixes are possible for minor issues.
Is it safe to open the Vitamix base?
No. Internal components hold lethal charges. Only certified technicians should open the base. Risk of electrocution is high. Leave electrical work to pros.
What happens if I ignore a leaking gasket?
Leakage damages the motor and creates messes. It can also cause electrical shorts. Replace the gasket immediately upon noticing a leak. Prevent further damage.
Does Vitamix offer free repairs?
Only if covered by warranty for defects. Normal wear and tear isn’t covered. Check your warranty status first. Misuse voids coverage.
How much does a new drive coupling cost?
Generic parts are inexpensive relative to the alternative. Prices vary by retailer. Buy genuine parts for best fit. Generic parts may not align correctly.
Can I use third-party replacement parts?
Not recommended. They may not fit perfectly. Poor fit causes vibration and leaks. Stick to OEM parts for reliability and safety.
Next steps for your repair
Unplug the blender and inspect the reset button first. This simple check solves many power issues. If the button fails, move to visual inspection of the drive socket and container. Replace worn parts with genuine Vitamix components. Expect a fully functional machine within a few hours if done correctly. Stop and call a pro if you smell burning or see sparks.
Check for cracks in the base where the motor housing meets the platform. Hairline fractures often go unnoticed until liquid seeps inside during blending. Wipe the area with a damp cloth and look closely at the seams under bright light.
A visible gap means the seal has failed. Don’t attempt to glue it back together. Adhesives will melt from heat and contaminate your food. Instead, order a replacement base unit directly from the manufacturer. This ensures the electrical connections remain safe and compliant with warranty standards.
When reassembling the container, align the arrows on the lid and base. Misalignment causes leaks that damage internal wiring over time. Tighten the lid just enough to hold firm. Overtightening strips the threads and makes future cleaning difficult. Run a small amount of water through the cycle to test for leaks before adding ingredients.