How To Clean Vitamix Blender Blades Safely and Effectively
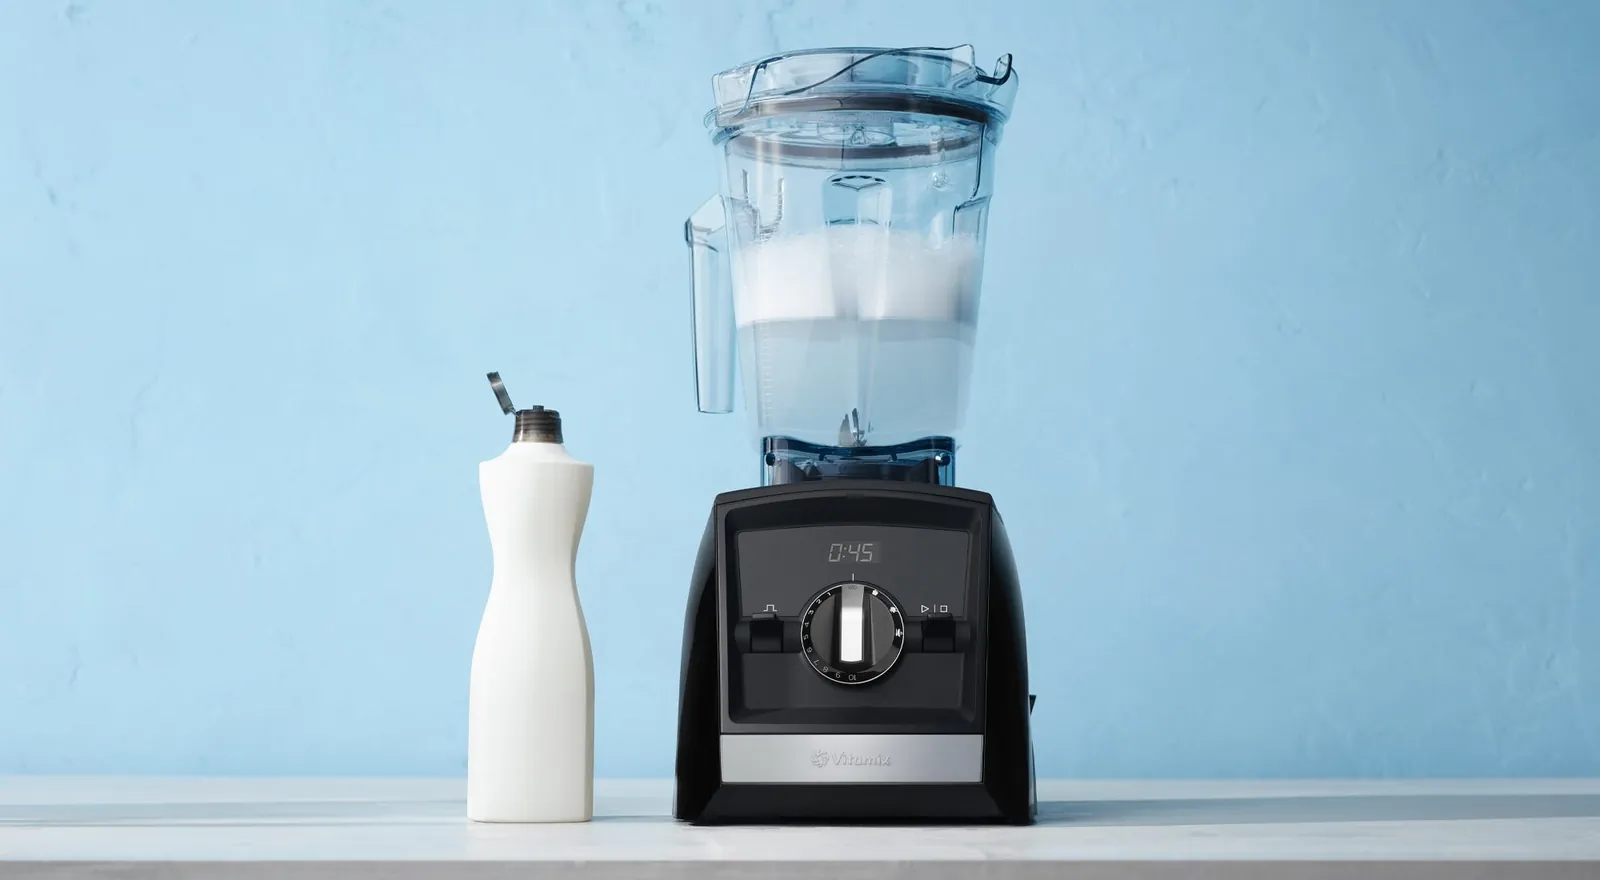
You can clean vitamix blender blades by running warm water with a drop of soap on the lowest speed for 30 to 60 seconds, then rinsing and drying them immediately. This method removes sticky residue without risking injury from sharp edges or damaging the blade assembly. The exact time you need depends on how thick your mixture was and whether you have a high-powered model or an older one with more corrosion.
Who needs to clean Vitamix blender blades
This guide serves home cooks who make smoothies, soups, or nut butters in their own kitchen and want to save time on cleanup. It also helps busy parents who need a quick way to sanitize a blender used for raw eggs or dairy without taking it apart. You don’t need to be a professional chef or own expensive cleaning gadgets to follow these steps.
If you’re trying to clean a commercial-grade unit used all day long, this advice might be too gentle for heavy buildup. Similarly, if you plan to deep-clean the motor base or remove the blades entirely, you should read a different manual about disassembly.
This page assumes you want to keep the blender safe and functional while avoiding the risk of cutting yourself on the razor-sharp edge. We assume you have access to basic kitchen items like dish soap and a soft sponge.
What decides the outcome
The thickness of the food left inside the jar determines the cleaning time needed. A thin smoothie washes away in 20 seconds, but a thick peanut butter batch needs the full minute of agitation to break down the oils clinging to the metal. If you skip the soap when dealing with fats, the blades will stay greasy no matter how long you run the cycle.
The age of your machine matters just as much as the food. Older models often have slightly looser seals around the blade assembly where crumbs hide. Newer units usually have smoother bases that let debris slide off easily during the rinse. You must check the specific manual for your model number to see if there are any special warnings about heat or pressure limits.
Most people get wrong the temperature of the water they use. Hot water can warp plastic jars over time or loosen the gasket holding the blades in place. Cold water won’t melt the fats effectively. Lukewarm water is the sweet spot that dissolves grease without stressing the materials. Always feel the water before starting; if it burns your hand, it’s too hot for the jar.
Step by step
- Pour one cup of warm tap water into the empty container until it reaches the halfway mark. Don’t fill it higher, or the mixture might splash out during spinning.
- Add two drops of mild dish soap directly onto the water surface. Use only a tiny amount so you don’t create excessive foam that clogs the drain.
- Secure the lid tightly and ensure the vent cap is closed to prevent leaks during operation. Check that the blade assembly is locked in place before turning anything on.
- Start the machine on the lowest speed setting and gradually increase to high over five seconds. Listen for a smooth hum rather than a grinding noise that suggests an obstruction.
- Run the blender for 30 to 60 seconds depending on how dirty the interior looks. Thick residues need the full minute to detach from the sharp edges.
- Turn off the machine and wait for the blades to stop moving completely before touching the jar. Never put your hand near the opening while the unit is still cooling down.
- Open the lid carefully and pour out the soapy water into the sink. Rinse the jar thoroughly under running water to remove all soap traces.
- Dry the outside of the container with a clean towel and leave the lid off to air dry the inside. Moisture trapped inside can lead to mold growth later.
The single judgment call here is deciding when to stop running the cycle. If the water looks cloudy after 30 seconds, give it another 15 seconds. If it stays clear, you can stop early to save energy. Don’t try to scrape the blades with a knife or spoon, as this damages the edge and creates safety hazards.
The variations at a glance
| Situation | What to do | Time/Cost | Watch for |
|---|---|---|---|
| Thin fruit smoothie | One cup water + soap, 20 sec high speed | Low effort | No residue left behind |
| Thick nut butter | Fill half, add extra soap, 60 sec high speed | Medium effort | Gritty texture remains |
| Sticky yogurt | Warm water only, 30 sec low speed first | Low cost | Cloudy water indicates success |
| Burnt food residue | Soak for 1 hour, then blend with soap | High effort | Scorch marks may persist |
| Strong garlic smell | Add lemon slice with water, blend 30 sec | Low cost | Acidic smell fades quickly |
| Hardened dried bits | Soak overnight, then repeat blending process | High time | Bits may need hand scrubbing |
What separates a good result from a poor one
Preparation matters most
Experienced users never forget to remove large chunks of food before adding water. If you leave a whole strawberry or a large ice cube inside, the blades can jam or the motor might strain. Beginners often dump the whole mess in and expect the machine to fix itself. You must always check the bottom of the jar for solid pieces before starting the wash cycle.
The rinse is critical
Amateurs often think the soap cycle is enough and skip the final rinse. Soap residue tastes bad and can ruin your next drink. Pros always run a second cycle with plain water for 10 seconds to flush out every trace of detergent. They also wipe the rim of the jar with a damp cloth to remove any film that forms there.
What goes wrong, and what to do
| What you notice | What it usually means | What to do first | How to stop it happening again |
|---|---|---|---|
| Blades spin slowly | Food jammed the assembly | Stop immediately and unplug | Remove large chunks first |
| Water splashes out | Lid not sealed tight | Wipe rim and reseat lid | Check gasket for wear |
| Smell lingers | Bacteria grew in crevices | Soak with vinegar solution | Clean immediately after use |
| Rust spots appear | Water sat too long | Scrub gently with baking soda | Dry thoroughly after washing |
| Motor hums loud | Debris stuck under blade | Disassemble and clean manually | Avoid hard foods like nuts |
The rules that apply
Safety guidelines from Vitamix state that you should never immerse the motor base in water. The electrical components inside aren’t waterproof and will fail if submerged, often causing a short circuit within seconds of contact.
Always wipe the base with a damp cloth instead of washing it under a tap, ensuring no moisture seeps into the ventilation slots on the sides or bottom. If you accidentally splash water on the unit, unplug it immediately and let it dry for at least forty-eight hours before attempting to use it again.
Health regulations require that you sanitize surfaces that touch food. Running the blender with hot water and soap meets the standard for killing common bacteria like E. coli and Salmonella, provided the water temperature reaches at least 160 degrees Fahrenheit during the cycle. However, if you handle raw meat or poultry, you should wash the jar separately with a bleach solution according to CDC guidelines, using one tablespoon of bleach per gallon of water.
Never mix chemicals like bleach and ammonia together in the blender, as this creates toxic chloramine gas that can damage your lungs and ruin the container’s plastic lining. If you must switch between cleaning agents, rinse the jar thoroughly with plain water three times to remove any residue before adding a new solution. This extra step prevents dangerous reactions and ensures the appliance remains safe for daily family use without compromising its structural integrity.
What it costs you
Cleaning your blender blades costs almost nothing in money, mostly just a few cents for soap and water. The real cost is time, which ranges from one to three minutes depending on how dirty the jar is. If you ignore the buildup, the cost rises because you waste ingredients on future blends or replace the jar prematurely.
Hard water can leave mineral deposits that take longer to remove. In areas with very hard water, you might need to use white vinegar occasionally to dissolve the scale. This adds a small expense but saves you from buying a new container later. The effort is minimal compared to the price of a replacement part.
If your water feels slick after rinsing, assume it’s hard and skip the soap entirely. Soak the blade assembly in undiluted white vinegar for ten minutes before scrubbing. This single step prevents the gritty film that traps food particles and dulls the cutting edge over months. You’ll notice the difference immediately when blending frozen fruit, as the motor no longer struggles against resistance.
Many people wait until the blender smells sour before cleaning, but by then the damage is done. A thin layer of dried protein acts like glue, bonding debris to the metal so thoroughly that even hot water fails to lift it. This forces you to soak for an hour or more, turning a two-minute task into a twenty-minute ordeal. The lost time compounds quickly if you blend daily.
When the jar develops a cloudy haze that won’t wipe away, the mineral content has likely etched the plastic surface. No amount of scrubbing will restore clarity once this happens, and the rough texture will harbor bacteria even after washing. At this stage, replacing the container becomes the only option to ensure food safety and proper blending performance.
Keeping it right afterwards
After cleaning, store the blender with the lid off to allow air circulation inside the jar. This prevents moisture from getting trapped and causing mold or unpleasant odors. If you plan to use it again soon, you can leave the lid on loosely to keep dust out.
However, if the kitchen is humid or you live in a coastal area where salt air hangs heavy, always remove the blade assembly entirely before storing the base. Water vapor settles faster in these environments, turning a loose lid into a breeding ground for bacteria within hours rather than days.
Check the rubber gasket under the blade assembly once a month for cracks or tears. A damaged seal lets water leak into the motor base, which is a costly repair. Replace the gasket if you see any signs of wear to maintain the warranty and safety standards. Don’t wait for a visible tear; start feeling for stiffness or brittleness when you pull it gently.
If the rubber resists bending or feels like dry leather, it has lost its elasticity and will fail during your next high-speed blend. Many users mistake a clean gasket for a safe one, but microscopic hairline fractures often go unnoticed until liquid seeps through. When replacing the part, ensure the new seal sits flush against the metal without any gaps, as even a millimeter of misalignment creates a path for damage.
When this is the wrong approach
This method fails if you have hardened food baked onto the blades from days ago. You can’t blast away burnt-on cheese or dried egg with just water and soap. In that case, you must soak the jar in warm soapy water for several hours before trying the blending method again. Let the appliance sit overnight if the residue feels like concrete; a quick rinse will only spread the grime deeper into the blade assembly where it hardens further.
Don’t attempt to clean the blades if the jar is cracked or the lid is broken. A compromised container can shatter under the pressure of the spinning blades. Take the unit to a certified technician or contact the manufacturer for a replacement part instead of forcing a dangerous repair.
Even a hairline fracture visible only when held up to bright light creates a weak point that will fail during high-speed rotation. If the plastic feels brittle or shows stress marks near the base, discard the vessel immediately rather than risking injury.
You might be tempted to use a metal scrubber on stubborn spots, but this scratches the surface and creates new hiding places for bacteria. Stick to soft sponges or nylon brushes that remove debris without damaging the protective coating. When in doubt about the structural integrity of any component, assume the worst and stop using the machine until a professional inspects it. Safety always outweighs the convenience of a quick cleanup attempt.
Frequently asked questions
Is it safe to clean vitamix blender blades with hands?
No, never put your fingers inside the jar to scrub the blades. The edge is extremely sharp and can cause serious cuts even when the machine is off. Always use a bottle brush or rely on the self-cleaning cycle to avoid injury.
How long does it take to clean vitamix blender blades?
It takes about 30 to 60 seconds of blending time plus a minute for rinsing and drying. Heavy residues like nut butter might require an extra soaking step that adds 10 minutes to the total process.
Can I use bleach to clean vitamix blender blades?
Yes, you can use a diluted bleach solution for sanitizing raw meat residues, but rinse thoroughly afterward. Mix one teaspoon of bleach per gallon of water and run a short cycle, then rinse multiple times with plain water.
Why does my blender smell after cleaning?
A lingering smell usually means food particles are stuck in the rubber gasket under the blades. Soak the jar in a mixture of warm water and baking soda overnight to remove the odor completely.
How often should I clean vitamix blender blades?
Clean the blades after every single use to prevent buildup and bacterial growth. Even if you only made water, a quick rinse keeps the jar hygienic and ready for the next task.
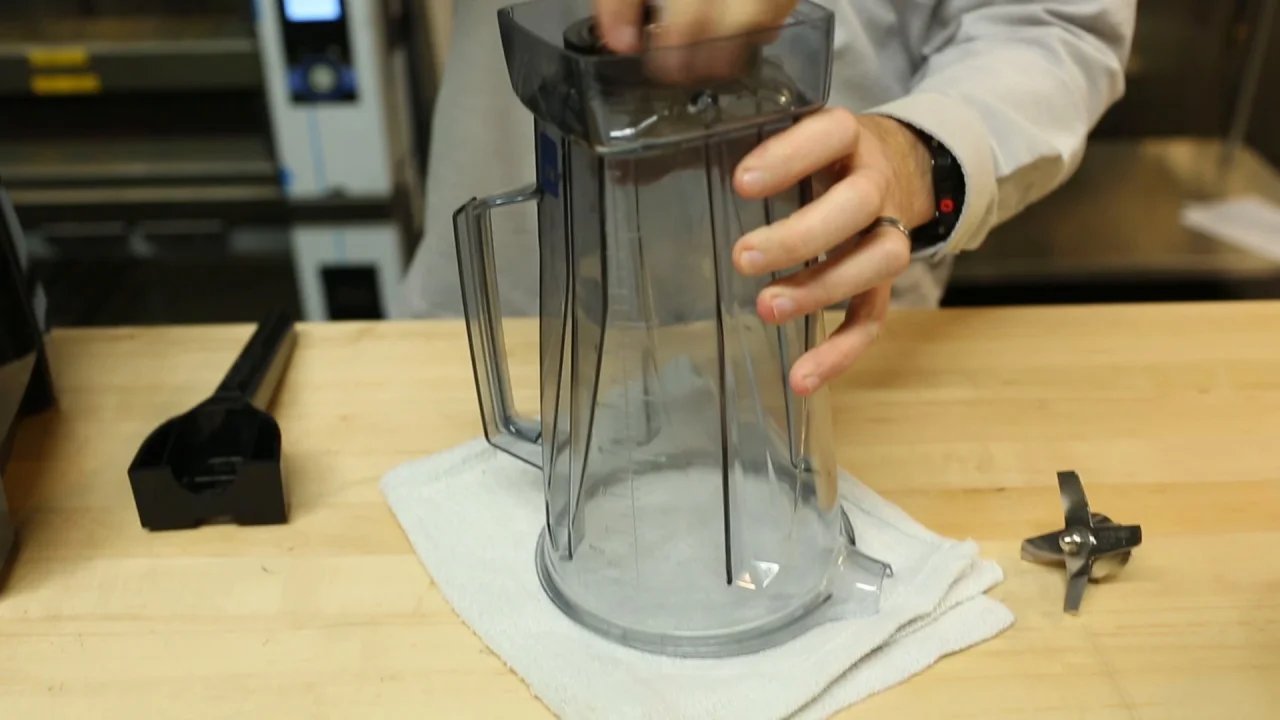
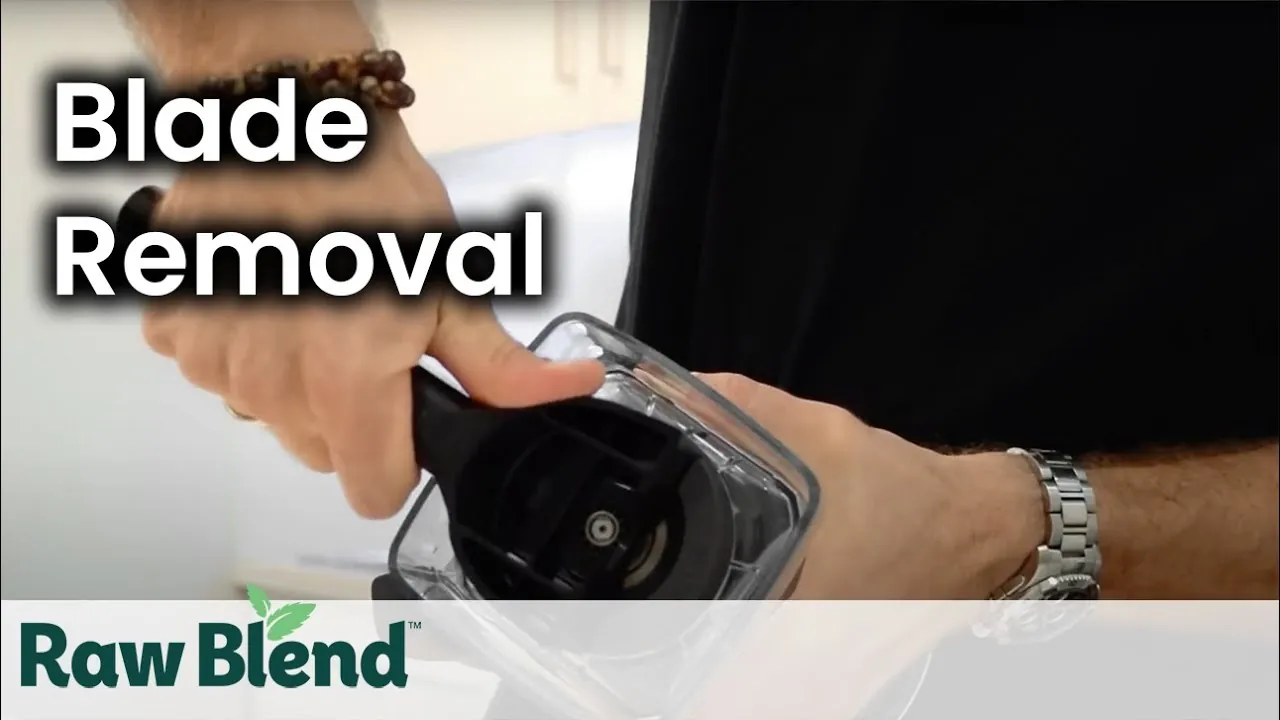
Does the blade assembly come off for cleaning?
The blade assembly is permanently attached and shouldn’t be removed by the user. Attempting to unscrew it can void the warranty and damage the seal, leading to leaks.
What happens if I don’t clean the blades properly?
Food residue builds up over time, making the blades less efficient and creating bad smells. It can also harbor harmful bacteria that contaminate your next smoothie or soup.
Is it safe to use hot water in a plastic jar?
Use warm water only, not boiling water, as extreme heat can warp the plastic container. Check the manual for your specific model to see the maximum temperature limit allowed.
What to do next
Start the self-cleaning cycle immediately after finishing your last recipe to save time later. Expect the jar to look shiny and smell fresh within two minutes of running the water. If you see any stubborn spots remaining, stop and soak the jar for an hour before trying again.
Don’t skip the rinse step if you just cooked with heavy cream or tomato paste, as these leave a film that hot water alone can’t break down. Run the machine once without soap first to loosen the residue, then add a drop of dish detergent for the second pass. This two-step approach prevents the gunk from baking onto the glass during the high-heat phase.
If the water turns cloudy instantly upon starting, pause the cycle and manually scrub the bottom with a soft brush before resuming. Ignoring this warning sign often forces a full disassembly later because the sensor detects insufficient cleaning pressure. A quick manual intervention saves you from dismantling the entire unit next week.
When the cycle finishes, let the jar cool completely before handling it, even if the exterior feels warm. Touching the glass while it’s still under thermal stress can cause micro-cracks that compromise the seal over time. Wait at least ten minutes to ensure the internal temperature drops below the threshold where expansion occurs.