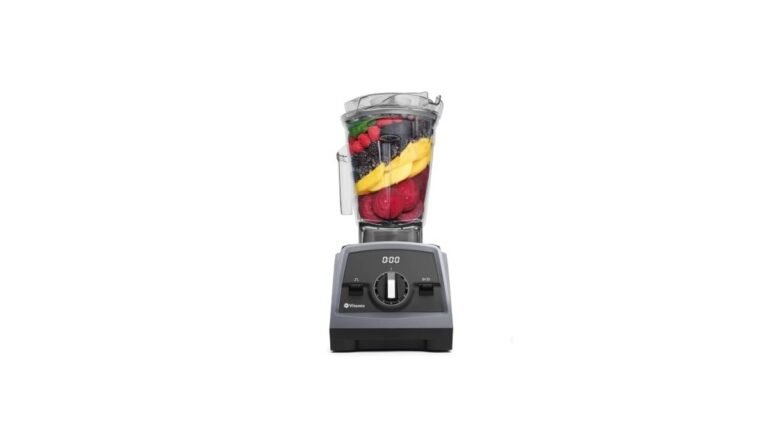
How Long To Blend Soup In Vitamix: 5 to 6 Minutes on High
The standard time to blend soup in a Vitamix is 5 to 6 minutes on high speed, starting from cooked, cold or room-temperature ingredients and using a full-size container (64 oz or larger) with at least 3 cups of liquid. Adjust for thickness, temperature, and ingredient prep.
People searching for how long to blend soup in a Vitamix often fall into one of three groups: new owners getting grainy results, home cooks used to faster tools who stop too soon, or those troubleshooting motor issues — this guide focuses on new users blending fully cooked soup in a full-size machine.
What changes how long to blend soup in Vitamix
The real reason blending time varies isn’t just “how thick” your soup is — it’s how much work the blades must do to break down cell walls, generate friction heat, and suspend particles evenly. Five factors decide the final time, ranked by impact.
Soup temperature matters most. Hot soup (160–185°F) blends faster because heat softens fibers and lowers viscosity. Cold or room-temp soup takes 1.5–2× longer to reach smoothness and safe serving temperature. You can check with an instant-read thermometer inserted into the center of the moving soup — don’t rely on steam or surface bubbles. If your soup starts below 140°F, plan for at least 7 minutes.
Motor power and age come second. A 2.2-hp G-series or Ascent model heats soup to 195°F in ~5.5 minutes. A 2.0-hp Classic or older 1.4-hp model may need 7–8 minutes — especially if the unit is 5+ years old and the blade assembly has worn. Look for duller blade edges or slower acceleration when you press “High.” No need to replace unless you hear grinding or see visible nicks.
Container fill level is third. Vitamix recommends filling between the 3-cup and 6-cup marks for hot soups. Too little (under 2.5 cups) causes air pockets and uneven blending; too much (over 6 cups) strains the motor and slows heat transfer. Measure after adding liquid — not before chopping.
Ingredient prep is fourth. Pre-chopped onions, carrots, or potatoes under ½-inch dice reduce blending time by 60–90 seconds. Whole roasted garlic cloves or unpeeled ginger root add 2–3 minutes — and risk gritty bits. Peel, mince, or grate dense aromatics first.
Altitude is fifth — and most overlooked. Above 3,000 feet, water boils below 212°F, so soup won’t reach 195°F even with extended blending. At 5,000 feet, expect 8–9 minutes and verify doneness with a thermometer, not time alone.
Blend soup until it’s steaming and smooth
Add cooked ingredients and liquid to the container, filling between the 3-cup and 6-cup lines. For example: 4 cups roasted squash + 2 cups broth + ½ tsp salt. Don’t exceed 6 cups total — hot soup expands.
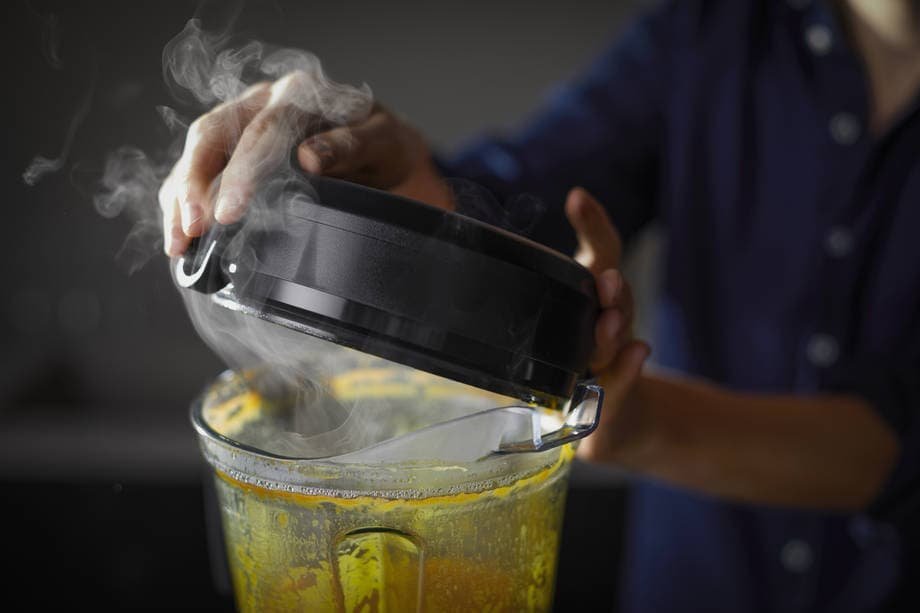
Secure the lid and remove the center lid cap. Place a folded kitchen towel over the opening to let steam escape while blocking splatter. This prevents pressure buildup and keeps the lid from popping.
Start on Variable Speed 1. Turn the dial slowly to Speed 1, then hold for 10 seconds to let ingredients settle into the vortex.
Increase steadily to High (Speed 10). Move the dial up one notch every 3 seconds — don’t jump to 10. This avoids stalling and ensures even suction.
Blend on High for 5 minutes, watching for steam rising steadily from the towel. At 4 minutes, pause briefly to stir with a long spoon if large pieces remain near the top — but only if the blender is off and unplugged.
Check temperature and texture at 5 minutes. Insert an instant-read thermometer into the center: it should read ≥195°F. The soup should look uniform — no flecks of herb, skin, or fiber visible when poured slowly.
If needed, blend 30–60 seconds more. Stop and recheck. Never exceed 10 minutes total — overheating risks motor stress or scorching.
Turn off, wait 15 seconds, then carefully pour. Hot soup expands — leave space in your serving pot.
The single judgment call that separates proper blending from rushed results is this: you must see steady steam rising before the 5-minute mark. If steam starts only at 4:30 or later, your soup is under-blended — even if it looks smooth.
That late steam means heat hasn’t penetrated the center yet, and particle suspension isn’t complete. Pour a small amount into a white bowl and tilt it: if you see tiny specks or cloudiness instead of glassy clarity, blend 30 seconds more.
The variations at a glance
Different starting points change what you do, how long it takes, and what to watch.
| Situation | What to do | Time required | What to watch for |
|---|---|---|---|
| Cold cooked soup (e.g., leftover lentil soup, refrigerated) | Warm to 140°F on stove first, then blend | 6–7 minutes | Temperature stalls below 190°F; soup separates if blended too long cold |
| Raw vegetables (gazpacho, chilled cucumber) | Use Frozen setting or Speed 8; no heat goal | 1.5–2.5 minutes | Over-blending makes watery texture; stop when smooth, not hot |
| Small-batch (under 3 cups) | Add ¼ cup extra liquid; use Tamper firmly | 6–8 minutes | Air pockets form — tamp constantly to push solids down |
| Very thick (e.g., puréed beans or roasted peppers) | Start with 1 cup liquid, add more in 2-tbsp increments | 7–9 minutes | Motor labors or slows — reduce speed to 8 if straining |
| Using a 20-oz personal cup | Fill no more than ¾ full; use Variable 1–6 only | 4–5 minutes | Spills easily — hold lid down with palm while blending |
| High altitude (above 4,000 ft) | Blend 8–9 minutes; verify temp with thermometer | 8–9 minutes | Soup never reaches 195°F — serve at 185°F if consistent and smooth |
What separates a good result from a poor one
How experienced users prep differently
They chop solids to ≤½-inch before cooking — not after. Roasting or simmering diced carrots, celery, or tomatoes gives softer cell walls and fewer intact fibers. Beginners toss in whole roasted squash or boiled potatoes, then expect the blender to do all the work.
That adds 2+ minutes and risks graininess. Also, experienced users always measure liquid after adding solids — not before — because cooked vegetables release water. A cup of roasted zucchini adds ~¼ cup liquid; skipping that step throws off viscosity.
What they check mid-blend — and what they ignore
They lift the towel once at 3:30 minutes to peek: the soup should be swirling in a tight, centered vortex with no dry chunks clinging to the sides. If it’s splashing or swirling weakly, they pause, scrape down with a spatula, and restart at Speed 3 before ramping up.
They ignore color changes — green soup turning olive or orange soup darkening doesn’t mean burning. Vitamix friction heat oxidizes pigments, but flavor stays clean if blended under 10 minutes. Beginners mistake this for scorching and stop too soon.
What goes wrong, and what to do
Blending soup in a Vitamix rarely fails — but when it does, the signs point straight to cause and fix. Here’s how to match what you see to the real issue.
| What you notice | What it usually means | What to do first | How to stop it happening again |
|---|---|---|---|
| Loud grinding noise | Blade hitting uncut hard piece (carrot stem, potato skin) | Turn off, unplug, remove lid, pick out debris | Chop all solids uniformly; peel tough skins before cooking |
| Steam stops rising after 4 minutes | Soup too thick or underfilled — poor heat transfer | Pause, add 2 tbsp hot broth, resume on High | Keep fill between 3–6 cups; use broth, not water, for better carryover heat |
| Soup separates into oil/water layers | Over-blended emulsion broken (common with coconut milk or nut-based soups) | Stir vigorously with a whisk; serve immediately | Blend max 6 minutes for creamy bases; add ½ tsp mustard as emulsifier next time |
| Lid pops off mid-cycle | Steam pressure built — towel wasn’t secured or cap was left in | Let cool 30 sec, re-cover with tighter towel | Always remove center cap; fold towel tightly over opening |
| Motor smells hot or shuts off | Overload — too much volume or too long blending | Let rest 30 min; check fill level and age of unit | Never exceed 6 cups; replace blade assembly every 3–5 years |
What the official guidelines require
Vitamix states in its Cooking with Your Vitamix manual (page 12, 2023 edition) that hot soup programs must reach at least 195°F for 5 seconds to ensure food safety — not just for taste, but to destroy common pathogens like Salmonella and E. coli. This applies only to soups made with pre-cooked ingredients.
The company warns against blending raw meat, poultry, or seafood — their internal testing shows uneven heating creates cold spots where bacteria survive. For cold soups, FDA food code requires holding below 41°F during prep and service; Vitamix doesn’t guarantee rapid chilling.
No U.S. food safety agency sets a legal maximum blending time, but Vitamix advises no more than 8 minutes continuously for hot soups in full-size models to prevent motor overheating. If your unit has an auto-shutoff, it triggers at 10 minutes — a hardware limit, not a safety rule.
Units sold in Canada follow Health Canada’s guidance, which matches U.S. FDA standards for cooked food holding temperatures. Check your model’s warranty booklet for region-specific thermal cutoff specs — they vary slightly between Ascent and Legacy lines.
Real time, energy, and effort
Blending soup in a Vitamix costs 5–9 minutes of active time, plus 1–2 minutes prep (measuring, covering, checking temp). That’s less than stovetop puréeing with an immersion blender — which takes 8–12 minutes plus cleanup of pot, wand, and splatter. But the effort cost is higher upfront: you must monitor steam, adjust for altitude, and pause to check texture. Most people underestimate how much attention it needs — they walk away at minute 3 and return to lukewarm, lumpy soup.
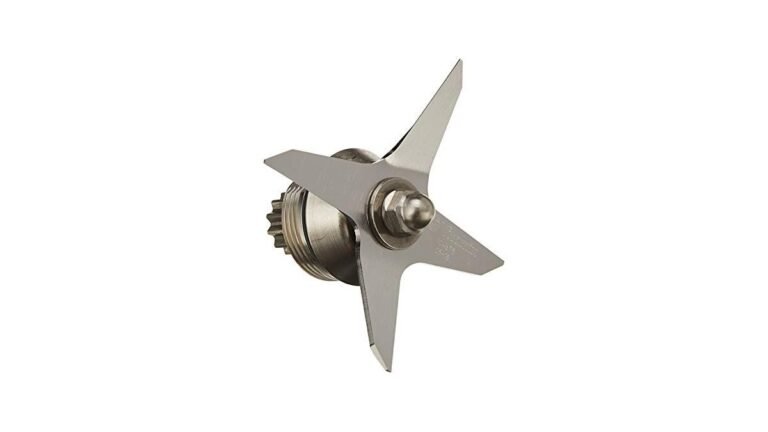
Electricity use is low, and blade wear is gradual — but abrasive ingredients like spinach or kale stems accelerate wear.
Storing and reusing blended soup
Once blended, hot soup holds safely for 4 hours at room temperature if kept covered and above 140°F — but Vitamix-blended soup cools fast due to fine particle size and large surface area. For storage, cool to 70°F within 2 hours, then refrigerate below 41°F. It keeps 4 days refrigerated or 6 months frozen, per USDA guidelines. Reheat to 165°F before serving — do not re-blend hot leftovers unless adding fresh liquid; repeated heating degrades texture.
To keep consistency across batches, note your starting temp and fill level in a small notebook or phone memo. A 180°F soup at 4.5 cups fills takes 5:20 every time; a 150°F batch at 5.5 cups takes 6:45. That log cuts future guesswork in half. If soup thickens in the fridge, stir in 1–2 tbsp hot water or broth while reheating — don’t re-blend unless you want ultra-silky texture.
Cases where you should skip the Vitamix
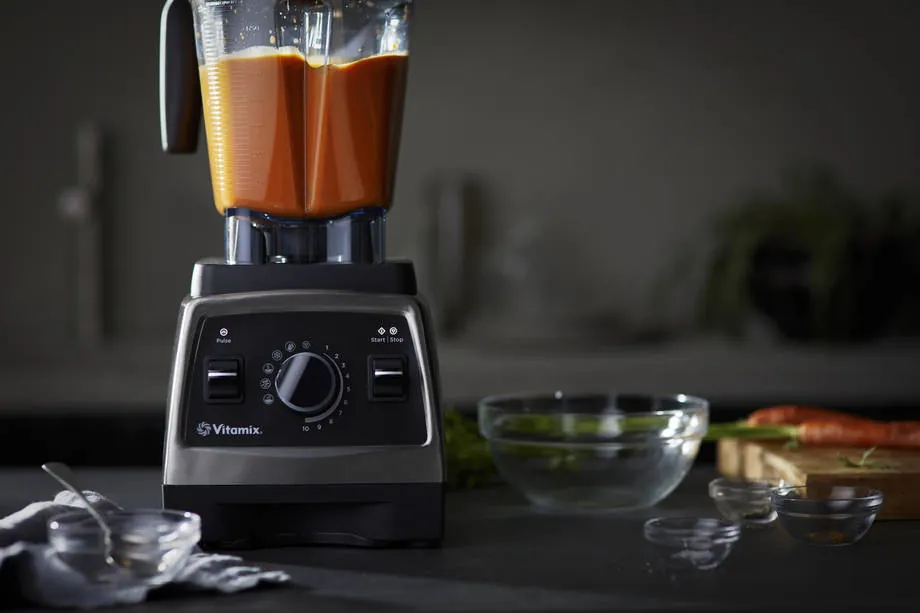
Blending soup in a Vitamix is the wrong choice if your ingredients are raw and fibrous — like whole celery stalks, unpeeled apples, or raw kale stems — and you expect silky results without pre-cooking. The blades can’t fully rupture cellulose walls without heat-assisted softening, so you’ll get stringy, pulpy soup no matter how long you blend. Instead, simmer those ingredients for 15–20 minutes first, then blend.
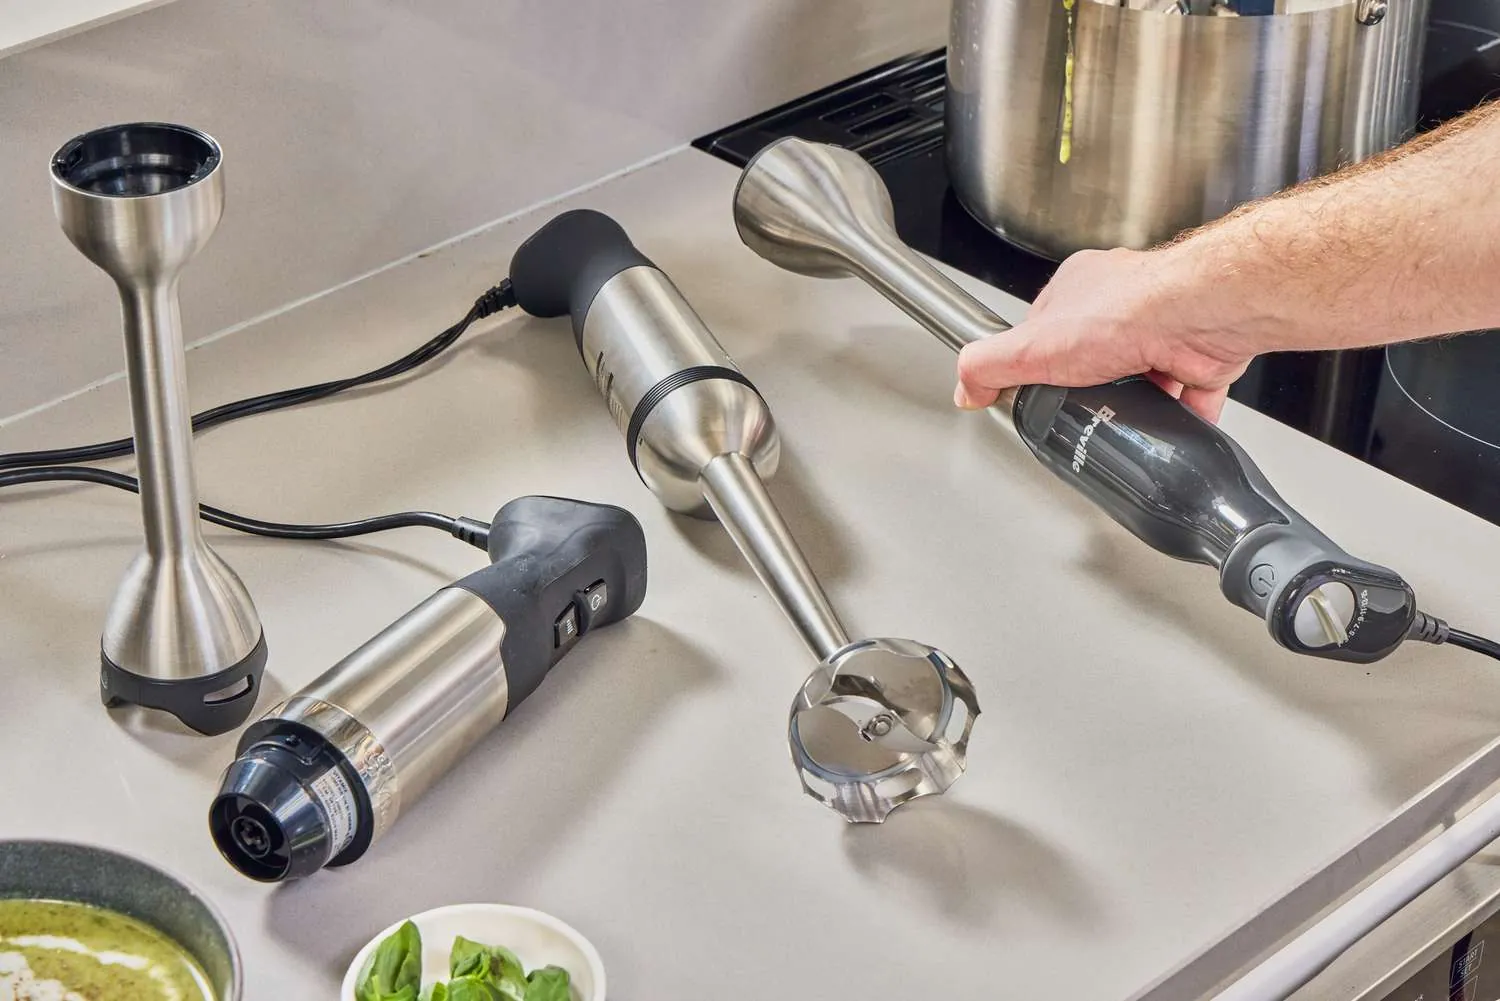
It’s also wrong if your Vitamix is a 20-oz personal model (S30, A2300, or Explorian E310). These units lack the torque and blade geometry to generate enough friction heat for safe hot soup — max temp tops out around 160°F, well below the 195°F safety threshold. Use a full-size model (64 oz container) or switch to an immersion blender with a heavy-bottomed pot.
Finally, skip it if your soup contains delicate herbs (basil, cilantro, dill) or dairy (cream, yogurt, crème fraîche) added after cooking. Blending them in destroys volatile oils and causes separation. Stir those in by hand off-heat, just before serving.
Frequently asked questions
How long to blend soup in Vitamix for hot soup?
Blend hot soup in a full-size Vitamix for 5 to 6 minutes on High, starting from pre-cooked ingredients at 160–185°F and filling between the 3-cup and 6-cup marks. This assumes a 2.2-hp model (G-series or Ascent) at sea level. At 1.4-hp or above 4,000 ft, allow 7–9 minutes and verify 195°F with a thermometer.
Can I blend cold soup in Vitamix?
Yes, you can blend cold soup in a Vitamix, but don’t aim for heat — use Variable Speed 1–6 or the Frozen setting, and stop when smooth (1.5–2.5 minutes). Cold blending won’t pasteurize, so use only fresh, refrigerated ingredients and serve within 2 hours or chill below 41°F immediately.
Is it safe to blend hot soup in Vitamix?
Yes, it’s safe to blend hot soup in a Vitamix if you remove the center lid cap and cover with a folded towel, and never fill above the 6-cup line. Vitamix tests confirm no pressure buildup occurs with this method — but never seal the lid completely or use plastic lids meant for cold drinks.
What happens if I blend soup too long in Vitamix?
If you blend soup longer than 9 minutes in a full-size Vitamix, the motor overheats, the soup scorches on the blade housing, and texture turns gluey. You’ll smell hot metal or see darkened residue near the blade base. Stop at 8 minutes max, and let the unit cool 30 minutes before reuse.
Does soup thickness affect blending time?
Yes, thickness directly affects time: every ¼-inch increase in average solid size adds 45–60 seconds, and every ½-cup reduction in liquid (below 2 cups total) adds 90–120 seconds. Pre-chop solids to ≤½-inch and measure liquid after adding solids to stay in the 5–6 minute range.
How do I know when soup is done blending?
Soup is done blending when an instant-read thermometer reads ≥195°F in the center, steam rises steadily from under the towel, and a slow pour from a height of 6 inches shows no flecks or cloudiness — just a glossy, uniform stream.
Why does my Vitamix soup taste burnt?
Your Vitamix soup tastes burnt because you blended beyond 9 minutes, used too little liquid (causing solids to stick and scorch on the blade housing), or started with ingredients above 195°F (like boiling broth). Scorching leaves bitter, acrid notes that no amount of salt or acid fixes — discard and restart.
What to do next
For your next batch, measure 4 cups cooked vegetables and 2 cups hot broth into the Vitamix, then blend on High for 5 minutes — watch for steady steam rising under the towel to confirm proper heating and texture.