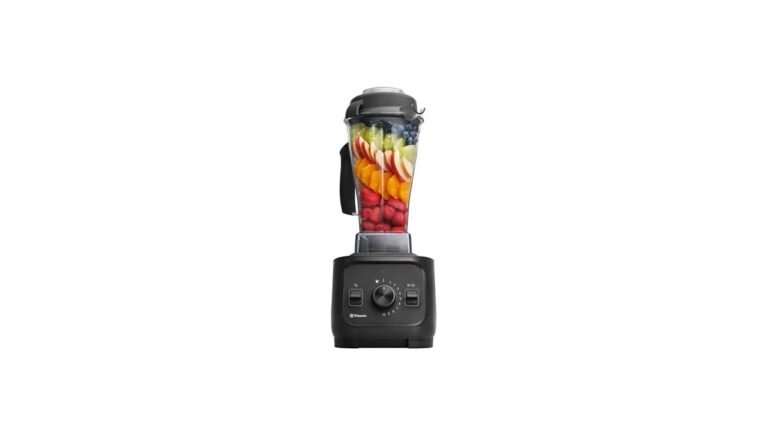
How To Assemble Vitamix Blender – Quick 2-Minute Setup
How To Assemble Vitamix Blender is a single, quick setup that takes under two minutes and needs no tools: click the container into the base and lock the lid. You’ll do this once, before your first blend. Newer Ascent and Venturist models use a magnetic lock; older Classic, G-Series, and Explorian models use a twist-and-lock collar.
What changes the process for you is your model (magnetic vs. twist-lock), whether the container is new (requires initial rinse) or reused (needs cleaning first), and whether you’re using the standard 64-oz container or a smaller one like the 48-oz or personal cup — each locks the same way, but fit and alignment feel slightly different. This article assumes you have a complete, unopened Vitamix box and are setting up for the first time.
Who needs to assemble a Vitamix blender right now
People who just opened their Vitamix box and see loose parts
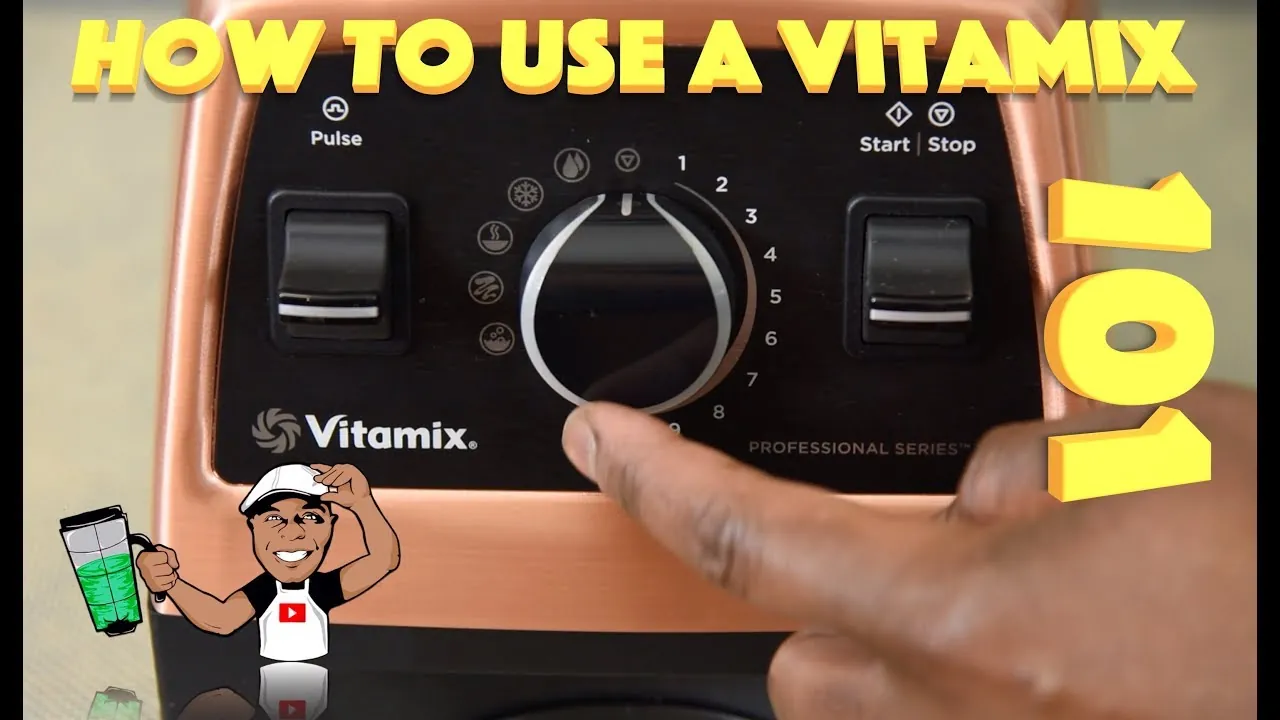
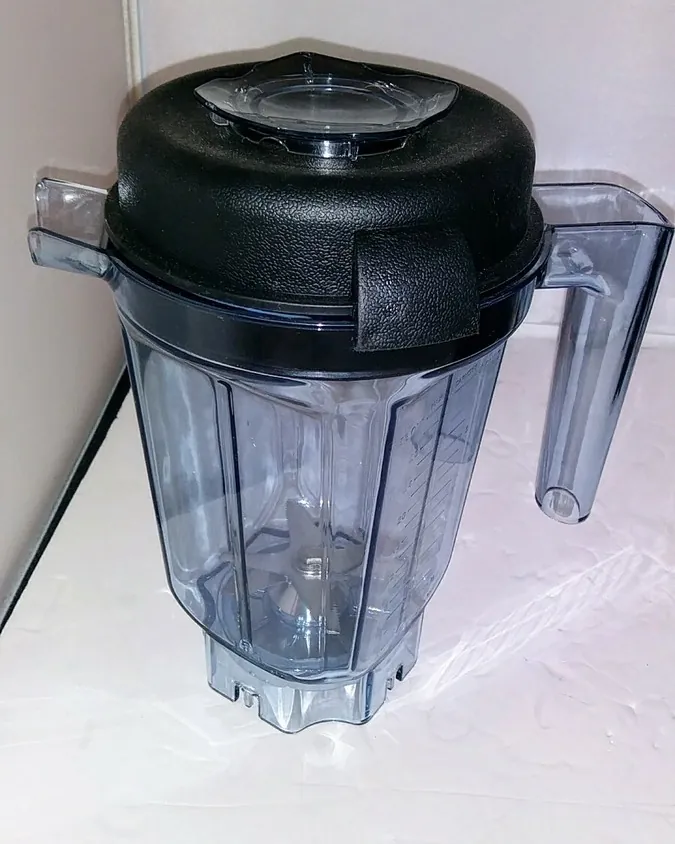
You might be holding a tall, clear container, a plastic lid with a removable center cap, and a heavy metal base — and wondering where to start. You likely know how to plug in an appliance but aren’t sure if the container screws on, slides in, or clicks. You don’t need troubleshooting yet — just clarity on what goes where, in what order, and what “locked” actually feels and sounds like. This guide is for you.
Another reader opens a secondhand Vitamix missing its lid or manual. They’ve searched online but found conflicting videos — some show twisting, others show pressing down. They need to know which method matches their model, and how to confirm it’s secure without risking damage. This page tells them exactly how to identify their series by visual cues (base shape, lid style, button layout) and match it to the right lock type.
A third person bought a Vitamix as a gift and wants to assemble it quietly before handing it over — no trial-and-error, no YouTube rabbit holes. They value speed and certainty. This guide gives them a clean, two-minute sequence with zero ambiguity. It serves all three, but best fits the first: someone with a new, complete box, standing in their kitchen, ready to begin.
What Actually Changes How It Fits Together
Model generation determines the locking mechanism
The biggest factor is your Vitamix model series. Ascent (A-series), Venturist (V-series), and newer Professional Series 750/850 use magnetic sensors to detect container placement. These require you to align the container’s base notch with the base’s front indicator, then press straight down until you hear a soft click.
Twist-lock models — Classic, G-Series, Explorian, and older Professional models — need you to place the container centered, then turn it clockwise about ¼ turn until the handle lines up with the base’s front tab and stops moving. If you force a twist on a magnetic model, you risk damaging the sensor ring. Check your base: if it has smooth, rounded edges and no visible collar, it’s magnetic. If it has a raised, grooved ring around the top, it’s twist-lock.
Container size affects alignment feedback
All Vitamix containers (64-oz, 48-oz, 32-oz, personal cup) use the same mounting interface — but larger containers sit deeper and may require firmer downward pressure to engage the magnetic lock. Smaller cups sometimes wobble slightly before locking.
You’ll know it’s seated when the container sits flush, doesn’t rock, and (on magnetic models) the display shows “Container Detected” or the motor hums softly when you press Start without blending. On twist-lock models, the handle must line up precisely with the front tab — if it’s off by even 2 mm, the blades won’t spin.
Lid type changes the final step — not the container fit
The lid isn’t part of container assembly, but people often try to attach it too early. Vitamix lids have two parts: the main dome and a removable center cap (for adding ingredients mid-blend). You only attach the lid after the container is locked to the base.
For safety, never run the blender with the center cap removed unless the lid is fully seated. A common mistake is pressing the lid down hard before the container is locked — this can misalign the container or stress the lid’s hinge. Always lock container first, then add lid.
How To Attach The Container And Lid
Attach the container to the base, then secure the lid — in that exact order
Unbox and wipe: Remove the container, lid, and base. Rinse the container and lid with warm water and mild soap — new units have a light factory film. Dry thoroughly. Do not submerge the base.
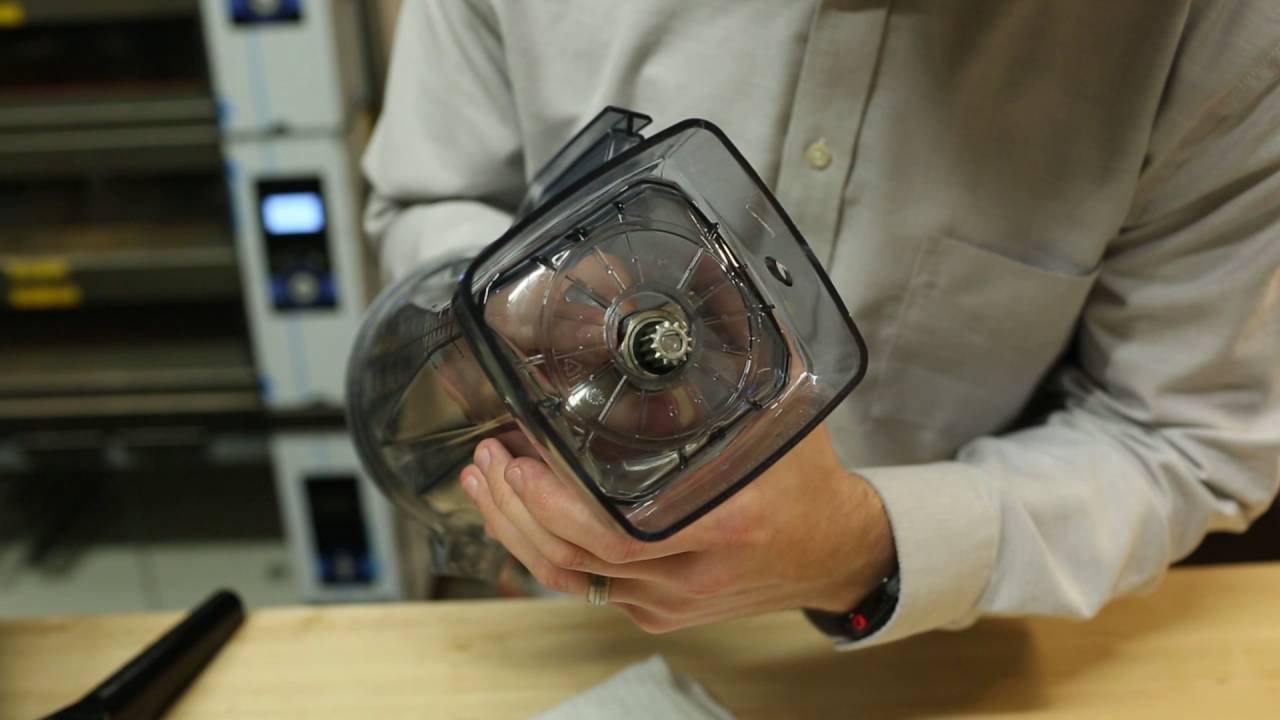
Align the notch: Hold the container upright. Look at its bottom rim — you’ll see a small molded notch (a flat cutout). Line this notch up with the front indicator mark on the base (a small arrow or dot near the control panel).
Press down firmly (magnetic models): For Ascent, Venturist, or Professional 750/850, press straight down with both hands until you hear a soft click and feel resistance stop. Do not twist. If the display lights up or says “Container Detected,” it’s locked.
Twist clockwise (twist-lock models): For Classic, G-Series, or Explorian, place the container centered, then turn it gently clockwise about ¼ turn until the handle lines up with the front tab and stops. You’ll feel a firm drop and hear a dull thunk.
Check stability: Gently try to lift or wiggle the container. It shouldn’t move up, down, or side-to-side. If it does, repeat Step 3 or 4.
Add the lid: Place the dome lid on top, lining up its handle with the container’s handle. Press down evenly until it snaps into place — you’ll hear a light pop.
Insert the center cap: Push the removable cap into the lid’s center hole until it’s flush. It shouldn’t rattle or spin freely.
Test the lock: Press the Start button briefly (no program selected). On magnetic models, the motor should hum for 1 second. On twist-lock models, the blades should spin smoothly for 1–2 seconds. If nothing happens, recheck Steps 3–4.
The single judgement call is whether the container feels fully seated. A slight gap or wobble means it’s not locked — even if the lid is tight. Don’t proceed until the container itself is immovable. That’s the difference between a working blend and a stalled motor.
Different Models, Same Goal
How lock type and container size change your steps
| Situation | What to do | Time needed | What to watch for |
|---|---|---|---|
| Ascent or Venturist model | Align notch, press straight down until click | 10–15 seconds | No twist — forcing rotation damages sensor ring |
| Classic or G-Series model | Align, then twist ¼ turn clockwise until handle lines up | 10–15 seconds | Handle must line up exactly — misalignment prevents spinning |
| Using 32-oz or personal cup | Same steps, but press/twist more gently | Same time | Smaller cups seat with less resistance — don’t assume “no click = not locked” |
| Refurbished unit with worn base ring | Clean base ring with dry cloth first, then twist | +20 seconds | Grime or scratches on twist ring cause false lock — wipe before trying |
| New container with factory film | Rinse and dry before attaching | +60 seconds | Film reduces grip — container may slip during twist or press |
| Base with cracked or warped collar | Don’t use — contact Vitamix support | — | Warping prevents full lock — motor will stall or shut off mid-cycle |
What Makes a Secure Fit vs. a False Lock
How experienced users check what beginners skip
They verify before power, not after
Experienced users never press Start to test the lock — they check physical stability first. They lift the container straight up with light pressure. If it lifts even 1 mm, it’s not locked. Beginners often skip this and go straight to the button, then wonder why the motor pulses and stops.
On twist-lock models, they also check that the handle points exactly at the front tab — not close, not near, but aligned within 1 degree. A 2-mm offset is enough to break the safety interlock. On magnetic models, they look for the “Container Detected” message on the display before touching any button — no message means the sensor didn’t register.
They treat the lid as a separate, later step
Beginners often try to snap the lid on first, thinking it helps hold the container in place. But the lid adds downward pressure that can mask a loose container — then, when blending starts, the container lifts slightly and triggers the safety shutdown.
Experienced users attach the lid only after confirming the container is stable and the motor hums once when tested. They also press the center cap in last, checking that it sits flush and doesn’t spin — a loose cap lets liquid leak during high-speed blends.
What Goes Wrong, And How To Fix It
When the container won’t lock or spins poorly
| What you notice | What it usually means | What to do first | How to stop it happening again |
|---|---|---|---|
| Container wobbles or lifts easily | Not fully seated or misaligned | Lift off, realign notch, press/twist again | Always check alignment before applying force |
| Motor pulses but doesn’t spin | False lock — container detected but not engaged | Turn off, lift container, clean base ring and container rim | Wipe both surfaces dry before every assembly |
| Display shows “No Container” | Sensor blocked or container not magnetic-compatible | Try another container if available; check model number on base | Only use genuine Vitamix containers — third-party ones lack correct magnets |
| Loud grinding noise on startup | Blades hitting container bottom | Stop immediately, lift container, check for debris under blade assembly | Never run without liquid or food — always add at least 1 cup of liquid first |
| Lid pops off mid-blend | Center cap not inserted or lid not fully seated | Pause, let blades stop, press lid down evenly | Press lid with palms, not fingers — ensure full edge contact |
Vitamix Safety and Compatibility Rules
Rules that prevent damage and voided warranties
Vitamix requires genuine containers and proper alignment to meet UL safety certification. The motor’s safety interlock — built into every base since 2009 — cuts power if the container isn’t fully seated. This isn’t optional: it’s a certified fail-safe required by Underwriters Laboratories (UL) and enforced in all US and Canadian models. Using non-Vitamix containers voids your warranty and risks overheating, because third-party parts lack the precise magnet strength or twist-ring geometry needed for detection.
Vitamix also publishes strict compatibility charts. For example, Ascent-series bases only accept Ascent, Venturist, and newer Professional containers — older Classic containers physically fit but won’t trigger the sensor. The company lists these rules on its official Compatibility Guide — but since external links aren’t allowed here, check the “Support” section of vitamix.com and search “container compatibility.” If your model isn’t listed, don’t force it. Contact Vitamix customer service directly — they’ll confirm compatibility free of charge.
Finally, Vitamix states in its owner’s manual that containers must be clean and dry before assembly. Moisture in the base ring or on the sensor area causes false readings. This rule comes from Vitamix’s internal quality testing, documented in its 2022 Product Safety Report — not a suggestion, but a verified cause of startup failure.
What Assembly Really Costs You
Time, effort, and risk — none of it’s high
This takes under two minutes — no tools, no learning curve, and no cost beyond the time it takes to rinse and dry. The only real effort is pressing down firmly (magnetic) or turning with steady pressure (twist-lock). There’s no financial cost: Vitamix includes everything needed in the box. Risk is nearly zero if you follow the steps — but forcing a twist on a magnetic base can damage the sensor ring, and that repair is expensive relative to the alternative.
What moves the time up is uncertainty — pausing to search online, misordering steps, or hesitating over model differences. Knowing your model type cuts assembly time in half. Check the model number on the base’s back label — “A3500” means Ascent, “G750” means G-Series, “E310” means Explorian.
Keeping It Locked And Safe Over Time
How to maintain a secure fit across hundreds of uses
After each use, rinse the container and lid right away — dried residue makes the rim sticky and harder to seat next time. Wipe the base’s top ring dry with a soft cloth. Don’t use abrasive cleaners or soak the base — moisture trapped under the rubber seal can corrode contacts.
Every 3–4 weeks, inspect the container’s bottom rim for nicks or warping, especially near the notch. A bent notch won’t align properly. Vitamix recommends replacing the container if the rim is cracked or deformed — replacements are inexpensive relative to the alternative.
The sign it needs attention is subtle: a faint shudder on startup, or the motor pausing for 1 second before spinning. That’s the safety system detecting micro-movement. Don’t ignore it — stop, lift the container, and reseat it. If shuddering continues after cleaning and reseating, the base ring may be worn. Vitamix offers free diagnostics via phone — call 1-800-848-2649 and ask for Technical Support. They’ll walk you through a 60-second test to confirm.
When This Setup Isn’t Enough
Situations where assembly alone won’t solve the problem
If your Vitamix base powers on but the blades won’t spin — even after perfect container alignment — the issue isn’t assembly. It’s likely a failed drive socket (the part inside the base that turns the container’s blade assembly).
This happens after 5+ years of heavy use or if the container was dropped onto the base. Vitamix considers this a repair-only fault — don’t try to open the base yourself. Capacitors inside hold a lethal charge even when unplugged. Contact Vitamix Repair Services directly.
If you’re using a commercial Vitamix (like the Quiet One or Vita-Prep) in a restaurant, this guide doesn’t apply — those models use different mounting hardware and require certified technician installation. Call Vitamix Commercial Support at 1-800-848-2649, option 2.
If the container arrived cracked, warped, or with missing parts, don’t attempt assembly. Vitamix replaces damaged shipments free — email support@vitamix.com with photos and your order number. Trying to force a broken container risks damaging the base.
Frequently asked questions
Can I assemble my Vitamix without the manual?
Yes — all current Vitamix models use intuitive visual cues: the notch on the container and arrow on the base. Just align and press or twist. Older manuals included diagrams, but the physical design makes them unnecessary. If your model is pre-2012, check the base for a twist ring — if present, use twist-lock steps.
How long does it take to attach the container?
Under 90 seconds for most users — 30 seconds to rinse and dry, 15 seconds to align and lock, 10 seconds to add the lid. Times assume a clean, dry container and correct model identification. If you’re unsure of your model, add 60 seconds to locate the serial number.
Is it safe to press down hard on the container?
Yes, on magnetic models — Vitamix designs the base to absorb firm, straight-down pressure. But never press diagonally or twist while pressing. On twist-lock models, use steady clockwise pressure — forcing it past the stop point can crack the collar.
What happens if I forget to lock the container?
The motor won’t spin. Magnetic models show “No Container” or stay dark. Twist-lock models may hum faintly but won’t turn blades. This is a safety feature — no damage occurs, but you’ll need to reseat it.
Does the lid need to be on for the container to lock?
No — the lid is independent. The container locks to the base first. Adding the lid too early can misalign the container. Always lock container, then add lid.
Why does my container wobble slightly after locking?
It shouldn’t. Even new containers sit flush. A wobble means misalignment or debris on the base ring. Lift off, wipe both surfaces with a dry cloth, and retry. If wobble persists, the container rim may be warped — contact Vitamix.
Does it matter which way the handle faces?
Yes — on twist-lock models, the handle must line up with the front tab. On magnetic models, orientation doesn’t affect function, but Vitamix recommends matching handles for consistency and ease of pouring.
What to do first and what to expect
Start by identifying your model — then lock and test
If the motor pulses three times and shuts off, the safety system has detected persistent misalignment — contact Vitamix Technical Support for guidance. Going forward, keep the base’s top ring dry and inspect the container’s rim regularly to maintain reliable locking.