How To Clean Vitamix Blender Container: Fast Self-Cleaning Fix
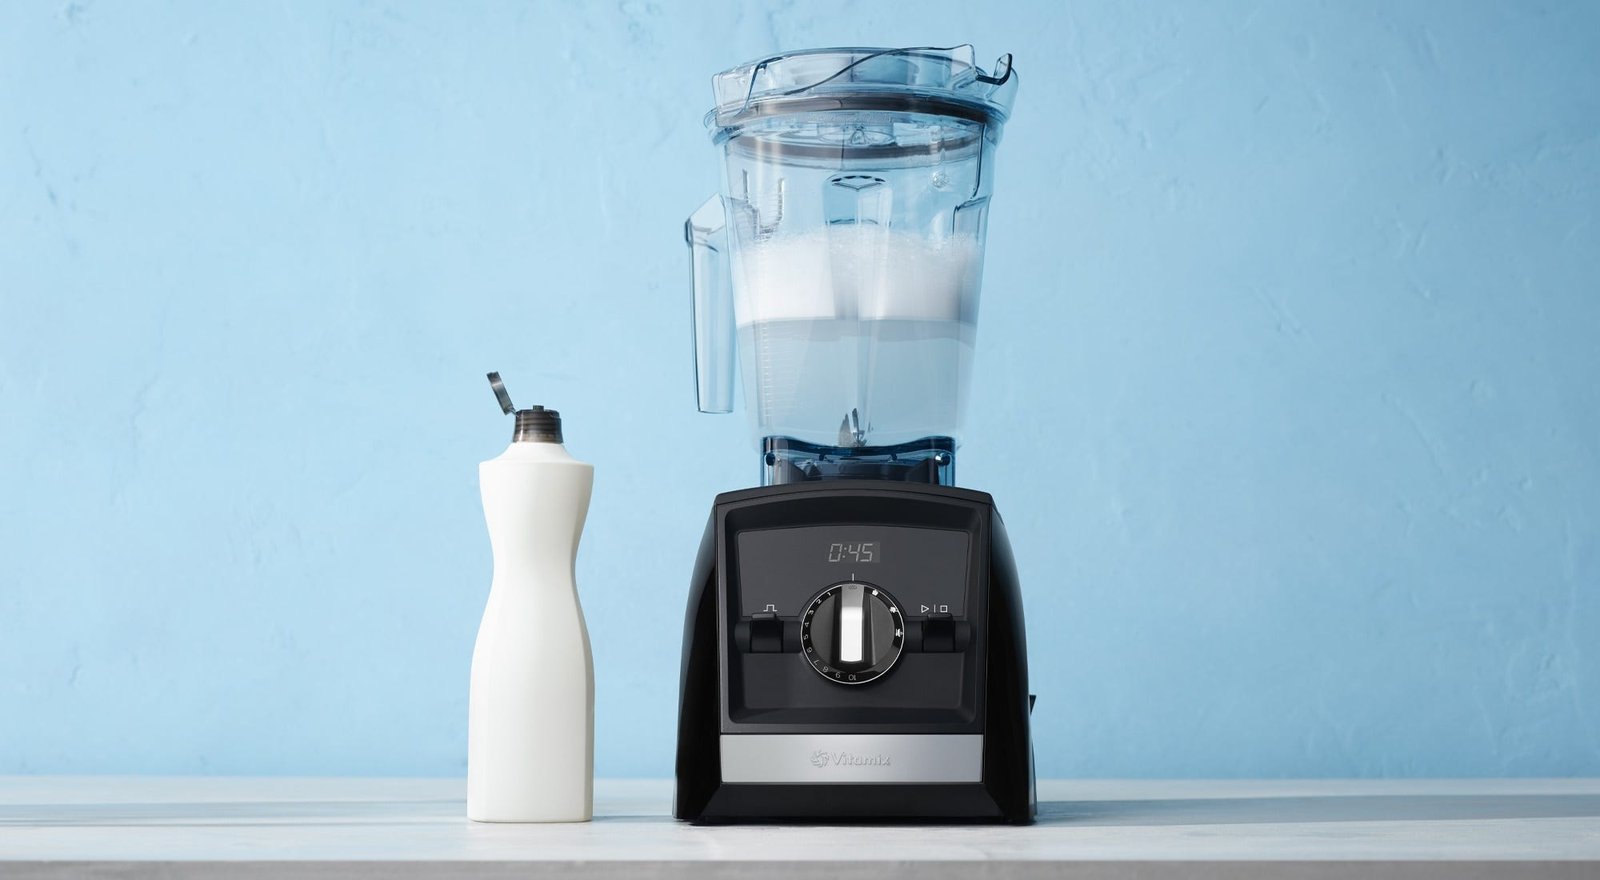
You can clean a Vitamix blender container in under two minutes by adding warm water and a drop of soap, then running the machine on high for 30 to 60 seconds. This simple self-cleaning method works for most daily messes, but stubborn residues like nut butters or thick smoothies need extra soaking time before you start the cycle. The result depends on how much food is stuck inside, whether you use hot or cold water, and if the blades are completely covered during the wash.
Who should clean their Vitamix blender container
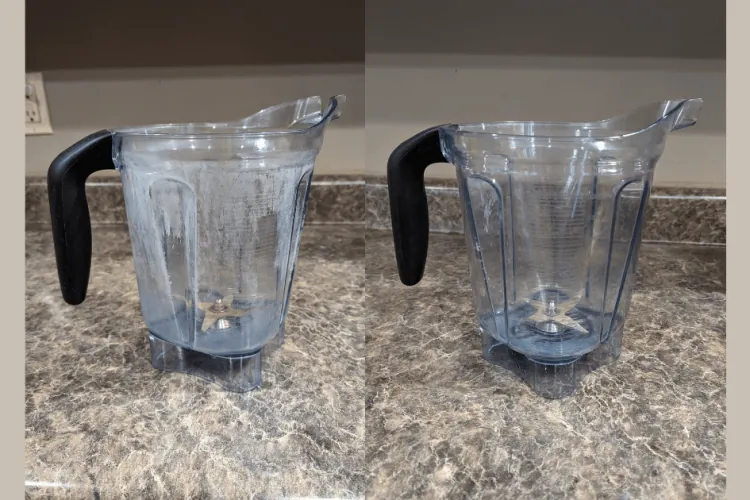
This page serves home cooks who blend daily drinks or soups and want a fast way to clear their blender without scrubbing every nook by hand. You likely have a standard 48-ounce or 64-ounce container with a fixed blade assembly at the bottom. You don’t own a dishwasher-safe model that requires disassembly, nor do you need professional repair advice for broken motors.
If you only make ice cream or grind dry grains occasionally, this routine might be overkill since those tasks rarely leave sticky films that need immediate washing. However, if you blend leafy greens, frozen fruit, or dairy products every morning, this method saves you ten minutes of elbow grease after every use. We assume your unit has a standard tamper slot and that the base is unplugged before you touch the lid or container.
What changes the cleaning speed
The biggest factor is the type of food residue left behind. Sticky substances like peanut butter, yogurt, or date paste cling to the blades and walls, requiring longer soak times than watery blends like lemonade or broth. If you let the mixture dry out completely, it hardens into a crust that needs hours to soften, whereas fresh spills rinse away almost instantly.
Temperature also dictates how fast things dissolve. Hot water melts fats and loosens proteins much faster than cold tap water, which often just pushes them around.
A second major variable is the amount of detergent used; too little soap fails to cut through oils, while too much creates suds that clog the blade assembly and reduce cleaning power. Finally, the age of the container matters because older plastic develops micro-scratches where bacteria hide, making a single quick rinse insufficient for deep hygiene.
Step by step cleaning guide
- Unplug the machine immediately to ensure safety before touching any part of the base or container.
- Add warm water to the container until it reaches the fill line, usually about halfway full for small loads.
- Drop in one squirt of mild dish soap directly into the water, avoiding the blade area if possible.
- Secure the lid tightly so no liquid sprays out while the blades spin at high speed.
- Run the blender on the highest setting for 30 to 60 seconds to create a vortex that scrubs the walls.
- Let it sit for five minutes if you see visible clumps of food still attached to the sides or blades.
- Rinse thoroughly under running water, turning the container upside down to flush out all soap from the blade housing.
- Dry with a towel or air dry completely before storing to prevent mold growth inside the dark corners.
The critical judgment call happens after the initial rinse: check if the blade assembly feels gritty or if any film remains on the plastic walls. If you feel resistance when running your finger near the blades, repeat the process with a drop more soap rather than forcing a brush into the tight space.
Variations at a glance
| Situation | Action Required | Time Needed | Watch For |
|---|---|---|---|
| Fresh smoothie spill | Run soap cycle immediately | 1 minute | No residue left |
| Thick nut butter | Soak for 10 minutes first | 15 minutes | Sticky bits near blades |
| Frozen fruit chunks | Add extra water volume | 2 minutes | Ice melting too fast |
| Dry grain dust | Use vinegar instead of soap | 5 minutes | Cloudy water smell |
| Dried-on yogurt | Scrape gently with spatula | 20 minutes | Scratching the plastic |
| Strong garlic odor | Rinse with baking soda mix | 3 minutes | Lingering pungent smell |
| Mold spots | Replace container entirely | N/A | Health risk ignored |
Good results vs poor ones
Preparation details
Experienced users always fill the container to the proper level before starting the wash cycle. If you add too little water, the blades spin in air and create heat without scrubbing the walls effectively. Beginners often skip the soak step for sticky foods, assuming the high speed will handle everything, but this leaves a film that breeds bacteria later.
Inspection habits
Pros run a finger along the blade guard carefully to feel for any hidden gunk before drying the unit. They check the rubber gasket under the lid for trapped particles that water alone can’t reach. If you only look at the outside of the container, you miss the most dangerous areas where food hides and spoils quickly.
What goes wrong, and what to fix
| What you notice | What it usually means | What to do first | How to stop it happening again |
|---|---|---|---|
| Cloudy water after wash | Too much soap suds | Drain and rinse twice | Use less detergent next time |
| Grinding noise during wash | Food stuck in blades | Stop and scrape manually | Clean immediately after use |
| Foul smell persists | Bacteria in gasket | Soak in vinegar solution | Wipe gasket after every wash |
| Water leaking from base | Loose lid or cracked seal | Check lid fit and seal | Tighten lid firmly each time |
| Plastic looks dull | Harsh scrubbing damage | Switch to soft sponge only | Never use steel wool pads |
Rules that apply
The USDA recommends cleaning food contact surfaces with hot water and soap after handling raw meat or poultry to prevent cross-contamination. This rule applies specifically to the cutting board, counter, and sink where the bacteria live. If you skip this step, the next batch of vegetables will carry the same pathogens that caused the initial illness.
Vitamix official guidelines state that the container should never be submerged in water up to the motor base, as this damages the electrical components. You can wash the lid and blade assembly by hand, but the base must stay dry at all times. Even a quick dip under the faucet can ruin the internal seals within minutes.
If you live in an area with very hard water, mineral deposits may form faster, requiring a monthly vinegar soak to maintain clarity. Fill the container halfway with warm water and add one cup of white vinegar. Let it sit for thirty minutes before running the machine on high speed for two minutes. This process dissolves the scale without scratching the plastic or glass.
Always check your specific model manual for any unique restrictions regarding temperature limits or dishwasher safety. Some older models can’t withstand the heat of a standard dishwasher cycle, which causes warping over time. Newer commercial units often have different tolerances than home versions. If your manual is missing, look up the serial number on the manufacturer’s website to find the exact care instructions for your unit.
What it costs you
Cleaning this container costs almost nothing in money since you only use water and soap you already have. The real cost is time, ranging from one minute for a fresh blend to twenty minutes for dried-on residue.
If you neglect the cleaning process, the long-term cost includes replacing the container due to permanent staining or mold growth, which is inexpensive relative to the alternative. Using abrasive tools to scrub the plastic increases the risk of scratches, which shortens the lifespan of the jar significantly.
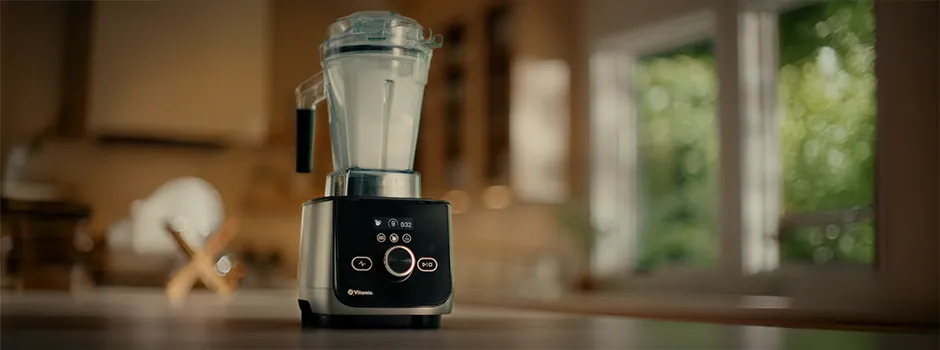
You’ll know the difference between a quick rinse and a deep clean by how the water behaves when you swirl it. If the liquid beads up and rolls off the sides immediately, the surface is still smooth enough for a sixty-second wash.
If the water clings in patches or leaves streaks that don’t wipe away with your thumb, the residue has bonded to the plastic and requires soaking. This distinction matters because trying to force a stubborn stain with a sponge without softening it first often pushes the gunk deeper into microscopic pores rather than lifting it out.
A common mistake is assuming that hot water alone will dissolve old protein buildup within five minutes. In reality, heat sets certain proteins like casein if they aren’t loosened by agitation first, making them harder to remove later.
You should always start with cold water to loosen the bulk of the material before introducing warmth, as this sequence prevents the stain from hardening permanently. Skipping this step means you might spend an extra ten minutes scrubbing a spot that could have been gone instantly with the right order of operations.
The damage caused by steel wool or harsh scouring pads is invisible until the next time you fill the jar with liquid. These scratches create tiny crevices where bacteria hide and grow faster than on smooth surfaces, eventually leading to odors that no amount of washing can eliminate.
Once those grooves appear, the container becomes a breeding ground that compromises the safety of whatever you store inside it. Replacing the unit becomes necessary not because the plastic broke, but because the texture itself has become unsafe for food contact.
If you notice any cloudiness that doesn’t fade after a thorough wash, the plastic has likely reached the end of its useful life. At this stage, continuing to clean it’s a waste of time and water, as the structural integrity of the material is already compromised.
It’s better to accept the replacement cost now than to risk health issues or repeated failures down the line. The upfront investment in a new jar saves you from the hidden expenses of illness or wasted ingredients later.
Keeping it right afterwards
Store the container upside down on a drying rack so gravity pulls every drop of water away from the blade assembly rather than letting it pool at the bottom. This orientation ensures the metal teeth dry completely within thirty minutes, preventing the rust that forms when moisture sits trapped against sharp edges for hours.
Don’t put the lid back on while the container is still damp, as sealing humidity inside creates a dark, warm environment where mold spores multiply rapidly within twenty-four hours. If you notice a slight musty smell after storage, rinse the unit with a mixture of one part white vinegar to three parts water and let it sit for ten minutes before rinsing again. This acid neutralizes the bacteria causing the odor without damaging the plastic or dulling the blades.
Regular maintenance prevents the need for deep cleaning sessions later, saving you from scrubbing stubborn grime that has hardened over weeks of neglect. Check the rubber gasket weekly because food particles often hide there, and if you skip this step, the seal will degrade faster, allowing leaks during operation.
When this is the wrong approach
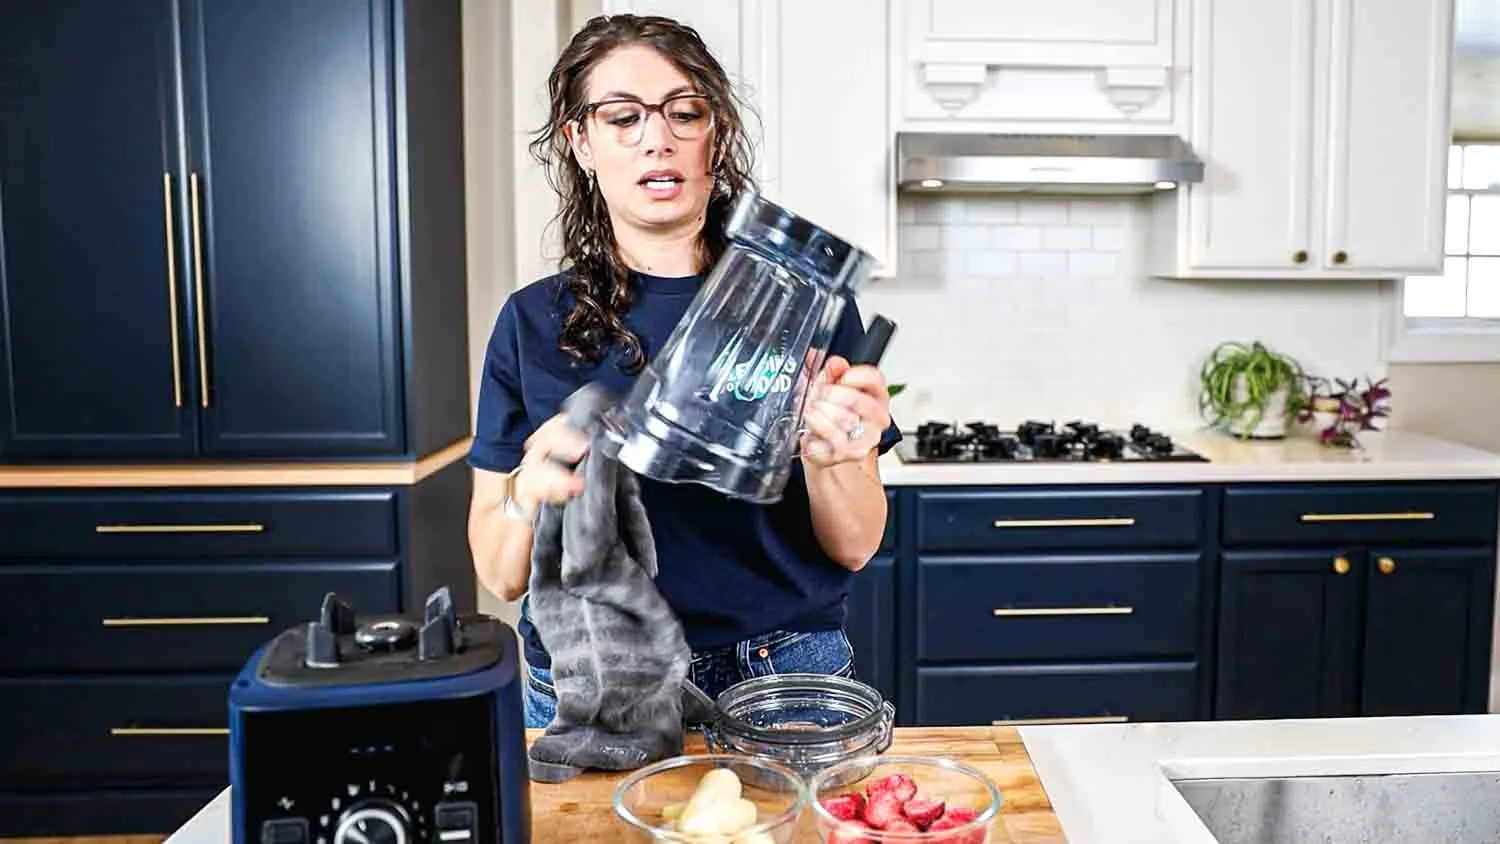
Don’t attempt to clean a container that has been dropped or cracked, as running the blades could cause further damage or injury. Even a hairline fracture invisible to the naked eye will shatter under high-speed rotation, sending plastic shards into your food and potentially damaging the motor shaft beyond repair. If the container is filled with large, hard objects like whole nuts or bones, don’t use the self-clean function; instead, remove the solids manually to avoid jamming the motor.
You must scrape these items out before adding water because the cleaning cycle relies on liquid flow to circulate debris, and solid chunks will simply wedge between the blade hub and the base plate. Never try to disassemble the blade assembly yourself to clean underneath, as this voids your warranty and exposes you to sharp edges.
The locking mechanism requires specific torque to seal correctly, and improper reassembly often leads to leaks that ruin the appliance’s electronics. If you find persistent mold inside the plastic, the container is compromised and needs replacement for safety reasons. Porous micro-cracks in the polymer trap bacteria that no amount of scrubbing can reach, so continuing to use the vessel risks severe illness even after a thorough wash.
Frequently asked questions
Can I put my Vitamix container in the dishwasher?
Most modern containers are top-rack dishwasher safe, but frequent washing can dull the plastic over time. Check your specific model’s manual to confirm if it’s rated for dishwasher use before placing it inside.
How long does it take to clean a Vitamix container?
A standard self-clean cycle takes about one minute, but stubborn stains require an additional five to ten minutes of soaking beforehand. Total time ranges from one to fifteen minutes depending on how dirty the jar is.
Is it safe to clean a Vitamix with bleach?
No, using bleach isn’t recommended as it can degrade the plastic and leave harmful residues that mix with your food. Stick to mild dish soap or a vinegar solution for safe and effective cleaning.
Why does my blender smell bad after cleaning?
A bad smell usually means food particles are trapped in the blade gasket or the container was stored while still wet. Rinse the gasket thoroughly and let the container air dry completely before putting the lid back on.
How long should I soak the container?
Soak the container for five to ten minutes if you have sticky residues like nut butter or yogurt before running the wash cycle. Longer soaking times are necessary if the food has dried completely onto the walls.
Does the size of the container change cleaning time?
Larger containers hold more water, so they may require slightly longer wash cycles to ensure the entire surface is scrubbed. Smaller containers generally clean faster due to the smaller volume of water and food involved.
Is it safe to clean a Vitamix with boiling water?
Avoid using boiling water as it can warp the plastic container and damage the seals. Warm tap water is sufficient for cutting through grease and cleaning the blades safely.
What happens if I don’t clean the gasket?
Food gets trapped under the rubber gasket, leading to mold growth and unpleasant odors that regular rinsing can’t remove. You must wipe the gasket area manually to keep the blender hygienic.
Next steps to take
Start by running the soap and water cycle immediately after your next blend to prevent any food from drying out. Expect the container to look spotless and smell fresh within two minutes if you follow these steps correctly. If you see any remaining film or smell after the rinse, stop and soak the jar for another ten minutes before trying again.
If the blender hums but leaves a thick residue on the blade shaft, don’t scrub with steel wool as it will scratch the metal and create tiny pits where bacteria hide.
Instead, fill the jar halfway with warm water and drop in a single drop of dish soap, then run the machine on high for thirty seconds to let the vortex pull debris away from the edges. This mechanical action works better than manual scrubbing because it reaches into the crevices where a sponge tip can’t fit.
When dealing with sticky substances like peanut butter or nut butters, wait at least five minutes before adding water so the oil doesn’t spread across the entire surface area. Adding water too soon creates an emulsion that’s harder to remove than the original solid mass. You can tell the mixture is ready when the blades spin freely without resistance, indicating the bulk has broken down enough to be flushed out.
For models with removable gaskets, take the ring off every time you clean to check for trapped crumbs underneath. These small black specks are often missed during a quick rinse and will cause odors to return within days. If the rubber feels brittle or cracked, replace it immediately rather than attempting to patch it with glue, which will fail under heat and pressure.