How To Deep Clean Vitamix Blender: Soap, Scrub, Rinse Fix
You can deep clean a Vitamix blender by running warm water with a drop of soap for 60 seconds, then scrubbing the blade assembly and lid. This method removes residue from smoothies, soups, and nuts without disassembly. The exact time needed depends on how sticky the gunk is and whether you have a dishwasher-safe model.
The result changes if your unit has a tamper hole or a specific blade guard design. Some blenders need extra soaking for dried dairy, while others only need a quick rinse. These two factors decide if your machine needs a full soak or just a quick cycle.
Who this cleaning routine really serves
This guide helps home cooks who make daily smoothies, hot soups, or nut butters in their Vitamix machines. You likely own a standard 52-ounce or 64-ounce container and use it several times a week. Your main goal is to stop bacteria growth and bad smells without taking the blades apart yourself.
Professional chefs or high-volume users might find this too slow for their needs. They often need industrial-grade sanitizers or commercial dishwashers that handle heavy loads. If you run a small café, this page won’t give you the speed you require.
Parents making baby food also benefit here. They need to ensure no raw egg or dairy remains in the crevices. This method works well for them because it uses simple soap and water rather than harsh chemicals.
We assume you have a standard countertop Vitamix and basic kitchen supplies like dish soap and a soft brush. We don’t assume you own a pressure washer or specialized cleaning tablets. If you’re looking for a way to fix a broken motor, this isn’t the place.
What decides the outcome of cleaning
The stickiness of the food inside the container is the biggest factor. Thick peanut butter or dried cheese requires soaking, while watery juice rinses away fast. If you skip the soak, bits will stay stuck to the blade hub and cause odors later.
The type of soap matters more than you think. Heavy-duty degreasers work better on oil-based messes like olive oil or avocado. Mild dish soap might leave a film on the plastic if used alone on greasy residues. Always check the bottle label for “cut grease” claims before choosing.
Temperature plays a role in how fast grime comes off. Hot water melts fats quickly, but boiling water can warp some plastic lids over time. Stick to very warm tap water, never scalding, to protect the seals and the container walls.
Most people get the timing wrong by rushing the cycle. Running the machine for 30 seconds isn’t enough for thick mixtures. You need at least 60 seconds of agitation plus a few minutes of soaking to dissolve everything properly.
Step by step deep cleaning guide
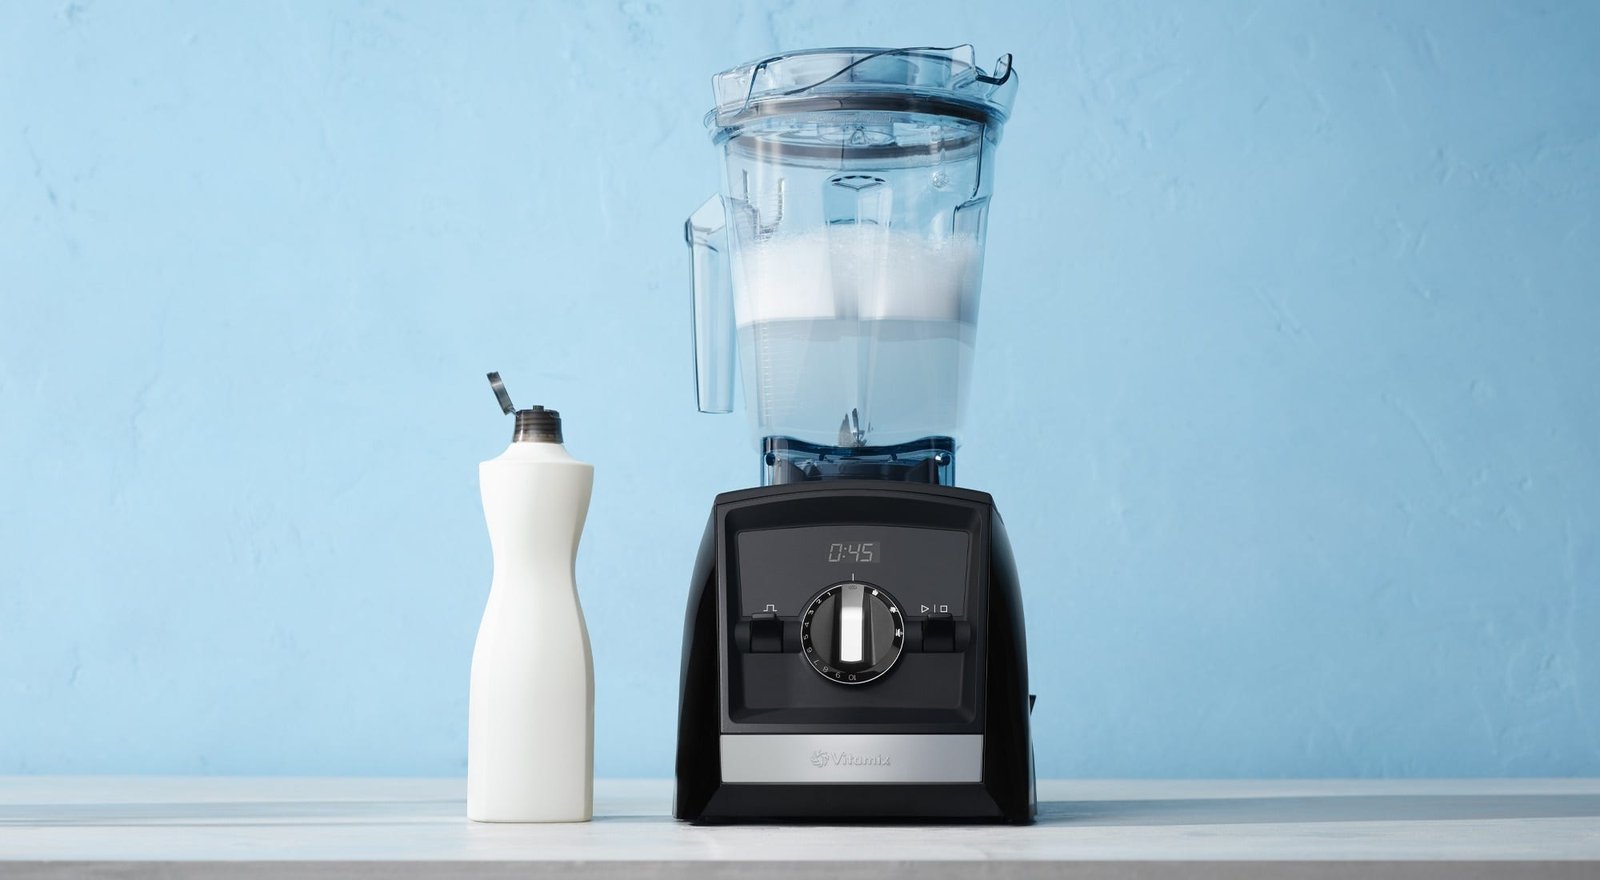
- Fill the container halfway with warm water and add one drop of liquid dish soap.
- Secure the lid tightly and set the variable speed dial to low, then pulse three times.
- Turn the machine to its highest setting and run it continuously for 60 seconds.
- Listen for a steady hum; if the sound changes to a grinding noise, stop immediately.
- Pour out the soapy water and inspect the blade area for any remaining chunks.
- Use a soft sponge to gently wipe the bottom corners where the blades meet the base.
- Rinse the entire container thoroughly with clean water until no suds remain visible.
- Dry the outside with a towel and leave the lid off to air dry completely.
The single judgment call here is how long to soak the container. If the water looks cloudy after the first wash, let it sit for five minutes before scrubbing again. A quick rinse is fine for fresh fruit, but dried residue needs patience. Never force the blade assembly loose with a knife, as this voids your warranty and risks injury.
The variations at a glance
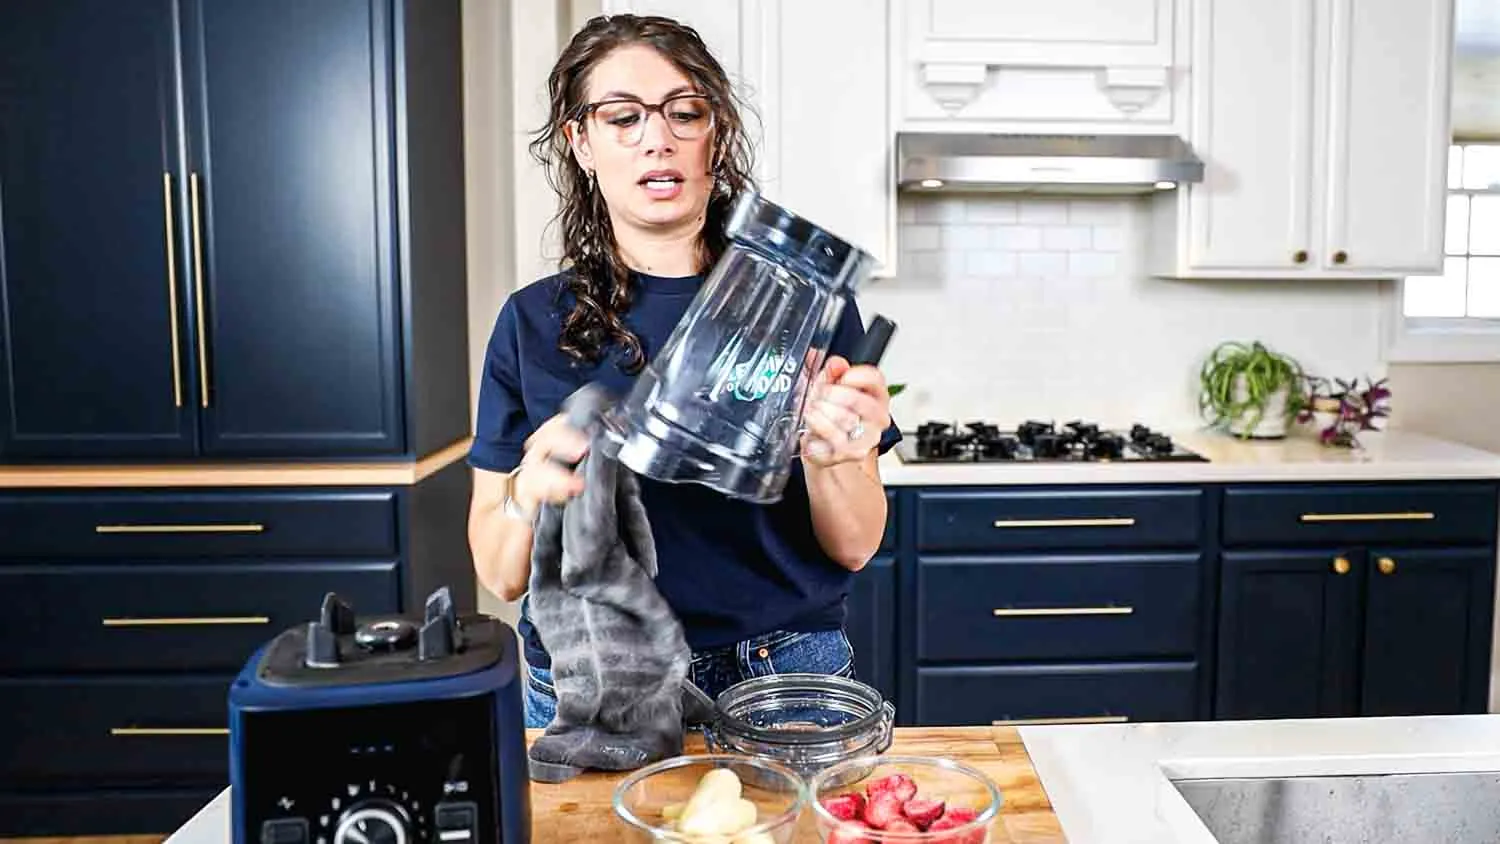
Sticky peanut butter requires a ten-minute soak in warm water before you attempt to scrub, ensuring the fats soften enough to release. If you skip this step and try to scrape hardened clumps immediately, you risk tearing the rubber gasket or leaving behind a film that traps future bacteria. The cost is zero time if you plan ahead, but the penalty for rushing is a ruined container.
Dried yogurt crusts often hide under the rim where brushes can’t reach, so use a soft-bristled toothbrush dipped in mild soap to gently dislodge the white residue. A quick five-minute scrub works best when the crust is still slightly damp; waiting until it dries completely makes removal nearly impossible without abrasive tools that scratch the plastic. Always rinse thoroughly to prevent any soapy taste from lingering in your next meal.
Hot soup residue demands patience because pouring cold water over hot plastic causes warping that creates permanent leaks. Let the container cool naturally for fifteen minutes before washing, which protects the shape while saving you money on replacements. Strong garlic smells vanish faster if you add vinegar to the soak rather than relying on heavy detergents that might leave their own scent behind.
Oily dressings feel slippery even after a wash because standard soap struggles with thick fats. Switch to a degreaser soap for five minutes to cut through the grease, ensuring no slick film remains to attract dust later.
Mold spots appearing as black dots on the gasket signal a safety risk that cleaning can’t fix; replace the part immediately to avoid ingesting spores. Cloudy containers can sometimes be polished back to clarity using baking soda, but if the haze persists after five minutes of gentle rubbing, the plastic has likely degraded beyond repair.
What separates a good result from a poor one
Preparation and order
Experienced users always empty the container completely before adding water. Leaving large chunks of food in there clogs the blades during the wash cycle. Beginners often dump water in while chunks are still stuck to the sides, which creates a sludge that spreads around instead of cleaning.
They also remove the lid before running the machine if it has a removable center cap. This allows steam to escape and prevents pressure buildup. Skipping this step can sometimes force dirty water up through the seal and into the motor base.
Checking while working
Pros check the blade hub immediately after the wash cycle ends. They look specifically at the metal shaft where the blades attach. If they see a ring of white gunk there, they know the soap didn’t reach it yet. Amateurs often just rinse the outside and assume the inside is clean.
They also listen to the motor sound during the wash. A smooth hum means the water is circulating freely. A clicking or grinding sound means something is blocking the blades. Ignoring this noise can damage the motor over time.
What goes wrong, and what to do
| What you notice | What it usually means | What to do first | How to stop it happening again |
|---|---|---|---|
| Bad smell after drying | Bacteria grew in damp spots | Soak in vinegar | Dry lid fully every time |
| Cloudy plastic surface | Mineral deposits from hard water | Use distilled water | Wipe down after each use |
| Water leaking from base | Gasket is worn or misaligned | Replace the rubber seal | Check fit before washing |
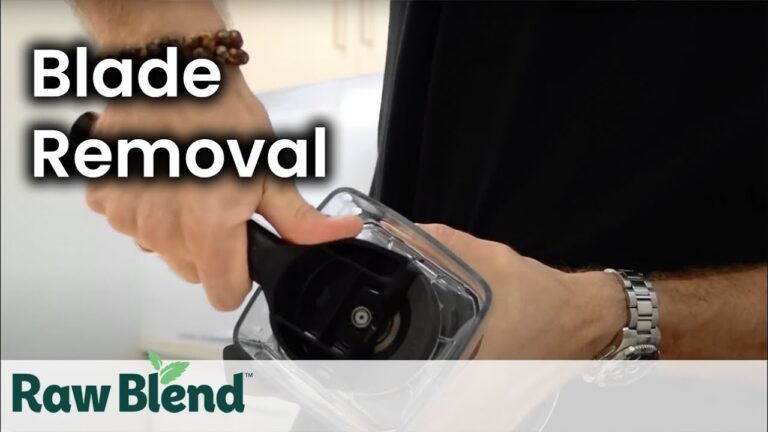
| Blade spins loosely | Nut is stripped or loose | Tighten with pliers | Don’t overtighten manually |
| Soap taste in next batch | Rinsing was incomplete | Rinse twice more | Swirl water to check clarity |
| Motor overheating | Overworked during wash cycle | Let cool 10 mins | Reduce wash time slightly |
| Stuck food under blade | Didn’t soak long enough | Soak for 15 minutes | Clean immediately after use |
The rules that apply
The FDA Food Code states that food contact surfaces must be sanitized after use to prevent illness. You should use a solution of one tablespoon of unscented bleach per gallon of water if you want to sanitize beyond normal cleaning. This rule applies to all home kitchens, not just restaurants.
Vitamix itself recommends against using abrasive cleaners or steel wool on their containers. Their official manual warns that scratches can harbor bacteria and weaken the plastic. Always follow the manufacturer’s instructions for safe cleaning agents.
If you live in an area with extremely hard water, mineral buildup happens faster. In these cases, you may need to descale the container more often than once a month. Check your local water hardness report to adjust your frequency.
Never submerge the motor base in water. The electrical components inside aren’t waterproof and can cause a shock hazard. Only wipe the base with a damp cloth when unplugged.
What it costs you
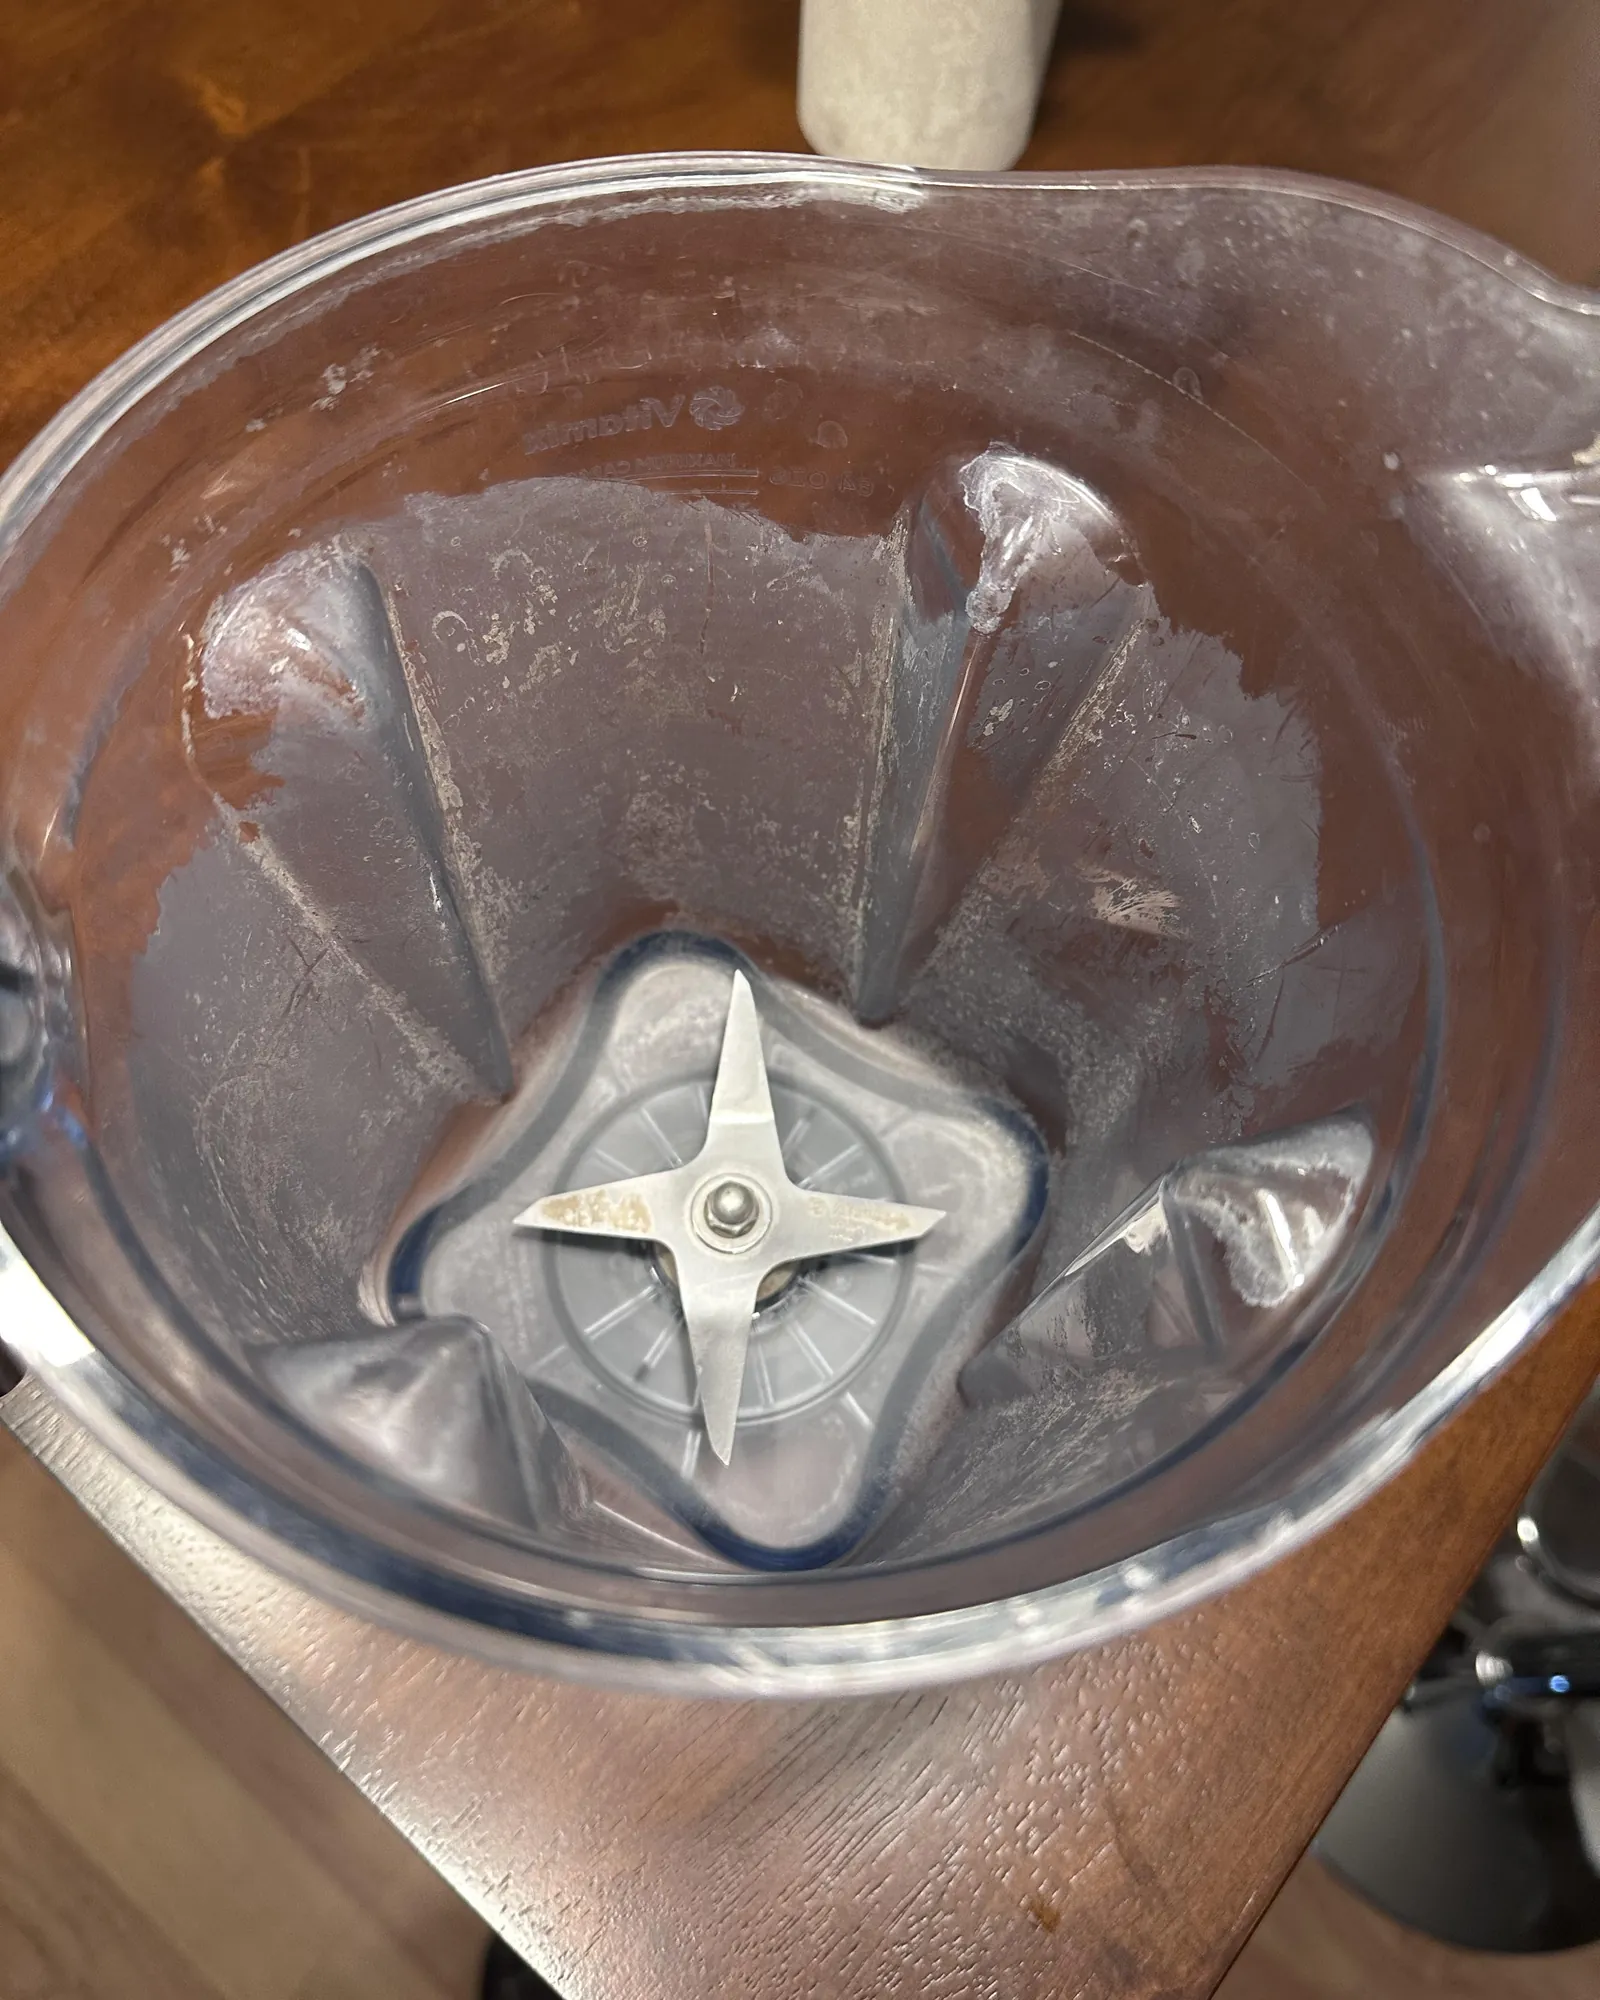
Deep cleaning a Vitamix blender costs almost nothing in money, mostly just time and effort. You already have dish soap and water in your kitchen, so no new purchases are needed. The real cost is the 15 to 20 minutes you spend doing it correctly.
If you ignore the process, the cost shifts to replacement parts. A ruined gasket or a corroded blade assembly requires an inexpensive investment relative to buying new components.
Using the wrong cleaner adds a hidden cost. Harsh chemicals can crack the plastic or discolor the lid, forcing an early replacement. Stick to mild soap to keep your machine running for years.
Time is the biggest expense for busy families. Skipping the deep clean saves five minutes now but costs an hour later trying to scrape off dried food. Doing it right takes less time overall because the job stays easy.
When dried residue hardens into a crust, you must soak the container for at least thirty minutes before any scrubbing begins. This extra step prevents you from using metal utensils that scratch the base. If you skip the soak, you risk gouging the plastic with a knife, which creates tiny crevices where bacteria hide. Those scratches make future cleaning harder every single time you use the machine.
A cracked gasket often leaks during high-speed blending, ruining the motor housing inside. Replacing the entire blade assembly requires unscrewing the bottom of the jar, a task that takes twenty minutes if you have the right tools. Without those tools, you might strip the screws and need professional repair services instead.
Most people think a quick rinse is enough after making smoothies, but this leaves protein films that turn rancid. That smell is the first sign that the seal has failed completely. Once the odor sets in, the only solution is buying a brand-new container rather than trying to fix the old one.
Keeping it right afterwards
After washing, always leave the lid off to let the inside air dry completely. Trapped moisture inside the sealed container is the main cause of mold growth, and you must wait until no condensation remains on the plastic before reassembling. If you live in a humid climate or your kitchen lacks ventilation, prop the lid open against the wall for at least two hours rather than relying on the brief airflow of a standard room.
Store the blender with the lid separate from the base to allow airflow. Don’t stack other items on top of the pitcher while it dries, as this pressure can warp the rim and create gaps where water collects later. When putting the unit away, ensure the cord is loosely coiled so it doesn’t pinch the rubber gasket or stress the internal wiring over time.
Check the rubber gasket under the blades once a month for signs of wear. A damaged seal lets water seep into the motor housing, which is expensive to fix because the entire drive assembly often needs replacement. Run your finger along the edge; if it feels rough or sticky, the material has degraded even if no hole is visible yet.
Rinse the tamper tool after every use to remove sticky residue. Store it separately so it doesn’t trap dirt against the container rim. This small habit keeps the whole system hygienic between deep cleans. Never leave the tool resting inside the jar, as dried fruit particles will harden into a paste that scratches the glass and creates a breeding ground for bacteria that simple rinsing can’t remove.
When this is the wrong approach
Don’t use this method if the blender motor emits a high-pitched whine or smells of ozone and burning plastic. These specific sounds signal that the carbon brushes are worn out or the windings have overheated, creating an internal short circuit that no amount of scrubbing can repair.
Attempting to disassemble or clean a failing motor will only push debris deeper into the mechanism, potentially causing the rotor to seize completely and requiring a full unit replacement instead of a simple service call.
Avoid this routine entirely if you see a spiderweb crack running along the side of the container or a chip at the base where the blade assembly sits. Even hairline fractures act as reservoirs for mold spores that survive hot water and bleach, while the intense vibration of a high-speed wash cycle can turn a small flaw into a catastrophic shatter that sends glass shards flying across your kitchen floor.
If the container shows any sign of structural compromise, discard it immediately rather than risking a second cleaning attempt that could injure you or ruin the appliance beyond salvage.
If you need to clean the interior of the motor base, don’t attempt this yourself under any circumstances. Opening the sealed housing exposes electrical components that present a shock hazard when plugged in, and doing so instantly voids your manufacturer warranty by leaving visible tamper-evident seals broken.
Instead, contact Vitamix customer support directly or visit an authorized repair center where technicians have the proper tools to safely access the internal electronics without risking personal injury or permanent damage to the machine’s safety systems.
Frequently asked questions
Can I put the Vitamix container in the dishwasher?
Yes, most modern Vitamix containers are top-rack dishwasher safe, but hand washing extends their life. Check your specific model manual to confirm if the lid and gasket are also safe for the dishwasher.
Why does my blender smell like old food?
A lingering smell usually means bacteria grew in the rubber gasket or under the blade assembly. Soaking the parts in vinegar or bleach water kills the odor-causing microbes effectively.
How long should I run the self-clean cycle?
Run the self-clean cycle for exactly 60 seconds on high speed with warm soapy water. Anything shorter leaves residue, and anything longer wastes energy without improving the result.
Is it safe to use bleach on my Vitamix?
Yes, you can use a weak bleach solution (one tablespoon per gallon) for sanitizing, provided you rinse thoroughly. Don’t use concentrated bleach directly on the plastic as it can damage the material.
What happens if I don’t dry the lid properly?
Moisture trapped under the lid creates a breeding ground for mold and mildew within days. Always wipe the underside of the lid and let it air dry completely before storing.
Does the color of the container matter for cleaning?
No, the color doesn’t affect how well the container cleans or resists stains. However, darker containers may show food residue less clearly than clear ones.
How often should I deep clean my Vitamix?
Deep clean your blender once a week if you use it daily, or after every thick mixture like nut butter. Frequent light rinses aren’t enough to remove built-up oils and proteins.
What to do next
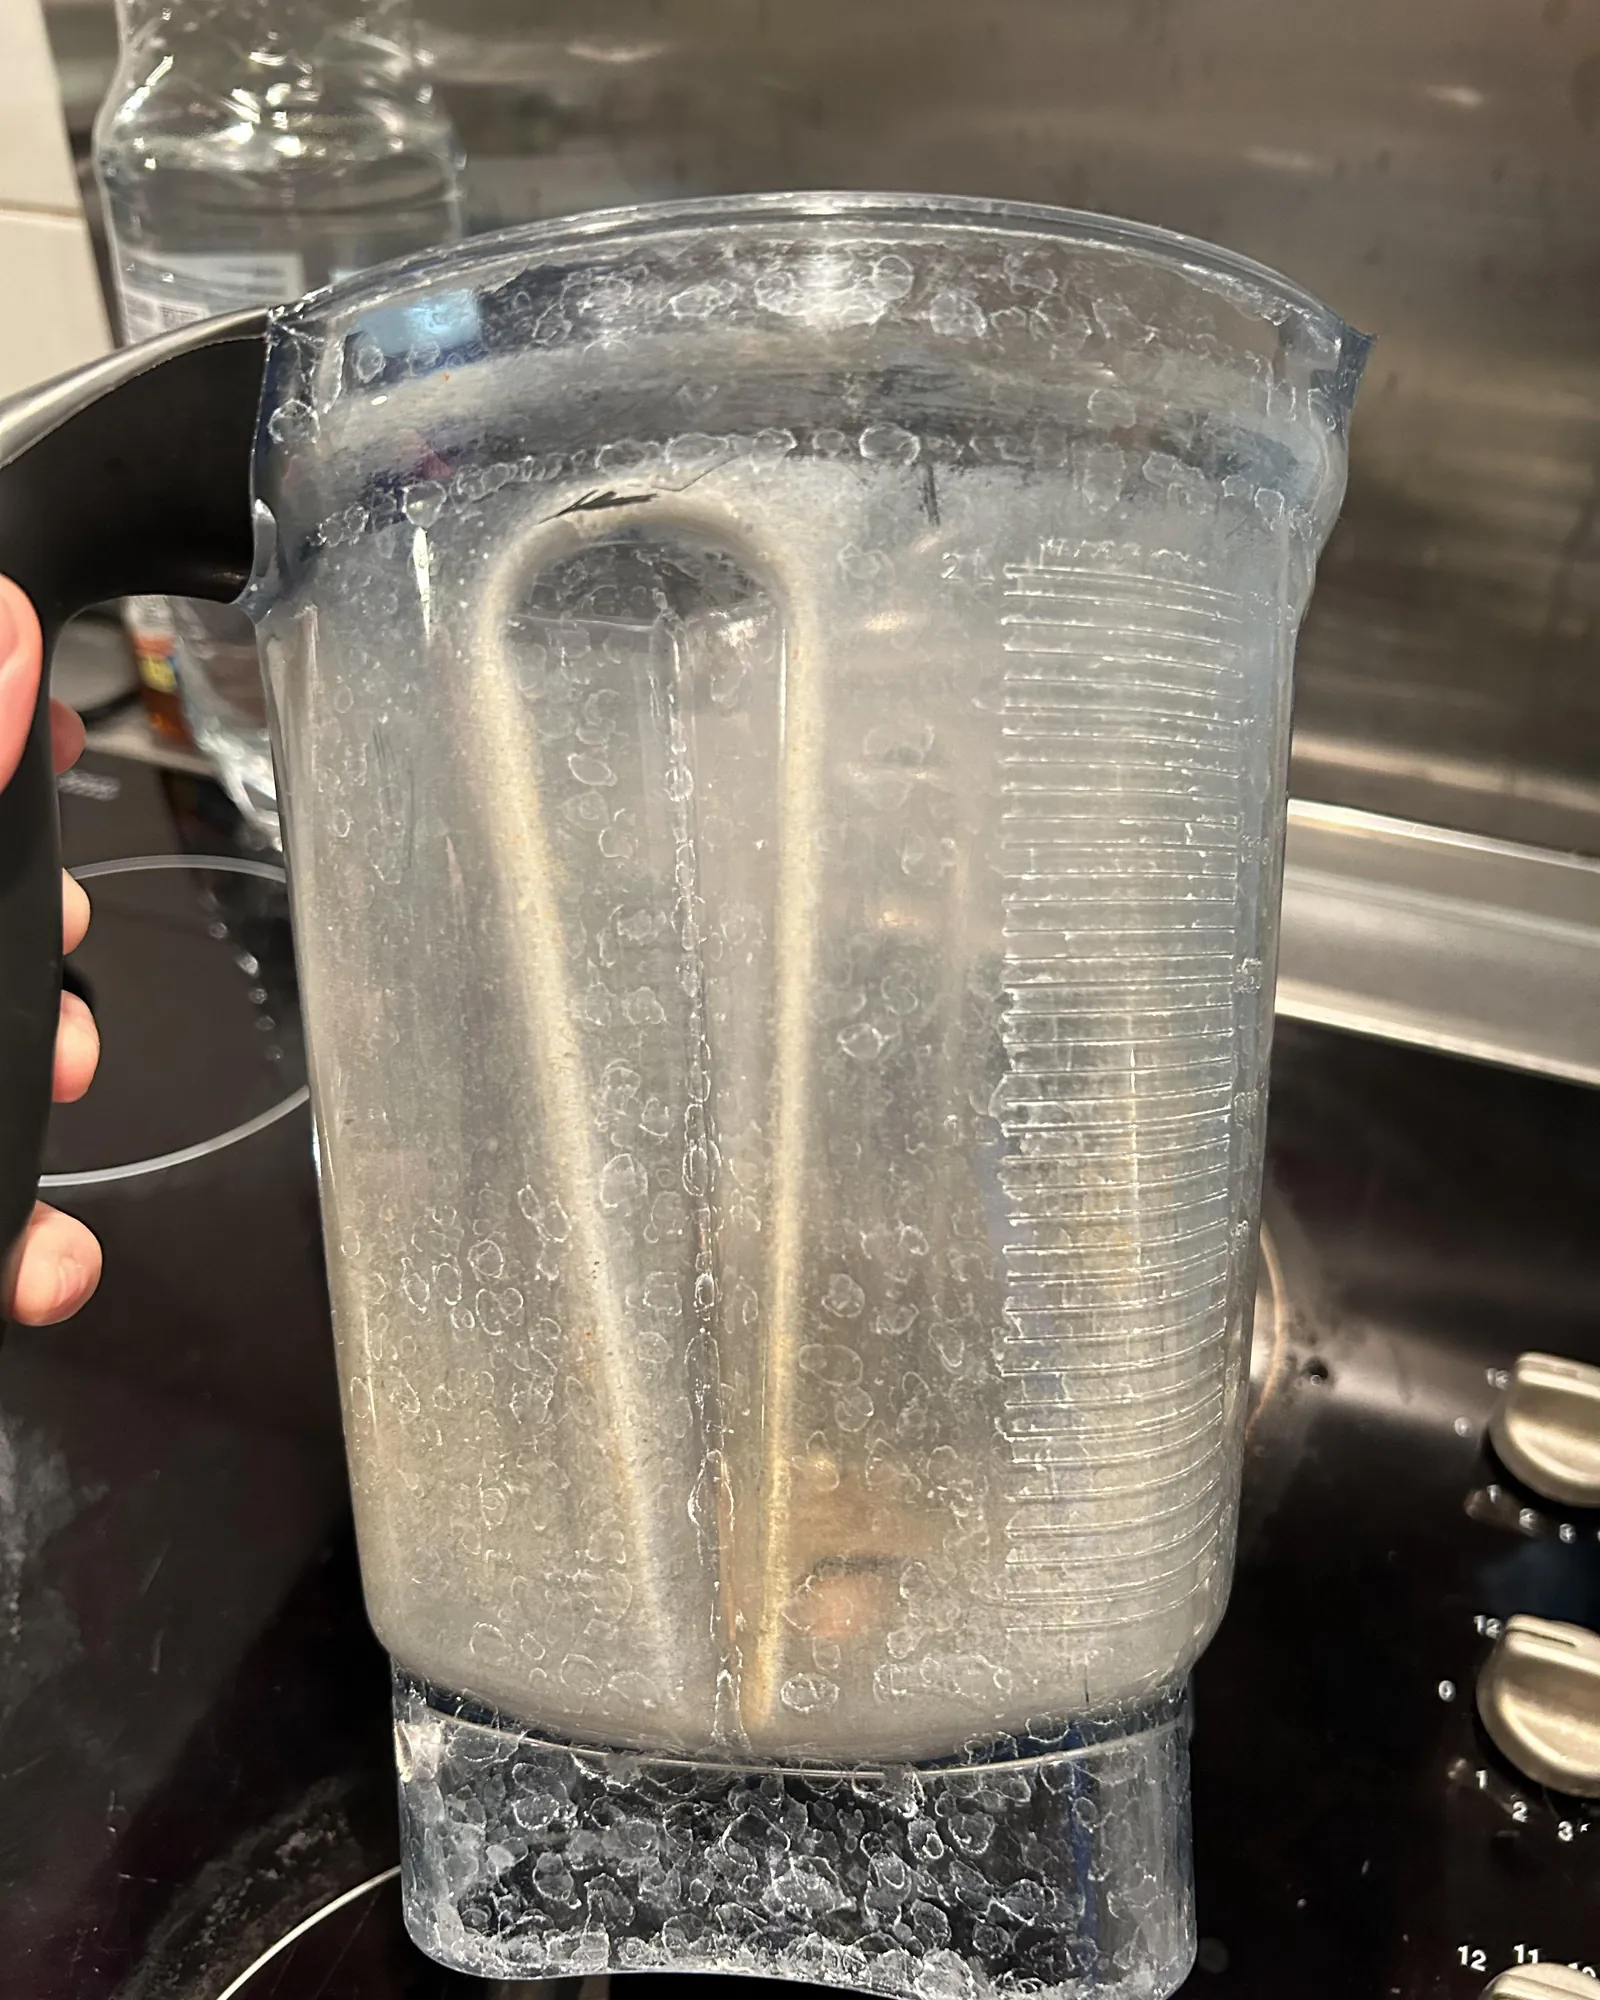
Start by filling your container with warm water and soap right now to test the cleaning power. Expect the water to turn cloudy and the blades to spin freely without resistance. Stop immediately if you hear a grinding noise or smell burning.
Check the seal ring for cracks every time you clean, as a compromised gasket allows water into the motor housing. If the blades wobble side to side, the shaft is bent and the entire assembly must be replaced. Never submerge the base unit in water, because moisture will damage the electrical components.
Conclusion
Next time you make a smoothie, just rinse the jar right away so scrubbing stays easy. You’ll keep your blender shining bright without extra effort. Plus, cleaning it fast means you can blend again sooner and enjoy more tasty meals with less hassle today.