How To Make A Slushie With A Vitamix Blender: The Fix
Making a slushie with a Vitamix blender is entirely possible by using the variable speed control and the tamper to break down ice into a fine, snow-like texture without melting it into liquid. This high-powered appliance excels at creating frozen drinks because its sharp blades and powerful motor can pulverize hard ice cubes in seconds when operated correctly. The process requires specific techniques, such as pulsing first and then running the machine at low speeds while using the tamper to push ingredients toward the blades, ensuring a consistent consistency that mimics professional bar equipment. By understanding the relationship between ice size, liquid volume, and blending time, users can achieve the perfect slushy texture every time, transforming simple fruit juices or syrups into refreshing, frosty treats suitable for any season.
Key Takeaways
- Use small ice cubes no larger than one inch to ensure the blades can crush them efficiently without stalling the motor.
- Always engage the variable speed dial starting low and gradually increasing to prevent the mixture from splashing out of the container.
- The tamper tool is essential for pushing frozen ingredients down toward the blades while the machine is running to maintain a smooth flow.
- Maintain a liquid-to-ice ratio of roughly 1:3 to achieve a thick, spoonable consistency rather than a thin, watery drink.
- Pulse the blender for five to ten seconds before running continuously to break up large chunks of ice initially.
- Add sweeteners or flavorings after the ice is partially crushed to prevent the sugar from clumping around the blade assembly.
Why Vitamix Blenders Crush Ice So Well
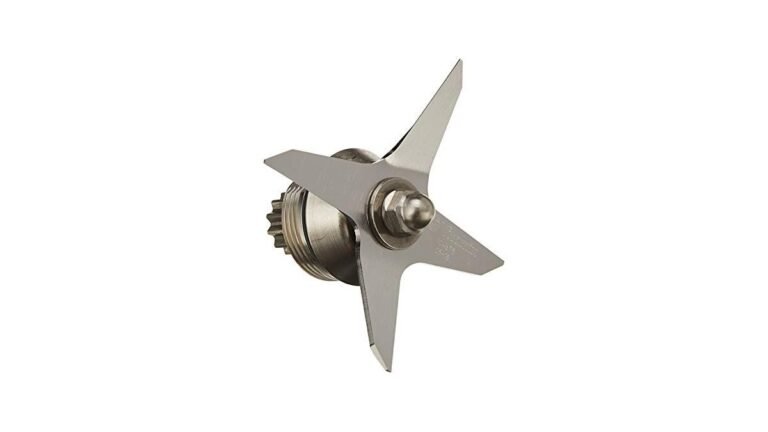
The fundamental reason a Vitamix blender creates superior slushies compared to standard blenders lies in its engineering and motor design. These machines are built with aircraft-grade stainless steel blades that are specifically engineered to handle the stress of crushing hard ice.
Unlike cheaper blenders that might struggle or overheat, the high-torque motor in a Vitamix maintains consistent power even under heavy loads, allowing it to pulverize ice into a fine powder rather than leaving large shards behind. This capability is crucial for achieving the desired “snow” texture that defines a true slushie.
Another critical factor is the shape of the container and the vortex it creates. The wide base and tapered sides of the Vitamix jar encourage ingredients to circulate rapidly, pulling everything down toward the cutting assembly. This self-feeding action ensures that no piece of ice gets stuck on the sides of the jar, which is a common issue with lower-powered models.
When combined with the variable speed control, this design allows the user to manipulate the texture precisely, moving from a coarse chop to a silky smooth consistency with a simple twist of the dial.
Preparing Your Ingredients for Success
The quality of your final slushie depends heavily on how you prepare the components before they ever touch the blender blades. Starting with the right type of ice is the most important step; large blocks of ice from a tray often contain air pockets or irregular shapes that can damage the blades or leave chunks in the drink.
It’s best to use standard ice cube trays that produce uniform cubes, or better yet, crush the ice slightly beforehand if your freezer allows for smaller fragments. If you’re using frozen fruit, ensure the pieces aren’t too large, as this can also impede the blending process.
Liquid selection plays an equally vital role in the texture and flavor profile of the drink. Water-based liquids like juice, soda, or tea work best because they freeze more uniformly than dairy or creamy mixtures, which can become icy and grainy if not emulsified perfectly.
The temperature of the liquid matters significantly; using cold liquid helps keep the mixture frozen longer during the blending process, whereas warm liquid will melt the ice too quickly, resulting in a soupy consistency. A general rule of thumb is to chill your liquids in the refrigerator for at least two hours prior to blending to maximize the freezing effect.
| Ingredient Type | Recommended Quantity (Cups) | Purpose in Slushie |
|---|---|---|
| Ice Cubes | 3 to 4 | Provides the frozen structure and chilling agent. |
| Fruit Juice | 1 to 1.5 | Adds flavor and necessary liquid for circulation. |
| Sweetener | 2 to 4 tbsp | Balances acidity and enhances overall taste profile. |
| Fresh Herbs | 0.5 cup | Introduces aromatic notes without adding bulk. |
| Frozen Fruit | 1 to 2 cups | Thickens texture and intensifies fruit flavor. |
Pro Tip: If you plan to make multiple batches, consider making a concentrated syrup ahead of time. This allows you to simply add the syrup to ice and liquid, reducing the total blending time and minimizing the risk of the motor overheating during extended runs.
The Step-by-Step Blending Process

Executing the actual blending process requires a specific sequence of actions to avoid damaging the machine or ruining the texture of the drink. Begin by adding your liquid ingredients to the bottom of the container first, followed by the sweeteners and flavorings.
This order ensures that the blades are lubricated immediately upon startup, preventing them from grinding against dry ice which can cause unnecessary wear. Once the wet ingredients are in, add the ice cubes last, filling the container no more than halfway to allow for proper movement and circulation of the contents.
Start the blender on the lowest speed setting and slowly increase the speed over the course of ten to fifteen seconds. This gradual acceleration prevents the ice from jumping up and hitting the lid, which could cause spills or leaks. Once the machine is running at a medium-low speed, insert the tamper through the lid opening.
Use the tamper to gently push the ice down toward the blades, but don’t force it aggressively; let the machine do the work. Continue this process until the mixture reaches a uniform, snowy consistency, which usually takes between thirty to sixty seconds depending on the quantity and hardness of the ice.
Choosing the Right Container Size
Selecting the appropriate container size for your Vitamix blender is crucial for achieving the optimal slushie texture. Most Vitamix models come with either a 64-ounce or a 48-ounce container, and each has distinct advantages depending on the batch size you intend to make.
The 64-ounce container is ideal for making larger batches for parties or families, but it requires a higher volume of liquid to create the necessary vortex for effective blending. If you attempt to make a small amount of slushie in a large container, the ingredients may not circulate properly, leading to uneven blending and potential motor strain.
Conversely, the 48-ounce container is often preferred for single-serving or small-batch slushies because it creates a tighter vortex with less volume. This smaller footprint allows the blades to pull ingredients down more efficiently, resulting in a smoother texture with less effort.
However, if you’re making a very large batch, the 48-ounce container may require you to blend in multiple stages, which can be inconvenient. Understanding the capacity limits of your specific model ensures that you never overload the machine or underutilize its full potential.
| Container Volume | Best Batch Size | Ideal For | Potential Issue |
|---|---|---|---|
| 64 oz | 4 to 6 servings | Family gatherings or parties | Requires more liquid to function well. |
| 48 oz | 1 to 2 servings | Quick personal drinks | May overflow if filled too high. |
| 32 oz | 1 serving | Single portions | Limited capacity for large ice chunks. |
| 20 oz | 1 small sip | Travel or kids’ snacks | Not recommended for hard ice crushing. |
Adjusting Liquid Ratios for Texture
The ratio of liquid to ice is the single most significant variable in determining whether your slushie turns out perfect or becomes a failed experiment. A common mistake is adding too much liquid, which results in a drink that resembles a smoothie or a milkshake rather than a frozen slush.
To achieve the classic slushie texture, you need a high proportion of ice relative to the liquid. A typical starting point is three parts ice to one part liquid, but this can be adjusted based on the sweetness of your ingredients and the desired thickness.
If your mixture appears too thick and the motor struggles to turn, add small amounts of liquid, perhaps one tablespoon at a time, until the blades can move freely. Conversely, if the mixture is too runny, you may need to add more ice or return the container to the freezer for a few minutes to re-solidify the liquid component.
Patience is key here; rushing the addition of liquid often leads to an inconsistent texture that’s difficult to correct once the blending is complete. Experimenting with different ratios will help you find the perfect balance for your specific taste preferences.
Flavor Combinations That Work Best
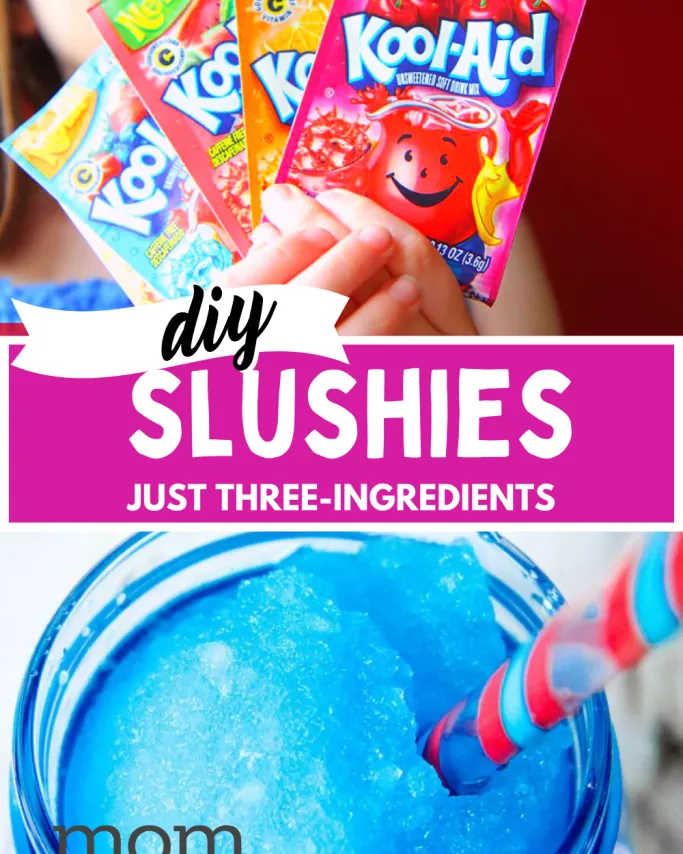
While the mechanics of blending are important, the flavor combinations you choose can elevate a simple slushie into a gourmet treat. Citrus flavors like lemon, lime, and orange pair exceptionally well with ice because their acidity cuts through the sweetness and provides a refreshing zing.
Berries such as strawberries, raspberries, and blueberries offer a natural sweetness and vibrant color, making them popular choices for summer refreshments. Tropical fruits like mango, pineapple, and passion fruit add a exotic flair that complements the cold, crisp nature of a slushie.
Herbal infusions are another excellent avenue for experimentation, as they add complexity and sophistication to the drink. Mint, basil, and rosemary can be muddled slightly before blending to release their oils, creating a fragrant and cooling experience.
Spices like cinnamon or ginger can also be incorporated, though they should be used sparingly to avoid overpowering the other flavors. Combining these elements creatively allows you to tailor the slushie to any occasion, from a light afternoon snack to a festive holiday beverage.
| Flavor Base | Complementing Ingredient | Resulting Profile |
|---|---|---|
| Lemonade | Fresh Mint | Bright, herbal, and cooling. |
| Strawberry | Vanilla Yogurt | Creamy, sweet, and fruity. |
| Pineapple | Coconut Water | Tropical, hydrating, and light. |
| Blueberry | Basil | Earthy, sweet, and sophisticated. |
| Lime | Jalapeño | Spicy, tart, and invigorating. |
Warning: Avoid adding carbonated beverages directly to the blender before blending, as the pressure from the carbonation can cause the mixture to foam excessively and potentially leak from the lid. Instead, add the carbonated drink after the ice has been crushed to maintain the fizziness.
Troubleshooting Common Texture Issues
Even with careful preparation, you may encounter issues where the slushie doesn’t have the desired texture. One common problem is a slushie that’s too icy, with large chunks remaining despite blending. This usually indicates that the ice was too large or the liquid content was insufficient to facilitate proper circulation.
To fix this, pulse the blender again with a bit more liquid added, or use the tamper more vigorously to break down the remaining chunks. Another issue is a slushie that’s too melted, appearing more like a liquid than a semi-frozen treat. This often happens if the blender runs too long or if the liquid was too warm initially.
In cases where the mixture is too thick to blend smoothly, the motor may hum loudly or stall completely. This is a sign that the ice-to-liquid ratio is off, or the ice cubes are too big for the blades to handle effectively.
Adding a splash of water or juice can help loosen the mixture and allow the blades to spin freely. If the slushie is too thin, returning it to the freezer for a short period can help re-freeze the excess liquid, after which you can blend it again briefly to restore the texture.
Cleaning and Maintenance After Blending
Cleaning a Vitamix blender after making a slushie is generally straightforward, thanks to the self-cleaning feature found in most models. Simply fill the container about halfway with warm water and a drop of dish soap, then run the blender on high speed for thirty to sixty seconds.
The force of the water and the rotation of the blades will dislodge any frozen residue or sticky sugars, leaving the container clean and ready for the next use. This method is highly effective and saves time compared to manual scrubbing, which can be difficult with frozen remnants stuck to the blades.
However, special attention should be paid to the lid and the tamper, as these parts often accumulate ice crystals or sticky syrup that the cleaning cycle might miss. Remove the lid and wash it separately with warm soapy water, paying close attention to the gasket and the opening for the tamper.
The tamper itself should be rinsed thoroughly to remove any fruit pulp or sugar that may have hardened. Regular maintenance of these components ensures that the blender continues to perform at its peak efficiency and prevents the buildup of bacteria or mold over time.
Safety Considerations for High-Speed Blending
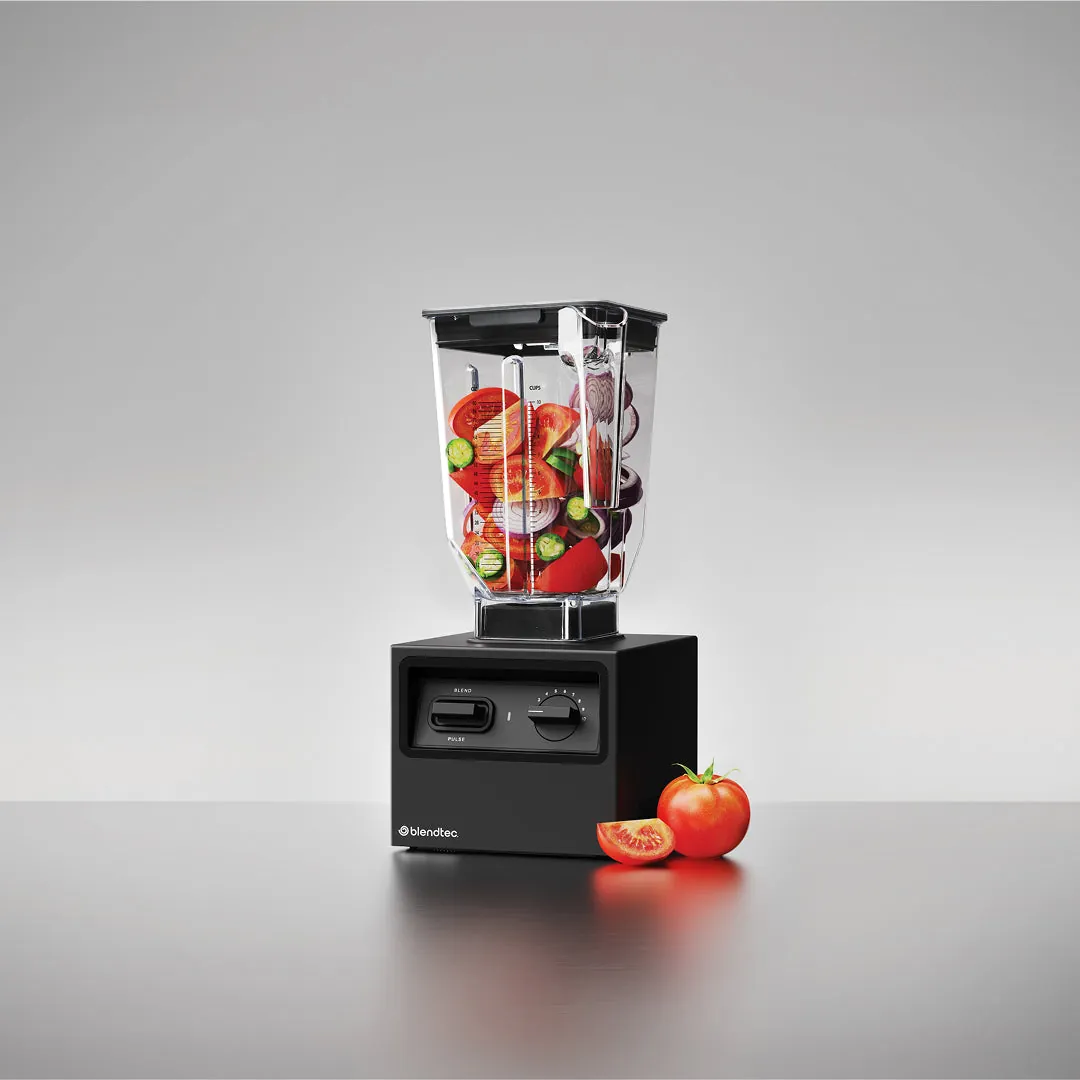
Operating a high-speed blender like a Vitamix requires adherence to safety protocols to prevent accidents and injuries. The most important rule is to always keep the lid securely in place while the machine is running.
The high-speed vortex created inside the container can generate enough pressure to blow the lid off if it isn’t properly seated, potentially causing hot or cold liquid to spray onto the user. Additionally, never attempt to remove the lid while the blades are still spinning, as this can lead to severe injury from the rotating blades.
Another critical safety consideration is the use of the tamper. While the tamper is designed to be inserted through the lid opening, it should only be used when the blender is running at a low to medium speed.
Inserting the tamper at high speeds can cause the mixture to splash violently or the tamper to get caught in the blades. Always hold the tamper firmly and guide it gently downward, avoiding any sudden movements. Following these guidelines ensures a safe and enjoyable blending experience for everyone involved.
Frequently Asked Questions
Can I use frozen fruit instead of ice?
Yes, you can substitute ice with frozen fruit to create a thicker, fruitier slushie. Ensure the fruit pieces are small enough to fit easily into the blender jar, and adjust the liquid ratio accordingly since frozen fruit releases moisture as it blends.
Why is my slushie too watery?
Your slushie is likely too watery because there’s too much liquid or the ice wasn’t crushed finely enough. Try adding more ice or blending for a shorter duration to preserve the frozen texture.
How long can I store a homemade slushie?
Homemade slushies are best consumed immediately after blending for the freshest taste and texture. If stored in the freezer, they will harden into a solid block within an hour and require thawing to regain the slushy consistency.
Can I make a dairy-based slushie?
Yes, you can make dairy-based slushies using milk, yogurt, or cream, but the texture will be creamier and less icy than traditional fruit slushies. Be sure to use a sufficient amount of liquid to prevent the dairy from becoming too thick.
Is it safe to blend hot liquids in a Vitamix?
No, you should never blend hot liquids in a standard Vitamix container as the steam can build up pressure and pop the lid off. Use the Vent Cap or wait for the liquid to cool before blending to ensure safety.
What is the best way to sweeten a slushie?
Granulated sugar, honey, agave nectar, or simple syrup are all excellent options for sweetening a slushie. Simple syrup dissolves more easily in cold mixtures, making it the most convenient choice for achieving a consistent sweetness.
Conclusion
Creating a perfect slushie with your Vitamix is a skill that improves with practice and experimentation. Start by mastering the basic technique of balancing ice and liquid, then gradually introduce new flavors and textures to discover what works best for your palate. With the right approach, your Vitamix can become a versatile tool for crafting refreshing, delicious frozen drinks that rival those found in your favorite cafes.