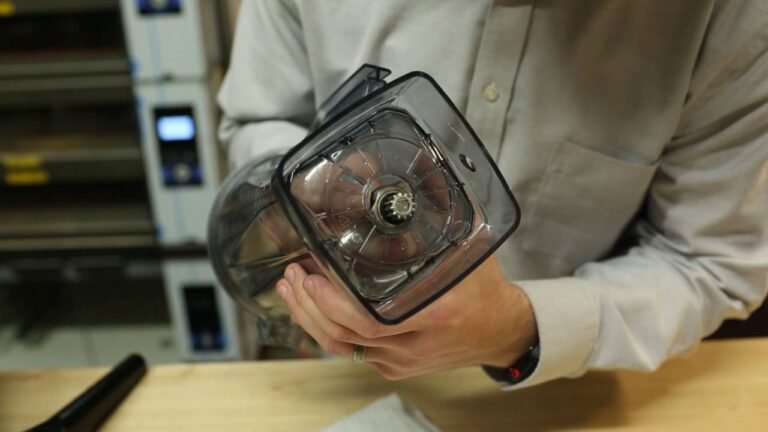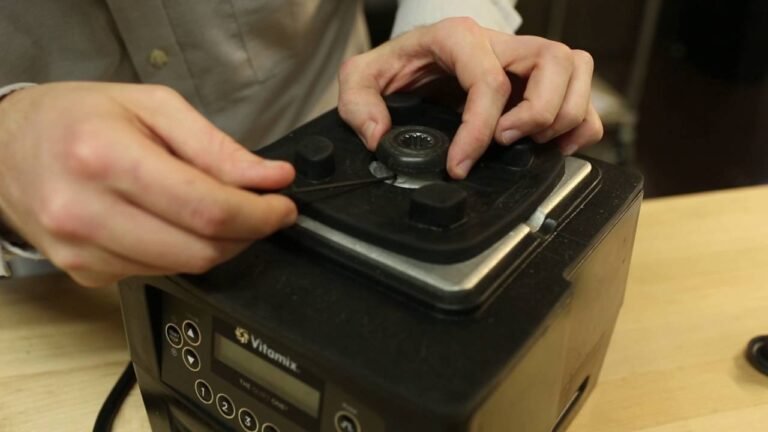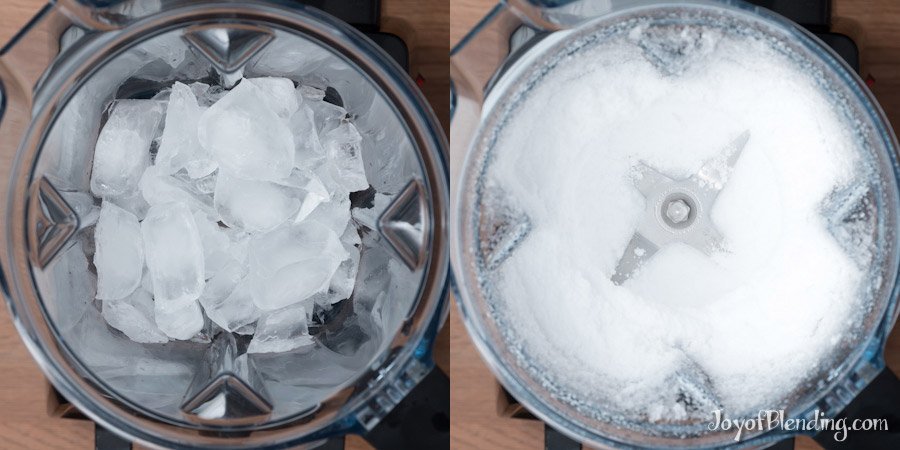
How To Crush Ice In A Vitamix Blender: The Pulse Method
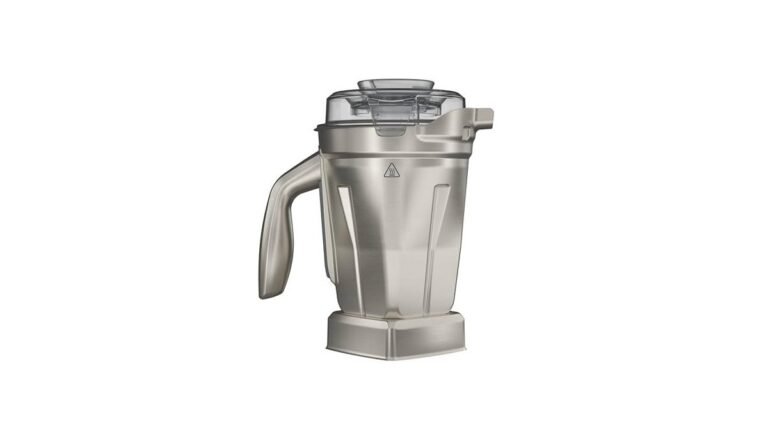
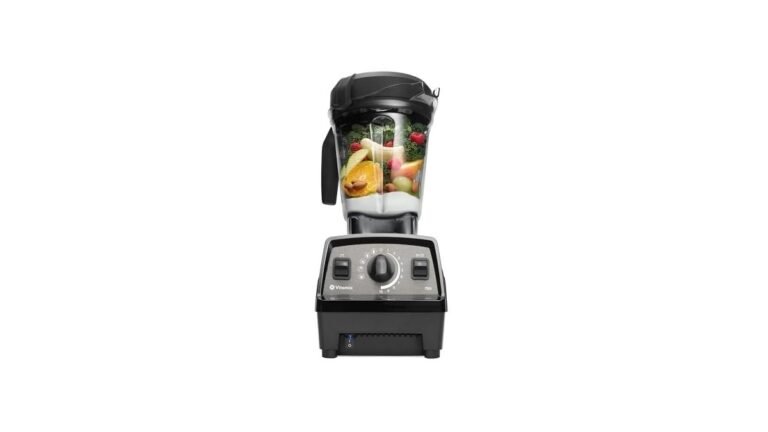
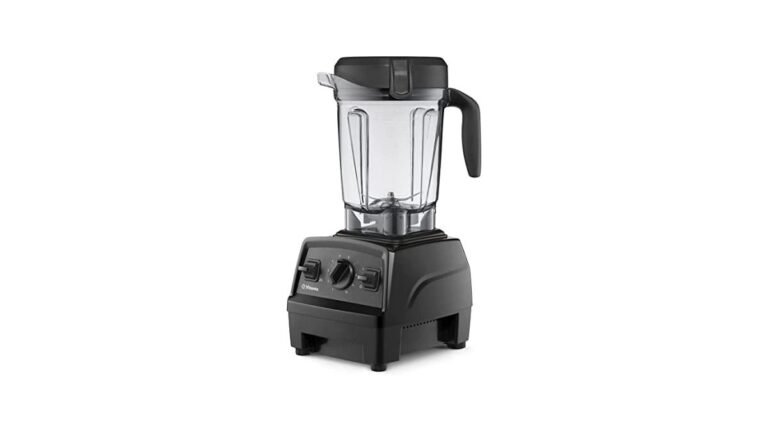
You can crush ice in a Vitamix blender by using the tamper and the pulse setting for 10 to 20 seconds. This method turns solid cubes into snow or coarse chunks without damaging the blades. The result depends on your machine’s power, how full the jar is, and whether you use the lid correctly.
Different models handle ice differently. A high-end unit with a strong motor works faster than an older one. If you fill the jar too much, the blades can’t move the ice at all.
Who needs to crush ice in a Vitamix
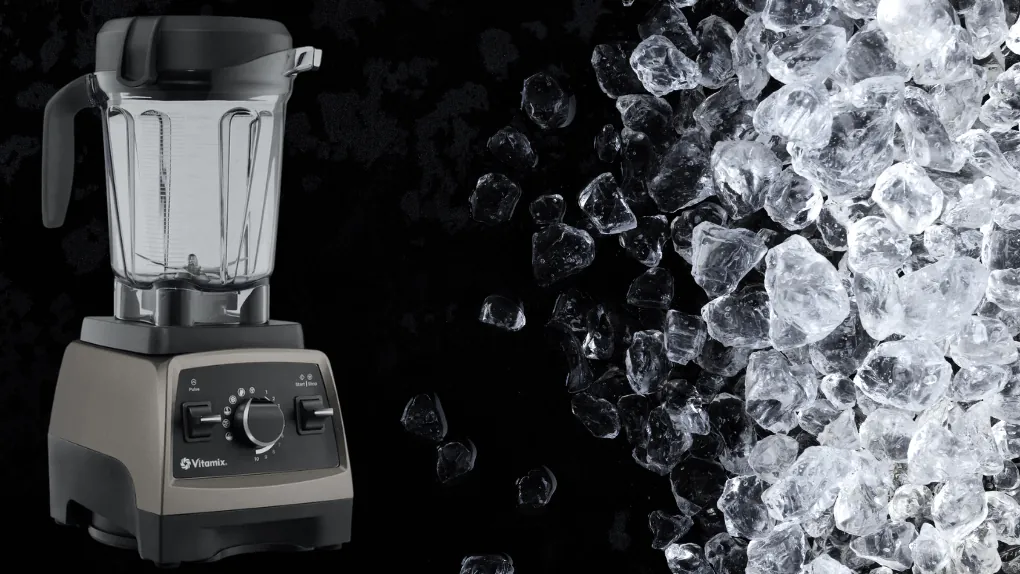
This page helps home cooks who want fresh smoothies, frozen cocktails, or homemade snow cones. You likely own a standard Vitamix container and have a bag of ice cubes ready. You need clear steps to get the texture right without breaking your machine.
It also serves people making nut butters or thick dips where crushed ice acts as a cooling agent. These users often worry about overfilling the jar or melting their ingredients too fast.
If you only have a small personal cup or a cheap blender, this guide doesn’t fit you. Those containers lack the power and the tamper needed to move hard ice safely. You should look for a guide specific to low-power blenders instead. We assume you have a full-size Vitamix with a standard black blade assembly and a clear plastic lid.
What decides the final texture
The size of your ice cubes affects the result. Small cubes melt faster and turn to slush quickly. Large cubes take longer and might stay chunky if you don’t pulse enough. Check your freezer; most bags contain cubes that are roughly 1 inch wide.
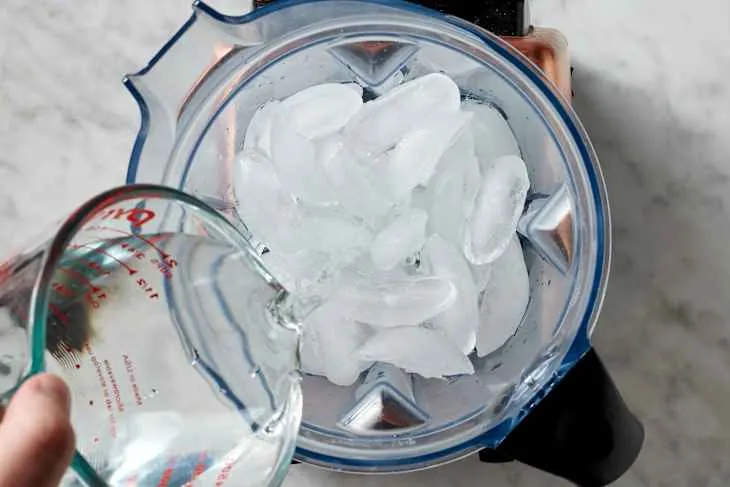
The amount of liquid inside the jar matters more than you think. Too little liquid stops the blades from grabbing the ice. Too much liquid makes the mix watery before it gets cold. Aim for just enough liquid to coat the bottom of the jar, usually half a cup.
Your machine’s wattage determines the speed. A 1500-watt model crushes ice in seconds. An older 1000-watt unit might struggle if you push it too hard. Check the label on the base to see your exact wattage. Most modern units handle ice well, but older ones need extra care.
People often forget to use the tamper. Without pushing the ice down, the blades spin above the cubes. This creates a vortex that leaves big chunks untouched. Always keep the tamper in hand while the motor runs.
Step by step instructions
- Add 2 cups of ice cubes to the dry container first. Don’t add any liquid yet.
- Secure the lid tightly and place the clear center cap back in.
- Start the machine on the lowest speed setting, then slowly turn it up.
- Use the tamper to push the ice down toward the blades gently.
- Pulse the switch five times for short bursts of power.
- Run the machine on high speed for 10 to 15 seconds until smooth.
- Stop immediately once the ice looks like snow or fine chips.
Pour your mixture out before the motor overheats or the ice melts.
Clean the jar right away with warm water and a drop of soap.
The single judgment call here is knowing when to stop. If you hear the motor straining or smell burning, shut it off. Overworking the machine can burn out the motor or dull the blades. Stop as soon as you see the texture you want.
If your blender has a “crushed ice” preset button, use it instead of manual settings. Follow the manufacturer’s instructions for that specific mode. Never force the tamper against the blades while they’re spinning fast.
The variations at a glance
| Situation | What to do | Time needed | Watch for |
|---|---|---|---|
| Standard ice cubes | Pulse then high speed | 10-15 sec | Ice stuck on sides |
| Frozen fruit chunks | Add liquid first | 20-30 sec | Fruit jamming blades |
| Large ice blocks | Cut them smaller first | 30+ sec | Motor overheating |
| Soft serve style | Keep running longer | 45-60 sec | Melting too fast |
| Smoothie base | Blend after ice is done | 30 sec | Warm drink texture |
| Cocktail garnish | Short pulse only | 5-8 sec | Chunky texture left |
| Old blender model | Use lower speed start | 20-25 sec | Loud grinding noise |
What separates good results from bad ones
Preparation details matter
Experienced users measure their ice before blending. They count the cubes or weigh them to ensure consistency. Beginners just dump a handful in and hope for the best. This leads to uneven textures where some parts are icy and others are melted.
They also check the lid seal carefully. If the center cap is loose, ice flies out during pulsing. A tight seal keeps everything safe inside the jar. This simple check prevents messy accidents and protects your kitchen floor.
Timing and technique differences
Pros know to listen to the sound of the motor. A smooth hum means the blades are cutting through. A loud clanking sound means ice is hitting the glass wrong. They adjust the speed immediately to fix this.
They also understand the role of the tamper. It pushes ice down without touching the blades. Beginners often try to hold the lid down with their hands. This is dangerous and ineffective because the force isn’t steady enough.
What goes wrong, and what to do
| What you notice | What it usually means | What to do first | How to stop it happening again |
|---|---|---|---|
| Loud grinding noise | Blades hitting glass | Stop immediately | Add more liquid |
| Ice stays whole | Not enough power | Pulse more times | Cut ice smaller |
| Motor smells hot | Running too long | Let cool down | Take breaks between |
| Liquid splashes out | Lid not tight | Check center cap | Ensure lid locks |
| Blurry texture | Too much time | Stop sooner | Reduce blend time |
| Machine won’t start | Overload protection | Wait 5 mins | Reduce ice amount |
| Vibration shakes table | Uneven load | Stop and rearrange | Shake jar gently |
The rules that apply
Vitamix explicitly states that the tamper must never be inserted while the lid is off, even if you’re just trying to nudge a stuck ingredient. The blade assembly spins at speeds capable of turning solid food into shrapnel in milliseconds, and removing the lid creates an open path for debris to escape toward your face or hands.
If you hear the motor strain or see ingredients refusing to move, stop immediately, turn the machine off, unplug it, and wait for all motion to cease before using the tool. This pause prevents the tamper from striking the spinning blades, which can chip the plastic or bend the metal shaft, creating a hazard for future use.
Don’t attempt to push past the six-minute continuous operation limit, as the thermal protection system is designed to cut power only after the internal temperature reaches a critical threshold. When blending thick nut butters or crushing large blocks of ice, the motor generates heat faster than the cooling fans can dissipate it, causing the windings to degrade over time.
If you need to process more than six minutes of heavy material, run the blender for four minutes, let it rest for two minutes with the lid off to allow airflow, and then resume. Ignoring this cycle forces the motor to operate in a state of constant thermal stress, which often leads to premature failure of the capacitor or the stator coils inside the base unit.
Verify that your local electrical supply matches the voltage rating printed on the bottom plate of your specific model before plugging it in. Many regions operate on different voltages, and running a machine on an incorrect outlet will cause the internal wiring to melt within seconds, destroying the motor beyond repair.
Using a simple plug adapter without checking the voltage converter requirement is a common mistake that results in immediate component burnout rather than just a blown fuse. Always confirm the input voltage specification on the label and ensure any travel adapter includes the necessary transformer to step down or step up the current to the correct level for your machine.
What it costs you
Crushing ice costs very little in money since you already have the ice and the machine. The real cost is time and effort. You spend about 15 seconds blending and another minute cleaning the jar, but that minute expands to five if you let chunks jam the blades.
A single stuck piece forces you to unplug the unit, wait for it to cool, and manually dislodge the obstruction before you can even start again. This delay turns a quick drink into a chore that takes ten minutes total.
If you buy pre-crushed ice, you pay more per pound, often double the price of a standard bag. Making it yourself saves money in the long run, provided you don’t overfill the container. Fill only halfway with large cubes to ensure they circulate freely without straining the motor. Overfilling creates a solid block that the blades can’t move, which leads to immediate overheating and potential failure within days rather than years.
The risk of damage exists if you ignore the rules. A broken blade or burnt motor costs hundreds of dollars to replace, yet most failures happen because users try to crush frozen fruit or hard candy alongside the ice. These items require different speeds and longer durations that standard ice crushers aren’t built to handle.
Sticking to the correct technique keeps these costs near zero, but you must stop immediately if the machine sounds like it’s grinding metal instead of crushing ice. That sound means the blades are hitting something too hard, and continuing will snap the shaft or burn out the winding.
Keeping it right afterwards
Clean the jar immediately after use while the residue is still soft. Warm water and a drop of soap work best, but you must scrub the gasket groove with a small brush to remove tiny ice shards that hide in the rubber folds. If you skip this step, those frozen particles will grind against the blade during your next cycle, dulling the steel and creating a grinding noise that signals impending failure.
Store the tamper separately on a magnetic strip or in a dedicated drawer so it doesn’t scratch the jar interior when you stack them together. A single deep scratch can compromise the structural integrity of the glass under high pressure. Keep the lid tight to prevent dust from entering, but don’t overtighten the plastic ring as this can warp the threads over time.
Check the rubber gasket monthly for cracks or wear by running your finger along the entire circumference. Look specifically for white chalky deposits which indicate the rubber has begun to dry out before any visible tear appears.
Replace it if you see any signs of damage to maintain a safe seal, but only buy the exact model number listed in your manual because generic replacements often have slightly different thicknesses that cause leaks. Using the wrong gasket creates a dangerous gap where hot contents can spray out during operation, turning a simple cleanup into a burn hazard.
When this is the wrong approach
Don’t try this method if you have a personal-sized blender cup. These units often lack the torque required to crush ice safely, and the plastic gears inside will strip under the sudden load of frozen solids. You’ll likely break the blade or burn out the motor within seconds of starting the cycle.
The sound changes first; a high-pitched whine indicates the blades are spinning without resistance, which means the ice is simply bouncing around rather than being pulverized. Stop immediately if you hear this noise, as continuing will destroy the drive shaft permanently.
Avoid this technique if you need to blend large blocks of frozen fruit straight from the freezer. The density is too high for standard ice settings on most countertop models, creating a vacuum that stalls the motor before the blades can engage.
Cut the fruit into one-inch cubes first or use a dedicated food processor with a heavier duty blade assembly designed for dense produce. If you force large chunks through, the machine may overheat and trigger an automatic safety shutdown, leaving you with warm, chunky smoothie instead of a cold puree.
Never attempt this if your blender shows any signs of wear beyond normal cosmetic scratches. A hairline crack in the jar or a loose blade assembly poses a serious safety risk that can shatter under pressure and send glass shards flying into your face.
Buy a new machine or contact support for a replacement part before trying to crush anything hard. Inspect the rubber gasket at the base of the blade regularly; if it feels brittle or cracked, replace it immediately to prevent leaks that could cause electrical shorts.
Frequently asked questions
Can I crush ice in a Vitamix?
Yes, you can crush ice safely using the pulse setting and the tamper. Just ensure the lid is secure and don’t overfill the jar.
Why is my ice not getting crushed?
You probably added too much ice or forgot to use the tamper. Try adding a little liquid and pulsing the machine again.
How long does it take to crush ice?
It takes about 10 to 20 seconds on high speed for a standard batch. Adjust the time based on your machine’s power.
Is it safe to use the tamper?
Yes, it’s safe if you keep the lid on and never touch the blades. Always insert the tamper through the lid hole.
What happens if I run it too long?
The ice will melt into water and the motor might overheat. Stop immediately if you smell burning or hear strange noises.
Does it matter how much ice I use?
Yes, filling the jar past the max line stops the blades from moving. Stick to the recommended capacity for best results.
Can I use frozen fruit instead of ice?
You can, but you may need to add more liquid to help the blades move. Frozen fruit is denser than ice cubes.
Why does my blender make a loud noise?
The blades might be hitting the glass or the ice is too large. Reduce the speed or cut the ice into smaller pieces.
Next steps to try
Start by testing your machine with a small batch of ice cubes today. Expect a fine snow texture if you follow the pulse and tamper steps correctly. Stop immediately if you hear the motor struggling or smell burning.
If the blades spin freely but produce large shards, the issue is likely dullness rather than technique. Swap to a fresh set of blades before attempting another batch, as forcing dull metal damages the drive shaft over time. When the motor hums without turning, check for frozen chunks jammed in the feed tube first; never force the lid open while the unit is plugged in.
Adjust your pulse duration based on the ice hardness. Soft freezer ice requires three short bursts, while hard block ice needs five rapid pulses followed by a ten-second rest. This cooling interval prevents the motor from overheating during dense loads. If the machine stops after two cycles, the internal thermal fuse has tripped and requires a full power reset by unplugging the cord for five minutes.
Don’t attempt to clear jams with utensils while the device is running. Keep the tamper tool ready for manual intervention only when the power is completely off. A single grain of sand can scratch the blade assembly, leading to uneven crushing that ruins future batches. Inspect the rubber gasket around the base for cracks before every use, as worn seals allow moisture into the electrical components.