How To Juice With A Vitamix Blender: The Simple Strain Method
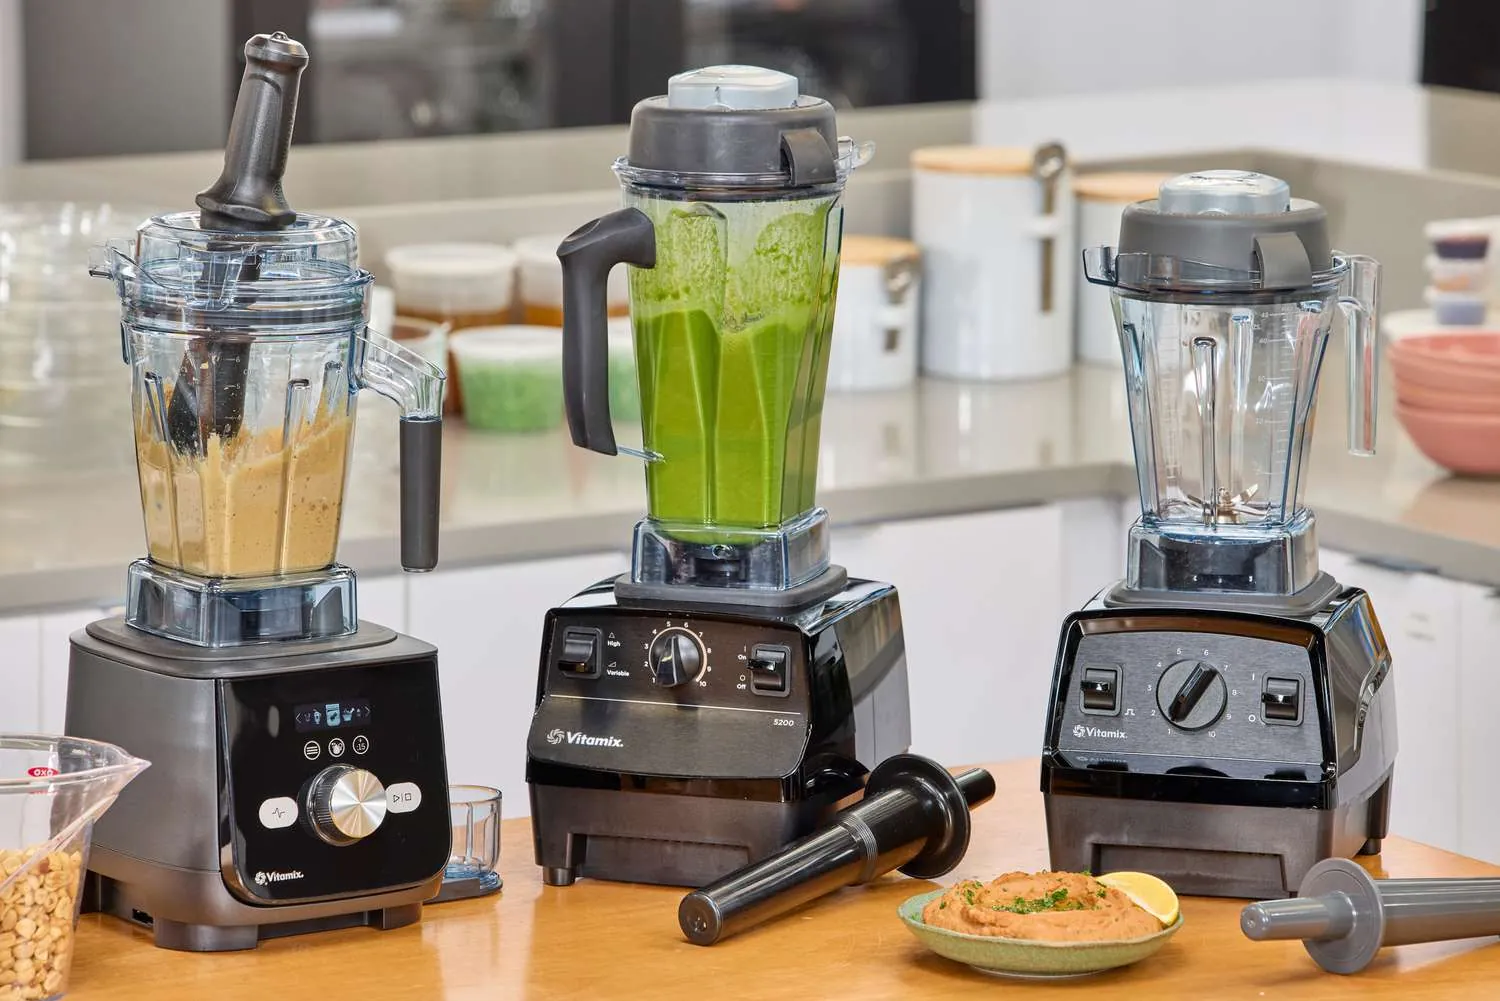
You can make juice with a Vitamix by blending fruit or vegetables and then straining the mixture through a fine mesh sieve. This process takes about 10 to 15 minutes for a single serving, depending on how soft your produce is.
Two main factors change this result: the power of your specific motor and the fineness of your strainer cloth. A high-speed model creates more heat and air bubbles, which can affect the taste if you blend too long. You’ll also get different yields if you use a cotton bag versus a standard kitchen sieve.
Who needs to juice with a Vitamix blender
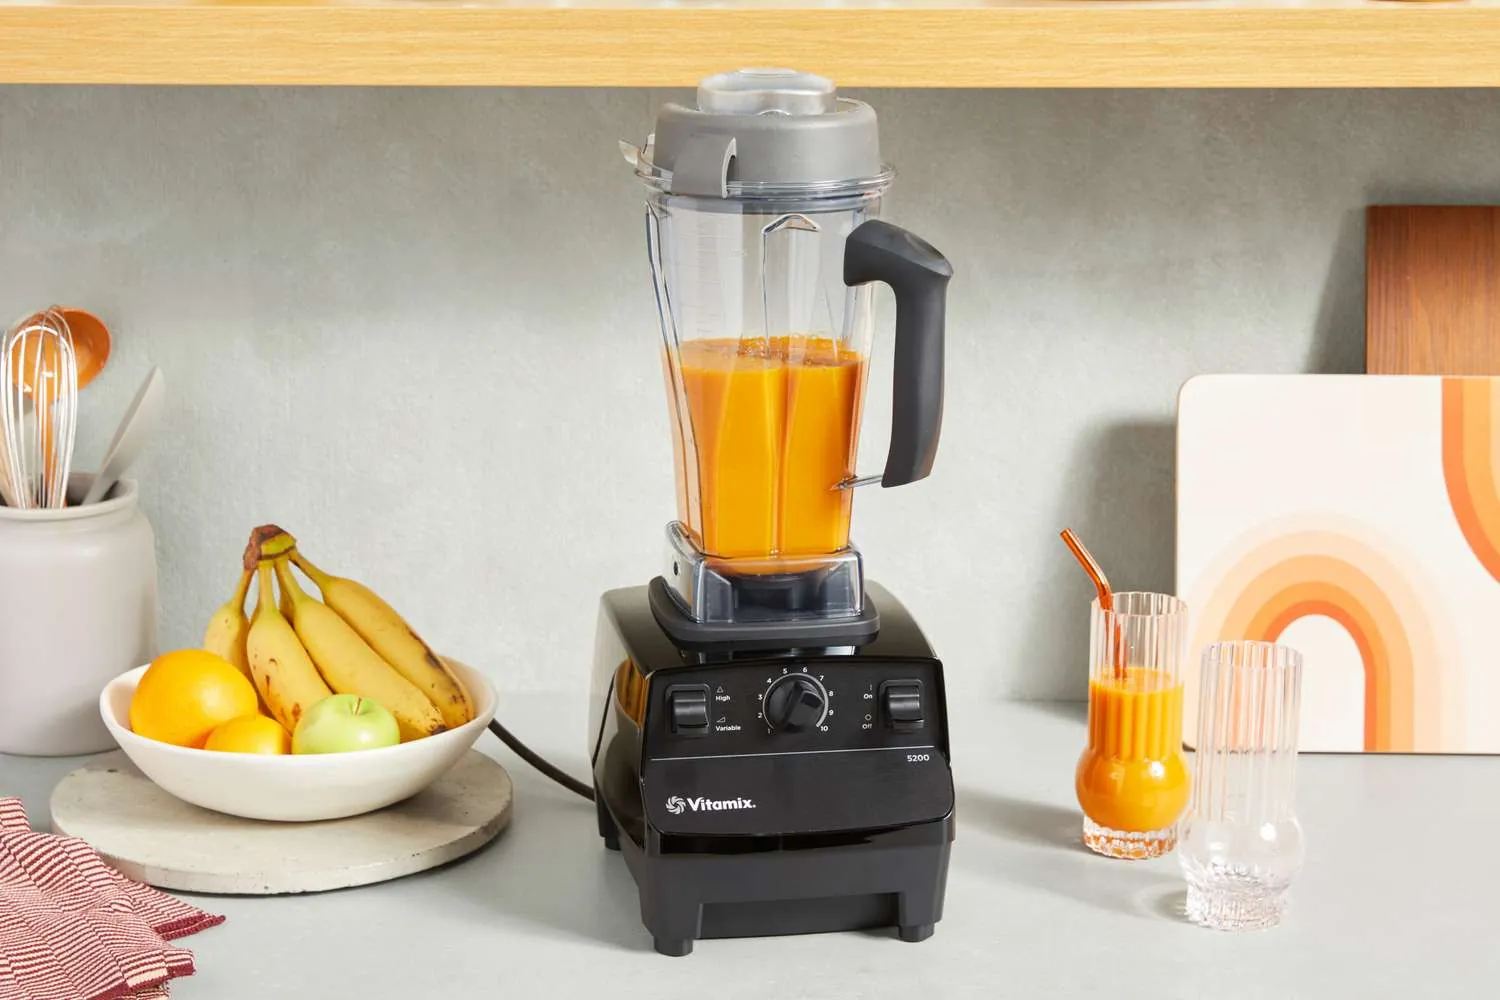
This guide serves home cooks who want fresh juice but lack a dedicated centrifugal juicer. These readers often own a powerful blender like a Vitamix and prefer using one machine for everything in their kitchen. They value convenience over the absolute highest yield that a specialized press offers. They’re willing to spend a few extra minutes cleaning up pulp to save money on buying new equipment.
Another group includes people making smoothies who realize they prefer a thinner, clearer liquid without the fiber chunks. They might be trying to reduce waste from leftover vegetable scraps that don’t blend well into a thick drink. This page helps them understand when to switch from a smoothie recipe to a true juice extraction.
However, if you need to juice large batches daily for a family of six, this method isn’t for you. The cleanup time for the strainer becomes tedious after ten servings. If you strictly want maximum volume from every ounce of carrot, a hydraulic press works better. This article assumes you have a standard 64-ounce container and a fine-mesh strainer ready to go.
What decides the outcome
The first thing that changes your result is the water content of your ingredients. Leafy greens like spinach yield very little liquid compared to cucumbers or oranges. You must mix high-water items with low-water ones to get enough juice in the pitcher. If you only blend kale, you’ll end up with a thick paste rather than a drinkable liquid.
Second, the speed setting you choose matters more than most people think. High speeds generate friction heat that can degrade delicate vitamins in raw fruits. Blending at high speed for two minutes is different from doing it for thirty seconds. You need to listen to the motor; if it sounds strained, stop immediately to prevent overheating the machine.
Third, the type of strainer determines the clarity and mouthfeel of your final drink. A standard wire mesh leaves behind some pulp, creating a slightly thicker juice. Using a nut milk bag or cheesecloth removes almost all solids, resulting in a clear, thin liquid. Most beginners get this wrong by using a coarse sieve, leaving the juice gritty instead of smooth.
Finally, the ripeness of your produce dictates the sweetness and texture. Unripe fruit requires more force to break down and tastes sour. Overripe fruit turns mushy and may introduce off-flavors into the juice. Always check the firmness of your apples or pears before starting the machine.
Step by step instructions
- Wash all fruits and vegetables thoroughly under cold running water to remove dirt and pesticides.
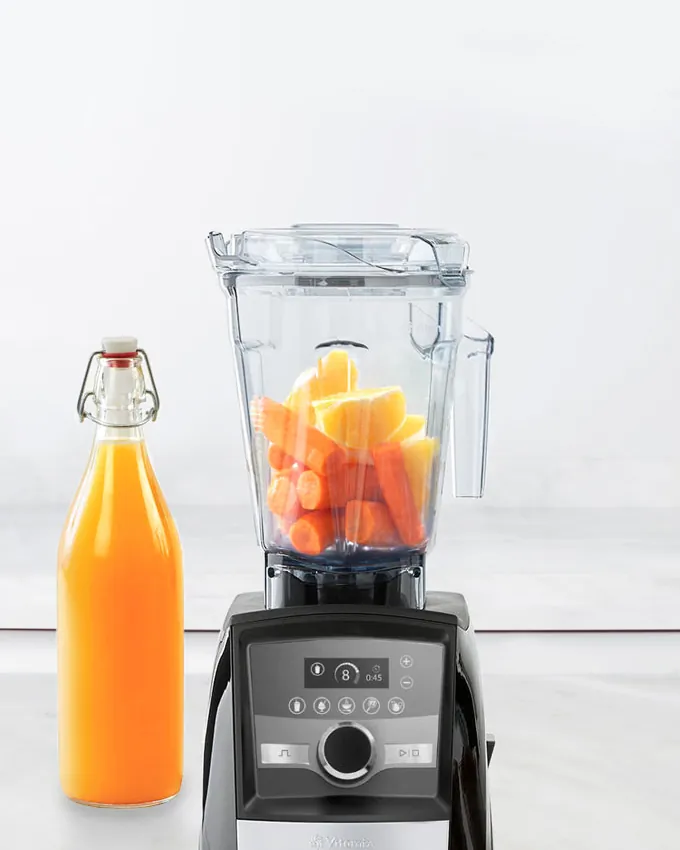
- Cut hard items like carrots, apples, and beets into small cubes no larger than one inch.
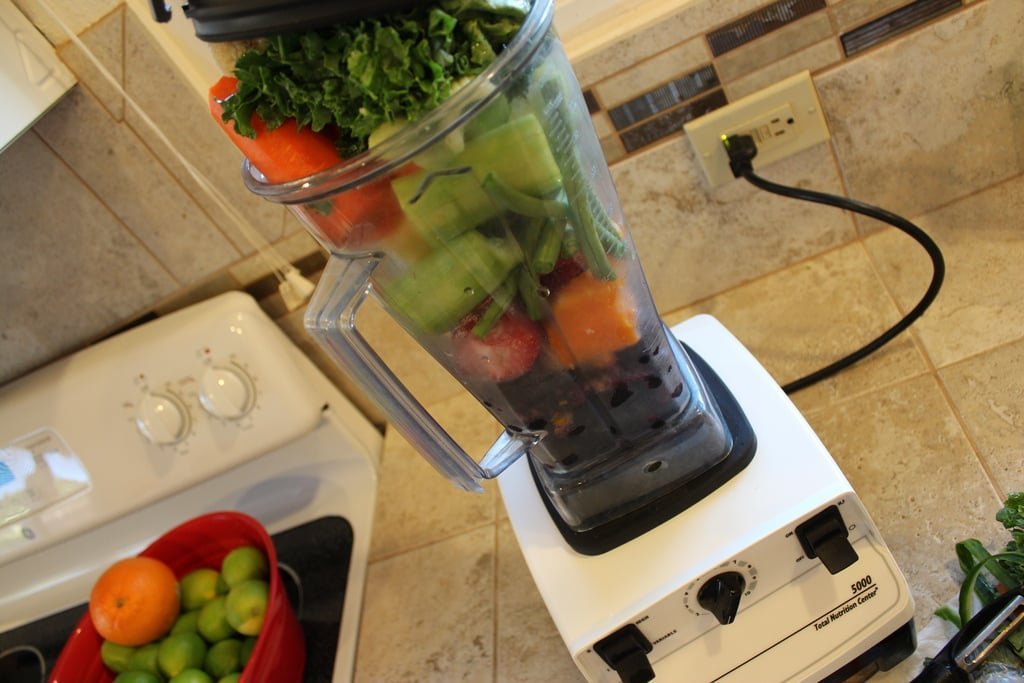
- Place the cut produce into the blender jar, filling it no more than halfway to allow space for liquid.
- Add a small amount of water, about half a cup, to help the blades move freely through the dense food.
- Secure the lid tightly and start the blender on the lowest speed setting to avoid splashing.
- Gradually increase the speed to the highest setting and blend for exactly 45 to 60 seconds until smooth.
- Turn off the machine and let the mixture sit for one minute so the pulp settles slightly.
- Pour the blended mixture into a fine mesh strainer or nut milk bag placed over a large bowl.
- Press the pulp gently with a spoon or squeeze the bag to extract as much liquid as possible.
- Discard the remaining dry pulp or save it for baking, and pour the fresh juice into a glass to serve.
The single judgment call here is deciding how much water to add initially. Too little water makes the motor work too hard and can overheat the unit. Too much water dilutes the flavor and reduces the nutrient density of your drink. Aim for just enough to create a vortex in the center of the jar without leaving dry spots at the bottom.
The variations at a glance
| Situation | What to do | Time & Effort | Watch for |
|---|---|---|---|
| Hard root vegetables | Cut into tiny cubes and pre-blend briefly | 15 mins, moderate effort | Blades hitting hard pieces |
| Leafy greens only | Mix with cucumber or apple for liquid base | 10 mins, easy effort | Thick paste instead of juice |
| Soft berries | Blend quickly and skip adding extra water | 5 mins, low effort | Oxidation turning color brown |
| Citrus fruits | Peel completely before blending to avoid bitterness | 8 mins, moderate effort | Seeds getting stuck in strainer |
| Frozen fruit | Thaw slightly or add more warm water first | 12 mins, moderate effort | Motor stalling on frozen blocks |
| Large batches | Work in smaller batches to prevent overheating | 20+ mins, high effort | Machine tripping safety switch |
| Very fibery veggies | Use a nut milk bag for finer extraction | 15 mins, high effort | Pulp clogging the mesh holes |
What separates a good result from a poor one
Preparation details matter
Experienced users chop their produce into uniform sizes before blending. This ensures every piece breaks down at the same rate. Beginners often toss in whole strawberries or large chunks of celery, leading to uneven blending. The result is a drink with big chunks floating in a thin liquid. Uniform cuts guarantee a consistent texture throughout the entire batch.
They also peel citrus fruits and tough skins like pineapple or melon rind. These parts contain oils that can make the juice bitter. Leaving the skin on a grapefruit often ruins the sweet flavor profile. Removing these layers beforehand saves time during the straining phase later.
Timing and temperature control
Experts know to blend for short bursts rather than running the machine continuously. Long blending sessions create heat that kills enzymes and alters the taste. They stop the blender every 15 seconds to check the consistency. This prevents the motor from overheating and keeps the juice cool.
They also strain the mixture immediately after blending. Letting the pulp sit in the liquid causes oxidation and a metallic taste. Fresh juice tastes best within five minutes of extraction. Waiting even ten minutes can make the drink look dull and lose its vibrant color.
What goes wrong, and what to do
| What you notice | What it usually means | What to do first | How to stop it happening again |
|---|---|---|---|
| Juice is too watery | Added too much extra water | Reduce water next time | Only add water if needed |
| Drink has chunks left | Strainer mesh was too wide | Switch to a finer cloth | Use a nut milk bag always |
| Motor smells burnt | Blended too long or too hard | Stop immediately and cool down | Cut produce smaller and faster |
| Flavor tastes bitter | Included seeds or peels | Remove seeds and peel fruit | Check ingredients before blending |
| Juice turned brown fast | Left out too long before drinking | Drink immediately after straining | Serve right away to preserve color |
| Pulp is too wet | Didn’t squeeze enough | Squeeze bag harder next time | Apply more pressure to the bag |
The rules that apply
Bacteria can grow rapidly in fresh produce liquids if left at room temperature, often reaching dangerous levels within four hours of sitting out. You must wash all surfaces and tools thoroughly before starting the process to prevent cross-contamination from previous meals.
The USDA recommends washing all fruits and vegetables under running water even if you plan to peel them. Dirt on the outside can transfer to the inside when cutting, introducing pathogens directly into the edible portion. Don’t use soap or bleach on produce, as residues can contaminate your drink and alter the flavor profile significantly.
If you have a commercial kitchen license, local health codes may require pasteurization of any juice sold to customers. Home users are generally exempt from these strict regulations but should still follow basic hygiene to avoid illness. Always store your finished juice in a sealed glass container in the coldest part of your fridge, which is usually the back shelf rather than the door where temperatures fluctuate during opening and closing.
What it costs you
The primary cost is the time required to clean up the strainer and the blender jar. You’ll spend about 10 to 15 minutes washing the equipment after each batch. This is longer than using a centrifugal juicer, which often has fewer parts to scrub.
However, you save money by not buying a separate appliance that sits unused. If you count the hours spent on maintenance over a year, the hidden labor cost of a cheap machine can exceed the purchase price of a high-end model within six months.
Electricity usage is minimal since you only run the blender for a minute or two per batch. The main expense is the produce itself, which varies based on seasonality and location. Buying organic ingredients increases the cost but reduces pesticide exposure in your drink. When prices spike in winter, switch to frozen fruit blends to lock in lower costs without sacrificing nutrition.
There’s also a small cost in yield loss. You lose some juice trapped in the pulp compared to a heavy-duty press. This means you need about 20% more fruit to get the same volume of liquid. If you count the cost of wasted food, this method might seem slightly more expensive than other options. To mitigate this, squeeze the pulp one final time with your hands before discarding it, recovering an extra ounce of juice per apple.
Keeping it right afterwards
Store your fresh juice in a sealed glass jar in the refrigerator immediately after straining. Glass prevents the plastic taste from leaching into the drink and keeps flavors fresher longer. Label the jar with the date and time you made it so you track freshness easily.
Drink the juice within 24 hours for the best taste and nutrient retention. After one day, the color will darken and the flavor will become flat due to oxidation. If you see bubbles forming on top, the juice has started to ferment and should be discarded.
Don’t taste it first to check if it’s still good, as even a small sip of fermented juice can cause stomach upset. The smell might be faintly sweet or alcoholic before the bubbles appear, but that’s already too late to save the batch.
To clean the strainer, rinse it immediately under hot water while the pulp is still wet. Soaking dried pulp makes removal difficult and can harbor bacteria. Wash the blender jar with warm soapy water and let it air dry before putting it away.
If you can’t wash the parts right away, fill the blender jar with water and a drop of soap to keep the residue soft until you’re ready to scrub. Never leave the machine sitting with wet pulp inside overnight, as this creates a breeding ground for mold that no amount of scrubbing can fully remove later.
When this is the wrong approach
If you need to juice hundreds of pounds of produce for a business, this manual method is too slow. Commercial operations use industrial presses that handle volume without constant human attention. You would spend more time cleaning than actually making the product. A single batch might take four hours by hand, while a press processes the same amount in twenty minutes.
Don’t use this technique if you’re allergic to certain seeds or peels found in common fruits. While you can remove them, accidental ingestion is a risk if the blender breaks them down finely. People with severe allergies should stick to pre-processed juices or certified safe alternatives. Even a small fragment of an allergen hidden in pulp can trigger a reaction within minutes.
Avoid this method if you have a weak motor blender that can’t crush ice or hard roots. Forcing a weak motor to blend hard vegetables can damage the blades or burn out the unit. In this case, a dedicated juicer or a food processor with a blade attachment is safer. If your appliance hums loudly but stops turning when it hits a carrot, stop immediately to prevent permanent failure.
Frequently asked questions
Can I juice leafy greens alone?
No, leafy greens like spinach or kale produce very little liquid on their own. You must mix them with high-water fruits like apples or cucumbers to get a drinkable result.
Why does my juice taste bitter?
Bitterness usually comes from including citrus peels, seeds, or overripe fruit in the blend. Always remove the white pith from oranges and discard any seeds before blending.
How long does fresh juice last?
Fresh juice stays good for up to 24 hours in the refrigerator if stored in a sealed glass container. It loses nutrients and flavor quickly, so drink it as soon as possible.
Is it safe to leave juice out?
No, fresh juice spoils rapidly at room temperature and can grow harmful bacteria within two hours. Always keep it chilled in the fridge until you’re ready to drink it.
What happens if I blend too long?
Blending too long creates heat that destroys enzymes and changes the taste of the juice. Keep blending times under 60 seconds to maintain the fresh quality of your drink.
Does the type of strainer matter?
Yes, a fine mesh bag gives a smoother texture than a wire sieve. A coarser strainer leaves more pulp behind, which affects the mouthfeel of your juice.
Is it worth buying a special bag?
Yes, a nut milk bag is reusable and easier to clean than a paper filter. It extracts more liquid and handles the sticky pulp from greens better than standard sieves.
What if my motor stops working?
If the motor stops, unplug it immediately and let it cool down for 15 minutes. Check if the blades are jammed by hard chunks and ensure the lid is locked properly.
What to do next
Start by gathering your favorite fruits and a fine mesh strainer to try this method today. Expect a fresh, nutrient-rich drink that tastes better than anything from a carton. If the motor struggles or the juice tastes off, stop and adjust your ingredients or technique.
When the pulp feels gritty rather than smooth, switch to a blender with at least 1000 watts of power before straining again. Don’t force the machine past its rated capacity; wait for it to cool down if it hums loudly for more than thirty seconds. This pause prevents the motor from burning out and saves you the cost of a replacement unit later.