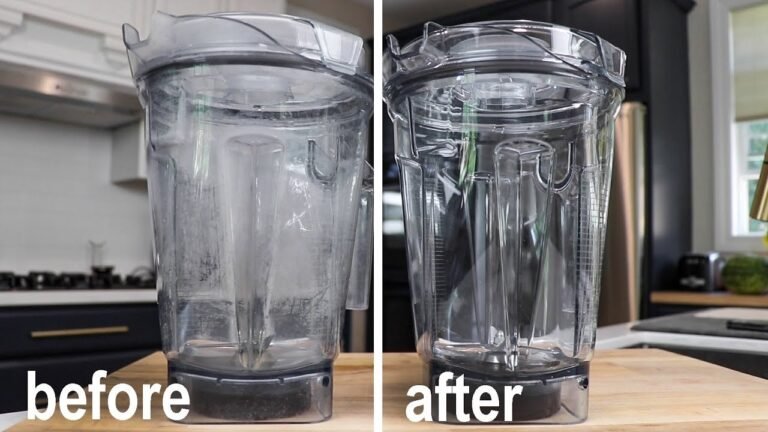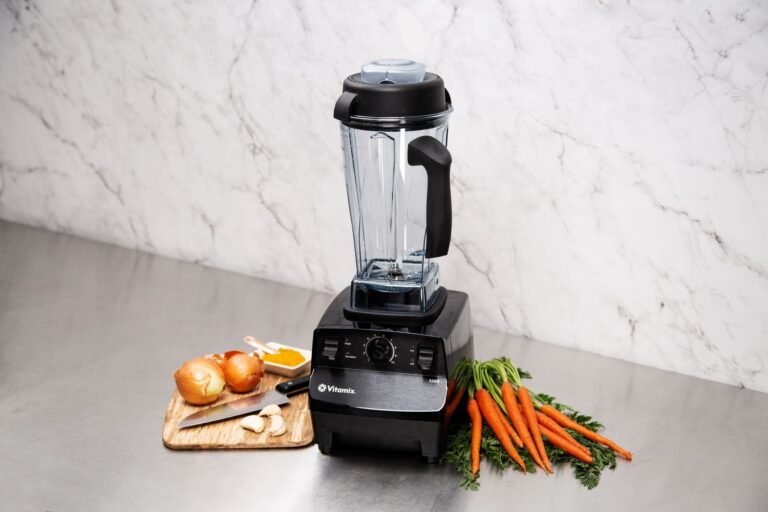
How To Clean Vitamix Immersion Blender: Fast Fix in 2 Minutes
You can clean a Vitamix immersion blender in under two minutes by running warm water with a drop of dish soap through the blades at full speed. This method removes most food residue instantly without scrubbing. The exact time and effort depend on what you blended, how old the motor unit is, and whether you have a dishwasher-safe blade assembly.
If you blend thick nut butters or sticky doughs, you’ll need to soak the head first. Older models might need more careful rinsing around the seal. Knowing these differences saves you from damaged parts or leftover gunk.
Who needs to clean the Vitamix immersion blender
This page serves three types of users who search for this topic. First, busy parents blending soups for dinner want a fast way to rinse the tool before washing dishes. They need speed and safety above all else.
Second, meal preppers making large batches of smoothies care about hygiene and preventing bacterial growth between uses. They need thorough cleaning methods that don’t ruin the device. Third, new owners often panic after their first use, unsure if they should disassemble anything or just rinse it. They need clear, simple instructions to avoid mistakes.
Most guides assume you already know which parts are safe for the dishwasher. This article assumes you don’t and explains exactly what goes where. It serves the parent and the new owner best because it prioritizes safety and simplicity over technical details. If you’re an industrial chef handling hundreds of liters daily, this advice might be too basic for your workflow.
What changes the cleaning result
Three main factors decide whether your blender comes out spotless or stays sticky. The type of food left inside matters most. Thick fats like peanut butter coat the blades quickly and harden as they cool. Sticky items like honey or syrup cling to the plastic housing and resist water pressure alone. You must check what you made to choose the right soaking time.
The temperature of the water also shifts the outcome significantly. Hot water melts grease and loosens dried particles much faster than cold tap water. However, using water hotter than 140°F (60°C) risks damaging the rubber seals on older models. Check your manual for the maximum heat limit before running hot water. If you’re unsure, stick to warm water that feels comfortable to touch.
How long the food sits before cleaning significantly impacts the effort required to remove it. Dried-on residue becomes almost impossible to remove with just a quick rinse. Food left for hours will require soaking or gentle scraping. Always rinse immediately after use to keep the process manageable. Waiting even a short time can turn a quick wash into a lengthy chore.
Step by step cleaning process
- Unplug the motor unit and detach the blade assembly carefully to avoid cuts.
- Fill a tall cup or container halfway with warm water and add one drop of dish soap.
- Submerge only the blade head and lower shaft; never dip the motor body into water.
- Run the blender at low speed for 15 seconds to create a soapy vortex inside the cup.
- Increase to high speed for another 15 seconds to blast away stuck-on particles from the blades.
- Lift the head out and rinse thoroughly under running water until no suds remain.
- Wipe the shaft dry with a clean towel to prevent water spots or mineral buildup.
- Inspect the blade guard for trapped food bits and gently scrape them out with a soft brush.
- Air dry the entire assembly upside down on a rack before storing it away.
- Wipe the motor handle with a damp cloth and ensure no moisture enters the power cord area.
The single judgment call here is deciding whether to soak the blade head. If you blended raw meat or dairy, a brief soak in hot soapy water is necessary. For fruits or vegetables, the immediate rinse is usually enough. Soaking too long in water can damage the seal over time, so keep it short.
Variations at a glance
| Situation | Action Required | Time Needed | Watch Out For |
|---|---|---|---|
| Soft foods | Quick rinse with warm water | 30 seconds | No soap needed for light debris |
| Thick sauces | Blend soapy water then rinse | 2 minutes | Check blade guard for clogs |
| Sticky syrup | Soak head for 5 minutes | 6 minutes total | Don’t submerge motor unit |
| Raw meat | Sanitize with hot soapy water | 3 minutes | Ensure water is hot enough |
| Hardened cheese | Soak in hot water 10 mins | 12 minutes total | Use soft brush for scrubbing |
| Frozen fruit | Blend warm water immediately | 2 minutes | Ice chunks can jam the blades |
| Dishwasher safe | Place top rack only | Cycle time | Remove motor unit first always |
Details that separate good from poor results
Preparation and order
Experienced users run the blender before adding any soap. This initial burst of water clears the bulk of the food. Beginners often add soap first, which creates too many bubbles and reduces the cleaning power of the vortex. Start with plain water to loosen the mess, then switch to soapy water for the final polish. This order ensures the blades spin freely without resistance from thick foam.
Inspection and drying
Pros always check the space between the blade guard and the shaft. This hidden pocket traps tiny bits of food that cause odors later. A beginner often misses this spot and assumes the job is done. Dry the shaft completely with a towel before putting it away. Moisture left on the metal invites rust or mold growth over weeks.
Common problems and fixes
| What you notice | What it means | Fix first | Stop it happening again |
|---|---|---|---|
| Smell remains | Trapped bacteria in seal | Soak in vinegar solution | Rinse immediately after use |
| Blades dull | Hard food hit blades | Replace guard set | Cut food smaller before blending |
| Water leaks | Seal is worn out | Call support for part | Avoid high heat during wash |
| Soap residue | Not rinsed well enough | Repeat rinse cycle | Use less soap next time |
| Food stuck | Clogged blade guard | Brush out gently | Clean within 5 minutes of use |
Rules that apply
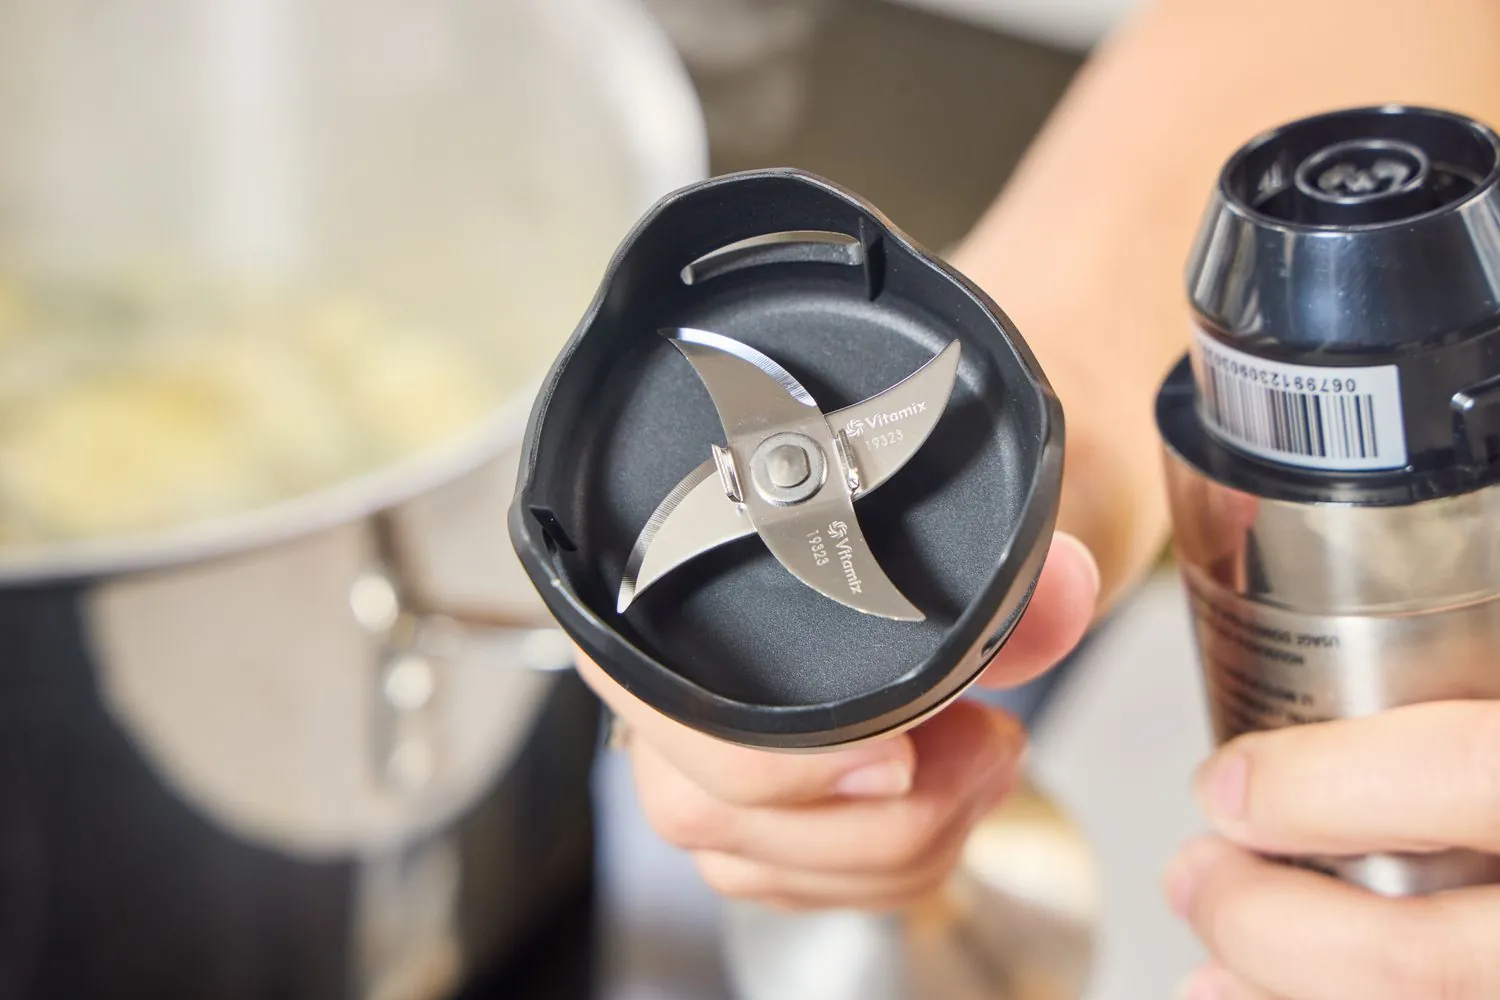
Safety guidelines from Vitamix state that the motor unit must never be submerged in water, a rule that protects the internal electronics from short circuits. If you accidentally drop the base into a sink, dry it immediately with a towel and let it air out for at least forty-eight hours before plugging it back in. Even a single drop of moisture inside the housing can cause a delay failure that destroys the circuit board weeks later.
The FDA recommends sanitizing surfaces that contact raw meat with hot soapy water to prevent cross-contamination in your kitchen. You must scrub the blade assembly thoroughly under running water if you have just processed chicken or ground beef, as bacteria hide in the crevices between the blades. Dishwasher safety varies by model year; check the specific manual for your version because some newer blade assemblies are top-rack safe while older ones are hand-wash only.
If your machine was manufactured before 2018, assume the plastic gasket will warp in high heat and wash it by hand every time. Always verify the material limits before placing parts in a machine, since mixing metal and plastic components in the same cycle can cause corrosion on the steel shaft.
If you see any white residue forming on the blades after washing, switch to a mild vinegar solution rather than harsh detergents which eat away at the coating. Never force a part into the dishwasher rack if it doesn’t fit loosely, as the vibration during the spin cycle can crack brittle plastic housings.
Cost breakdown
Cleaning this tool costs nothing in money if you follow the proper steps. You only need tap water and a drop of soap, which are standard kitchen supplies found in almost every home. The real cost is time and potential damage if you rush through the process without care.
Spending an extra minute to soak sticky food saves you from buying a replacement blade assembly later. A damaged seal requires repair if ignored, but that repair often requires disassembling the entire unit. Proper maintenance extends the life of the unit, turning a one-time purchase into a long-term asset. Neglecting it shortens the lifespan significantly, sometimes reducing it to just a few months before failure occurs.
If the blade feels gritty after rinsing, stop immediately and let it soak for ten minutes rather than scrubbing harder. Scrubbing dry debris forces particles deeper into the mechanism where they grind against metal surfaces during operation. This specific mistake creates micro-scratches that eventually lead to leaks or motor strain.
When cleaning the base, never submerge the motor housing even if the instructions seem vague about waterproofing. Water entering the electrical compartment voids the warranty instantly and usually results in total loss of the device.
You should check the rubber gasket around the blade once a week for small cracks or discoloration. If you see any white residue building up on the seal, wipe it away with a soft cloth dampened with vinegar.
Ignoring this early sign allows bacteria to grow inside the crevices, which eventually degrades the rubber material itself. A compromised gasket will leak liquid into the motor area, causing corrosion that can’t be fixed by simple cleaning. Always dry the blade assembly thoroughly before reattaching it to the main body to prevent moisture trapping.
The difference between a tool lasting years and one failing quickly comes down to these daily habits. Most people think they’re saving time by skipping the soak step, but they end up spending hours troubleshooting a broken part. If the food is dried on, use warm water instead of cold to loosen the proteins faster. Cold water often sets starches and sugars, making them harder to remove without harsh chemicals that might damage plastic components.
Maintenance after use
Store the blender completely dry to prevent corrosion on the exposed metal shaft, which rusts quickly if left damp after washing. Wipe the base and handle with a soft cloth before putting them away, ensuring no water remains in the crevices where the blade assembly connects.
Keep the blade unit separated from the motor handle whenever the machine isn’t running, as this simple separation allows fresh air to circulate freely around the contact points. This airflow stops moisture from getting trapped inside the coupling mechanism, a common cause of internal electrical failure that often goes unnoticed until the device stops working entirely.
Check the rubber seal located at the bottom of the jar regularly for tiny cracks or tears that might let liquid seep into the motor housing. Even a hairline fracture can allow acidic fruit juices to eat away at the plastic threads over time, leading to leaks that are impossible to fix once they start.
Replace the safety guard immediately if it becomes warped or cracked, because a damaged guard fails to stop your fingers from touching the spinning blades during cleaning. These small checks keep the unit working smoothly by catching minor issues before they turn into major repairs. If you notice any resistance when twisting the jar onto the base, stop using it right away to avoid stripping the threads.
When this method fails
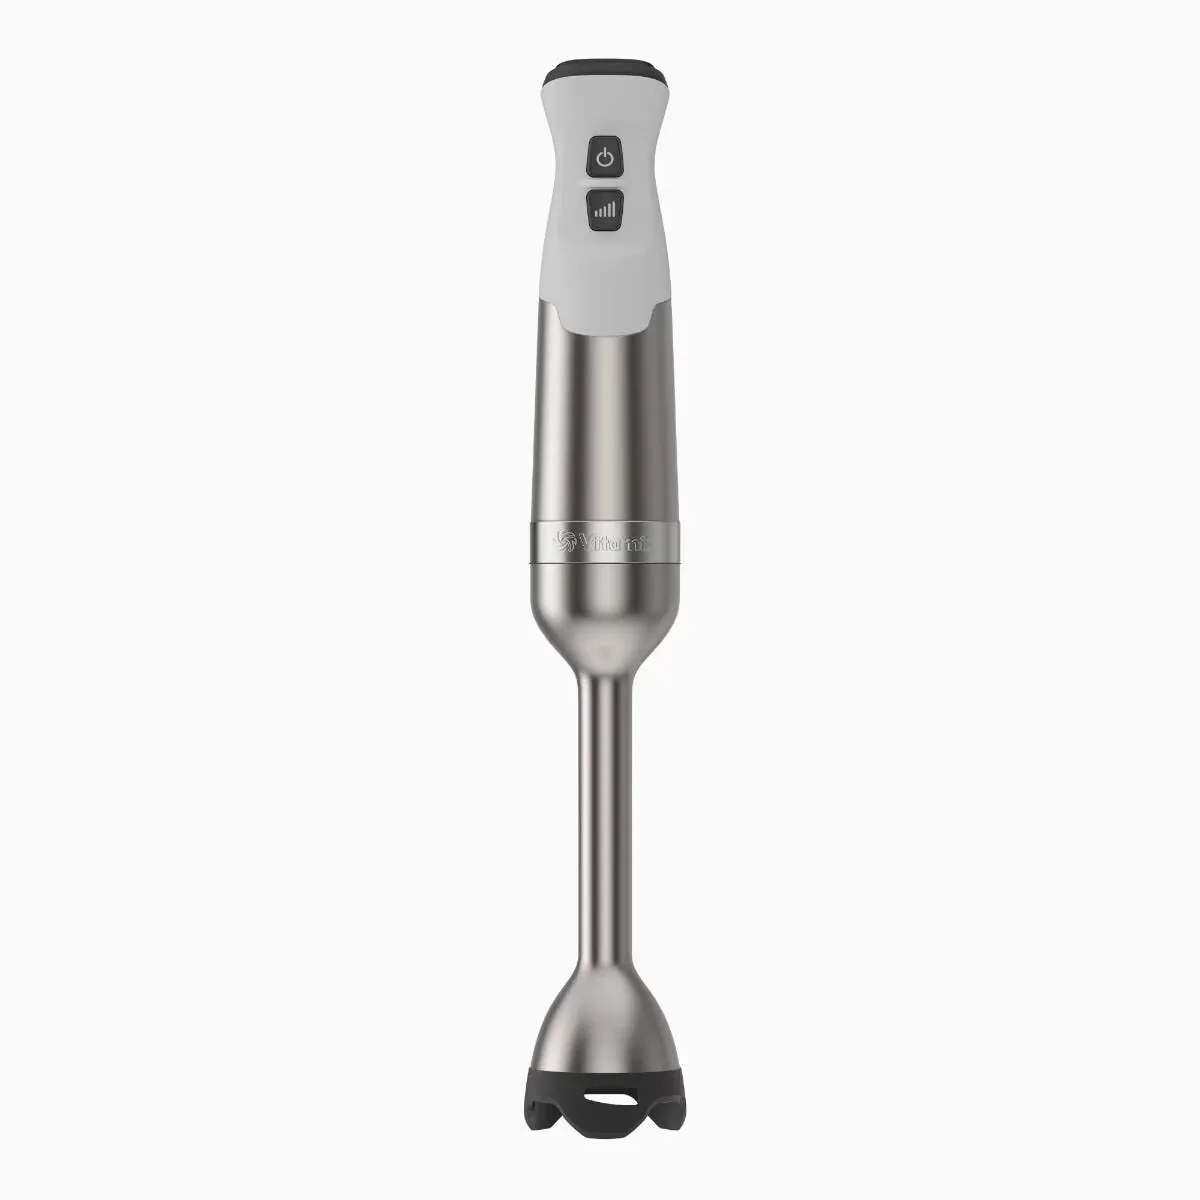
Don’t use this cleaning method if the motor unit has been dropped in water. Water inside the motor requires professional repair, not a rinse. Even a single splash can travel through ventilation slots and settle on internal windings where it causes immediate short circuits or silent corrosion that only appears months later. If the device feels heavy or makes a humming sound without spinning, assume moisture is present and stop immediately.
Avoid this approach if the blade assembly is cracked or missing parts. Broken guards can shatter during operation and cause injury. A hairline fracture invisible to the naked eye will expand under centrifugal force, sending metal shards into your food or hands. Inspect every edge against a light source before attaching the unit; if you see any gap larger than a sheet of paper, discard the part rather than risking a catastrophic failure.
Never attempt to clean the motor base itself with liquid. These situations require a technician or a replacement part. The base contains sensitive electronics that can’t be dried by air alone once submerged. Wiping the exterior with a damp cloth is safe, but submerging the entire unit guarantees permanent damage.
If the cord shows fraying near the plug or the housing feels warm when unplugged, don’t try to fix it yourself. Contact the manufacturer for a certified service center visit instead of attempting a DIY repair that could void your warranty or create a fire hazard.
Frequently asked questions
Can I put the whole blender in the dishwasher?
No, only the detachable blade assembly is dishwasher safe. The motor unit contains electronics that will break if submerged. Always remove the motor before washing any part.
How long does it take to clean?
It takes about two minutes for normal food. Thick or sticky foods may require five to ten minutes of soaking. Immediate rinsing keeps the time under two minutes.
Is it safe to use hot water?
Yes, warm water up to 140°F (60°C) is safe for the blades. Higher temperatures can damage the rubber seals on older models. Check your manual for the specific heat limit.
What happens if food dries on the blades?
Dried food becomes very hard to remove and may require soaking. It can also trap bacteria and cause bad odors. Always rinse immediately after blending to prevent this.
Does it matter if I use soap?
Yes, soap helps cut through fats and oils better than water alone. Plain water works for light fruits or vegetables. Use soap for meats, dairy, or thick sauces.
Why does my blender smell after cleaning?
A smell usually means food is trapped in the seal or blade guard. Soak the head in vinegar and water to kill the bacteria. Rinse thoroughly and dry completely before storing.
How often should I deep clean it?
Deep clean whenever you blend raw meat or strong-smelling foods. For regular use, a quick rinse after each use is sufficient. A monthly soak in soapy water keeps it fresh.
Next steps for you
Start by unplugging the unit and filling a cup with warm water today. Expect a clean blade assembly in under two minutes if you act now. Stop immediately if you see any cracks in the plastic or signs of water inside the motor.
If the base feels loose when you twist it, don’t force the blades apart; the internal locking mechanism may be stripped from previous over-tightening. You can tell this is happening because the metal shaft spins freely without engaging the drive pin, which means no amount of scrubbing will remove the gunk trapped beneath. In this specific case, you must replace the entire drive assembly rather than attempting to clean around a broken seal.
When the water turns cloudy within thirty seconds, the buildup is likely hardened mineral scale that requires a vinegar soak for at least four hours before any mechanical agitation works. If the residue remains stubborn after soaking, switch to a soft nylon brush instead of steel wool, as the abrasive metal will scratch the coating and create new hiding spots for bacteria.
Check the rubber gasket on the underside of the lid every time you disassemble the unit. A single hairline tear here allows moisture to seep into the motor housing during washing, causing immediate corrosion that voids your warranty. If the rubber feels brittle or sticks to your fingers, discard the part immediately and order a replacement kit before the next use.