How To Pick A Vitamix Blender: Motor And Size Guide
Picking a Vitamix blender means matching motor power and container size to your daily habits. A standard 2–3 quart container fits most households, while full-size options handle bulk batches. Motor strength ranges from 2.0 to 3.0 peak horsepower, but higher numbers rarely improve texture for simple tasks like smoothies.
Who should pick a vitamix blender
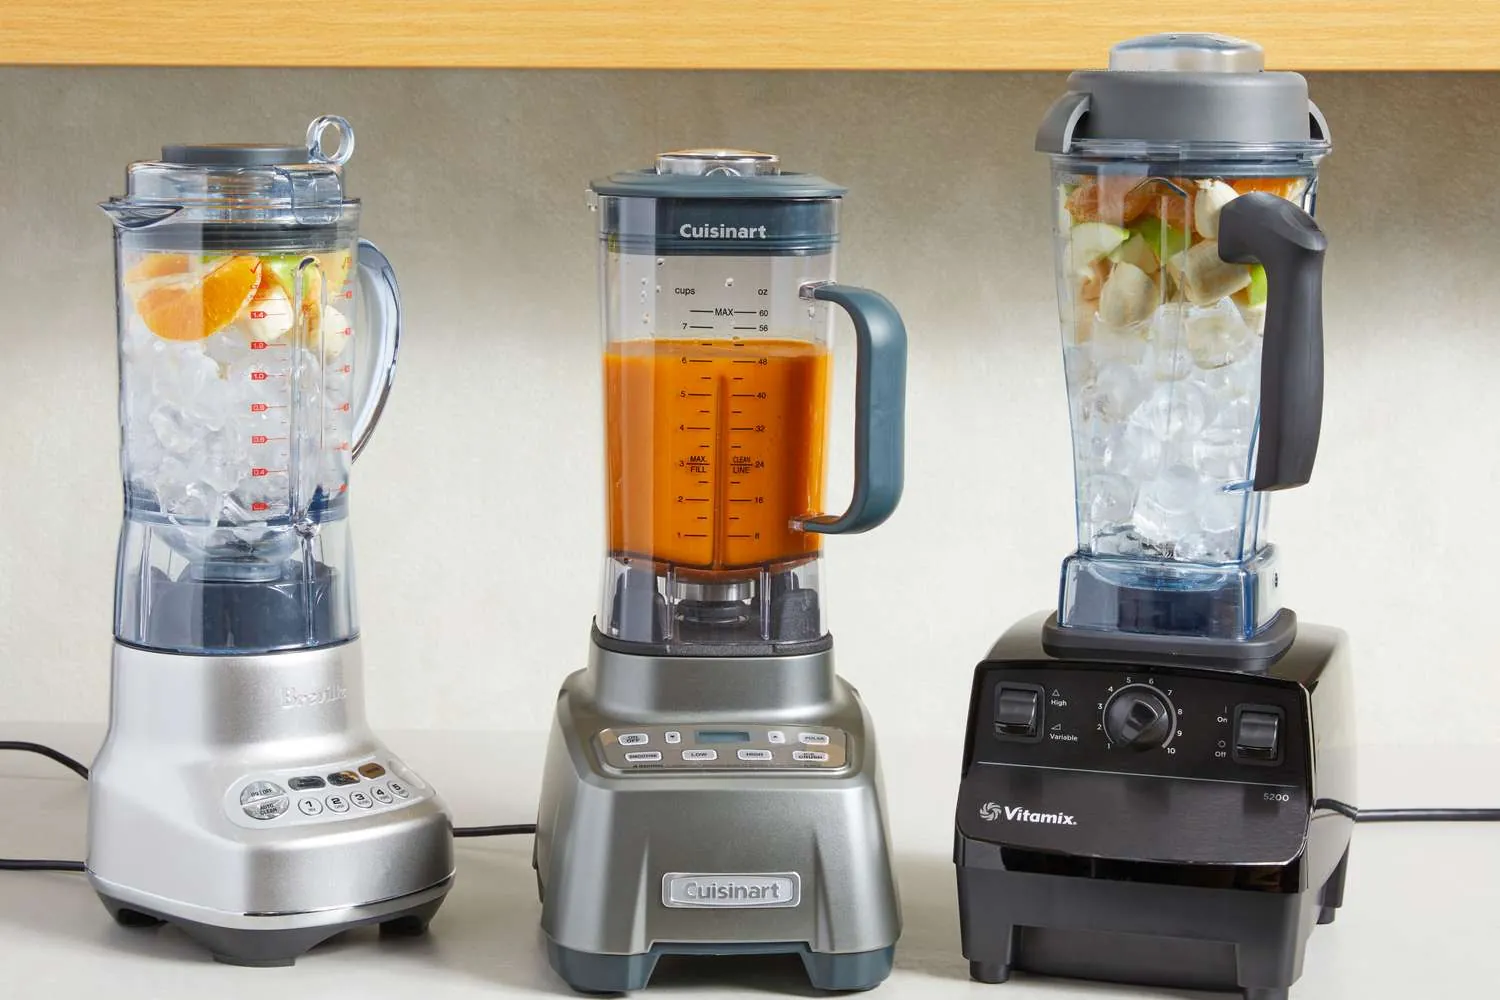
This guide helps three specific types of buyers who stand at the crossroads of kitchen appliance selection. First, consider the busy parent who needs quick breakfast smoothies for four people every morning. They require a large container to minimize batch cooking and a powerful motor to crush ice without stalling.
Second, think about the health enthusiast who makes nut milks and frozen sorbets regularly. This person needs precise variable speed controls to avoid over-processing seeds and a tamper tool to keep thick mixtures moving safely. Third, there’s the occasional user who blends soups once a week. For them, a basic model with pre-set programs offers enough power without the cost of professional-grade durability.
The page serves the first two groups best because their needs demand technical specifications that generic blenders can’t meet. Occasional users might find the investment hard to justify unless they plan to use the machine for multiple daily tasks.
We assume you already own basic knives and cutting boards, so we focus purely on blending capacity and motor performance rather than prep tools. If you only make one cup of coffee blend per month, look elsewhere. This article targets those who view the blender as a primary workhorse, not a backup gadget.
What decides the outcome
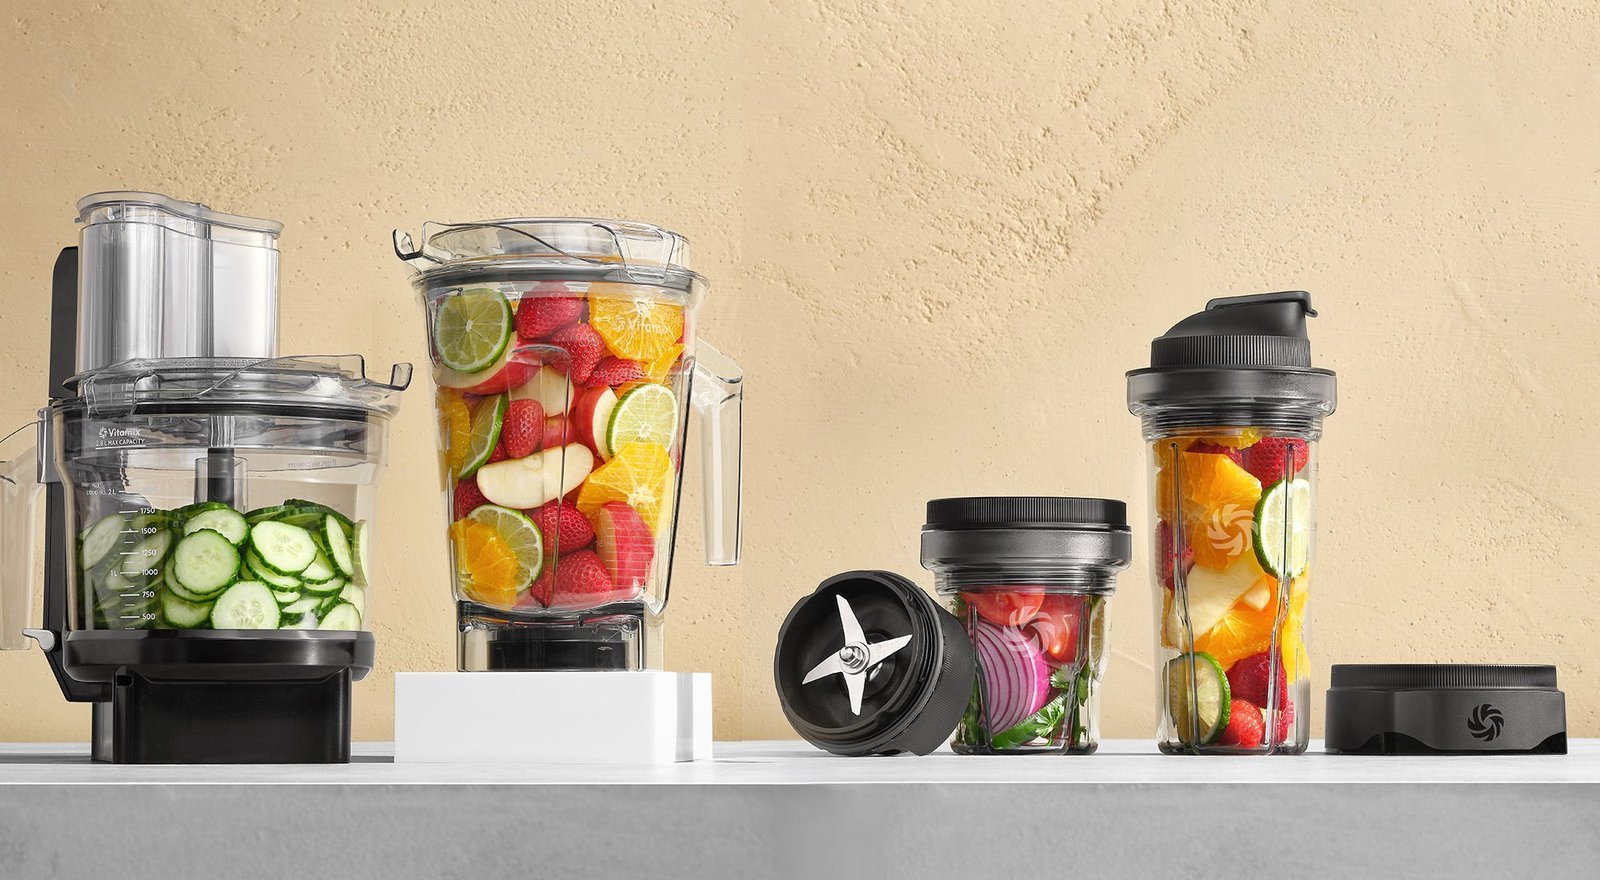
Three factors truly determine which Vitamix model fits your life, and ignoring any one of them leads to wasted money. The first is container volume, which dictates how much food you can process at once. A 20-ounce personal cup works for single servings but forces you to cook in small batches if you feed a family. The second factor is motor base capability, measured in peak horsepower.
While marketing highlights high numbers, the difference between 2.0 and 3.0 horsepower is negligible for soft fruits but critical for crushing hard nuts or frozen desserts. The third element is the control interface, ranging from simple pulse buttons to fully adjustable dials. Variable speed gives you fine control over texture, while preset programs automate common tasks but remove manual adjustment.
People get the motor power wrong most often by assuming more horsepower always equals better results. In reality, the blade design and container shape matter just as much for creating a vortex. A lower-powered motor with an optimized container may outperform a high-powered one with poor airflow.
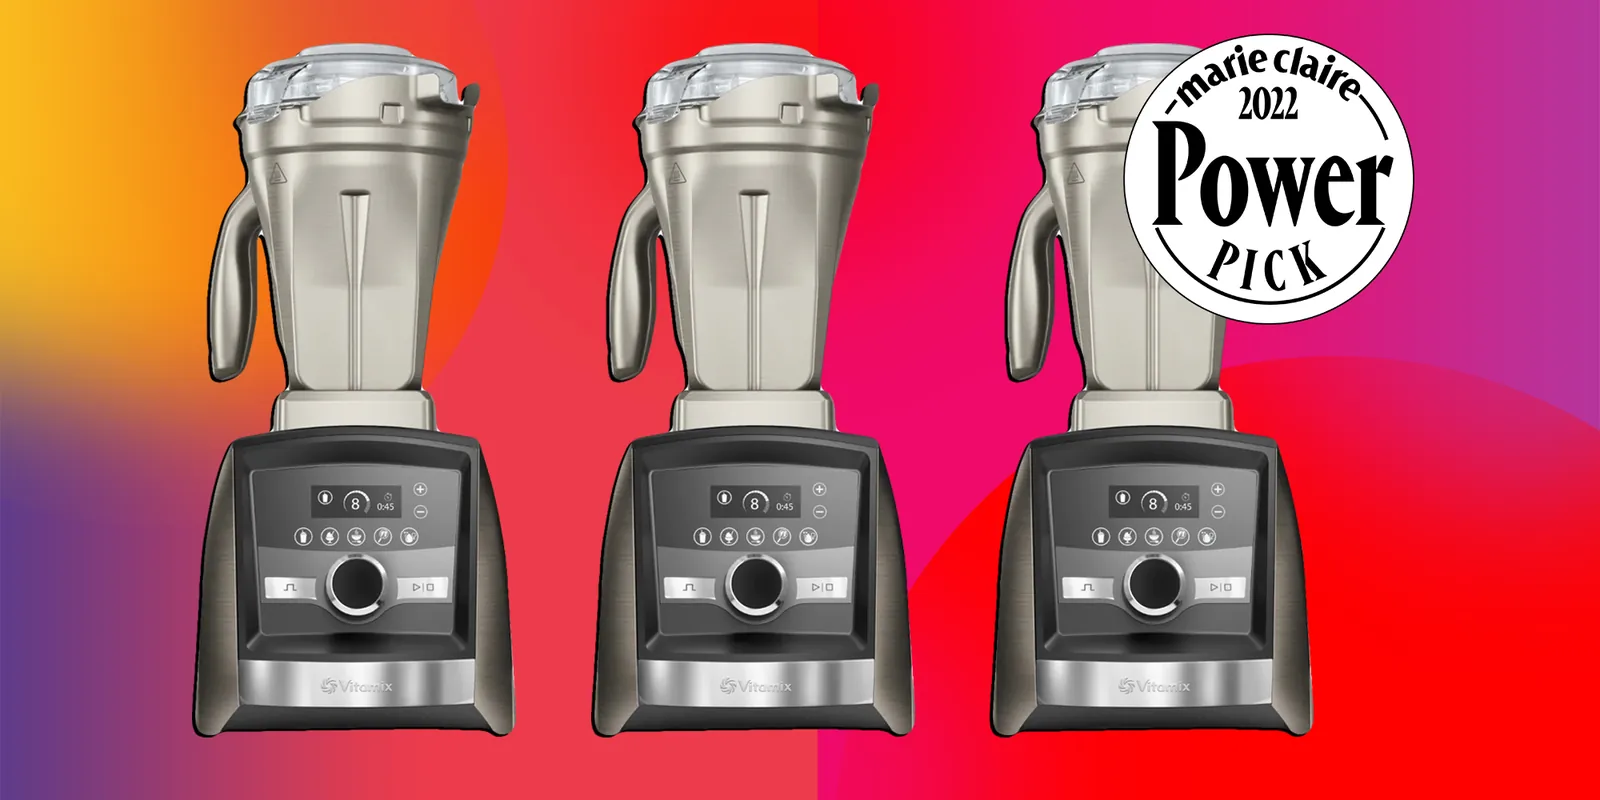
You should check the container material next; all modern Vitamix containers are BPA-free Tritan plastic, which is durable and lightweight compared to glass. However, some older or commercial models still offer metal containers for extreme durability in professional settings. Always verify the warranty length when comparing prices, as it reflects the manufacturer’s confidence in longevity. Most residential models come with ten-year warranties, while commercial units extend further.
Step by step
- Measure your counter space and storage cabinet height to ensure the base and container fit comfortably.
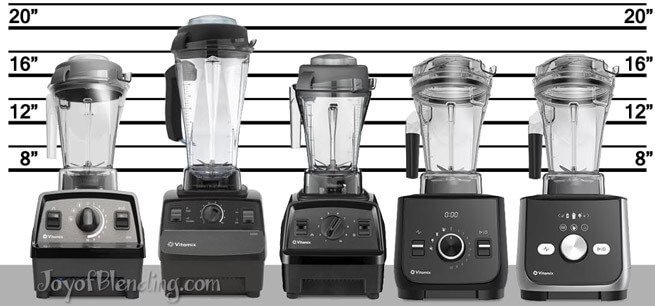
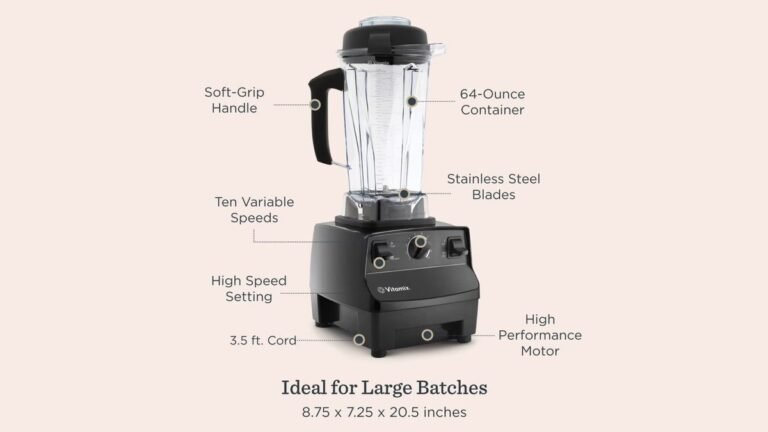
- Decide your typical serving size: choose a 20-oz cup for singles or a 40-64 oz container for families.
- Select a base with at least 2.0 peak horsepower if you plan to crush ice or make nut butter regularly.
- Choose variable speed control if you want precise texture adjustments for hot soups or delicate sauces.
- Pick preset programs only if you value convenience over manual control for repetitive tasks like smoothies.
- Verify that the package includes a tamper tool, which is essential for thick mixtures and safe operation.
- Check the warranty terms carefully, noting that liquid damage or misuse often voids coverage despite long durations.
The final judgment call involves deciding between manual precision and automated convenience. Many users buy expensive preset models only to find they prefer tweaking the speed dial themselves. If you enjoy experimenting with textures, skip the presets and invest in a variable speed base instead. If you just want consistent results without thinking, the presets save time but limit creativity. Test the button feel and dial resistance in-store if possible, as tactile feedback matters during daily use.
The variations at a glance
| Situation | What to Do | Time/Cost Effort | Watch For |
|---|---|---|---|
| Single adult meals | Buy personal cup kit | Low effort, low cost | Small capacity limits |
| Family smoothies | Get 64 oz container | Medium effort, medium cost | Counter space required |
| Nut butter making | Choose 3.0 HP base | High effort, high cost | Motor heat buildup |
| Hot soup prep | Use friction heating feature | Medium effort, medium cost | Lid seal integrity |
| Frozen dessert | Ensure tamper inclusion | Low effort, medium cost | Container cracking risk |
What separates a good result from a poor one

Preparation technique
Experienced users chop hard vegetables into uniform cubes before blending, ensuring even processing and reducing strain on the motor. Beginners often toss whole carrots or onions directly into the pitcher, leading to uneven chunks and potential jamming. Always add liquid first to create a vortex that pulls solids down toward the blades. This simple order prevents air pockets and ensures smoother purees.
Cleaning method
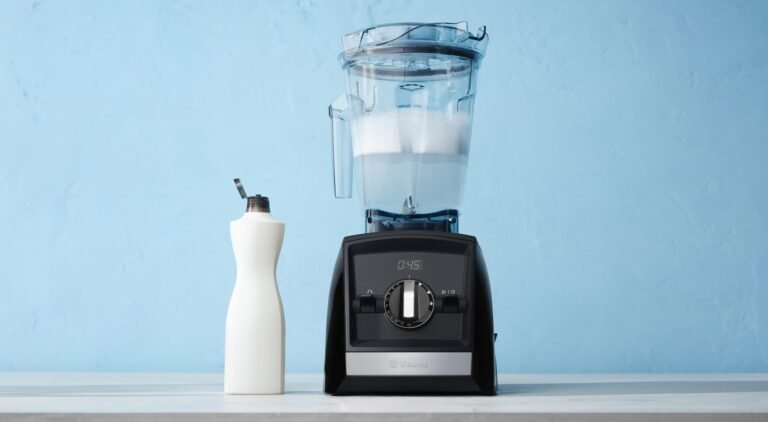
Pros run the machine with warm water and a drop of dish soap on high speed for thirty seconds, then rinse immediately. Amateurs let residue dry inside, requiring scrubbing that damages the container interior over time. Never submerge the base unit in water, as this destroys the electrical components. Wipe the exterior with a damp cloth only. Proper cleaning preserves the blade sharpness and extends the machine’s lifespan significantly.
What goes wrong, and what to do
| What you notice | What it usually means | What to do first | How to stop it happening again |
|---|---|---|---|
| Burning smell | Motor overheating | Stop immediately, unplug | Reduce load, add liquid |
| Leaking base | Seal failure | Check lid alignment | Inspect gasket wear |
| Uneven texture | Blade dullness | Replace container assembly | Avoid grinding hard spices |
| Loud noise | Loose parts | Tighten lid securely | Handle container gently |
| Tripping breaker | Circuit overload | Reset breaker, reduce power | Use dedicated outlet only |
The rules that apply
The base contains high-voltage wiring that can short circuit if moisture penetrates the ventilation slots. Even a small splash from the countertop can cause a fatal shock hazard. Never rinse the base under a running tap. Wipe it down with a damp cloth only.
Commercial kitchens face stricter scrutiny than home cooks. Health inspectors often require stainless steel containers for durability and ease of sanitation. Plastic containers may crack under heavy daily use, creating harborage points for bacteria. If you run a smoothie bar or cafe, check your local health code before purchasing. Residential models aren’t built to withstand the rigors of commercial service. Using a home unit in a business setting will likely void your warranty immediately.
Maximum fill lines serve a critical safety function beyond simple overflow prevention. Hot liquids expand rapidly when blended. If you exceed the line, pressure builds inside the sealed jar. This can force the lid off violently, spraying boiling contents onto your skin. Always leave at least one inch of headspace for hot soups or broths. Cold blends have more flexibility but still require space for the vortex to form properly.
Voltage compatibility is another common pitfall. US models run on 120 volts. European models often require 230 volts. Plugging a 120-volt machine into a 230-volt outlet will burn out the motor instantly. Conversely, using a 230-volt machine on 120 volts may cause it to overheat without reaching full speed. Check the label on the bottom of the base before connecting power. International travelers must carry a proper voltage converter, not just a plug adapter.
What it costs you
Entry-level models are inexpensive relative to commercial-grade units, which sit comfortably over $1,000 and come with extended warranties that matter only if you run a small cafe. For home use, those extra features are just expensive clutter.
Replacement containers are inexpensive relative to the cost of repairing a damaged motor. Tamper tools sell separately for around $30, yet many users skip them until they crack a blade. That mistake costs more in repairs than the tool itself. Always buy the tamper upfront; it’s cheaper than replacing a motor.
Energy consumption remains minimal, adding less than $5 annually to your electricity bill. Don’t worry about power usage during operation. Focus instead on maintenance supplies like replacement seals. If you use the machine heavily, these wear out faster than expected.
The initial investment pays off through durability, provided you maintain the seals. However, resale value remains low after five years. Expect to lose half the purchase price when selling used. This depreciation is standard for kitchen appliances. Plan your budget accordingly, knowing the machine is a long-term commitment rather than a liquid asset.
Keeping it right afterwards
Store the blender upright in a dry cabinet. This simple habit protects the cord and base from moisture damage, which is the silent killer of electrical components. Don’t coil the power cord tightly around the base. That creates stress points that eventually snap internal wires. Leave it loose or hang it on a hook.
Clean the container immediately after each use. Food particles harden on blades within minutes, especially dairy or starchy mixes. Soaking them later requires scrubbing that dulls the steel. A quick rinse with warm water and a drop of soap works best. Use a bottle brush for corners where residue hides.
Inspect the rubber feet yearly. They wear down faster than you expect. Replace them if slipping occurs during high-speed operation. A vibrating machine damages countertops and risks tipping over. Cheap replacements cost less than a new unit. Check the underside before every heavy task.
Keep the manual accessible. You’ll need it for troubleshooting error codes or warranty claims. Manufacturers often change button sequences between models. Guessing the fix voids coverage. Print the quick-start guide and tape it inside the cabinet door.
Schedule a deep clean monthly. Use vinegar and water to remove mineral deposits from hard water areas. Run the mixture at low speed for thirty seconds. Let it sit for an hour. Rinse thoroughly. These steps maintain performance and extend the machine’s usable life significantly.
When this is the wrong approach
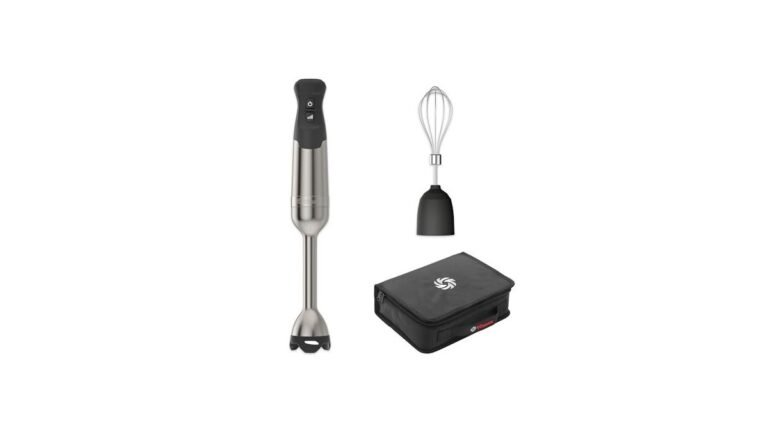
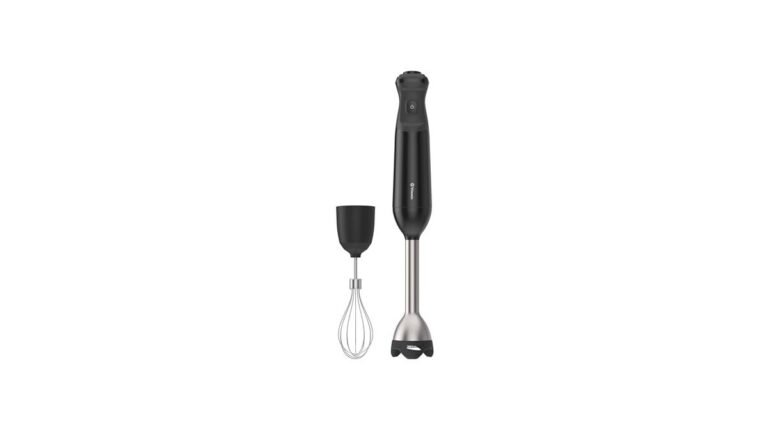
If you only blend soft fruits occasionally, a handheld immersion blender suffices and costs far less. Those living in tiny apartments with limited storage should consider compact personal blenders instead. Professional chefs needing continuous heavy-duty operation might prefer industrial commercial units with metal containers. Vitamix excels at home versatility, not industrial throughput. If your primary goal is crushing ice for cocktails, a dedicated ice crusher is more efficient. Match the tool to the task frequency and volume.
Consider the noise factor before buying anything. A high-powered blender will sound like a jet engine taking off inside your kitchen. This matters if you have thin walls or live above a sleeping child. You can’t simply ignore decibels because the motor is powerful enough to crush diamonds.
The vibration travels through floors and ceilings. Your neighbors will complain within days if you choose silence over power. Test the unit in-store if possible. Most stores allow brief demonstrations. Listen closely to the pitch of the sound. A lower hum is often better than a high shriek.
Check the warranty terms carefully. Many manufacturers void coverage if you blend hot liquids without venting the lid. Steam pressure builds up instantly. It can blow the lid off and cause burns. Read the fine print regarding thermal shock. Hard water deposits can also void coverage in certain regions.
Think about cleanup time after every use. Some designs trap food under the blade assembly. You’ll spend ten minutes picking out stuck pieces. Others allow a self-clean cycle with soap and water. This saves significant time during busy mornings. Decide which trade-off hurts more. Is it the upfront cost or the daily maintenance? There’s no universal answer here. Only you know your tolerance for scrubbing.
Frequently asked questions
Can I blend hot liquids in a Vitamix?
Yes, friction heat cooks ingredients during high-speed blending. Start with cold liquids and blend for several minutes until steaming. Never fill the container past the hot line, and secure the lid tightly to prevent splashing.
How long does a Vitamix last?
Most units last 10–15 years with regular home use. Commercial models endure longer under heavy daily loads. Warranty periods vary by region, but build quality supports decades of service if maintained properly.
Is it safe to leave the blender running?
Never exceed recommended run times listed in the manual. Continuous operation above ten minutes can overheat the motor. Allow cooling intervals between heavy tasks like nut butter production to prevent damage.
What happens if I don’t use the tamper?
Thick mixtures may stall or process unevenly without the tamper pushing ingredients toward the blades. This strains the motor and creates air pockets. Always insert the tamper through the lid opening while blending thick recipes.
Does it matter if I buy refurbished?
Refurbished units offer savings but may have worn seals or outdated firmware. Check the seller’s return policy and warranty coverage carefully. New models include the latest safety features and current accessories.
How much space do I need?
Allow 12 inches of width and depth for the base, plus extra clearance for pouring. Store the container upside down or vertically to save shelf space. Ensure nearby outlets are accessible without stretching cords.
What to do next
Begin by measuring your available counter space with a tape measure. Note the width, depth, and height of the area where you plan to place the machine. Include clearance for the lid opening and any cord length that might hang over the edge. This physical constraint often dictates whether you can fit a high-performance blender or if a compact model is necessary.
Next, list your top three blending tasks. Be specific about ingredients. Do you crush ice daily? Blend tough kale stems? Make hot soup from raw vegetables? These distinct requirements determine the motor power and blade design you need. A smoothie maker handles soft fruit well but fails on ice. A heavy-duty unit struggles with small batches of sauce. Match your primary use case to the machine’s strength.
Compare these needs against the container sizes and motor powers outlined above. Look at the wattage ratings carefully. Higher numbers don’t always mean better performance if the blade geometry is poor. Check the container material too. Glass retains heat but adds weight. Plastic is lighter but may stain. Ensure the base stability matches the motor torque to prevent walking during operation.
Expect a smooth, consistent texture within the first few uses if you follow the liquid-first rule. Always add liquids before solids. This creates a vortex that pulls ingredients down toward the blades. Without this step, air pockets form. The motor spins freely without grinding anything. You end up with chunky residue at the bottom.
Stop and contact support immediately if you hear unusual grinding noises or see smoke. These signs indicate a serious mechanical fault. Don’t attempt to fix it yourself. Opening the housing voids warranties. It also exposes you to sharp internal components. Unplug the device first. Then call the manufacturer’s technical team for guidance.