How To Clean Vitamix Blender Stains: The Vinegar Fix
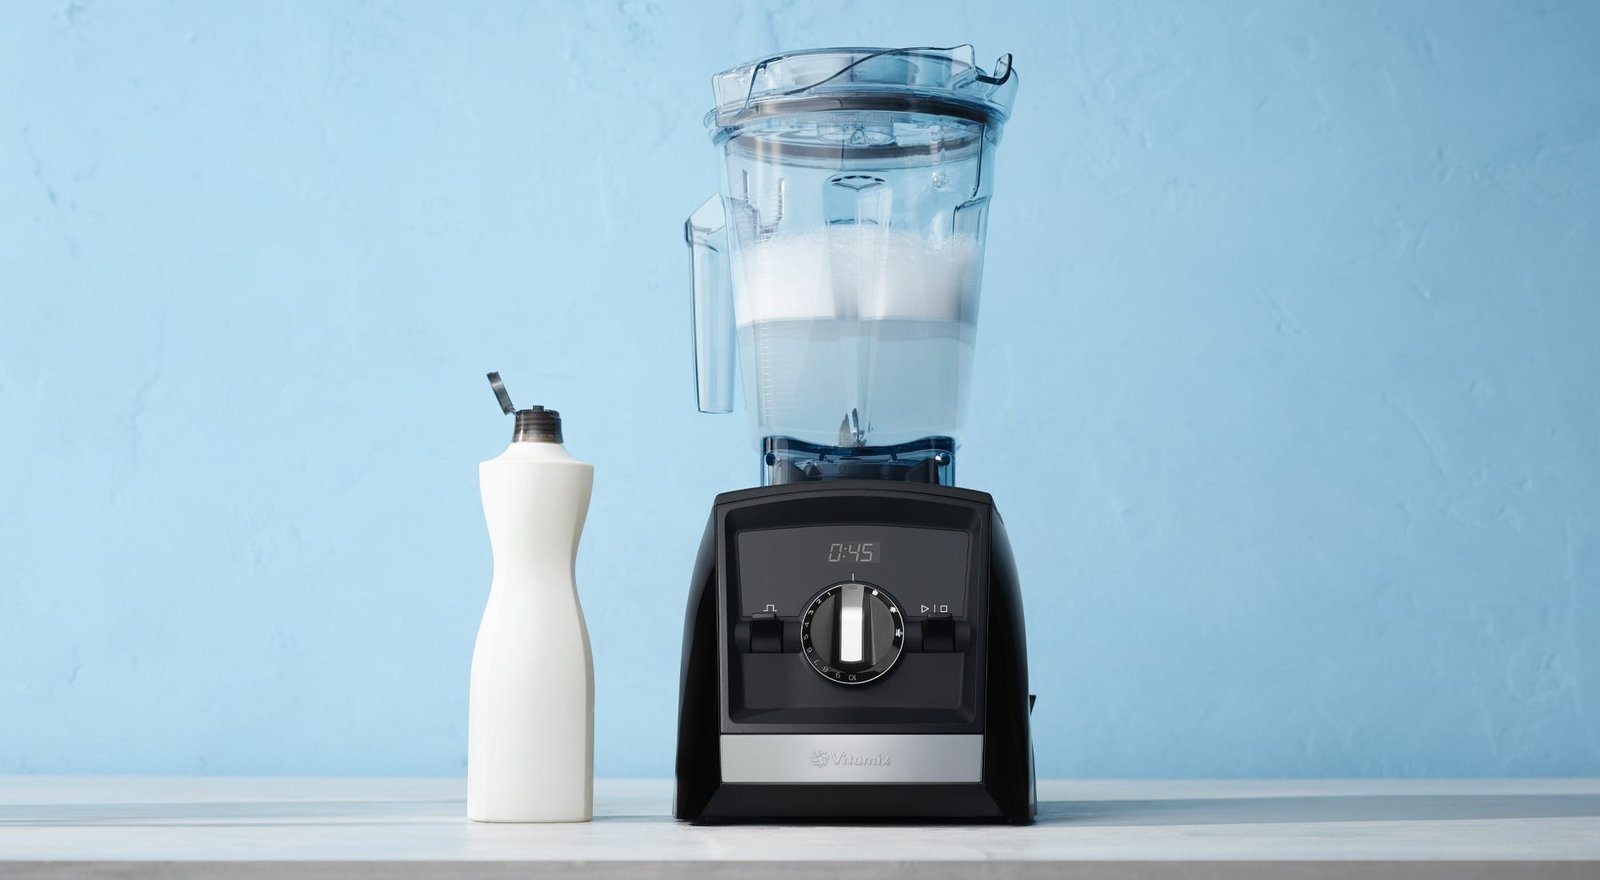
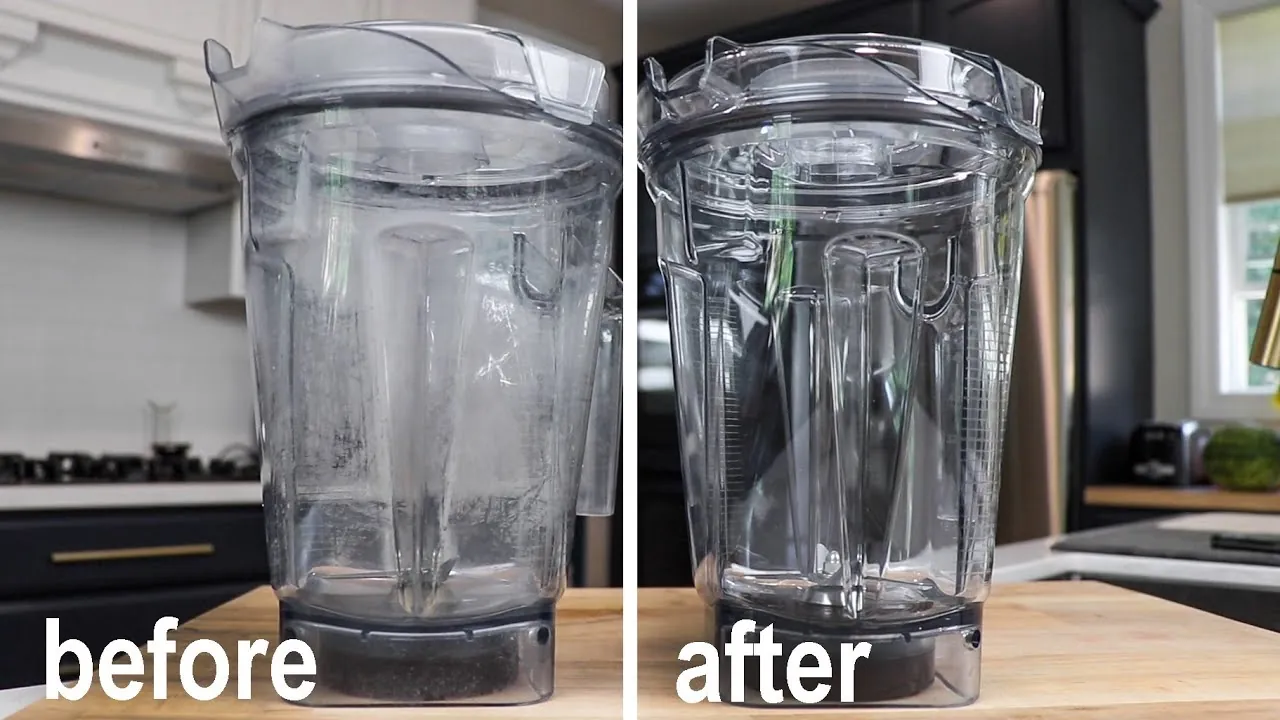
You can remove stubborn blender stains by mixing one part white vinegar with two parts water, adding a drop of dish soap, and running the machine for 30 seconds before letting it soak for an hour. This simple mix works on most fruit juices and smoothie residues without scratching the container. The result depends on how old the stain is, what liquid caused it, and whether you used hot or cold water to start the cleaning process.
The speed of removal changes if the container is scratched or if the stain has baked onto the plastic over weeks. You’ll also need more time if the blender is a high-speed model that heats up quickly during blending.
Who needs to clean Vitamix blender stains
This page serves home cooks who make green smoothies daily but lack strong scrubbing tools. It helps parents dealing with berry juice splatters on their kids’ lunch containers. It also assists busy professionals who want a quick fix before their next meeting. If you only blend ice occasionally, this guide might be too detailed for your needs. We assume you have basic kitchen supplies like vinegar and dish soap.
Most users here struggle with orange carrot stains or purple beet marks that seem permanent. They often try harsh sponges that scratch the plastic, making future stains worse. Some people think they need special cleaners, but ordinary ingredients work better. If you own a commercial-grade unit, the rules change slightly because the materials differ.
Readers with clear glass jars face different challenges than those with opaque black containers. The dark plastic hides stains until they become deep-set. Clear plastic shows every mark immediately, which makes people panic and scrub too hard. This guide focuses on standard Vitamix models found in most homes. It doesn’t cover industrial blenders used in restaurants where heat and pressure are higher.
What decides the outcome
The age of the stain matters most. A fresh spill wipes away easily, but dried residue bonds to the plastic surface. Older stains require soaking time rather than just scrubbing power. You can tell the difference by looking at the color depth; light marks fade fast, while dark spots linger.
The type of food causing the mess changes the approach. Acidic fruits like lemons react differently than oily dressings or sweet syrups. Berry skins contain pigments that stick tight, while dairy proteins coagulate and create films. Knowing what you blended helps you choose the right solvent. Vinegar works well on minerals, but soap handles fats better.
Your cleaning tool choice impacts the final look. Steel wool scratches the plastic permanently, creating grooves where new stains hide. Soft cloths and non-abrasive sponges preserve the surface finish. Scrubbing too hard damages the container, so gentle pressure is key. Always check the manufacturer’s advice on what tools are safe to use.
Water temperature plays a role in dissolving residues. Hot water softens sticky sugars and oils faster than cold water. However, boiling water can warp some plastic components if left too long. Lukewarm water strikes the best balance between safety and effectiveness. Test a small area first if you’re unsure about the material limits.
Step by step method
- Fill the container halfway with warm tap water and add one teaspoon of mild dish soap.
- Secure the lid tightly and run the blender on low speed for 15 seconds to loosen debris.
- Pour out the soapy water and rinse the inside thoroughly with clean water to remove loose particles.
- Mix one cup of white vinegar with two cups of warm water directly into the empty container.
- Add a single drop of dish soap to the vinegar solution to help break down oily films.
- Run the blender again on low speed for 30 seconds to circulate the cleaning mixture everywhere.
- Turn off the machine and let the solution sit inside the container for at least 60 minutes.
- After soaking, pour out the liquid and inspect the stained areas under bright light for remaining marks.
- Use a soft sponge dipped in the vinegar mix to gently rub any stubborn spots that remain visible.
- Rinse the container three times with fresh water to ensure no cleaning residue is left behind.
The critical decision happens after the soak: if the stain persists, repeat the cycle once more instead of scrubbing harder. Pushing too hard creates micro-scratches that trap dirt later. Stop when the surface looks uniform and clear. Don’t attempt to polish the plastic with abrasive powders as this ruins the finish permanently.
The variations at a glance
Different stains behave uniquely, requiring specific adjustments to the standard cleaning routine. Here is how to handle common scenarios based on the food source and container condition.
| Situation | Action Required | Time & Effort | Watch For |
|---|---|---|---|
| Fresh berry juice | Soak for 15 minutes only | Low effort | Stains turn brown if left too long |
| Dried spinach paste | Soak for 2 hours minimum | Medium effort | Paste hardens further if water evaporates |
| Oily dressing residue | Add extra soap drops | High effort | Soap bubbles may not form if too oily |
| Hard water mineral ring | Use straight undiluted vinegar | Low effort | Vinegar smell lingers longer than usual |
| Deep black discoloration | Repeat cycle twice | High effort | Discoloration may be permanent damage |
| Sticky sugar syrup | Warm water first, then soak | Medium effort | Syrup attracts dust if not rinsed well |
| Yellowed plastic aging | No fix available | N/A | Aging is irreversible, focus on prevention |
What separates good from bad results
Experienced users know that preparation prevents the worst damage. They never let acidic foods sit in the blender overnight without a rinse. Beginners often ignore this step, assuming the machine will clean itself later. This oversight leads to deep-set stains that resist all cleaning methods.
The order of operations
The sequence of steps determines success. Rinsing before soaking removes loose particles that could grind into the plastic during agitation. Skipping this step turns food bits into sandpaper that scratches the surface. Always rinse first, then apply the cleaning solution.
Checking the progress
Good results show a uniform surface with no dull patches. Bad results leave streaks or cloudy areas where the cleaner failed. Inspect the container under a bright light to catch missed spots. If you see haze, the plastic is likely scratched or the cleaner was too weak.
What goes wrong, and what to do
Sometimes the standard method fails to remove a mark completely. These common problems usually stem from incorrect techniques or overlooked details.
| What you notice | What it means | What to do first | How to stop it |
|---|---|---|---|
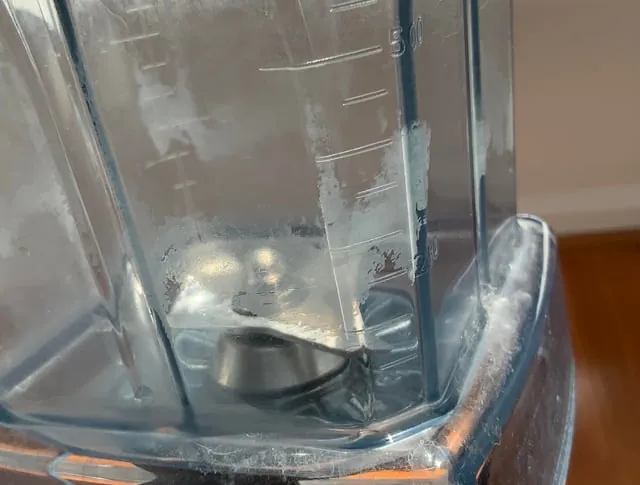
| Cloudy white film | Mineral buildup from hard water | Soak in straight vinegar | Use filtered water for cleaning |
| Scratch marks | Used steel wool or rough sponge | Stop scrubbing immediately | Switch to soft cloth only |
| Strong vinegar smell | Solution left too long | Rinse thoroughly with water | Limit soak time to 2 hours |
| Stain returns quickly | Residue trapped in scratches | Replace container if damaged | Avoid abrasive cleaning tools |
| Plastic feels soft | Water too hot for material | Let cool before handling | Use lukewarm water always |
| Smell remains | Bacteria growth in crevices | Wash gasket separately | Clean seals weekly |
| Color fades unevenly | Bleach used accidentally | Never use bleach | Stick to vinegar and soap |
The rules that apply
Safety guidelines prevent accidents and protect your equipment from immediate harm. The Food and Drug Administration recommends sanitizing food contact surfaces regularly to prevent bacterial growth, which thrives in the warm, moist environment inside a blender jar left unwashed for hours. Always follow the manual provided by Vitamix for specific model instructions because blade assemblies vary significantly between older and newer designs.
Don’t use chlorine bleach on any plastic parts as it causes yellowing and brittleness over time, eventually leading to cracks that leak liquid into the motor base. The American Chemical Society notes that mixing bleach with vinegar creates toxic gas, so keep them separate even if you’re cleaning different containers in the same sink. Never submerge the base unit in water as this voids the warranty and risks electrical shock, since the internal electronics aren’t sealed against moisture intrusion.
Cleaning intervals depend on usage frequency and the type of ingredients processed. Daily users should wash the container after every use to prevent buildup, especially when blending sticky items like nut butters or thick smoothies that harden quickly. Occasional users can clean weekly, but must inspect for odors or discoloration first, as these signs indicate trapped bacteria that simple rinsing can’t remove.
Check the official Vitamix website for the latest care instructions for your specific model, since firmware updates sometimes change recommended maintenance schedules for new attachments. If you notice a persistent smell after washing, soak the container in warm water with baking soda for thirty minutes before scrubbing again.
What it costs you
Cleaning this way costs almost nothing in money since you likely already have vinegar and soap. The real cost is time, ranging from 10 minutes for fresh spills to 2 hours for deep stains where the grime has baked on overnight. You save money by avoiding expensive commercial cleaners that offer no better results, yet you must accept that patience replaces the instant fix promised by harsh chemicals.
Risk is minimal if you follow the steps correctly, but skipping a single safety check can turn a minor task into a medical bill. Using hot water carries a slight burn risk, so test the temperature against your inner wrist before pouring it into the jar. Scrubbing too hard risks damaging the container, which costs hundreds to replace because cracked glass shatters under pressure rather than bending.
Proper care extends the life of your blender, saving you replacement costs in the long run, but only if you stop using metal utensils that scratch the interior surface. If the stain remains after two hours of soaking, don’t increase the force; instead, let it sit for another night or switch to a soft brush, as brute strength guarantees damage without cleaning power.
Keeping it right afterwards
Prevention keeps your blender looking new for years, but the timing of your rinse matters more than you think. Rinse the container immediately after use while food is still wet to stop it from drying and bonding to the plastic. If you wait even an hour, dried proteins turn into a stubborn film that requires soaking.
Dry the gasket and lid thoroughly with a cloth to prevent mold growth in those hidden corners where moisture hides. Store the blender with the lid off to allow air circulation and reduce odors, especially if you blend strong-smelling ingredients like garlic or fish.
Check the container monthly for early signs of staining or cloudiness before they become permanent. Catching issues early means a quick wipe-down instead of a long soak that damages the finish. If you notice persistent odors that washing can’t remove, wash the gasket separately with warm soapy water to reach the seal.
Regular maintenance takes five minutes but saves hours of deep cleaning later when food has hardened. Don’t skip this step just because the machine looks clean; invisible buildup is what eventually ruins the blades.
When this is the wrong approach
If your container is cracked or deeply scratched, cleaning won’t restore its appearance. The structural integrity of the plastic has already failed, meaning no amount of scrubbing can seal the microscopic fissures where bacteria thrive. Damage to the plastic structure requires immediate replacement rather than any attempt at repair.
In these cases, buying a new container is significantly safer and more effective than trying to clean it. You might think a clear coat of polish hides the scratch, but that only traps grime inside the crack and creates a breeding ground for pathogens that standard washing can’t reach.
If the stain comes from a chemical substance like paint or glue, don’t use food-safe cleaners. These substances require specialized industrial solvents that are strictly unsafe for food contact surfaces. Even after multiple washes, traces of the solvent remain embedded in the porous plastic and will leach into your next meal.
Consult a professional or discard the container entirely if it holds hazardous materials. Never attempt to clean non-food stains with kitchen ingredients like baking soda or vinegar, as these weak agents simply spread the chemical residue deeper into the polymer matrix without neutralizing the toxicity.
Frequently asked questions
Can I use baking soda for Vitamix stains?
Yes, baking soda works well on tough stains when mixed with water to form a paste. Apply the paste to the stain and let it sit for 30 minutes before scrubbing gently. Don’t use it in the blender jar with liquid as it creates excessive foam that can overflow.
Why does my Vitamix smell like vinegar after cleaning?
The smell occurs if you leave the vinegar solution in the jar too long or rinse it poorly. It usually fades within an hour of airing out the container. If the odor persists, rinse the jar again with plain water and let it dry completely.
How long does it take to remove old berry stains?
Old berry stains typically require a soak of 1 to 2 hours to lift effectively. Very old or set-in marks may need multiple cycles of soaking and scrubbing. Allowing sufficient time for the solution to penetrate ensures residual color is removed.
Is it safe to put the blender base in water?
No, never submerge the motor base in water as it contains electrical components. Wipe the base with a damp cloth only to remove spills. Water inside the base can cause short circuits and void your warranty immediately.
What happens if I use bleach on my Vitamix?
Using bleach damages the plastic, causing yellowing and weakening the material over time. It also leaves toxic residues that can contaminate your food. Always avoid bleach and stick to vinegar or mild soap for cleaning.
Does hot water help clean stains faster?
Hot water softens oils and sugars, making them easier to remove than cold water. However, water that’s too hot can warp the plastic container. Use warm or lukewarm water for the best balance of safety and cleaning power.
Does the stain matter if the blender still works?
Stains indicate food residue that can harbor bacteria even if the machine runs fine. Ignoring stains leads to odors and potential health risks over time. Clean the container regularly to ensure your food stays safe and fresh.
Will a dishwasher clean my Vitamix container?
Most Vitamix containers are top-rack dishwasher safe, but hand washing is gentler on the plastic. Dishwasher detergent can sometimes leave a hazy film on older containers. Hand washing ensures the best clarity and longevity for your jar.
Next steps to try
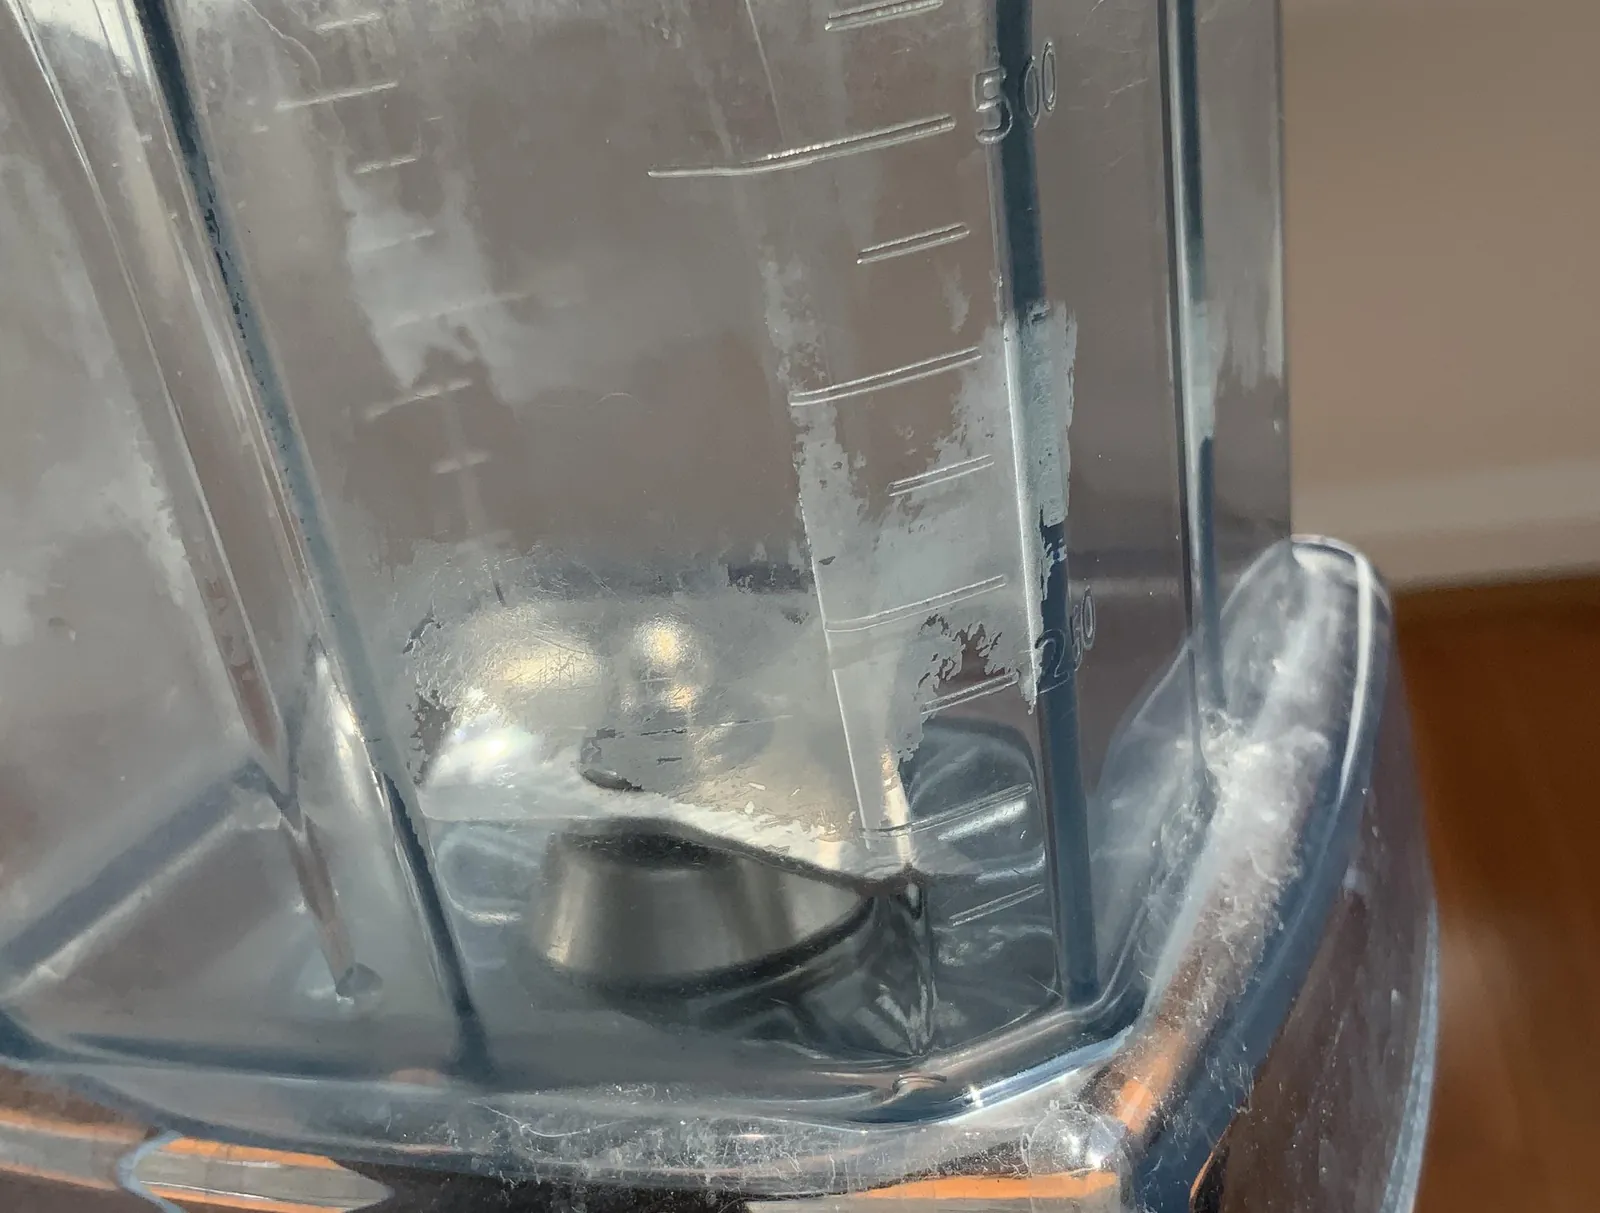
Start by rinsing your blender jar immediately after use to prevent new stains from setting into the plastic. Expect the container to look brighter within minutes of cleaning, especially if you scrub with warm soapy water while residue is still soft. Stop and seek help if the plastic shows cracks or deep scratches that cleaning can’t fix, as these crevices harbor bacteria.
If the stain persists after an hour-long soak in baking soda and vinegar, try a paste made from salt and lemon juice instead of harsh chemicals. Replace the jar entirely if it has become permanently yellowed or opaque, because no home remedy can restore clarity once the polymer structure has degraded.
Conclusion
Next time you blend a bright smoothie, rinse the jar right away to keep it looking fresh. You’ll save yourself a lot of scrubbing later if you just give it a quick wash before the stains set in. Your blender will thank you for the simple habit!